
Crocheting your own accessories is not only a creative outlet but also a practical way to make beautiful and useful items. One popular beginner-friendly project is the easy crochet toiletry bag or pencil case—a compact, stylish pouch that can serve multiple purposes, from organizing your travel essentials to storing pens and pencils in your backpack or purse.
In this article, we’ll walk through everything you need to know about creating your own easy crochet toiletry bag or pencil case, including materials, step-by-step instructions, customization tips, and helpful finishing techniques.

Why Crochet a Toiletry Bag or Pencil Case?
A crochet toiletry bag or pencil case combines function and creativity. Here’s why it’s a great project:
- Beginner-Friendly: Simple stitches and construction make it perfect for those new to crochet.
- Customizable: Choose your favorite colors, stitch patterns, and embellishments.
- Eco-Friendly: Handmade items reduce the need for store-bought plastic or synthetic alternatives.
- Gifting Potential: Makes a thoughtful handmade gift for friends, family, or teachers.
Materials You’ll Need
- Worsted weight cotton yarn (like Lily Sugar’n Cream or Paintbox Cotton Aran)
- Crochet hook (Size H/8 – 5.0mm or as recommended on your yarn label)
- Yarn needle (for weaving in ends)
- Zipper (7–9 inches depending on your desired bag length)
- Scissors
- Optional: Lining fabric, sewing needle & thread, stitch markers
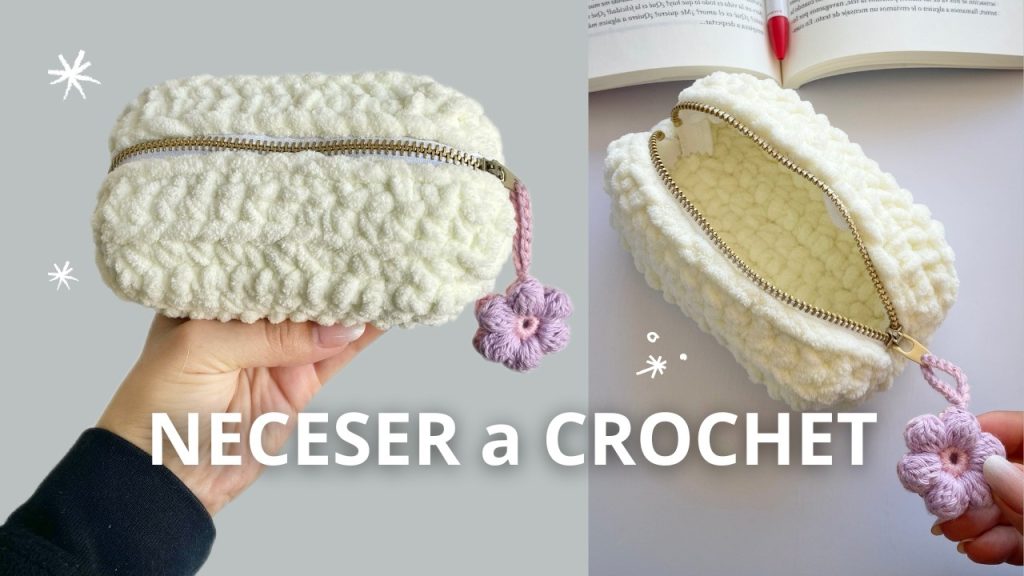
Finished Size
Approximately 8″ wide x 4″ tall x 2″ deep (adjustable to suit your needs)
Crochet Stitches Used
- Chain (ch)
- Slip Stitch (sl st)
- Single Crochet (sc)
- Half Double Crochet (hdc) or Double Crochet (dc) for variations
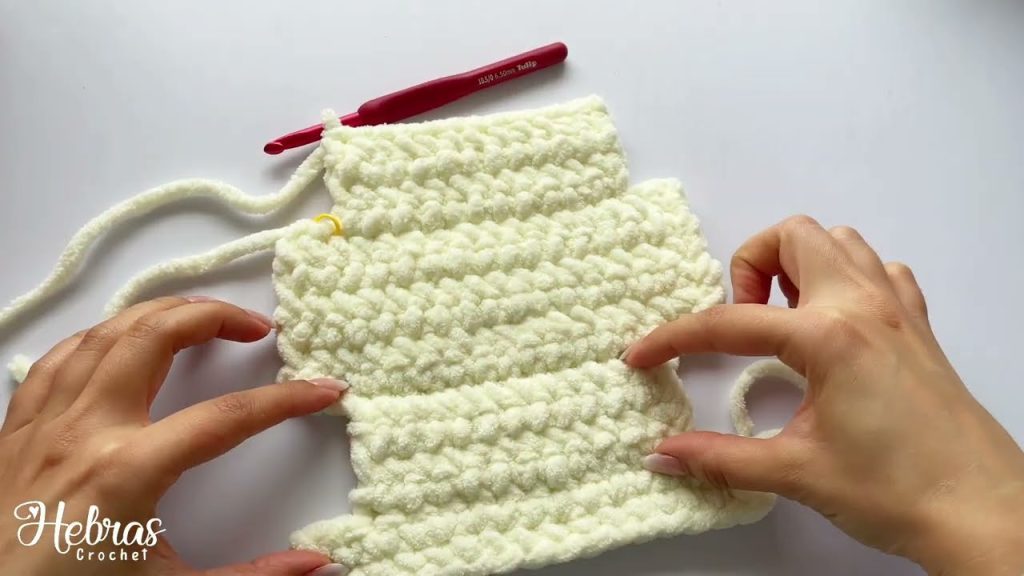
Basic Pattern: Easy Crochet Zippered Pouch
Step 1: Base Foundation
Chain 31 (or desired length of your bag).
Row 1: Starting in the second chain from hook, sc across (30 sts). Chain 1, turn.
Repeat for 5–6 rows to create a rectangular base.
Step 2: Building the Sides
Once the base is complete, begin working in the round:
Round 1: Sc evenly around the rectangle, placing 1 sc in each stitch and 2 sc in each corner. Join with sl st.
Rounds 2–12: Sc in each stitch around. (You can substitute hdc for a looser texture or alternate rows for variety.)
Continue until the bag reaches your desired height.
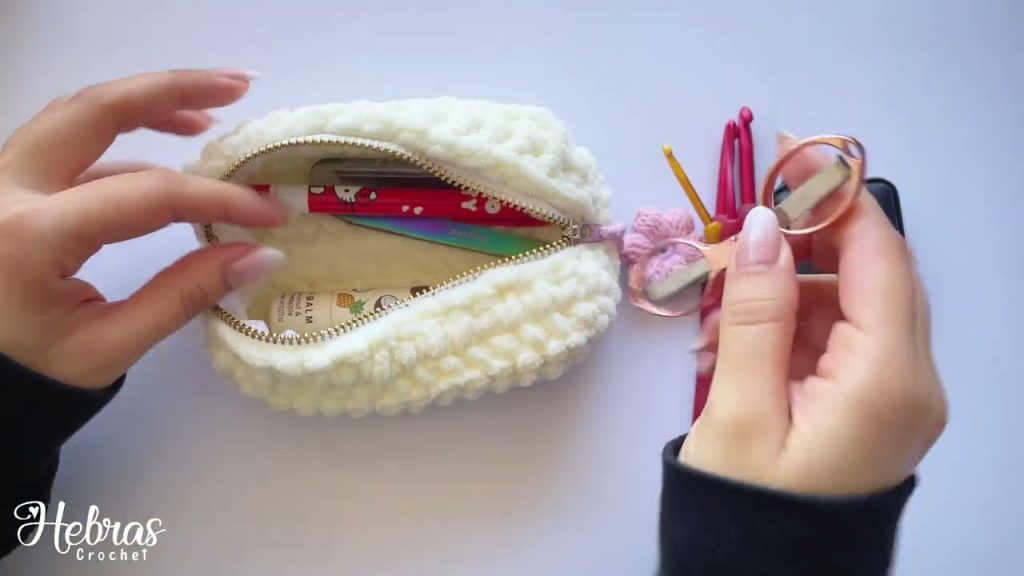
Step 3: Shaping the Top and Adding Zipper
Once you reach the desired height:
- Fasten off and weave in ends.
- Pin the zipper to the top opening and sew in place using needle and thread (or sew in a lining + zipper for a more finished look).
Optional Additions
1. Lining the Bag
To give your bag more structure and durability (especially for makeup or ink pens), you can line the inside with fabric:
- Cut fabric slightly larger than your finished piece.
- Sew into a pouch shape and stitch into the inside of the crochet bag before adding the zipper.
2. Custom Handles or Wristlet Strap
Add a small crochet strap to one side to convert it into a wristlet or clutch.
3. Color Changes
Use scrap yarn to create stripes, blocks, or ombre effects. Great for busting your yarn stash.
4. Decorative Touches
Add a tassel to the zipper, a button, or even embroider small designs on the sides of the bag.
Tips for Beginners
- Use cotton yarn for better shape and washability.
- Block your bag before adding the zipper to ensure even edges.
- Practice your zipper stitching on scrap fabric first if you’re new to sewing.
Versatility of the Crochet Pouch
What makes this project especially fun is how versatile it is. You can use it as:
- A makeup bag
- A pencil case
- A travel pouch
- A small crochet hook organizer
- A tech accessory case (chargers, earbuds, etc.)
Conclusion
An easy crochet toiletry bag or pencil case is a satisfying, quick project that serves a real purpose. With minimal materials and a simple pattern, you can create something beautiful and useful in just an afternoon. Whether you’re new to crochet or looking for a relaxing weekend project, this is a perfect choice. Plus, the end result makes a fantastic gift for anyone who appreciates handmade charm and practical design.
Video tutorial:


