Two Beautiful Crochet Projects to Elevate Your Wardrobe and Book Collection
Crochet is a wonderfully versatile craft, and its applications go far beyond scarves and hats. If you’re looking to challenge yourself creatively while adding charm to your wardrobe or your library, two perfect projects await: the crochet tulip sleeve and the crochet book cover.
In this article, you’ll learn how to make both—step by step—with materials, techniques, and styling tips.

🌸 PART 1: How to Crochet a Tulip Sleeve
A tulip sleeve is a beautifully curved sleeve design that overlaps at the shoulder like tulip petals, offering a flattering and feminine finish to tops, dresses, or baby garments. When crocheted, this elegant detail adds softness and texture to your handmade clothing.
🧶 Materials
- Yarn: Light or DK weight cotton yarn
- Hook: 3.5 mm – 4.0 mm
- Stitch markers
- Yarn needle & scissors
- Measuring tape
- Optional: Blocking mat & pins
✂️ Tools for Custom Fit
- Pattern or garment to attach sleeves to
- Armhole measurement of your garment
🧵 Stitches Used
- ch – chain
- sc – single crochet
- dc – double crochet
- tr – treble crochet
- sl st – slip stitch
🌷 Step-by-Step: Crochet Tulip Sleeve
Step 1: Measure and Plan
Measure the armhole circumference of your garment and the desired sleeve length (usually short and curved).
Step 2: Create Petal Panels (make 2 per sleeve)
Foundation chain:
- Chain 26 (or length to match half of armhole opening)
Row 1:
- dc in 4th ch from hook, dc across, ch 3, turn
Row 2–6:
- Decrease 1 stitch at the beginning and end of each row (dc2tog at each end). This curves the edge like a tulip petal.
- Continue until you form a rounded triangle. Fasten off.
You should now have a curved petal shape.
Step 3: Assemble the Sleeve
- Overlap two petal panels slightly (like tulip petals).
- Pin and sew them into the armhole using a yarn needle or slip stitch join.
- Optional: Add a scalloped or picot border for elegance.
Step 4: Finishing Touch
- Steam block or wet block the sleeves to smooth the curves.
- Ensure the petal tips align naturally and overlap nicely.

✨ Styling Tips
- Use a lacy or openwork pattern for warm-weather wear.
- Add beaded edging or embroidery to elevate the look.
- Great for baby cardigans, summer tops, or cap-sleeve blouses.
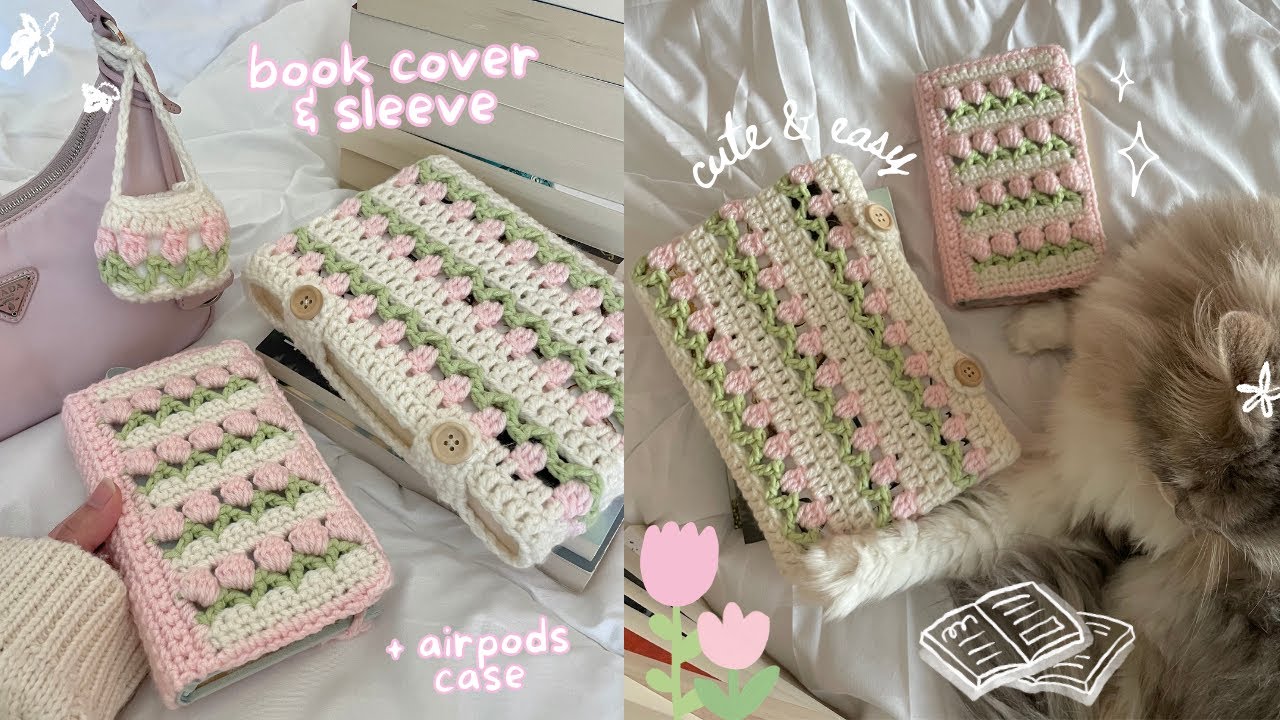
📚 PART 2: How to Crochet a Book Cover
Protect your favorite paperback or journal with a handmade crochet book cover. It’s customizable, reusable, and makes a thoughtful gift.
🧶 Materials
- Yarn: Medium (worsted) or light cotton yarn
- Hook: 3.5 mm – 4.5 mm
- Yarn needle & scissors
- Button (optional for closure)
- Measuring tape
- Notebook or book to measure
🧵 Stitches Used
- ch – chain
- sc – single crochet
- hdc – half double crochet
- dc – double crochet
- sl st – slip stitch
📘 Step-by-Step: Crochet Book Cover
Step 1: Measure Your Book
- Measure the front width + spine + back width + flap allowance
- Measure height
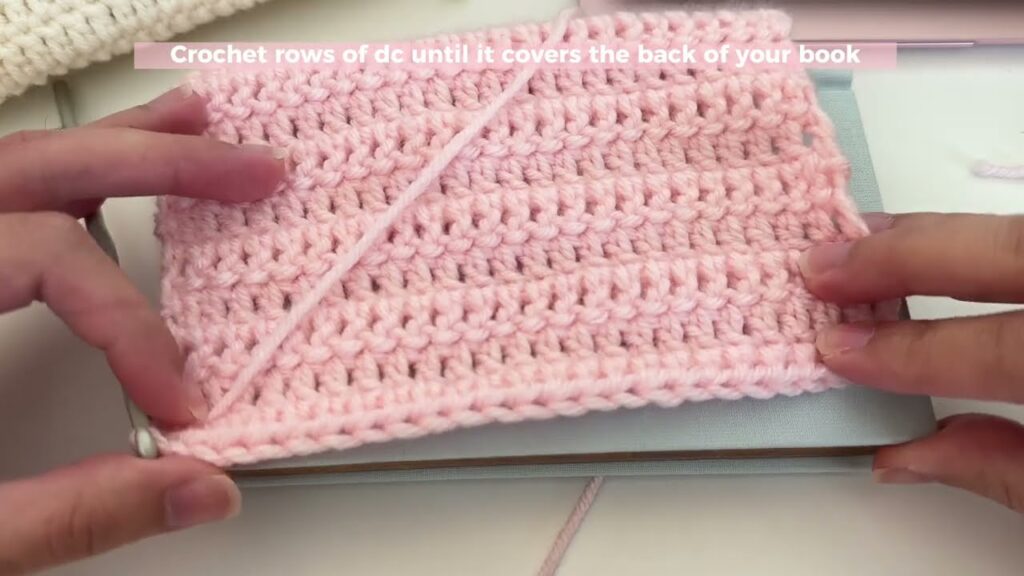
Step 2: Make the Main Panel
Foundation chain:
- Chain enough to match the width measurement (include front, back, and spine).
Row 1:
- hdc in 2nd ch from hook and across.
- ch 1, turn.
Rows 2–(height):
- hdc across until you reach the measured height of the book.
- Fasten off.
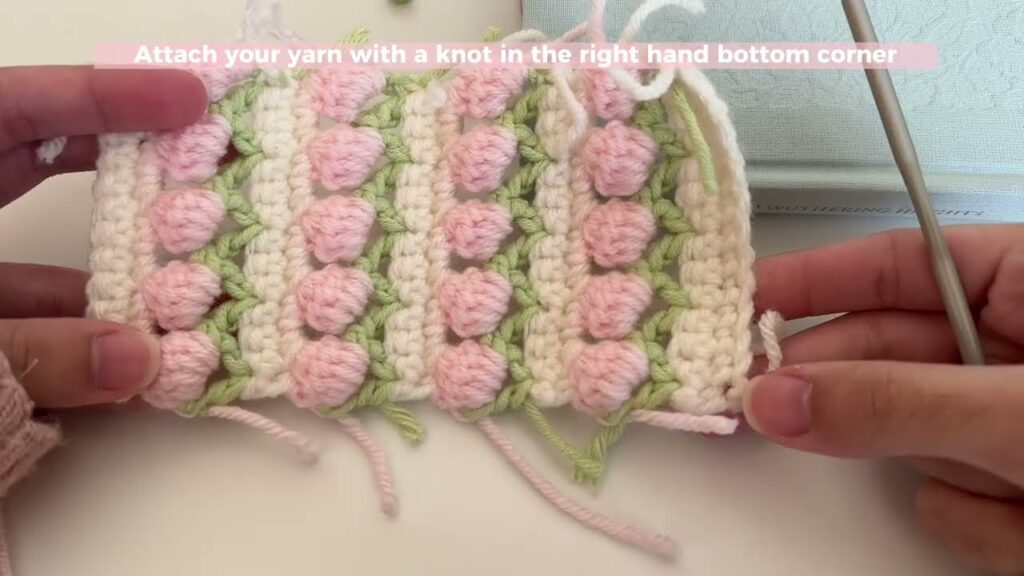
Optional: Add a decorative stitch (like moss stitch or shell stitch) on the front section.
Step 3: Create Inner Flaps
To make the cover grip the book:
- Fold in about 2–3 inches on each side (to form sleeves).
- Sew or slip stitch the top and bottom of the flaps.
- Slide book covers into each flap.
Step 4: Add Closure (Optional)
- Attach a button to the front.
- Create a chain loop on the back to wrap around it as a closure.
🎨 Customization Ideas
- Use different colors for stripes or patterns
- Add appliqué or embroidered initials
- Attach a pen loop by crocheting a short strap on the inside
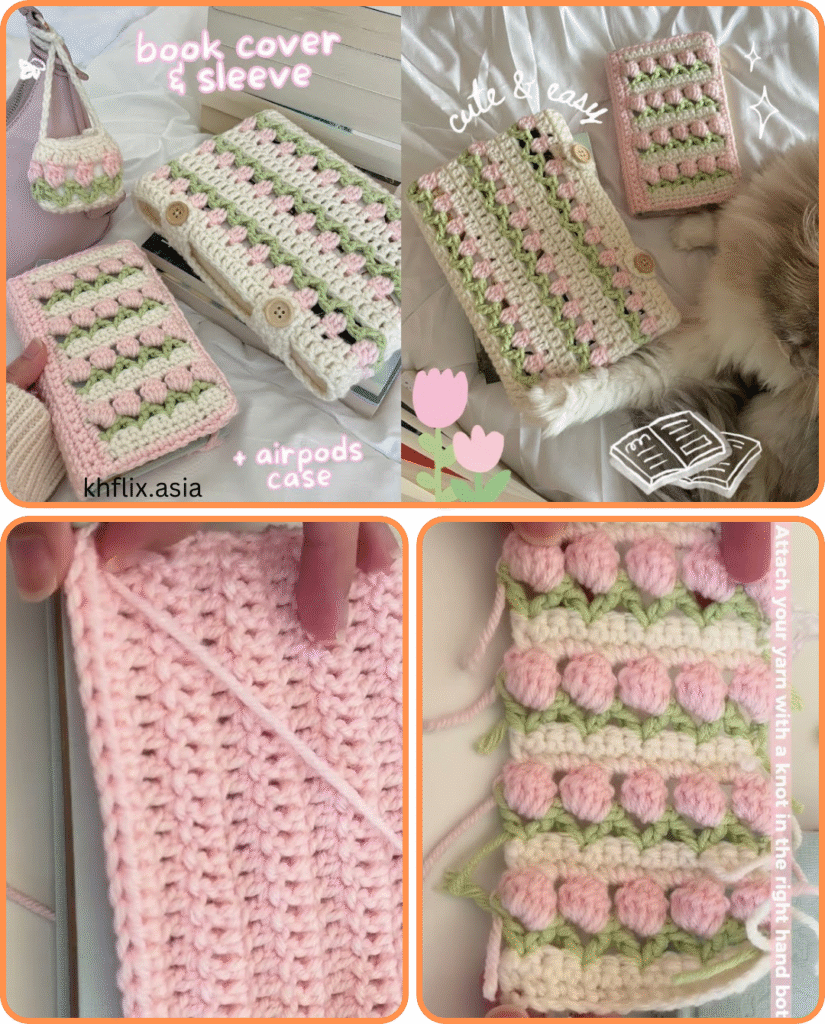
Video tutorial:
🧵 Final Thoughts
Both the crochet tulip sleeve and the crochet book cover are creative ways to enhance your crafting skills and produce something practical and beautiful. The tulip sleeve adds femininity and movement to garments, while the book cover brings warmth and personality to your daily reads. These are projects where simple techniques yield elegant results—and the possibilities for personalization are endless.


