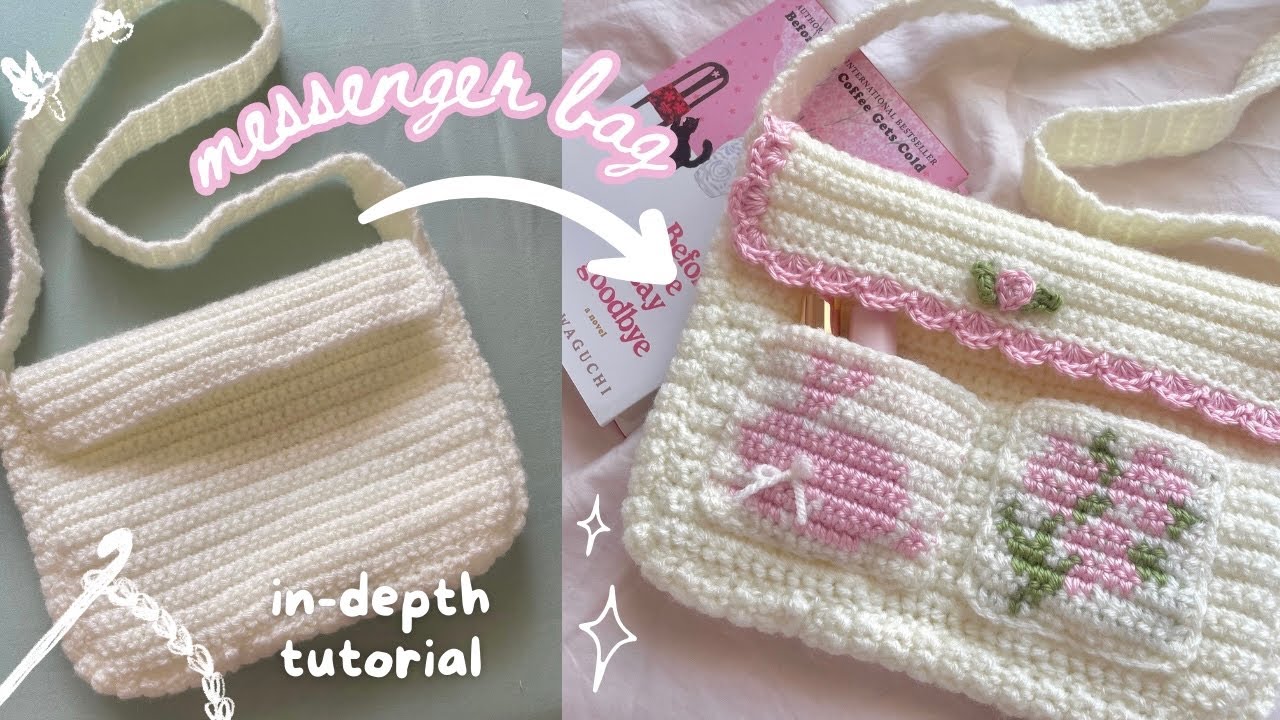
A Functional & Stylish DIY Crochet Project for Every Skill Level
Messenger bags are practical, comfortable, and endlessly versatile. Whether you’re heading to school, work, or just out and about, a crochet messenger bag offers both fashion and functionality. Best of all? You can easily customize it to any size, any design, and any style—from minimalist and modern to textured boho chic.
In this step-by-step guide, you’ll learn how to crochet a messenger bag with options for size, strap style, flap variations, and closures.

🎯 What Is a Messenger Bag?
A messenger bag is a rectangular or square-shaped shoulder bag with a long strap that goes across the body. It typically features a flap that folds over the main compartment, keeping contents secure.
Crocheted versions are softer than leather or canvas styles but still highly durable when made with the right yarn and techniques.
🧵 Materials Needed
| Item | Details |
|---|---|
| Yarn | Worsted weight (#4), chunky (#5), or t-shirt yarn for structure |
| Hook | 4.5 mm to 6.0 mm (depending on yarn weight) |
| Lining fabric | Optional, for structure and durability |
| Button, snap, or magnetic closure | For flap security |
| Yarn needle | For weaving ends and assembly |
| Scissors & Stitch markers | Handy for precision |
🧶 Stitch Suggestions
- sc – single crochet (dense and sturdy)
- hdc – half double crochet (great for flexibility)
- dc – double crochet (adds height, good for texture)
- sl st – slip stitch (joining)
- ch – chain
Pro Tip: Use tight stitches like sc or hdc to maintain the shape and reduce stretch.
📏 How to Choose Your Size
Before you begin, decide how large you want your bag to be. Here are a few common sizes:
| Bag Type | Width x Height x Depth |
|---|---|
| Small (phone + wallet) | 8″ x 6″ x 2″ |
| Medium (books/tablet) | 12″ x 10″ x 3″ |
| Large (laptop or files) | 15″ x 12″ x 4″ |
Measure your items first, then add 0.5–1 inch for ease.
🪡 Basic Messenger Bag Construction
The construction is simple:
- Base panel (flat rectangle)
- Sides + gusset (optional)
- Flap (attached or separate)
- Strap (crocheted or attached externally)
- Lining & closure (optional)
🧵 Step-by-Step Messenger Bag Pattern (Customizable)
🔸 Step 1: Make the Base Panel
Foundation Chain:
- Chain the desired width of the bag (e.g., ch 40 for ~12” wide)
Row 1:
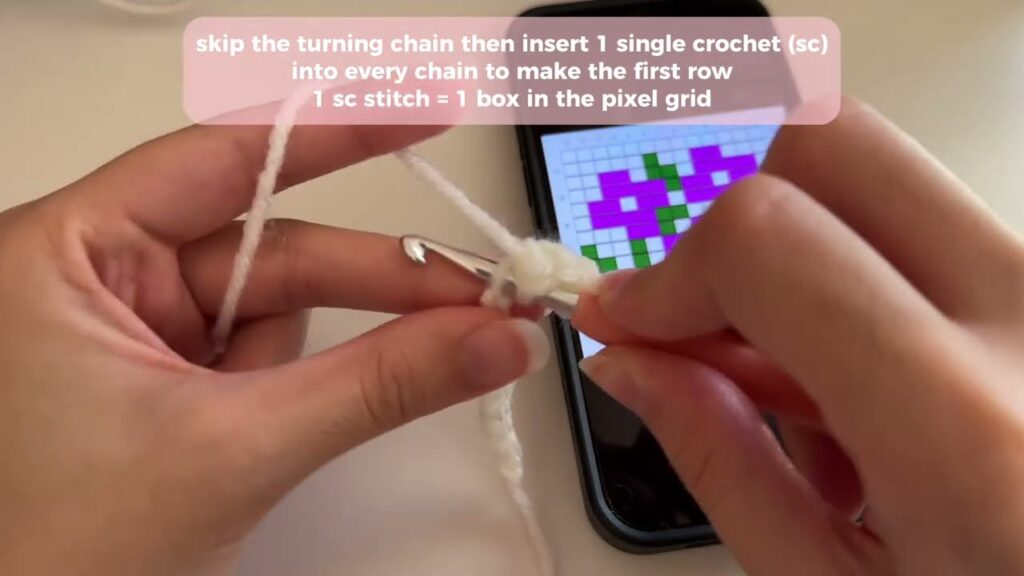
- sc in 2nd ch from hook and across, ch 1, turn
Rows 2–(desired height):
- sc across each row
- Continue until your rectangle reaches the height of one side (e.g., 10–12”)
- Fasten off
Tip: You can work this piece in the round to make a seamless tube.
🔸 Step 2: Add the Gusset (Optional)
For more depth:
Chain gusset strip:
- ch enough to match the height of one side, then sc across until you reach the desired depth (e.g., 3″)
- Make 1–2 strips and sew around the bottom and sides
Alternatively, single crochet in the round to build depth directly.
🔸 Step 3: Create the Flap
From the top of the back panel:
Row 1:
- Reattach yarn, sc across the width of the bag
- ch 1, turn
Repeat rows until flap is long enough to fold over the front (typically 6–8 inches)
Optional: Tapered Flap
- On each row, decrease 1 stitch at each edge (sc2tog), creating a triangle
Optional: Textured Flap
- Alternate rows of hdc and front-post/back-post dc for ribbing
🔸 Step 4: Add a Strap
Crochet Strap (Adjustable)
- ch 150–180 (for a crossbody strap)
- Row 1: sc in each chain, ch 1, turn
- Row 2–4: Repeat sc for a thick strap
- Attach to each side securely
Alternatives:
- Use a leather belt, cotton webbing, or purchased bag straps
- Sew or crochet small loops on the sides and clip the strap on
🔸 Step 5: Add a Closure (Optional)
- Button: Sew on center front, make a chain loop from flap to wrap around
- Magnetic snap: Sew into lining
- Zipper: Attach across top for extra security (advanced option)

🔸 Step 6: Line the Bag (Optional but Recommended)
Cut a piece of sturdy fabric (canvas, cotton, denim):
- Cut the same shape as your bag body and flap
- Sew side seams, fold top edge in
- Hand-sew or machine-sew lining into your bag using a slip stitch or invisible stitch
This prevents stretching and protects the yarn from heavy or sharp objects.
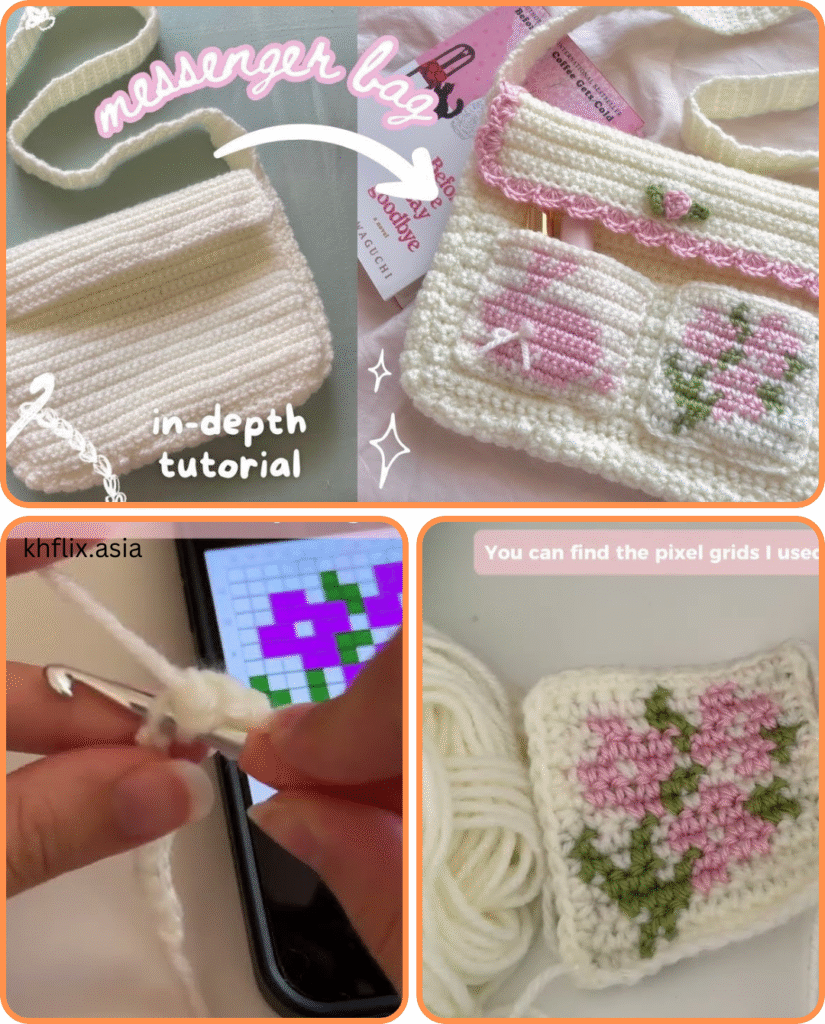
🎨 Design & Style Variations
| Style | Features |
|---|---|
| Boho | Tassels, fringe, earthy tones |
| Modern | Solid colors, clean lines, leather strap |
| Color block | Two-tone front and flap |
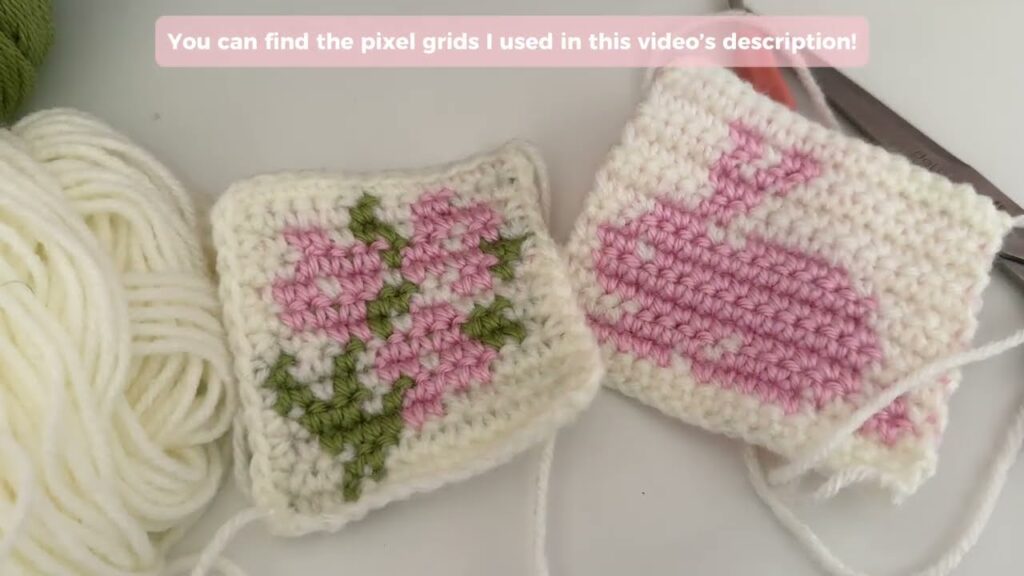
| Granny square | Classic squares stitched together |
| Striped | Rows of alternating yarn colors |
| Mesh | Openwork stitch for summer use |
🧼 Care Instructions
- Hand wash in cold water with mild detergent
- Lay flat to dry
- Avoid machine drying to prevent stretching or deformation
- Spot clean lining if possible
Video tutorial:
🧵 Final Thoughts
A crochet messenger bag is more than just a creative project—it’s a functional accessory you’ll reach for again and again. With basic stitches and a bit of planning, you can design a bag tailored to your life, your style, and your needs. Start simple, then level up with lining, flaps, and textured designs as your skills grow.


