The Beautifully Simple Square: Your Secret to a Stunning Crocheted Cardigan
Imagine wrapping yourself in a cozy, handmade cardigan that looks intricate but was surprisingly easy to create. The secret often lies in a beautifully simple crochet square. Forget complex stitch patterns or daunting shaping; by mastering one versatile square, you can piece together a stylish and comfortable cardigan that’s perfect for beginners and seasoned crocheters alike.
This article will guide you through the process of selecting the right square, offer a pattern for a classic and easy design, and explain how these simple squares can transform into a garment that looks far more complicated than it is.
Why Build a Cardigan with Simple Squares?
Using squares for a cardigan offers numerous advantages, especially for those new to garment making:
- Beginner-Friendly: You’re working on small, manageable pieces rather than a large, unwieldy fabric. This makes it less intimidating and easier to spot and fix mistakes.
- Portable Project: Squares are small, so you can easily carry your work with you and crochet a few rows whenever you have a spare moment.
- Great for Scraps: Got a stash of leftover yarn? This is the perfect project to use up those odds and ends, creating a unique, colorful cardigan.
- Creative Freedom: Mix and match colors and textures. Each square can be a mini canvas, allowing for endless design possibilities.
- Easy to Customize Size: Want a larger or smaller cardigan? Simply adjust the number of squares you make, or slightly alter the size of each square.
- Minimal Shaping: The squares do most of the work for you, reducing the need for complex increases or decreases often found in traditional garment patterns.
Choosing Your “Super Simple” Square
While there are many types of crochet squares, for a cardigan, you want something that’s easy to repeat, has a good drape, and isn’t too bulky. Here are a few excellent choices:
- Solid Single Crochet (SC) or Half Double Crochet (HDC) Square: This is perhaps the easiest. It creates a dense, warm fabric with clean lines. You simply chain a certain number, then work rows of SC or HDC until the piece is square.
- Solid Double Crochet (DC) Square: A bit lacier than SC or HDC, it works up faster.
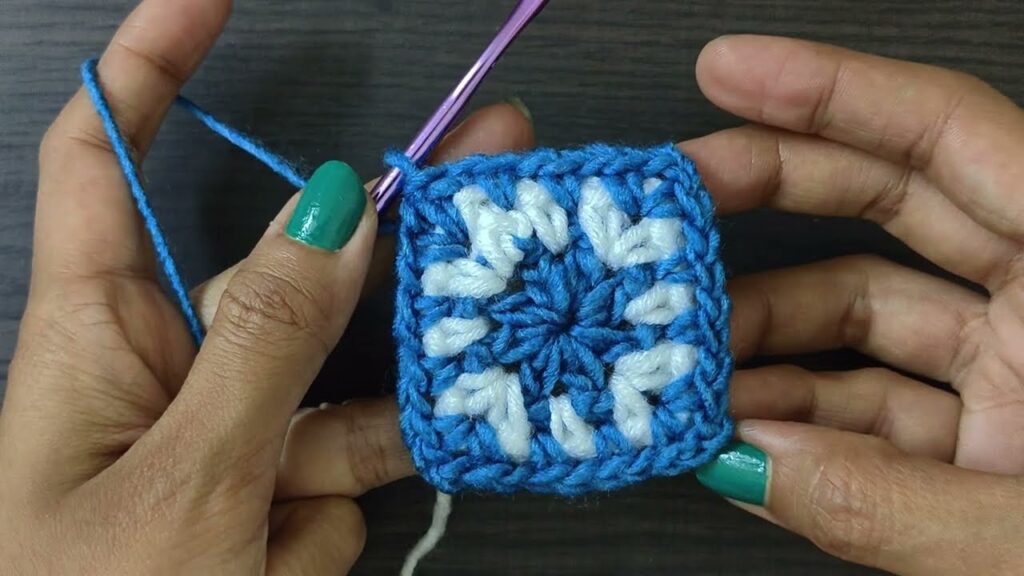
- Basic Granny Square: The classic. While it involves a little more understanding of clusters and spaces, it’s widely popular for a reason and creates a beautiful, open fabric.
For this guide, we’ll focus on a Solid Double Crochet (DC) Square as it offers a good balance of speed, drape, and simplicity.
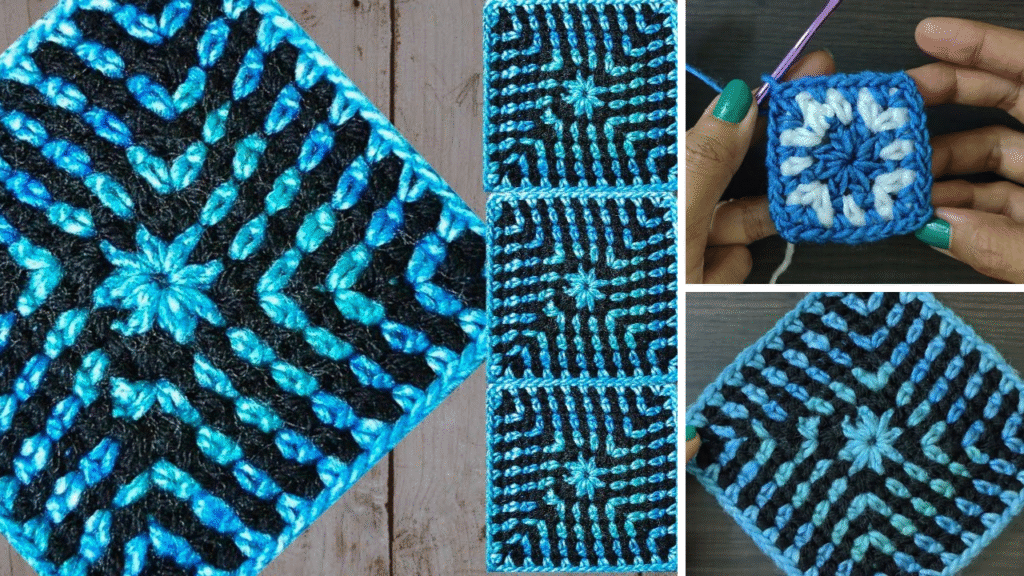
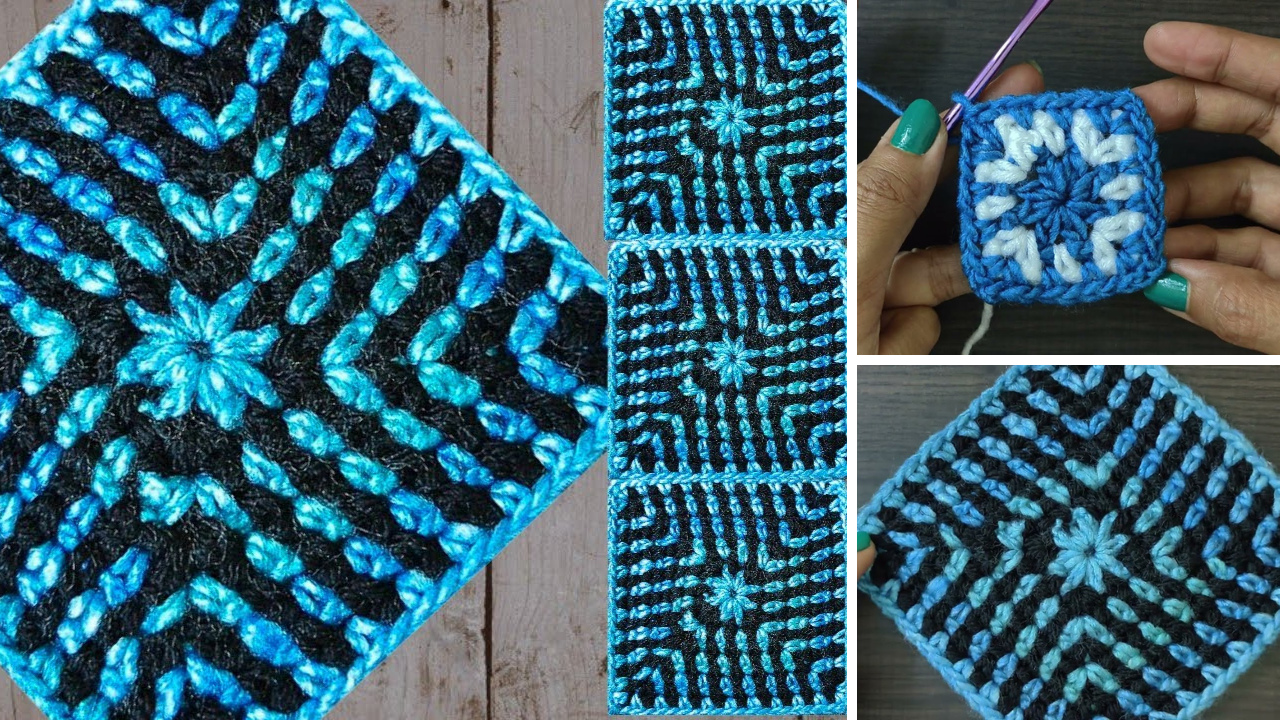
Project: The Beautifully Simple DC Square
Let’s make a square! This pattern will create a basic 6×6 inch square (size will vary based on your yarn and tension). You’ll need to make many of these to assemble your cardigan.
Materials You’ll Need:
- Yarn: Worsted weight (Aran) acrylic or wool blend is ideal for cardigans – soft, warm, and durable. Choose one or multiple colors!
- Crochet Hook: A 5.0mm (H/8) or 5.5mm (I/9) hook is typically good for worsted weight yarn, but check your yarn label for its recommendation.
- Scissors
- Yarn Needle (Tapestry Needle): For weaving in ends and seaming squares together.
Abbreviations:
- ch: Chain
- dc: Double Crochet
- st(s): Stitch(es)
- ch-sp: Chain space
- sk: Skip
- sl st: Slip Stitch
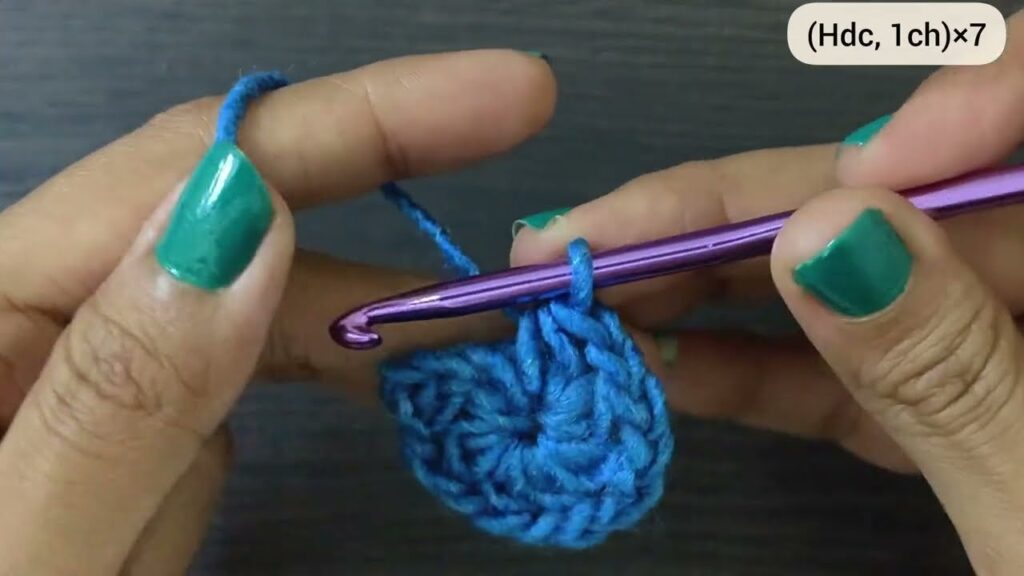
Instructions for One DC Square:
- Make a Slip Knot.
- Chain 26. (Adjust this number to change the size of your square. Remember, your first DC row will have 23 stitches if you start in the 4th chain from the hook.)
- Tip: A general rule of thumb for a DC square is that the number of starting chains minus 3 will be your stitch count per row.
- Row 1:
- Work 1 dc into the 4th chain from your hook. (The first 3 skipped chains count as your first dc of the row.)
- Work 1 dc into each remaining chain across the row.
- You should have 24 dc at the end of this row (including the initial ch-3 that counted as a dc).
- Chain 3 (ch 3) (this counts as your first dc for the next row).
- Turn your work.
- Row 2:
- Work 1 dc into the next stitch (the 2nd dc of the previous row).
- Work 1 dc into each dc across the row, working your last dc into the top of the beginning ch-3 from the previous row.
- You should have 24 dc.
- Chain 3 (ch 3).
- Turn your work.
- Repeat Row 2 until your square measures roughly the same height as its width. For a 6×6 inch square, you’ll likely need about 15-18 rows total.
- Continuously measure as you go. You want your square to be as even as possible.
- Fasten Off: Once your square is complete, cut your yarn, leaving about a 6-inch tail. Yarn over your hook, pull the tail completely through the loop on your hook, and pull tight to secure.
- Weave in Ends: Using your yarn needle, carefully weave in both the starting and ending tails into your square. Hide them securely within the stitches to prevent unraveling.
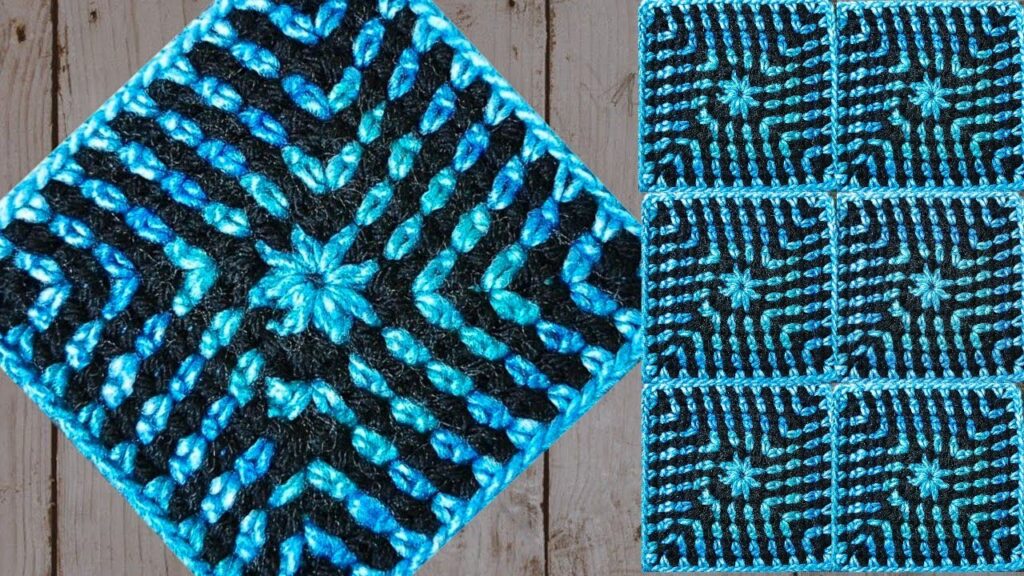
Assembling Your Cardigan (The Magic Happens Here!)
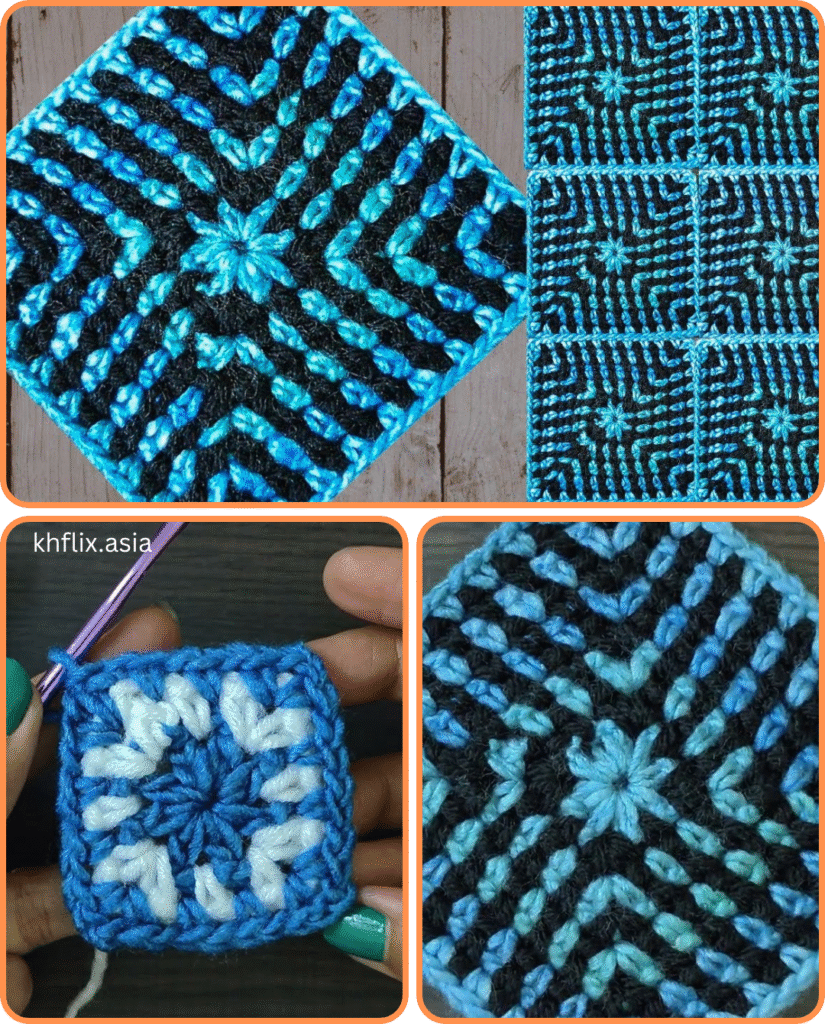
This is where your collection of simple squares transforms into a garment. The most common layout for a square cardigan is a “grid” approach.
1. Determine Your Cardigan Size & Square Count:
- Measure: Measure an existing cardigan you like the fit of, or measure yourself. Think about the desired width (around the bust/hips) and length (from shoulder to hip/thigh).
- Calculate: Divide your desired garment measurements by the size of your finished square.
- Example: If your square is 6 inches and you want a back panel that’s 24 inches wide and 24 inches long, you’ll need 4 squares across and 4 squares down (4×4 = 16 squares for the back).
- Common Layout: A typical square cardigan uses a layout similar to this:
- Back Panel: A large rectangle of squares (e.g., 4×4 or 5×5).
- Front Panels: Two smaller rectangles, one for each side (e.g., 2×4 or 2×5).
- Sleeves: Rectangles of squares that will be folded and seamed (e.g., 3×5 or 4×6, depending on desired sleeve width and length).
- Start by making enough squares for your desired back panel, then work on the front panels, and finally the sleeves.
2. Layout and Arrange Your Squares:
- Lay all your completed squares out on a flat surface (your floor or a large table) according to your desired cardigan shape. This is where you can experiment with color placement if you’re using multiple colors.
- Take a photo of your layout so you remember the arrangement!
3. Seaming Your Squares:
This is arguably the most crucial step for a professional-looking finish. There are several ways to join squares:
- Whip Stitch (Yarn Needle): This creates a strong, nearly invisible seam if done carefully. With your yarn needle and a long piece of yarn, simply stitch through the loops on the edge of two squares, back and forth, connecting them.
- Slip Stitch Join (Crochet Hook): This creates a flatter, sometimes slightly raised seam. Place two squares together with wrong sides facing. Insert your hook through both loops of both squares and make a slip stitch. Repeat across.
- Single Crochet Join (Crochet Hook): This creates a more defined, slightly raised seam. Same as the slip stitch join, but use single crochet stitches instead.
- Recommendation for Beginners: The Whip Stitch is often the easiest to master for a clean finish.
- Always join squares with the right sides facing each other if you want a nearly invisible seam, or with wrong sides facing if you want a raised, decorative seam on the outside.

4. Assembling the Cardigan Body:
- First, seam all the squares for your back panel together.
- Next, seam the squares for your front panels together.
- Then, join one front panel to one side of the back panel, and the other front panel to the other side. Leave openings for the armholes.
- Seam your sleeve squares into tubes.
5. Attaching Sleeves:
- Carefully attach the seamed sleeve tubes to the armholes of your main cardigan body. Center the sleeve seam with the side seam of the cardigan.
6. Adding Finishing Touches (Optional but Recommended):
- Edging: Once all squares are joined, you can add a simple border around the entire opening of the cardigan (front edges, neckline, bottom hem) and around the cuffs of the sleeves. A few rows of single crochet or half double crochet can give it a polished look and added stability.
- Pockets: Crochet two more squares and attach them to the front panels for functional pockets.
- Buttons/Buttonholes: If desired, add a button band and buttons.
Tips for Success
- Consistency is Key: Try to maintain consistent tension while crocheting each square. This will ensure they are all roughly the same size and make seaming much easier.
- Block Your Squares (Optional but Recommended): After crocheting all your squares, lightly dampen them and pin them to their exact measurements on a blocking mat. Let them dry completely. This will make your squares perfectly uniform, leading to a much neater finished garment.
- Weave in Ends as You Go: It’s tempting to leave all the weaving for the end, but you’ll thank yourself if you weave in the tails after each square is completed.
- Measure, Measure, Measure: Regularly measure your squares and your assembled pieces against your desired dimensions.
- Don’t Rush Seaming: Seaming is critical for a professional look. Take your time and use good lighting.
Building a cardigan from simple squares is a truly rewarding crochet journey. It’s a project that’s forgiving for beginners yet yields a stunning and customized garment you’ll be proud to wear. So grab your hook, choose your favorite yarn, and start creating your collection of beautifully simple squares!
Video tutorial:


