Crocheting a square is one of the most fundamental and versatile skills you can learn in crochet. It’s the building block for so many projects, from blankets to bags to garments. Let’s dive into a detailed, step-by-step guide on how to make a classic crochet square, perfect for beginners.
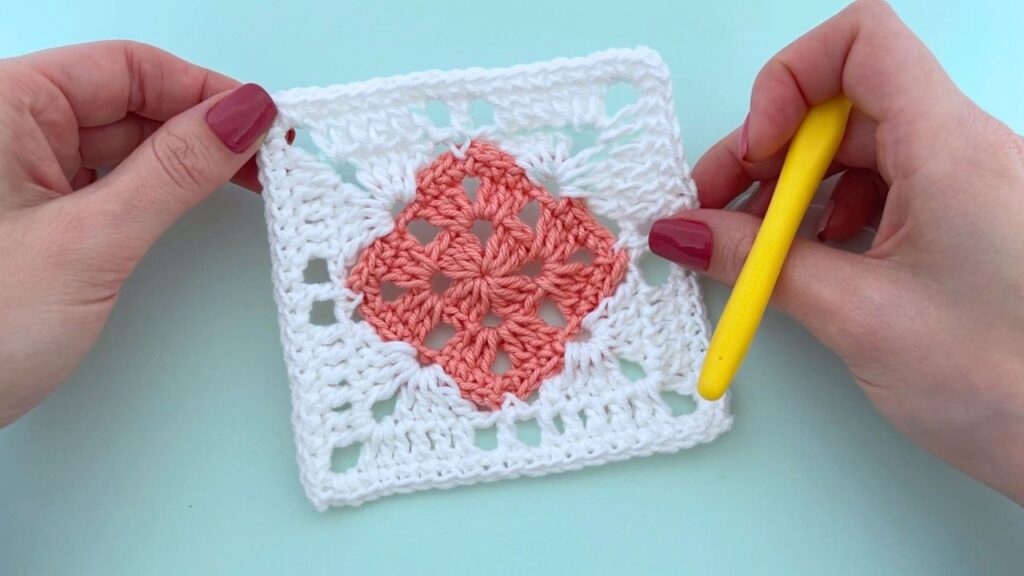
How to Make a Basic Crochet Square: Your Foundation for Endless Projects
The humble crochet square is far more than just a simple shape; it’s the gateway to a world of creative possibilities. Mastering the square means you can eventually make blankets, dishcloths, scarves, bags, and even garments by joining multiple squares together. For beginners, it’s an excellent way to practice fundamental stitches and learn how to create even edges and symmetrical shapes.
This tutorial will guide you through making a solid single crochet (sc) square, which is one of the easiest and most versatile types to master.
Why Start with a Crochet Square?
- Skill Building: You’ll practice chaining, single crochet, turning your work, and counting stitches – all essential crochet skills.
- Foundation for Larger Projects: Once you master this, you can make larger squares for blankets (like granny squares, though this is a different technique), or smaller ones for coasters or appliques.
- Great for Scraps: Use up those leftover bits of yarn!
- Quick and Satisfying: Even a small square works up relatively quickly, giving you a sense of accomplishment.
What You’ll Need
Gathering your supplies before you start will make the process much smoother.
- Yarn: Any type of yarn will work for practicing, but a worsted weight (Aran) acrylic or cotton yarn is a good starting point. It’s easy to see your stitches and forgiving for beginners. Pick a light color so your stitches are more visible.
- Crochet Hook: Check your yarn label for the recommended hook size. For worsted weight yarn, a 5.0mm (H/8) or 5.5mm (I/9) hook is often suitable.
- Scissors: For cutting your yarn.
- Yarn Needle (Tapestry Needle): Essential for weaving in your loose ends neatly.
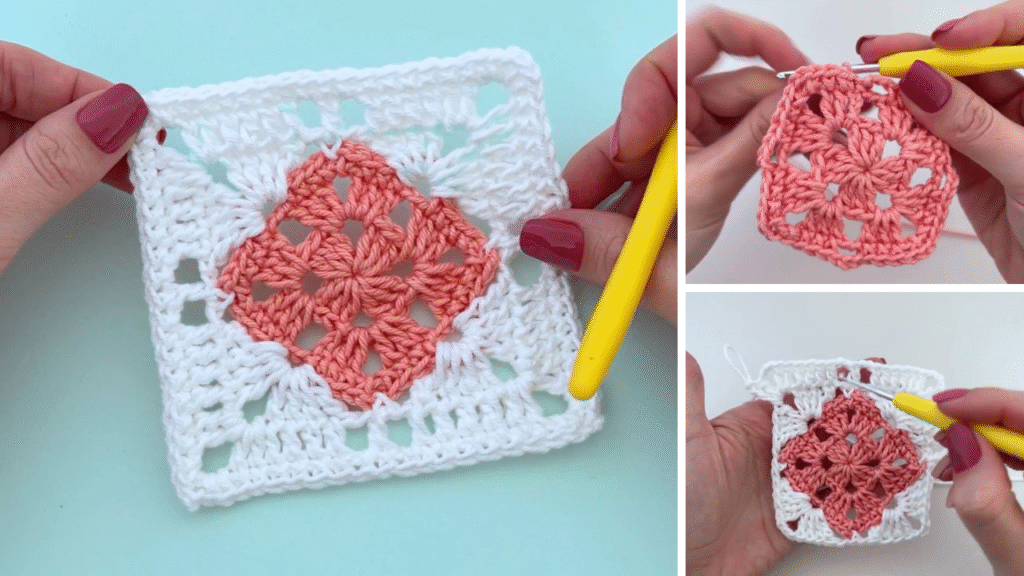
Understanding the Basic Stitches
Before we begin, let’s quickly review the stitches we’ll be using:
- Slip Knot: The very first knot you make to attach the yarn to your hook.
- Chain (ch): The foundation row of almost all crochet projects. To make a chain, yarn over (YO), pull hook through the loop on your hook.
- Single Crochet (sc): The most basic crochet stitch. To make a single crochet, insert hook into the stitch, yarn over (YO), pull up a loop (you’ll have 2 loops on your hook), YO, pull through both loops on your hook.
- Turning Chain: A chain stitch (or stitches) made at the end of a row before you turn your work to begin the next row. For single crochet, we use a ch 1 as the turning chain.
Step-by-Step Tutorial: Making a Single Crochet Square
We’ll make a small sample square that’s easy to handle. Once you get the hang of it, you can make it any size you like!
Step 1: Make a Slip Knot
- Make a loop with your yarn, ensuring the tail end is underneath the working yarn (the yarn coming from the ball).
- Insert your crochet hook into the loop from front to back.
- Catch the working yarn with your hook and pull it through the loop.
- Pull gently on both ends of the yarn (the tail and the working yarn) to tighten the knot onto your hook. Don’t make it too tight!
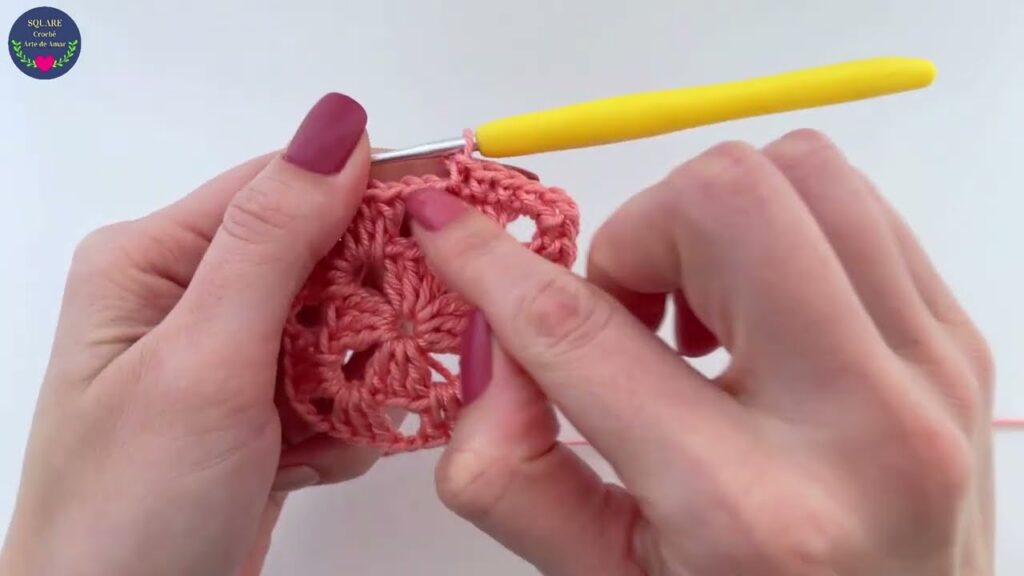
Step 2: Create Your Foundation Chain
This will determine the width of your square.
- Chain (ch) 16. (This number can be adjusted, but 16 stitches will give you a good practice square. This will result in 15 sc stitches in your first row.)
- Tip: Try to keep your chains even and not too tight, as you’ll be working into them in the next step.
Step 3: Work Your First Row of Single Crochet
This is where your square begins to take shape.
- Work 1 single crochet (sc) into the 2nd chain from your hook. (The loop on your hook doesn’t count as a chain. Count back two chains from your hook.)
- To do this: Insert your hook into the center of the 2nd chain, YO, pull up a loop (2 loops on hook), YO, pull through both loops.
- Work 1 sc into each remaining chain across the row.
- You should have a total of 15 sc stitches in this row.
- Tip: It’s a good habit to count your stitches at the end of each row to ensure your sides remain straight.
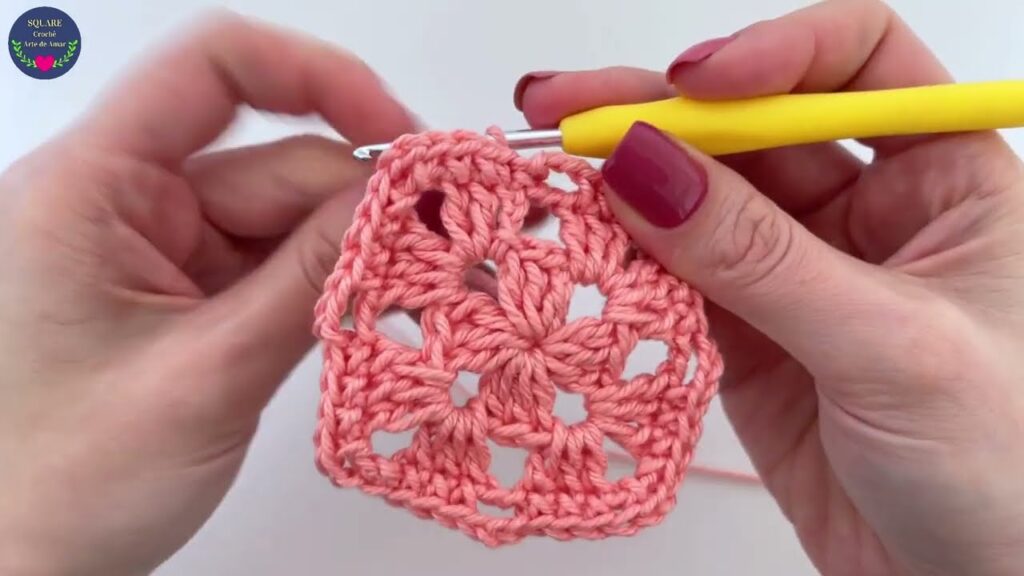
Step 4: Turn Your Work and Start the Next Row
This is how you build height.
- At the end of your first row, chain 1 (ch 1). This is your turning chain.
- Turn your work. This means flipping your piece over horizontally, so the hook is ready to work back along the row you just completed.
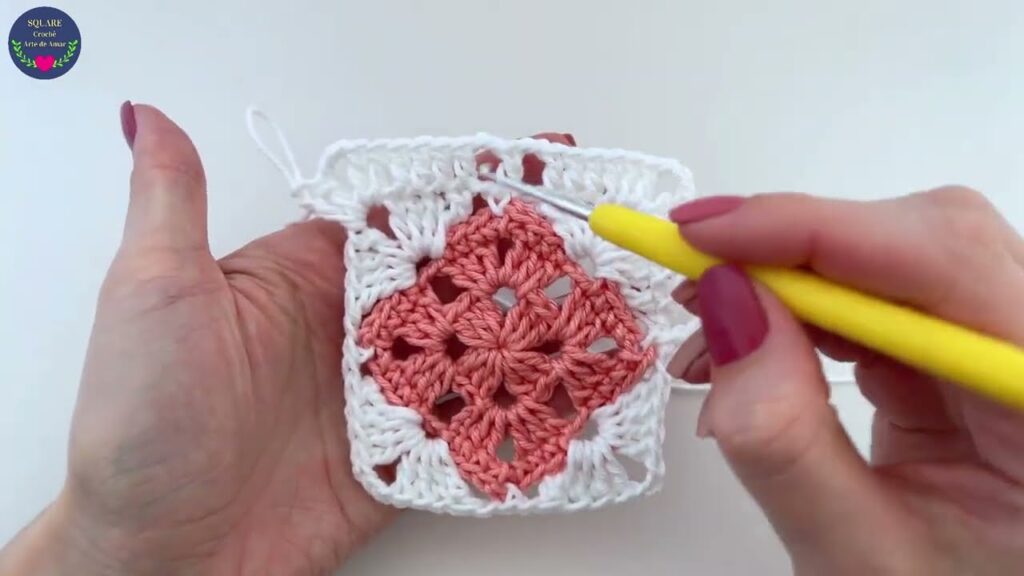
Step 5: Continue Working Single Crochet Rows
Repeat the process from Step 3 and 4 to build your square.
- Work 1 sc into the very first stitch of the row you just turned (the stitch directly below your turning chain).
- Work 1 sc into each remaining stitch across the row.
- You should still have 15 sc stitches in this row.
- At the end of the row, ch 1 and turn your work.
- Repeat these steps (working 1 sc in each stitch, ch 1, turn) for a total of 15 rows. This will give you a square that’s roughly equal in height to its width.
- Tip: To ensure straight edges, always remember to work your first sc into the very first stitch of the row, and your last sc into the turning chain of the previous row (if you can’t clearly see the last stitch, it’s often the one right before the turning chain).
Step 6: Fasten Off
Once your square is the desired size, it’s time to secure your work.
- After completing your final row, cut your yarn, leaving a tail about 6 inches (15 cm) long.
- Yarn over your hook with the tail.
- Pull the tail completely through the loop that is on your hook.
- Pull the tail firmly to tighten the knot and secure your last stitch.
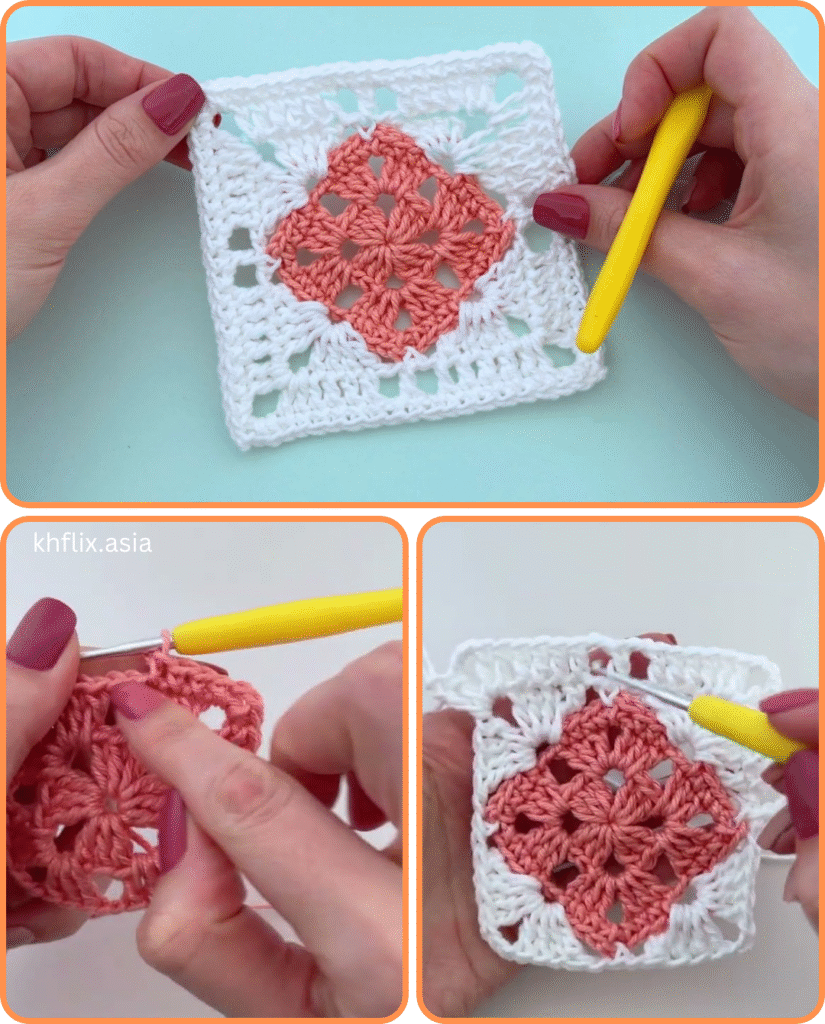
Step 7: Weave in the Ends
This final step makes your square look neat and prevents it from unraveling.
- Thread one of your yarn tails (the starting tail or the ending tail) onto your yarn needle.
- Carefully weave the tail through several stitches on the back side of your square. Go in one direction, then change direction and go back through a few stitches, making sure not to pull too tightly or distort the fabric.
- Repeat with the other yarn tail.
- Trim any excess yarn close to your work.
Common Beginner Questions & Tips
- Why are my edges wobbly? This is usually due to inconsistent counting (adding or skipping stitches) or not working your first/last stitch correctly. Always count your stitches at the end of each row!
- My stitches are too tight/loose. Practice makes perfect! Try adjusting your grip on the yarn and hook. A relaxed grip usually leads to more even stitches. If your fabric is too stiff, try a larger hook; if it’s too loose and holey, try a smaller hook.
- What’s the difference between working into “both loops” and “back loop only”? Unless a pattern specifies otherwise, always work into both loops of the stitch. Working into the back loop only (BLO) creates a ribbed texture.
- How do I make a bigger/smaller square? To change the size, simply adjust your starting chain (more chains for wider, fewer for narrower) and the number of rows you crochet (more rows for taller, fewer for shorter).
- Blocking (Optional): For a perfectly flat and even square, you can “block” your finished piece. Lightly dampen it, gently shape it to a square, and let it air dry flat.
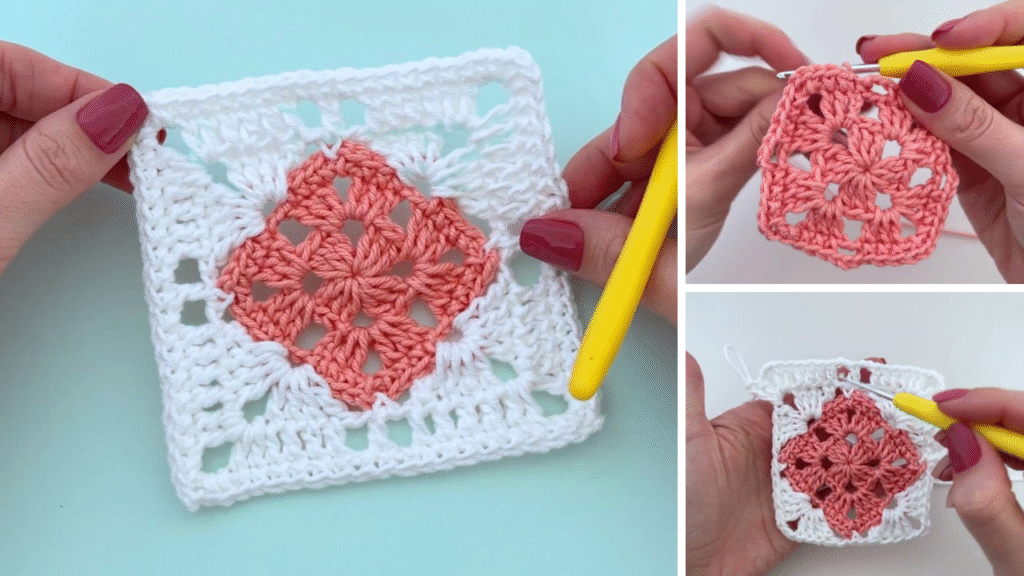
Congratulations! You’ve just crocheted your first square. This basic skill opens up a world of creative crochet projects. Keep practicing, and don’t be afraid to experiment with different yarn types and colors. Happy crocheting!
Video tutorial:


