The Instant Gratification Bag: Small Crochet Projects You Can Make Today!
There’s something incredibly satisfying about starting a crochet project and seeing it through to completion in a single day. For those moments when you crave instant gratification, or simply need a quick, thoughtful gift, a small crochet bag is the perfect answer. These miniature marvels are not only adorable but also incredibly versatile, serving as coin purses, earbud holders, gift card pouches, or even chic keychains.
This article will show you how to whip up a charming small crochet bag using basic stitches, making it an ideal project for beginners or anyone looking for a fun, fast make.
Why Small Bags Are Your Next Go-To Project
- Lightning Fast: Most small bags can be crocheted in 1-3 hours, perfect for a rainy afternoon.
- Beginner-Friendly: They primarily use foundational stitches like chain, slip stitch, and single crochet, building your confidence quickly.
- Stash Buster: Have a single lonely skein of yarn or a basket full of colorful scraps? This is the project to use them up!
- Endless Uses: From carrying essentials like earbuds or lip balm to holding small trinkets or presenting a gift card, these bags are surprisingly functional.
- Portable: Take your project anywhere. It’s small enough to fit in a purse or pocket.
What You’ll Need to Get Started
You likely have most of these items in your craft stash already!
- Yarn: Worsted weight (Aran) or DK (double knitting) cotton or acrylic yarn is perfect. Cotton provides good structure, while acrylic is soft and comes in a huge range of colors. You’ll only need a small amount—often less than half a skein.
- Crochet Hook: Check your yarn label for the recommended hook size. A 4.0mm (G/6) or 5.0mm (H/8) is common for worsted weight.
- Yarn Needle (Tapestry Needle): For neatly weaving in ends.
- Scissors: For cutting yarn.
- Stitch Marker (Optional but Recommended): Very helpful for marking the start of your rounds.
- Button, Zipper, or Drawstring (Optional): For closure.

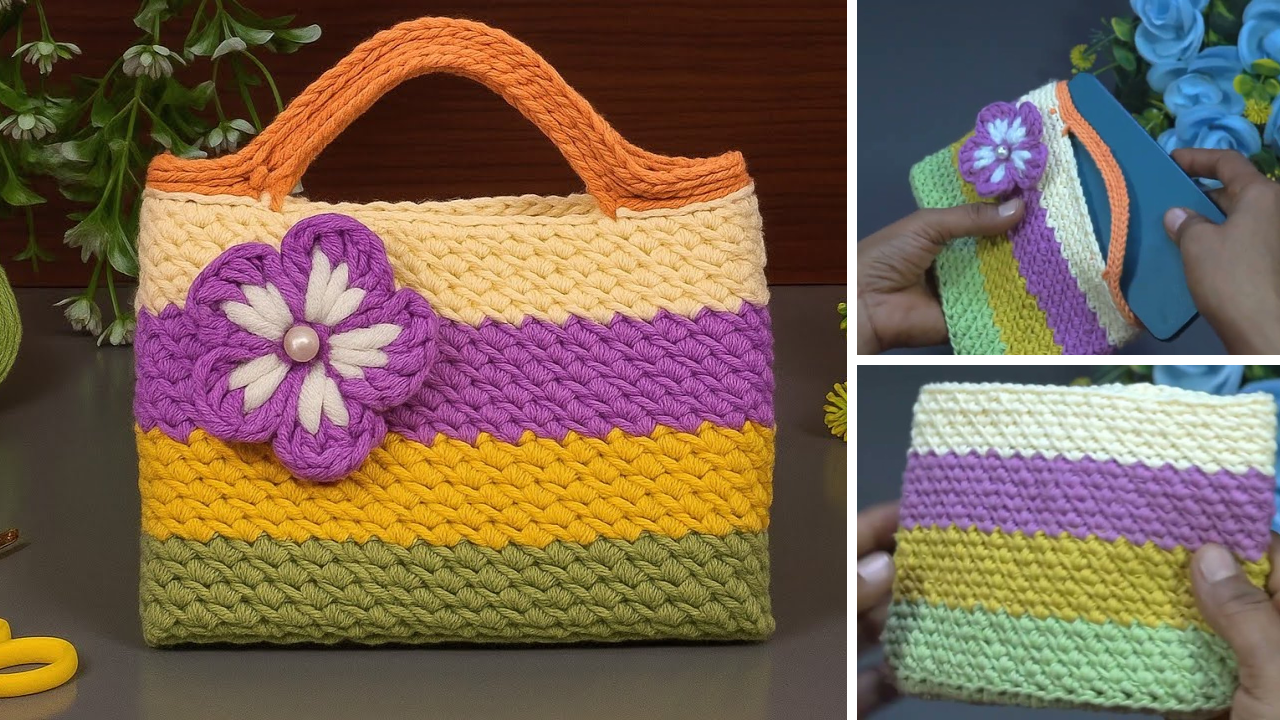
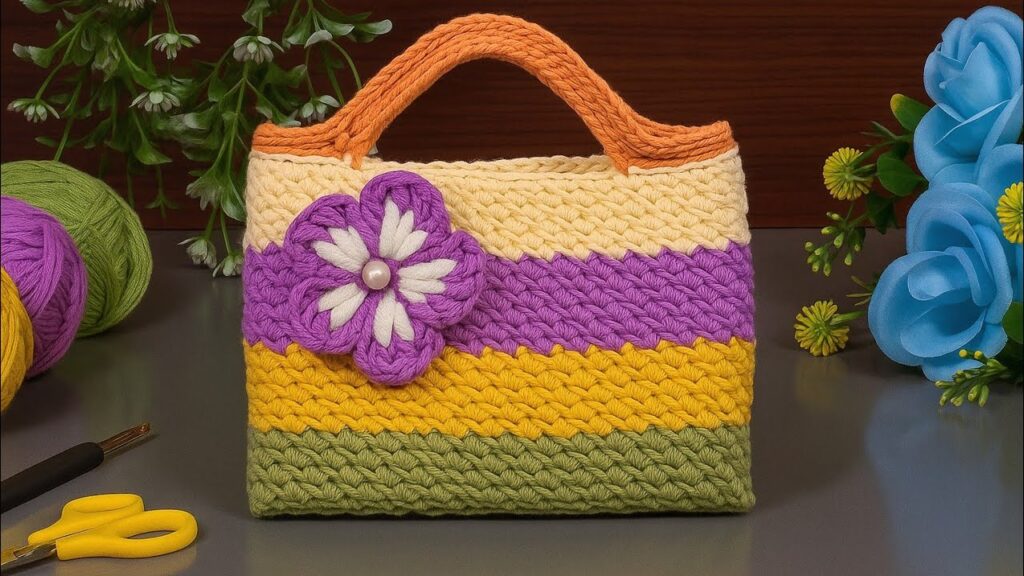
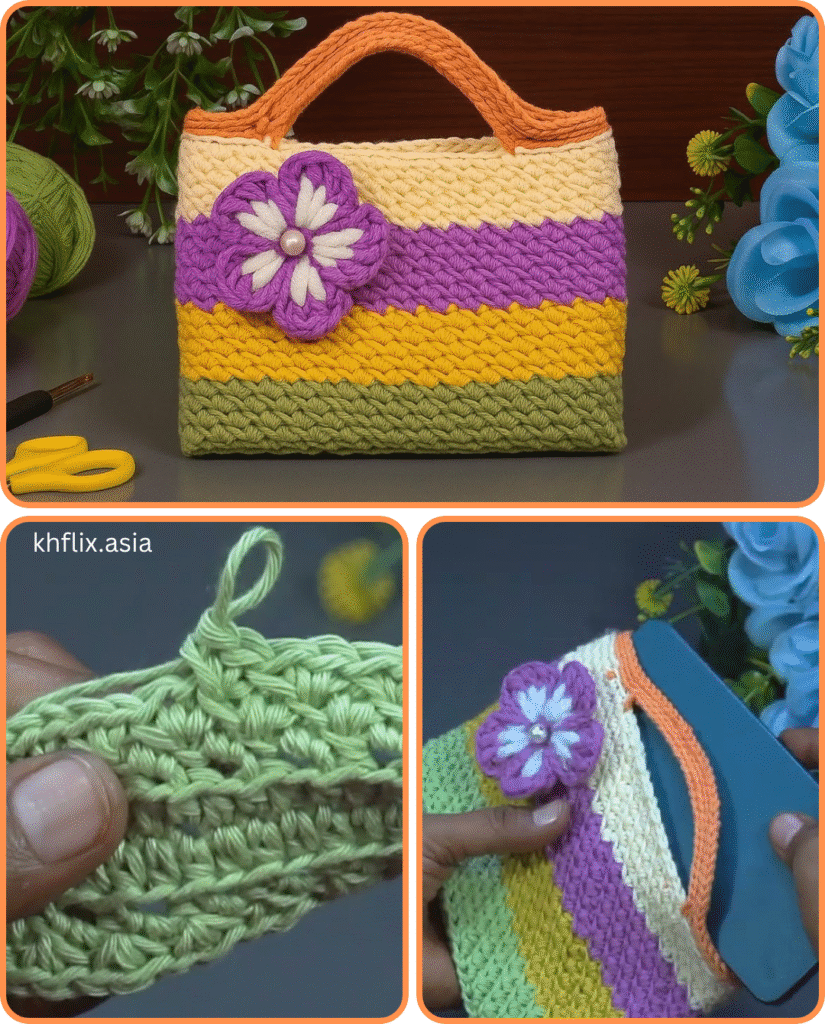
Project: Simple Single Crochet Pouch Bag
This pattern creates a basic, sturdy pouch. You can easily adjust its size and customize it with different closures or embellishments.
Abbreviations:
- ch: Chain
- sl st: Slip Stitch
- sc: Single Crochet
- BLO: Back Loop Only
- st(s): Stitch(es)
- FO: Fasten Off
Step 1: Create the Base
We’ll start with an oval base, which forms the bottom of your pouch.
- Chain (ch) 11. (This will create a small pouch roughly 4-5 inches long. Adjust this number to make your bag longer or shorter.)
- Round 1:
- Work 1 sc into the 2nd ch from your hook.
- Work 1 sc into each of the next 8 chains.
- In the very last chain, work 3 sc into that single stitch. This helps turn the corner smoothly.
- Now, working down the other side of your starting chain (into the back bumps), work 1 sc into each of the next 8 chains.
- Work 2 sc into the very first chain you crocheted into (where you made your first sc).
- Join with a sl st to the very first sc you made in this round.
- (You should have a total of 22 stitches around.)
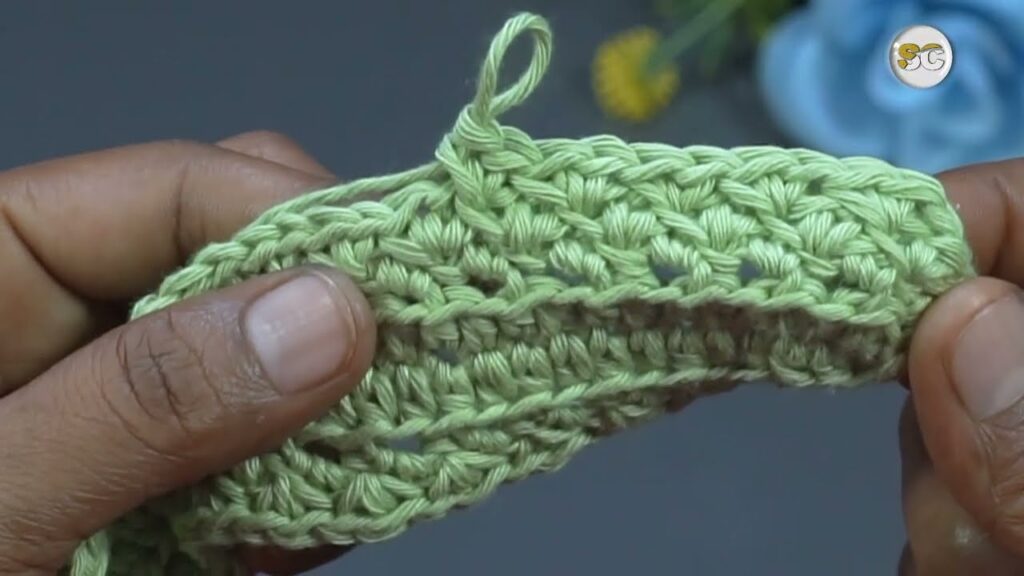
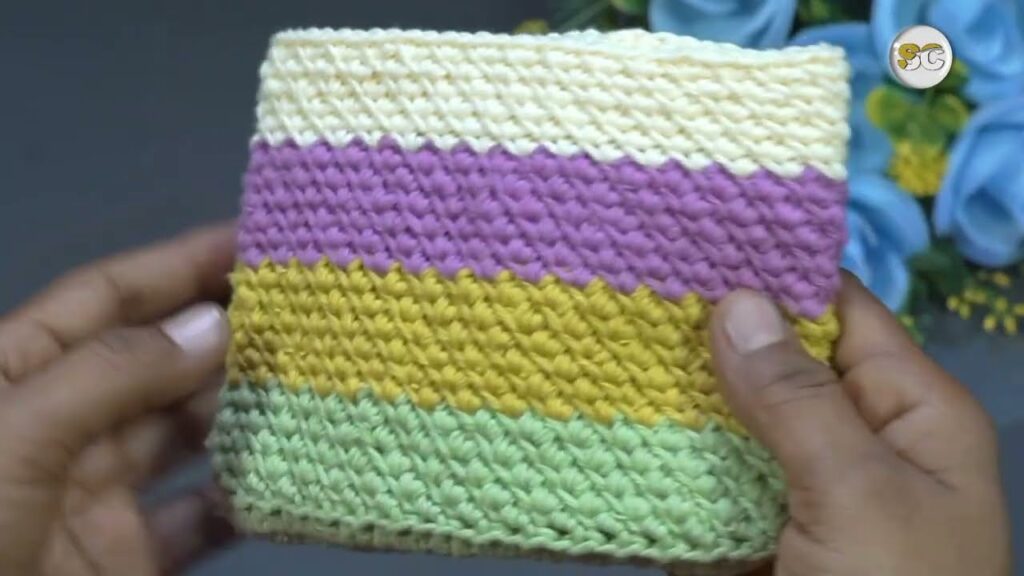
Step 2: Build Up the Sides of the Bag
This part creates the height of your pouch. We’ll work in continuous rounds for a seamless look.
- Round 2:Ch 1 (does not count as a stitch). Work 1 sc into the back loop only (BLO) of each stitch around. This creates a neat, defined edge at the base of your bag.
- Tip: Place a stitch marker in the first sc of this round to help you keep track of where each round begins, as you won’t be joining the rounds.
- Rounds 3 and Onward: Work 1 sc into both loops of each stitch around. Continue in a spiral until your bag reaches the desired height.
- For a small coin purse, 8-10 rounds total (including Round 2) should be enough. For a phone pouch, keep going until it’s tall enough to comfortably hold your phone.
Step 3: Finish the Top Edge (Optional but Recommended)
A simple border can give your bag a more polished look.
- Slip Stitch Round: Once your bag is the desired height, work 1 sl st into each stitch around the top edge.
- Join with a sl st to the very first sl st of this round.
- Fasten Off (FO): Cut your yarn, leaving a tail about 6 inches long. Yarn over, pull the tail completely through the loop on your hook, and pull tight to secure.
- Weave in Ends: Use your yarn needle to carefully weave in all loose ends on the inside of your bag.
Step 4: Add a Closure and Strap (Optional)
Now, customize your bag to suit its purpose!
- Simple Drawstring:
- Chain a length about twice the circumference of your bag’s opening (e.g., if your opening is 10 inches, chain about 20 inches).
- Weave this chain in and out through the stitches of the top round of your bag (every 2-3 stitches).
- Tie the ends in a knot or add beads.
- Button Closure:
- Button Loop: From the center back of the bag’s top edge, ch 8-12 (adjust to fit your button size). Sl st back into the same stitch or a nearby stitch to create a loop. Fasten off and weave in ends.
- Sew on Button: Sew a decorative button onto the front of the bag, aligning it with your button loop.
- Keychain Loop:
- From any top corner, ch 15-20. Sl st back into the same stitch or a nearby stitch to form a loop. Fasten off and weave in ends. Attach a split ring for keys or clips.
- Strap (for a mini cross-body or wristlet):
- Chain a long length for your strap (e.g., ch 60-80 for a wristlet, ch 120-150 for a cross-body).
- Sl st back down the chain, working into the back bumps, or work a row of sc back down the chain for a sturdier strap.
- Sew the ends of the strap securely to the sides of your bag with your yarn needle.
Tips for a Perfect Small Bag
- Gauge Isn’t Critical, but Consistency Is: Don’t stress too much about exact sizing, but try to keep your tension even throughout the project for a uniform look.
- Stitch Marker is Your Friend: It prevents you from losing your place when working in continuous rounds.
- Test the Fit: If making a phone or earbud holder, check the fit frequently as you build up the sides.
- Experiment with Yarn: Try different fiber types (e.g., cotton for sturdiness, velvet for softness) or variegated yarns for automatic color changes.
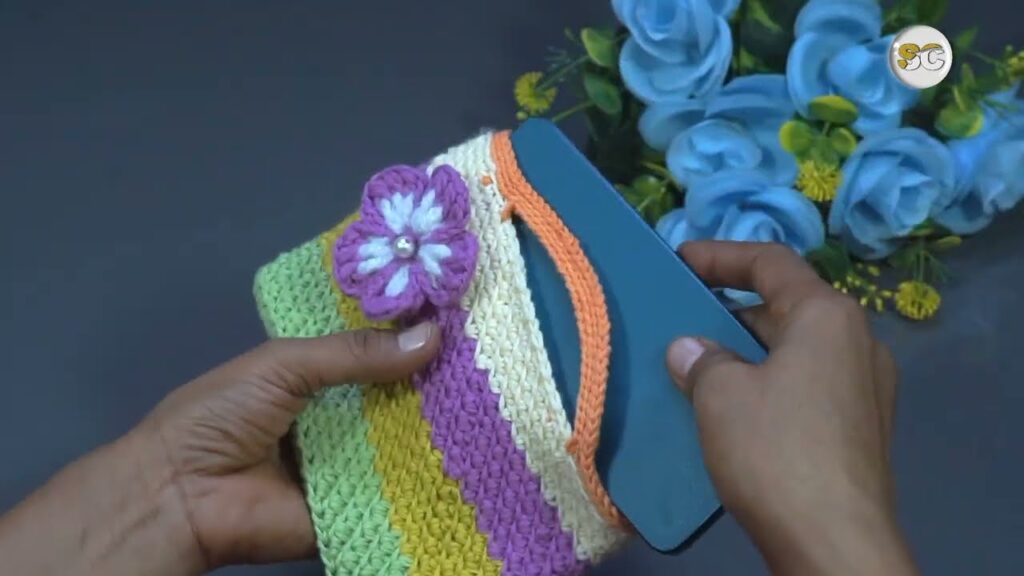
- Embellish! Sew on beads, sequins, or a small crocheted applique (like a flower or heart) for a personal touch.
You’ve done it! In just a short amount of time, you’ve created a functional and charming small crochet bag. These quick projects are not only great for practicing your skills but also provide a wonderful sense of accomplishment. What will you put in your new bag?
Video tutorial: