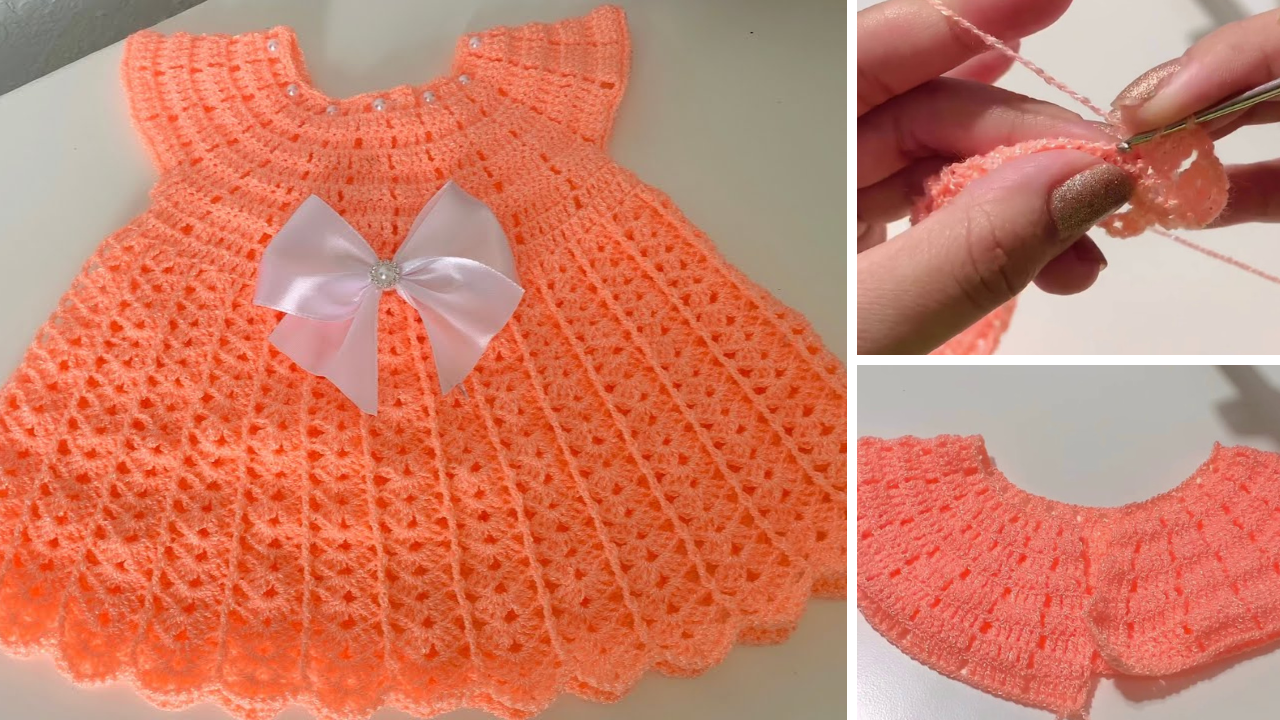
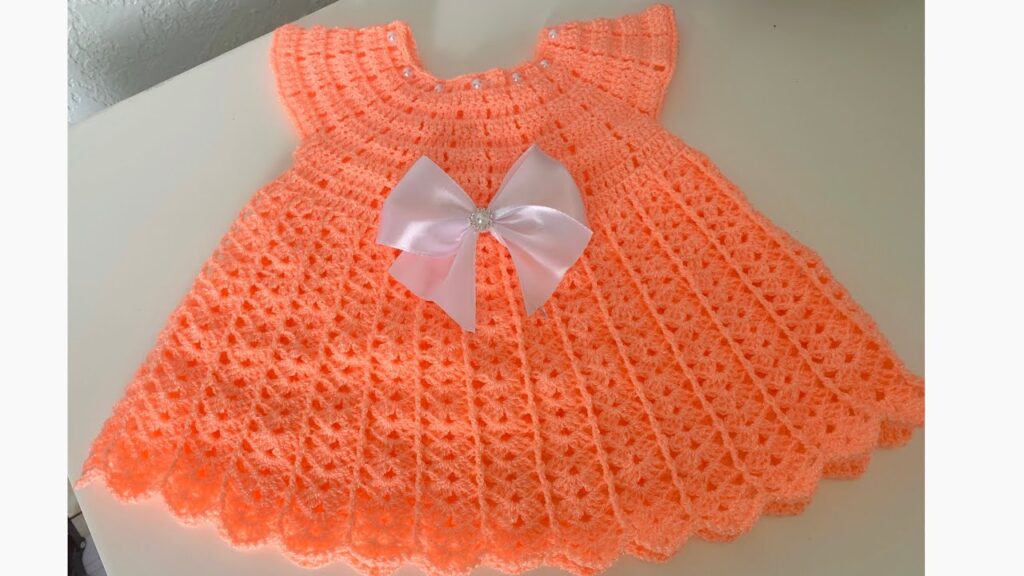
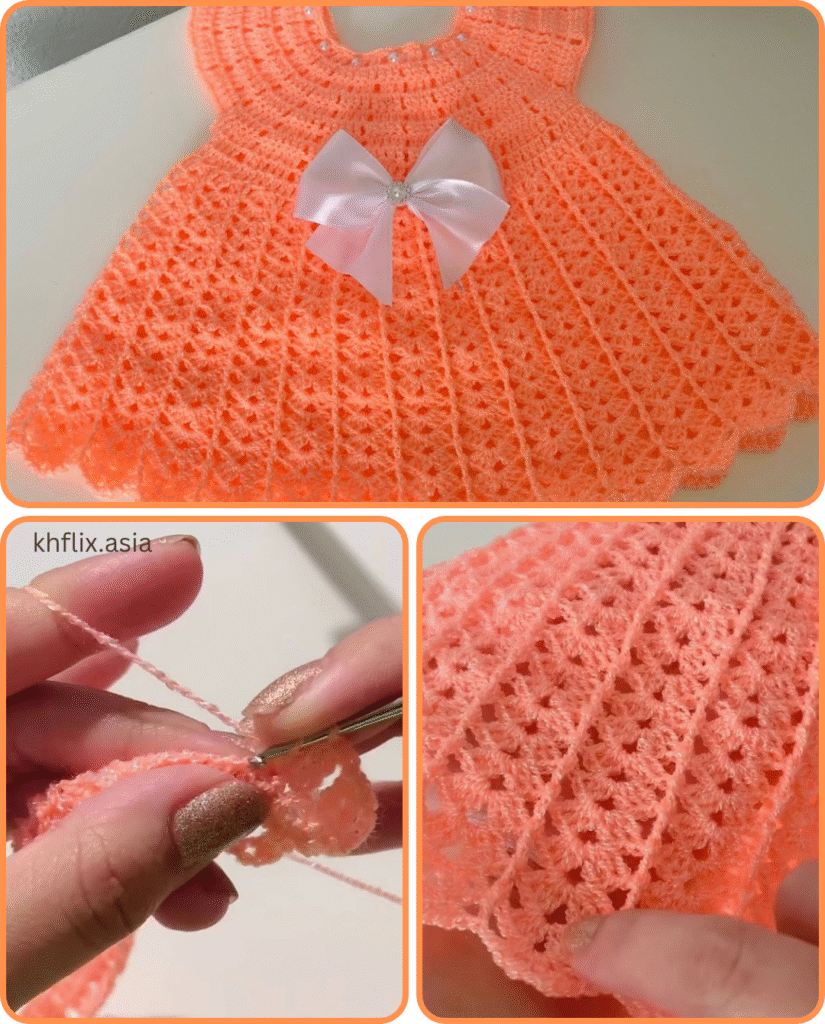
There’s something truly special about a handmade gift for a new arrival, and a crocheted baby dress is an heirloom in the making. This tutorial will guide you through creating an adorable and comfortable dress for a baby aged 0 to 3 months. We’ll focus on a simple yet charming design that’s perfect for beginners with basic crochet knowledge, but also enjoyable for more experienced crafters.
Why Crochet a Baby Dress?
- Heartfelt Gift: A handmade dress is incredibly personal and shows immense love and effort.
- Unique and Adorable: Create a one-of-a-kind garment that stands out from store-bought clothes.
- Customizable: Choose your own colors, add unique embellishments, and make it truly special.
- Skill Building: Practice fundamental crochet stitches and garment construction.
- Practical: Babies grow quickly, and small, handmade items are perfect for special occasions or daily wear.
What You’ll Need: Materials
Selecting the right materials is crucial for a baby garment – think soft, washable, and gentle on delicate skin.
- Yarn:
- Recommended: Baby yarn (DK weight / Light Worsted) is ideal. Look for yarns that are 100% acrylic, a soft cotton blend, or a blend specifically designed for babies (often labeled “baby soft”). These are typically machine washable and hypoallergenic.
- Quantity: Approximately 150-200 yards (135-180 meters) for the main color, and a small amount for a contrasting color if desired for trim or details.
- Crochet Hook:
- Recommended: 3.5mm (E/4) or 4.0mm (G/6) hook. Always check your yarn label for the recommended hook size. For baby garments, a slightly smaller hook can create a denser fabric, preventing tiny fingers from getting caught.
- Stitch Markers: 2-4 are helpful for marking turns and armholes.
- Tapestry Needle (Yarn Needle): For weaving in ends and sewing seams.
- Scissors: For cutting yarn.
- Buttons: (2-3) Small, flat buttons (approx. 0.5 inches or 1.25 cm) for the back closure.
- Measuring Tape: To check your gauge and garment size.
Crochet Stitches You’ll Use
This pattern uses fundamental crochet stitches. If you’re new to these, a quick online tutorial for each will be beneficial.
- Chain (ch): The foundation of your work.
- Slip Stitch (sl st): Used to join stitches and rounds, or move across stitches invisibly.
- Single Crochet (sc): A dense, sturdy stitch, often used for edgings or seams.
- Half Double Crochet (hdc): A good all-around stitch, creates a slightly looser fabric than sc.
- Double Crochet (dc): A taller stitch, creates a more open and drapey fabric, perfect for the skirt.
- Front Post Double Crochet (fpdc): Used for creating texture (optional, can be replaced with regular dc).
- Back Post Double Crochet (bpdc): Used for creating texture (optional, can be replaced with regular dc).
Gauge (Important!)
Achieving the correct gauge is crucial for garment sizing. If your gauge is off, your dress will be too big or too small.
- Work a swatch: Chain 15.
- Row 1: Hdc in 3rd ch from hook and in each ch across. Turn. (13 hdc)
- Row 2-5: Ch 2 (does not count as st), hdc in each st across. Turn.
- Measure a 4×4 inch (10×10 cm) square of your swatch.
- Target Gauge: Approximately 18 hdc and 12 rows = 4 inches (10 cm) using your chosen yarn and hook.
- Adjust: If your swatch is too small, use a larger hook. If it’s too large, use a smaller hook.
Pattern: Sweet Baby Dress (0-3 Months)
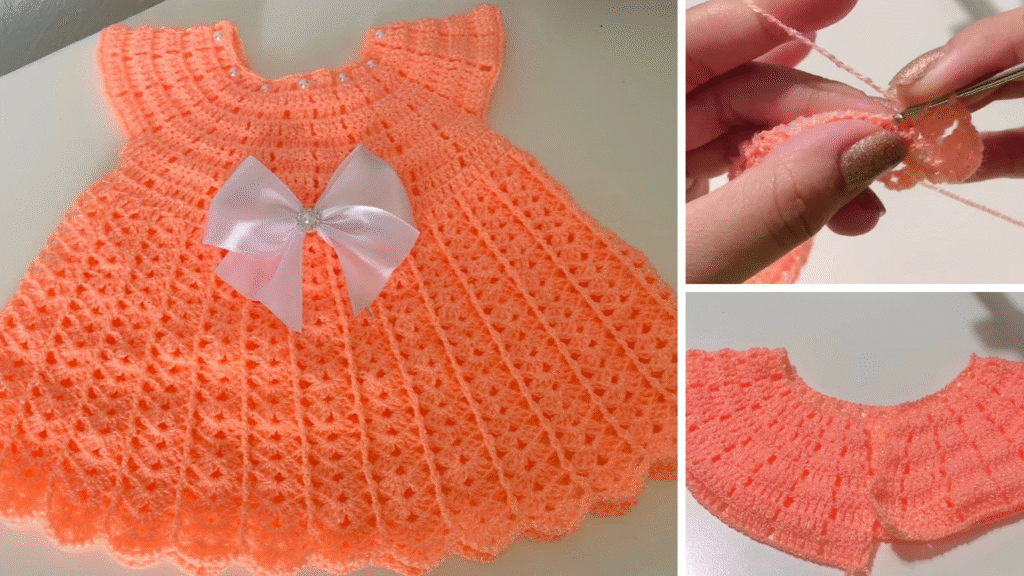
This pattern starts with the yoke, worked flat in rows, then joined to work the skirt in rounds.
Part 1: The Yoke (Top of the Dress)
The yoke is worked back and forth in rows to create the opening at the back for buttons.
Starting Chain: Ch 50. (This will be the neck opening. Make sure it’s not too tight for a baby’s head.)
Row 1: Hdc in 3rd ch from hook and in next 6 ch (7 hdc for first back panel). Place stitch marker in the 7th hdc. (ch 2, skip 0 ch – this will be your first corner for sleeve increase). Hdc in next 12 ch (12 hdc for first shoulder/sleeve). Place stitch marker in the 12th hdc. (ch 2, skip 0 ch – second corner). Hdc in next 12 ch (12 hdc for front panel). Place stitch marker in the 12th hdc. (ch 2, skip 0 ch – third corner). Hdc in next 12 ch (12 hdc for second shoulder/sleeve). Place stitch marker in the 12th hdc. (ch 2, skip 0 ch – fourth corner). Hdc in last 7 ch (7 hdc for second back panel). Turn. (Total 50 hdc + 4 ch-2 spaces)
Understanding the setup:
- 7 hdc (Back Panel 1)
- Ch 2 (Corner 1)
- 12 hdc (Sleeve 1)
- Ch 2 (Corner 2)
- 12 hdc (Front Panel)
- Ch 2 (Corner 3)
- 12 hdc (Sleeve 2)
- Ch 2 (Corner 4)
- 7 hdc (Back Panel 2)
Row 2: (Increase Row) Ch 2 (does not count as st here and throughout). Hdc in each hdc until you reach the first ch-2 space. (Hdc, ch 2, hdc) in the ch-2 space. Repeat (Hdc in each hdc until next ch-2 space, (hdc, ch 2, hdc) in ch-2 space) three more times. Hdc in each remaining hdc to end of row. Turn.
- You will have increased by 8 hdc in this row (2 hdc in each of the 4 corner spaces).
Row 3-6: Repeat Row 2. (You will have 5 increase rows in total if you include Row 2, 3, 4, 5, 6).
- After Row 6, your yoke should measure approximately 3.5-4 inches from the top to the bottom of the yoke.
- The hdc count will increase by 8 stitches each row:
- Row 1: 50 hdc
- Row 2: 58 hdc
- Row 3: 66 hdc
- Row 4: 74 hdc
- Row 5: 82 hdc
- Row 6: 90 hdc
Divide for Armholes (Joining the Yoke):
Next Row: Ch 2. Hdc in each hdc until you reach the first ch-2 space. (Hdc in ch-2 space – or simply skip the ch-2 space, your choice, a single hdc is fine for a smaller armhole). Skip all hdc stitches for the first sleeve. (Hdc in next ch-2 space). Hdc in each hdc across the front panel until you reach the next ch-2 space. (Hdc in ch-2 space). Skip all hdc stitches for the second sleeve. (Hdc in next ch-2 space). Hdc in each hdc across the second back panel to the end of the row. Do not turn.
- Count your stitches for the main body of the dress. You should have around 50-54 hdc depending on whether you put an hdc in the ch-2 spaces or skipped them entirely.
Joining for the Round: You are now at the end of the second back panel. Chain 1. Join with a sl st to the first hdc of the row (the beginning of the first back panel). You have now formed a round for the body of the dress.

Part 2: The Skirt
The skirt will be worked in rounds. We’ll start with a textured stitch or a simple double crochet pattern.
Round 1: Ch 2. Dc in each hdc around. Join with a sl st to the top of the first dc. (50-54 dc)
Round 2: (Increase Round for Flare) Ch 2. Dc in next 4 stitches, 2 dc in next stitch. Repeat from * to * around. Adjust the final grouping if necessary so that increases are somewhat evenly spaced. Join with a sl st to the top of the first dc.
- This will give your skirt a gentle flare. You can do more or fewer increases depending on how full you want the skirt.
Round 3 – 15 (or until desired length): Ch 2. Dc in each dc around. Join with a sl st to the top of the first dc.
- Continue crocheting in dc rounds until your skirt reaches the desired length for a 0-3 month baby (typically about 8-9 inches from shoulder to hem).
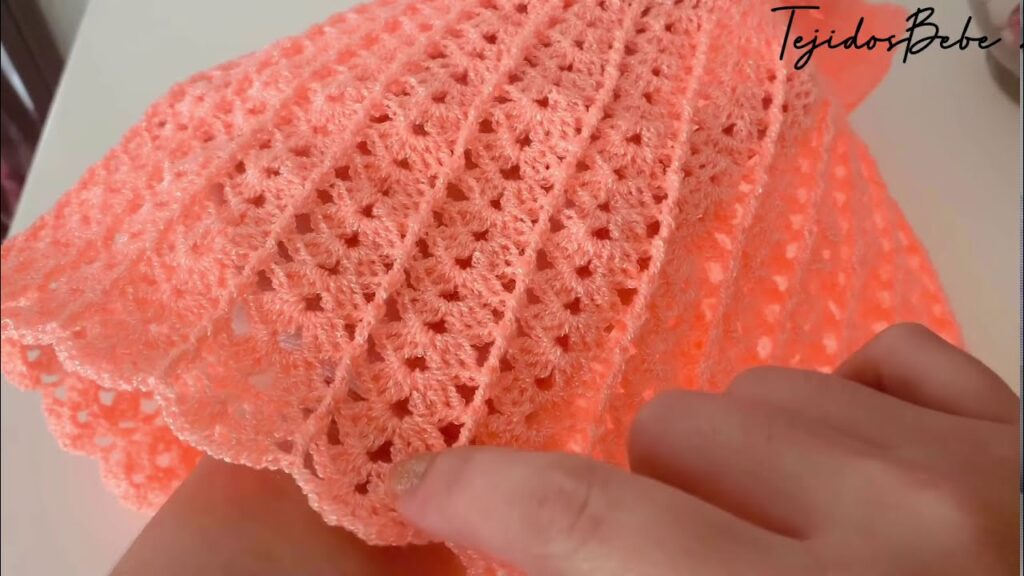
- For a decorative edge or a textured skirt, you can alternate dc rounds with rows of fpdc/bpdc or shell stitches. For example, for a textured skirt:
- Textured Round: Ch 2. Fpdc around the next dc, bpdc around the next dc. Repeat from * to * around. Join with a sl st. (This creates a ribbed look).
- Shell Stitch Skirt: Replace some dc rows with shell stitch pattern.
- Shell Stitch: (2 dc, ch 1, 2 dc) in the same stitch, skip 3 stitches. Repeat around.
Final Round (Optional edging for the hem): Ch 1. Sc in each dc around. Join with a sl st to the first sc. Fasten off.
Part 3: Finishing Touches
- Weave in all loose ends using your tapestry needle. Take your time to do this neatly for a professional finish.
- Back Opening Edging & Buttonholes:
- Join yarn with a sl st at the bottom corner of one back panel.
- Row 1 (Sc edging): Ch 1. Work sc stitches evenly up the raw edge of the back panel (approx. 1 sc per row). Work 2 sc in the corner stitch at the neckline. Work sc evenly along the back of the neck chain. Work 2 sc in the next corner. Work sc evenly down the other back panel edge. Fasten off.
- Buttonholes: Rejoin yarn at the top corner of one back panel (the one that will overlap on top). Ch 1. Sc in the first 2 stitches. Ch 2, skip 2 stitches (first buttonhole). Sc in next few stitches. Ch 2, skip 2 stitches (second buttonhole). Sc to the end. Fasten off. Adjust placement and number of buttonholes based on your buttons.
- Button Side: Rejoin yarn at the top corner of the other back panel. Ch 1. Sc in each stitch along the back panel edge, along the neck edge, and down the other back panel edge. Fasten off.
- Attach Buttons: Sew the small buttons onto the back panel without the buttonholes, aligning them with the buttonholes you created.
- Armhole Edging (Optional but Recommended):
- Join yarn with a sl st at the bottom of an armhole.
- Ch 1. Work sc stitches evenly around the armhole opening (approx. 1 sc per hdc and 2 sc in the armpit area where the ch-2 spaces were). Join with a sl st. Fasten off.
- Repeat for the other armhole.
Care Instructions for Your Crochet Baby Dress
- Check Yarn Label: Always refer to your specific yarn’s care instructions first.
- Machine Wash Gentle: Most baby yarns are machine washable on a gentle cycle with cold water.
- Lay Flat to Dry: To maintain shape and prevent stretching, gently reshape the dress and lay it flat on a clean towel to air dry. Avoid hanging.
- No Bleach: Do not use bleach or harsh detergents.
Tips for Success
- Read Through First: Always read the entire pattern before you begin.
- Stitch Markers: Use them religiously, especially at the start of rounds and to mark corner spaces in the yoke.
- Count Your Stitches: Double-check your stitch count at the end of each row/round, especially in the yoke, to ensure your dress is symmetrical.
- Yarn Over Method: If you find your hdc or dc stitches have gaps, try the yarn over (YO) method where you yarn over, insert hook, yarn over, pull through, yarn over, pull through all loops.
- Take Breaks: Crocheting for long periods can lead to hand fatigue. Take breaks and stretch your hands.
- Have Fun! Enjoy the process of creating something beautiful for a precious little one.
With these detailed steps, you’re well on your way to crocheting a beautiful and cherished baby dress. Happy crocheting!
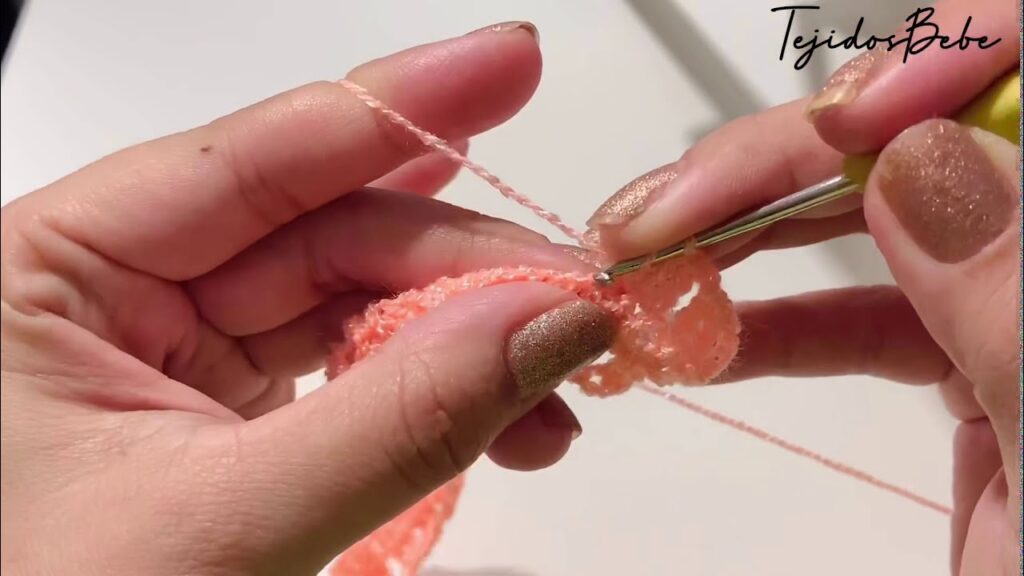
Video tutorial:


