
Crochet hair bands are the perfect mix of function and fashion. They’re trendy, customizable, and incredibly simple to make—even if you’re brand new to crochet. In this guide, we’ll show you how to make a very easy and stylish crochet hair band, using basic stitches and minimal materials. You can wear it as an everyday accessory, pair it with your outfits, or give it as a thoughtful handmade gift.
💖 Why Crochet a Hair Band?
- Beginner-friendly
- Quick to make – perfect for last-minute gifts
- Uses very little yarn – ideal for scrap yarn
- Customizable – choose any color, width, or embellishment
- Functional & fashionable – keeps hair neat while adding style
🧶 Materials You’ll Need
- Yarn:
- Cotton or soft acrylic yarn (Worsted weight / #4) is ideal
- Crochet hook: 4.0 mm (G) or 4.5 mm (US 7)
- Elastic hair band (optional, for added stretch)
- Yarn needle
- Scissors
- Tape measure

🪡 Stitches You’ll Use (US Terms)
- Chain (ch)
- Single Crochet (sc)
- Half Double Crochet (hdc)
- Double Crochet (dc) (optional, for texture)
All the stitches used here are beginner-level, yet they can be combined in stylish ways.
📏 Size & Fit
You can adjust the band’s length to fit any head size:
- Child: 16–18 inches (40–46 cm)
- Teen/Adult: 19–22 inches (48–56 cm)
Make your band 1–3 inches shorter than the actual head circumference so it fits snugly and stretches comfortably.
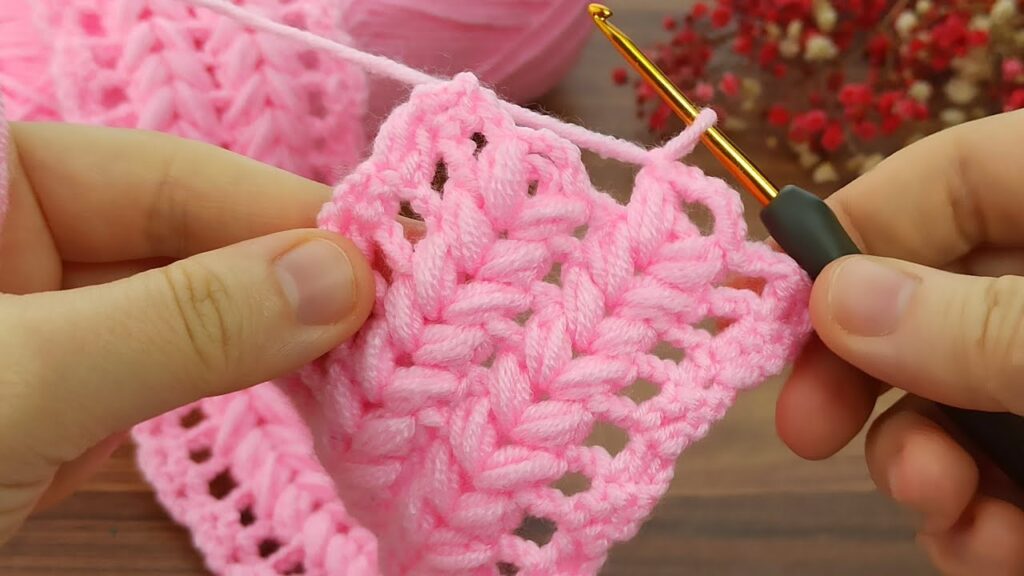
✂️ Very Easy Crochet Hair Band Pattern (Basic & Stylish)
🔸 Option 1: Simple Ribbed Hair Band (Stretchy & Textured)
This version uses back-loop-only half double crochet (BLO hdc) to create a stretchy ribbed texture—simple yet very fashionable!
Instructions:
- Ch 11 (for a ~2-inch wide band; adjust for thinner or wider)
- Row 1: Hdc in 2nd ch from hook and across. (10 hdc)
- Row 2: Ch 1, turn. Hdc in back loop only across. (10 BLO hdc)
- Repeat Row 2 until the band wraps snugly around the head (about 17–20 inches for adults).
- Fasten off, leaving a long tail.
- Use the yarn needle to sew the short ends together to form a loop.
- Optional: Add a wrap around the seam to create a knot-style or bow-like finish.
✅ Styling tip: Wear it with your hair down or pulled back for a trendy, casual look.
🔸 Option 2: Flat & Fashionable Single Crochet Band
This is the easiest version—great for complete beginners.
- Ch 6–10 (depending on how wide you want the band)
- Sc in 2nd ch from hook and across.
- Ch 1, turn. Sc in each stitch across.
- Repeat until your band reaches the desired length (measure on your head).
- Join the ends with slip stitches or sewing.
- Fasten off, weave in ends.
✅ Optional: Decorate with buttons, flowers, or beads.
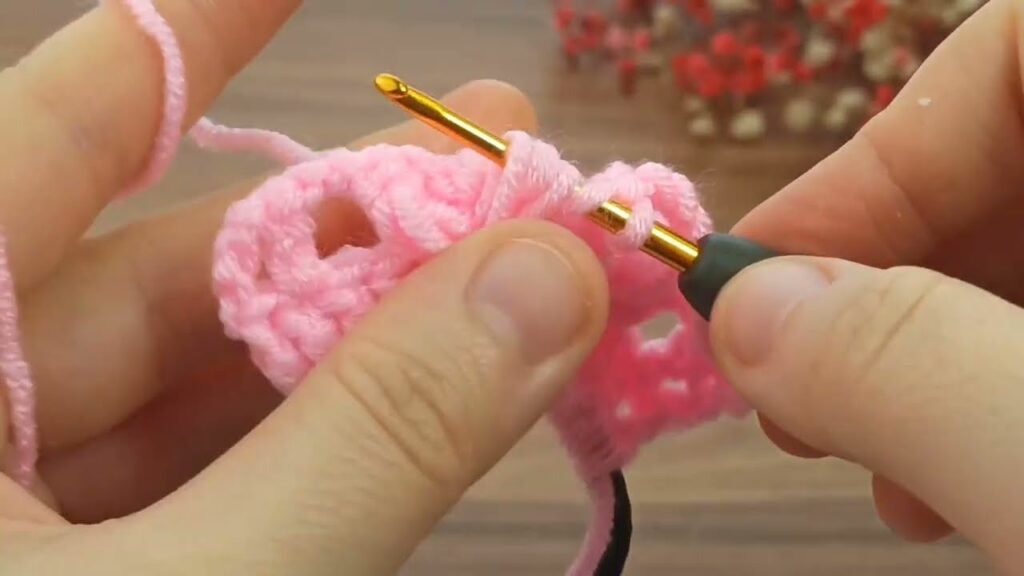
🔸 Option 3: Lacy & Feminine Band with Shell Stitch
Perfect for a dressy look or summer accessory.
- Ch a multiple of 6 + 2 (e.g., 38 ch for a 20″ band)
- Row 1: Sc in 2nd ch from hook and across.
- Row 2: Ch 3, skip 2 sts, 5 dc in next st (shell), skip 2 sts, sc in next—repeat across.
- Row 3: Ch 3, turn. Work shells into scs and sc into the center of each shell.
- Continue until the band reaches the desired length. Fasten off and join ends.
✅ Styling tip: Ideal for summer outfits or boho looks!

🎨 Customization Ideas
- Color Blocks: Change yarn colors mid-way for a two-tone effect.
- Buttons or bows: Sew a small bow or button over the seam for decoration.
- Flowers or motifs: Crochet a small flower and attach it to one side.
- Add elastic: If you want a snug fit without measuring exactly, join ends around an elastic hair tie.
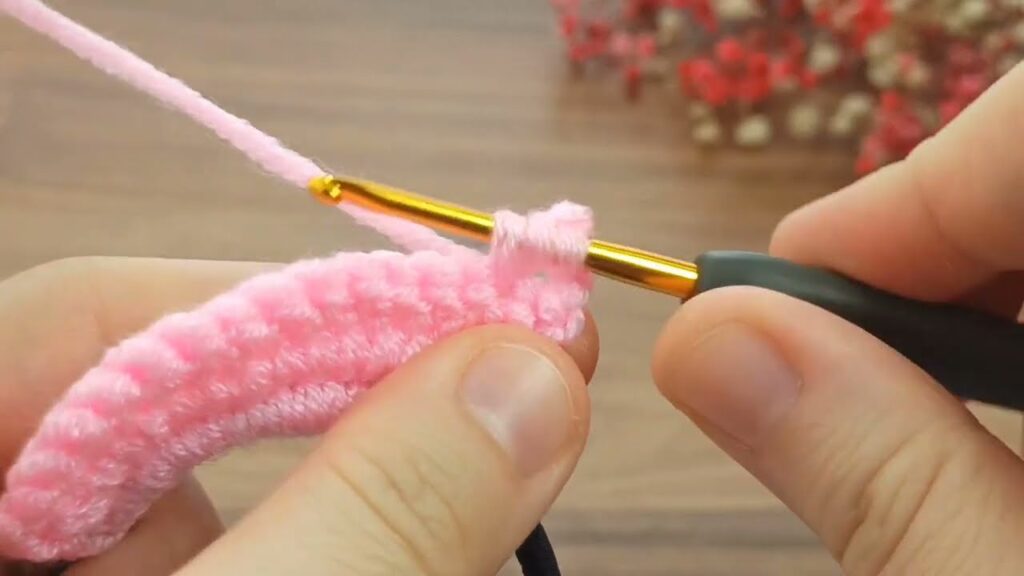
🧵 How to Sew the Ends (Invisible Join Method)
- Fold the band with right sides facing each other.
- Use your yarn needle and the long tail to whipstitch the ends together.
- Flip the band right-side out.
- Wrap a small yarn strip around the seam and stitch it in place to hide the join (optional but stylish).
🧡 Tips for Success
- Use cotton or blended yarn to avoid too much stretch or slippage.
- Don’t crochet too loosely—firm stitches help hold shape better.
- Block the band if needed to lay flat and smooth.
- Measure as you go for the best fit.

🎁 Perfect for Gifting
Crocheted hair bands are great handmade gifts. Make a variety of colors and sizes for:
- Birthdays
- Baby showers
- Bridesmaid gifts
- Stocking stuffers
- Market stalls or small business
🧶 Conclusion
Making a very easy and stylish crochet hair band is a fun, fast, and creative project for crocheters of all skill levels. With just a few basic stitches and a bit of yarn, you can whip up a beautiful accessory that’s both practical and fashionable.
So pick your yarn, grab your hook, and crochet your way to effortless style—one hair band at a time!
Video tutorial:


