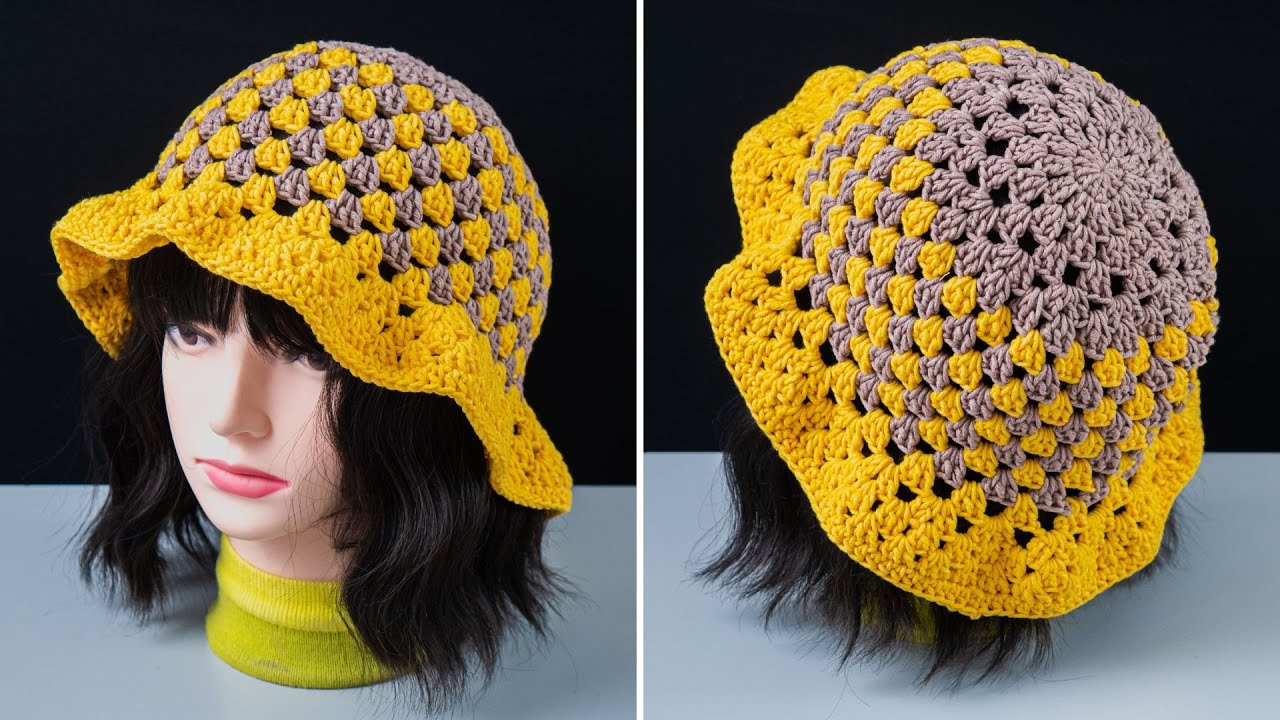
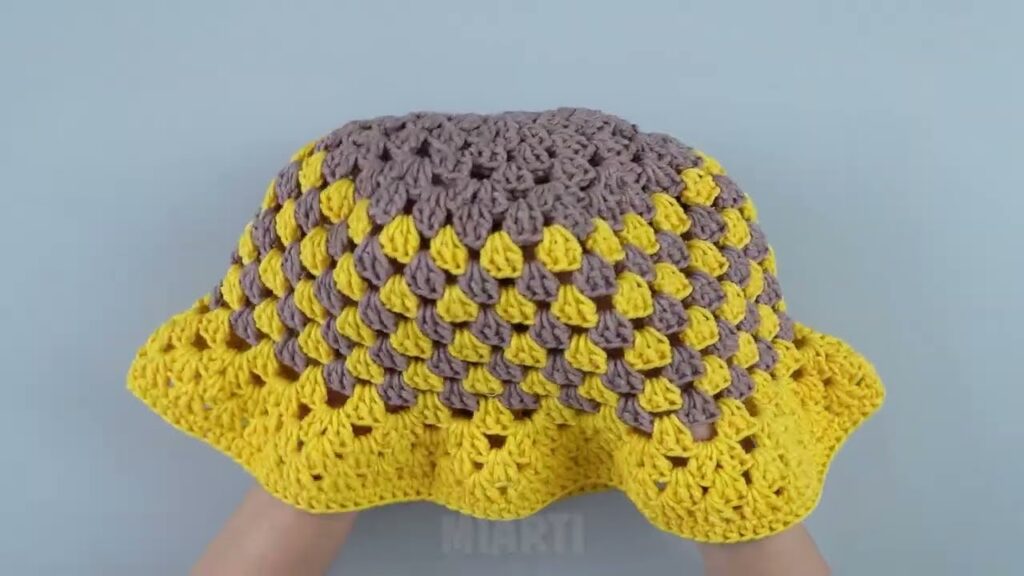
If you love combining vintage charm with trendy fashion, the granny square bucket hat is the perfect summer project for you! This vibrant and eye-catching accessory blends the timeless appeal of granny squares with the relaxed flair of a crochet bucket hat. Best of all, it’s beginner-friendly, customizable, and makes a stylish statement at the beach, festivals, or sunny strolls.
In this guide, you’ll learn how to crochet a granny square bucket hat that’s light, breathable, and perfect for warmer weather.

🧵 What You’ll Need
Materials:
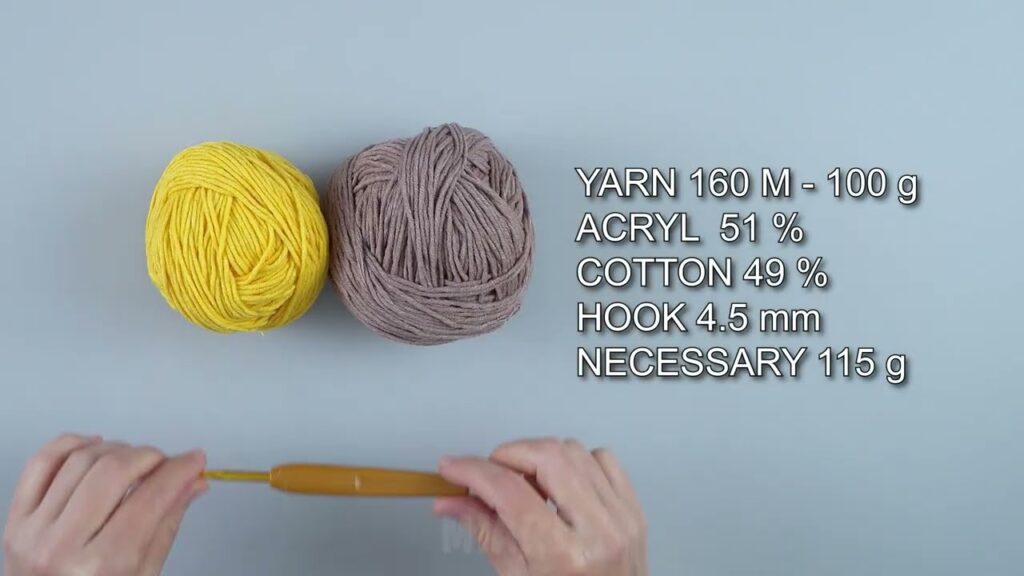
- Cotton yarn (DK or Worsted weight, #3 or #4) – Multiple colors for granny squares
- Crochet hook size 4.0 mm (G) or 4.5 mm (7)
- Yarn needle for weaving in ends
- Scissors
- Measuring tape
- Stitch marker (optional)
Yarn Tip:
Use 100% cotton yarn for a summer-friendly, breathable hat. Acrylic can be used too, but it’s less breathable in hot weather.
📏 Sizing Guide (Adult)
This pattern creates an adult-size hat with some flexibility due to the granny square structure.
- Hat circumference: ~21–23 inches (53–58 cm)
- Height: ~7.5 inches (19 cm)
- Brim width: ~2 inches (5 cm)
Adjust number of squares or brim rows for different sizes.
🪡 Stitches Used (US Terms)
- Chain (ch)
- Slip stitch (sl st)
- Double crochet (dc)
- Single crochet (sc)
🧶 Part 1: Make Your Granny Squares
You’ll need 5–7 granny squares depending on your head size and the size of the squares. Typically:
- 4 squares for the sides of the crown
- 1 square for the top (crown)
- Optionally 1–2 extra if you’re adjusting size or style
Basic Granny Square Pattern (3 Rounds):
Round 1:
Make a magic ring (or ch 4 and sl st to form a ring).
Ch 3 (counts as dc), 2 dc in ring, ch 2, 3 dc — repeat from * 3 more times.
Ch 2, sl st to top of beginning ch-3. (You have 4 corners)
Round 2:
Sl st to corner. Ch 3, 2 dc in corner, ch 2, 3 dc in same corner.
In next space between clusters: 3 dc.
In next corner: (3 dc, ch 2, 3 dc).
Repeat around. Join with sl st.
Round 3 (Optional for size):
Repeat pattern, adding 3 dc in each space and (3 dc, ch 2, 3 dc) in each corner.
Weave in ends. Make 5–7 of these.
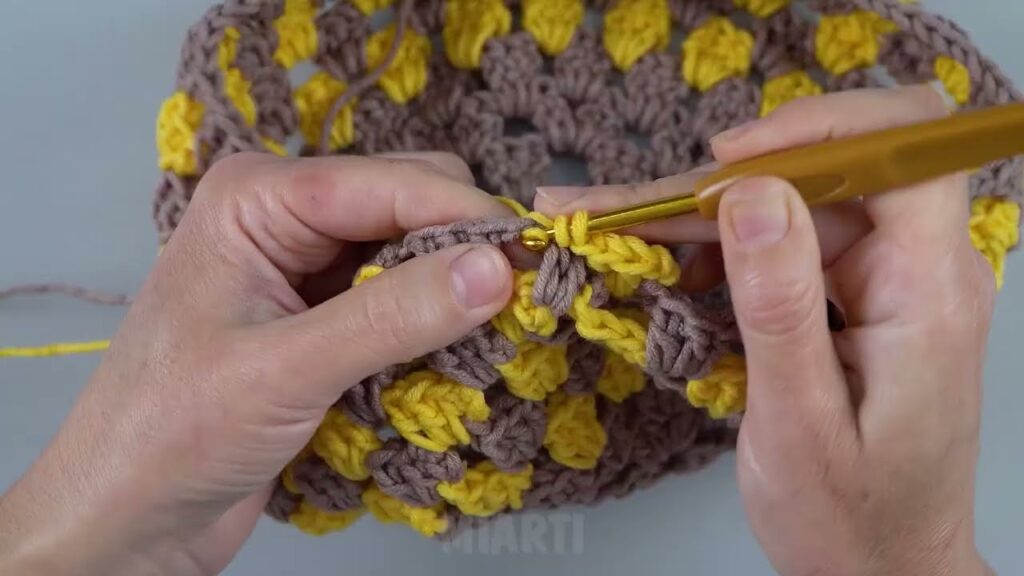
🧩 Part 2: Join the Squares
Use whip stitch or slip stitch to join your squares together:
- Top: Choose your favorite square for the crown.
- Sides: Join 4 squares in a strip. Then stitch the first and last square together to form a circle.
- Attach the sides to the top: Join the circle of squares to the top square by aligning edges and slip stitching around.
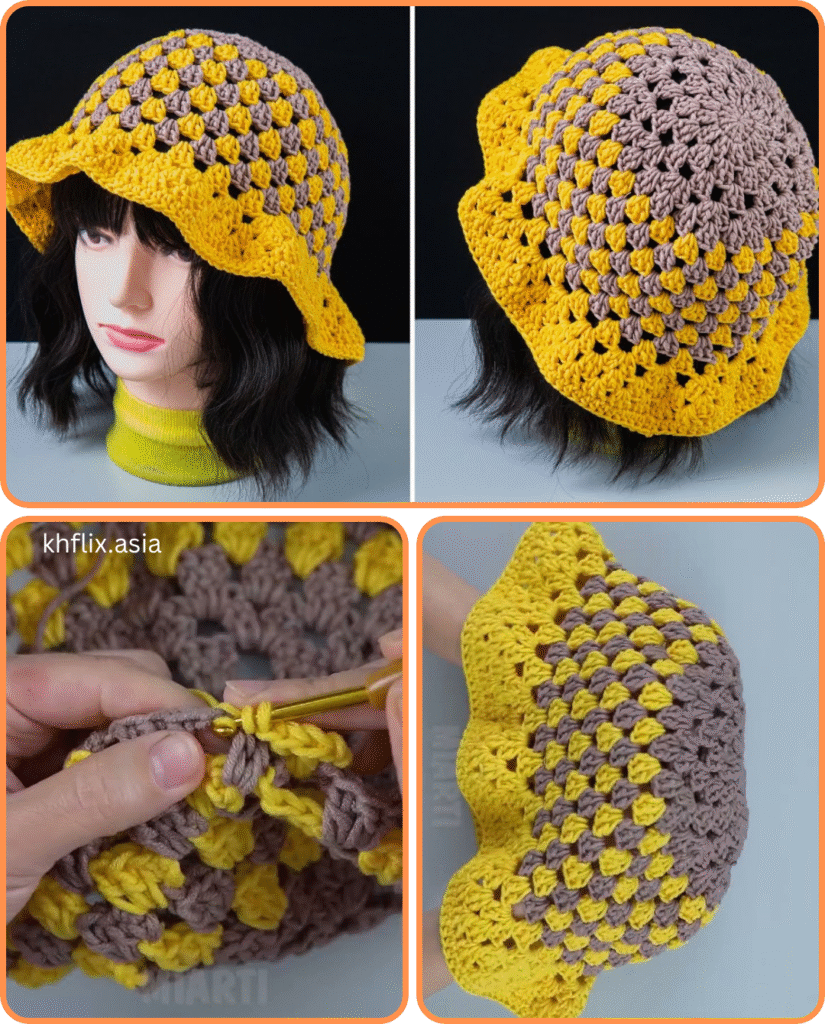
Now you have a boxy hat base—don’t worry! The brim will shape it perfectly.
👒 Part 3: Crochet the Brim
Attach yarn to the bottom edge of the square band (where it will sit on your head).
Brim Rounds:
Round 1: Ch 1, sc evenly around the edge. Join with sl st.
Round 2: Ch 1. (Sc in next 3 sts, 2 sc in next) repeat around to increase. Join.
Rounds 3–4 (or more): Sc evenly (no increases). Stop when brim is desired width (usually 2–3 inches).
Optional: Add a round of reverse single crochet (crab stitch) for a twisted edge look.
🎨 Design Ideas & Color Combos
- 🌈 Rainbow theme: Use different colors for each square.
- 🍓 Fruit-inspired: Red, pinks, and green for a strawberry look.
- 🌼 Boho chic: Neutrals, creams, and mustard tones.
- 🐚 Beach vibes: Blues, whites, and soft greys.
🧡 Tips for Success
- Make sure your granny squares are the same size for clean joins.
- Block your squares before joining to flatten and even out the edges.
- Use cotton yarn for a breathable, structure-holding summer hat.
- Add tie straps or a chin cord for extra flair and function.

🎁 Great Gift or Market Item
Granny square bucket hats make wonderful gifts for friends, festival-goers, or fashion lovers. They’re also excellent sellers at craft fairs and Etsy shops due to their retro appeal and custom color options.
🧶 Conclusion
The crochet granny square summer bucket hat is a joyful fusion of vintage and modern crochet. It’s quick to make, easy to personalize, and endlessly fun to wear. Whether you’re lounging in the sun or making a fashion statement, this handmade hat is your go-to summer accessory.
So grab your hook, pick your palette, and start stitching a wearable work of art today!
Video tutorial:


