
Crocheting a hat is one of the most satisfying and approachable projects for beginners. With just a few basic stitches, you can create a cozy, stylish hat perfect for everyday wear, gifts, or even charity donations. This easy crochet hat pattern is designed especially for those who are new to the craft but want a quick win with a polished finish.
In this guide, you’ll learn how to crochet a simple and comfortable beanie-style hat using basic techniques that are easy to follow—even if this is your first-ever hat project!
🧵 What You’ll Need
Materials:
- Worsted weight yarn (#4) – Choose a soft acrylic or cotton blend
- Crochet hook size H/5.0 mm or I/5.5 mm
- Yarn needle for weaving in ends
- Scissors
- Measuring tape
- Stitch marker (optional but helpful for keeping track of rounds)
📏 Hat Sizing (Adult Small/Medium)
- Hat Circumference: ~21–22 inches (53–56 cm)
- Hat Height: ~7.5–8 inches (19–20 cm)
This pattern is easily adjustable for smaller or larger sizes—just change the number of increase rounds or the length before finishing.
🪡 Stitches Used (US Terminology)
This pattern uses just a few basic stitches:
- Magic ring (optional; can substitute with ch 4, sl st to form a loop)
- Chain (ch)
- Slip stitch (sl st)
- Double crochet (dc)
If you’re unfamiliar with these, don’t worry—there are many beginner videos that show each one step by step.
🧶 Beginner-Friendly Crochet Hat Pattern (Top-Down Beanie)
This hat is worked in the round, from the top down, which means you can easily try it on as you go.
Round 1:
Start with a magic ring. Ch 2 (counts as turning chain).
Make 10 dc into the ring. Join with a sl st to the first dc.
(10 stitches)

Round 2:
Ch 2. 2 dc in each stitch around. Join with sl st.
(20 stitches)
Round 3:
Ch 2. (1 dc in next stitch, 2 dc in next stitch) – repeat around. Join.
(30 stitches)
Round 4:
Ch 2. (1 dc in next 2 stitches, 2 dc in next) – repeat around. Join.
(40 stitches)
Round 5:
Ch 2. (1 dc in next 3 stitches, 2 dc in next) – repeat around. Join.
(50 stitches)
Round 6:
Ch 2. (1 dc in next 4 stitches, 2 dc in next) – repeat around. Join.
(60 stitches)
This is your crown completed. If you want a larger hat, continue with another increase round.
🧢 Body of the Hat
Rounds 7–14:
Ch 2. 1 dc in each stitch around. Join with sl st.
Try it on at this point! The hat should cover your ears or sit just above them.
🧵 Optional Ribbed Brim (Finishing Touch)
Switch to single crochet (sc) for a tighter finish:
Round 15:
Ch 1. 1 sc in each stitch around. Join with sl st.
Round 16 (Optional for thicker brim):
Repeat round 15.
✨ Customization Ideas
- 🎨 Color change: Try stripes or color blocks by switching yarn colors every few rows.
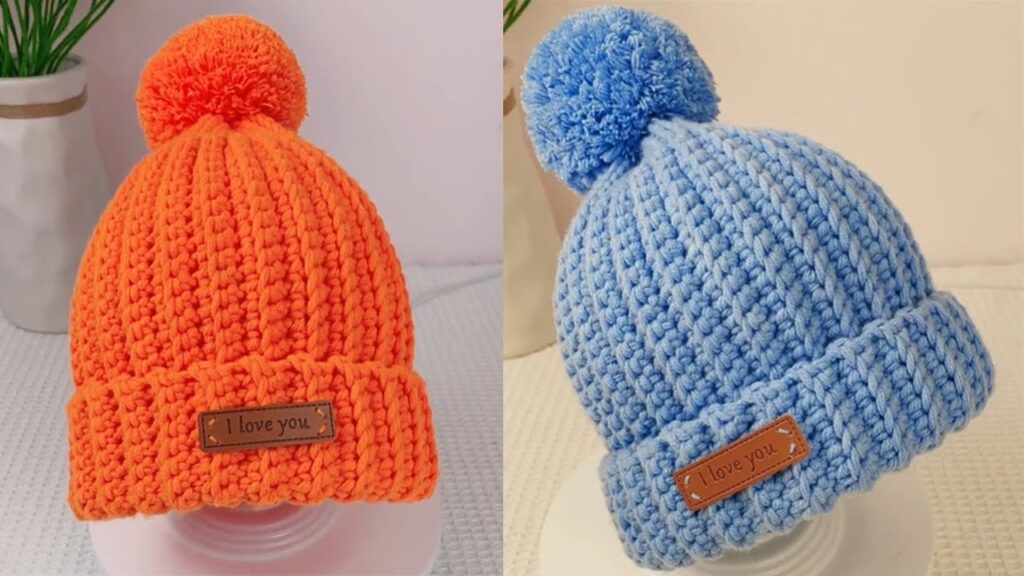
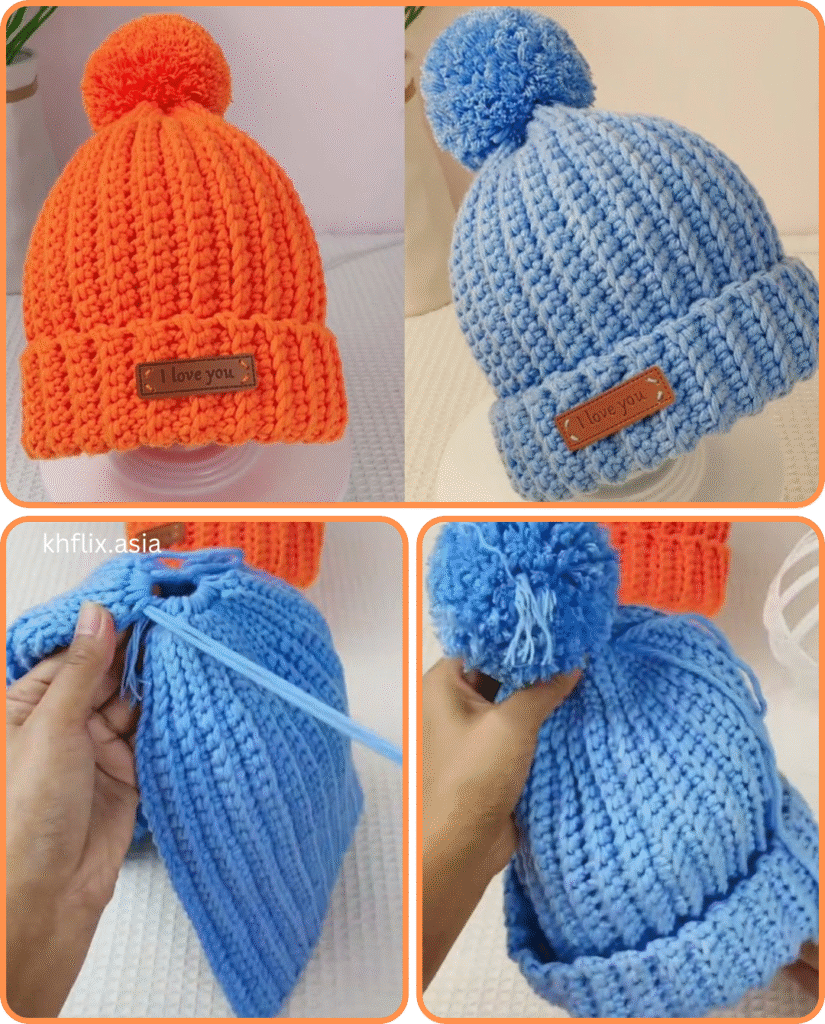
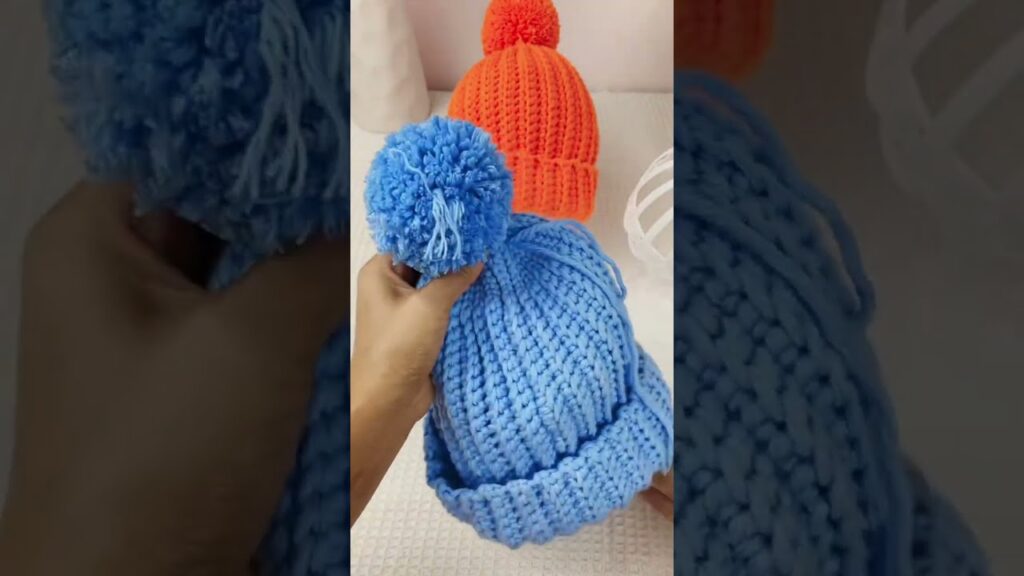
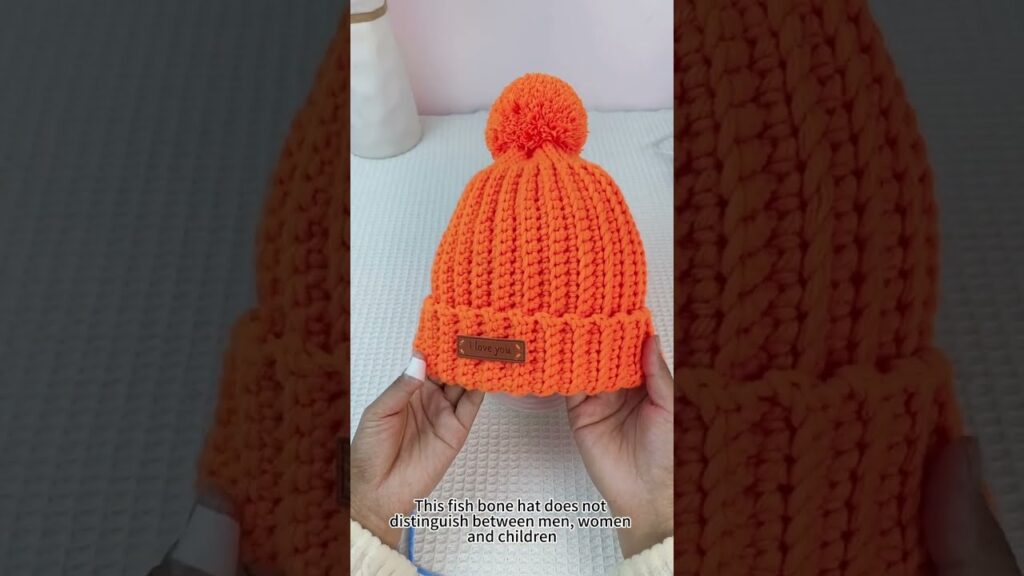
- ❄️ Add a pom-pom: Sew on a fluffy yarn or faux fur pom-pom to the top.
- 💖 Sew on a patch or tag: Personalize it with a handmade tag, leather label, or initials.
- 👶 Make it baby-sized: Start with fewer increase rounds and work fewer body rows.
🧡 Tips for Beginners
- Keep track of your stitch count: This ensures your hat doesn’t accidentally grow or shrink.
- Try on as you go: Adjust the length before adding a brim to get the perfect fit.
- Use light-colored yarn for your first project so it’s easier to see your stitches.
- Weave in ends neatly for a polished look.

🎁 Great for Gifts, Craft Fairs, and Charity
This easy crochet hat works up quickly—perfect for gifting, donating to shelters, or selling at local markets. Once you’ve made one, you’ll be hooked (pun intended)!
🧶 Conclusion
Crocheting a hat doesn’t have to be complicated. With just a few simple stitches and some soft yarn, you can make a stylish, cozy hat that you’ll be proud to wear—or gift. This beginner-friendly pattern is the perfect introduction to crocheting in the round and opens the door to many more projects like scarves, mittens, and beyond.
So grab your yarn, find a comfy chair, and get ready to create something beautiful, one stitch at a time!
Video tutorial:


