
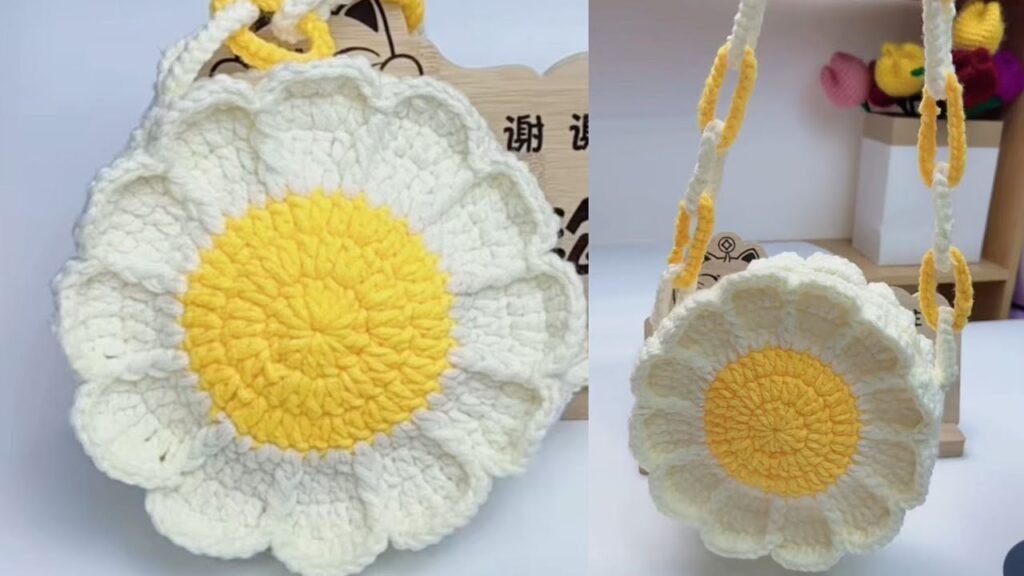
Looking for a fresh, cheerful crochet project that’s perfect for sunny days? The crochet daisy bag is your new go-to. With its cute floral motif and easy construction, this project combines fashion with fun — whether you’re heading to the farmer’s market, beach, or brunch.
This tutorial breaks down the easy crochet daisy bag step-by-step so that even beginners can follow along. Let’s bring some handmade sunshine into your wardrobe!
🧵 MATERIALS YOU’LL NEED
- Yarn:
- Worsted weight (Category 4) cotton or acrylic in 2–3 colors:
- White (for petals)
- Yellow (for daisy centers)
- Any color for bag squares and straps (e.g., green, beige, or pastel tones)
- Worsted weight (Category 4) cotton or acrylic in 2–3 colors:
- Crochet hook: 4.0 mm (G-6) or size suitable for your yarn
- Scissors
- Yarn needle
- Stitch markers (optional)
- Lining fabric and sewing needle/thread (optional)
✨ BASIC SKILLS NEEDED
You don’t need advanced skills — just these crochet basics:
- Magic ring
- Slip stitch (sl st)
- Chain (ch)
- Single crochet (sc)
- Double crochet (dc)
- Working in rounds
- Joining granny squares
🌼 STEP 1: CROCHET THE DAISY GRANNY SQUARES
The bag is made from daisy granny squares, each with a floral center and square border. You’ll need 13–18 squares depending on the bag size.
🧶 Round 1: Daisy Center
- With yellow yarn, make a magic ring.
- Ch 2 (does not count as a stitch), make 12 dc into the ring.
- Join with sl st to first dc.
- Fasten off and switch to white.
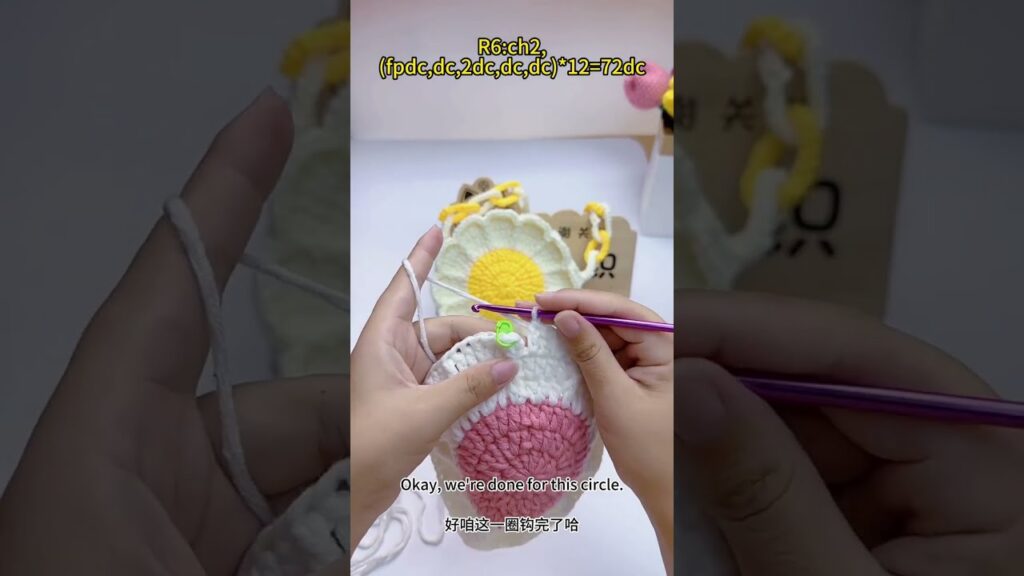
🌼 Round 2: Petals
- Attach white yarn to any dc.
- Ch 2, 2 dc in same stitch, ch 2, sl st in next stitch — this forms one petal.
- Repeat from * to * around to make 6 petals (adjust spacing if needed).
- Join with sl st. Fasten off.
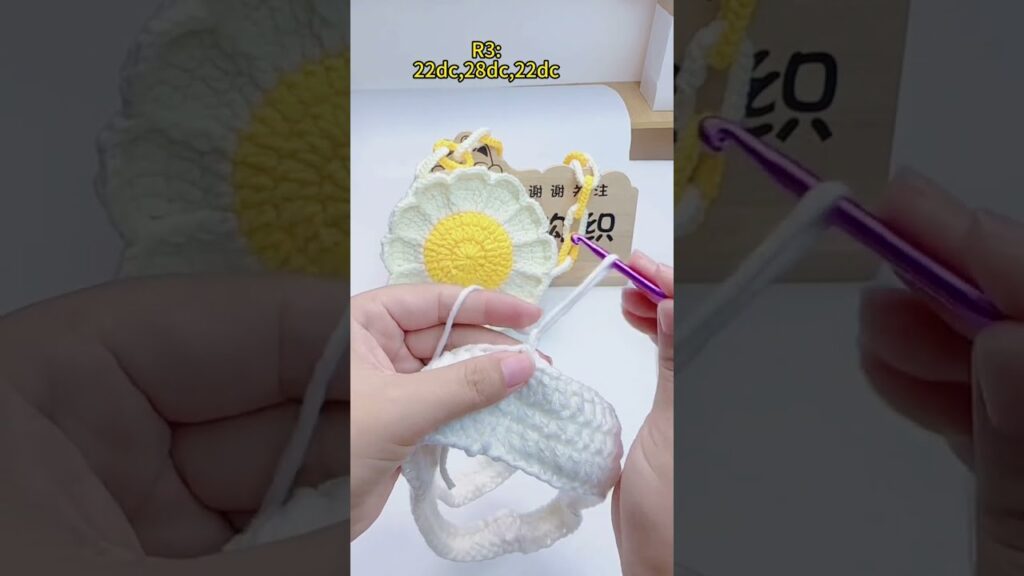
🟩 Round 3: Turn into a Square
- Attach your main color (e.g., green or tan) between any petals.
- Ch 3 (counts as dc), dc in same space, ch 1.
- In next space between petals: 2 dc, ch 2, 2 dc (corner), ch 1
- Repeat until you have 4 corners and 4 sides.
- Sl st to join. Fasten off.
👉 You can expand each square with more rounds to make it larger.

🧵 STEP 2: MAKE ENOUGH SQUARES
For a small tote:
- Front: 3 squares across × 2 squares tall = 6 squares
- Back: same as front = 6 squares
- Bottom panel: 1 row of 3 squares
- Sides (optional): 1 square per side
🎯 Total: 13–18 squares depending on style
✂️ STEP 3: JOIN THE SQUARES
Option 1: Slip Stitch Join (Flat & Easy)
- Place two squares with right sides facing up.
- Join yarn at corner, slip stitch through both squares across edge.
- Repeat until all squares are connected.
Option 2: Whip Stitch (Invisible Seam)
- Hold squares together (right sides in), and stitch through both loops with yarn needle.
Build your bag shape by joining:
- Front and back panels
- Bottom row to both panels
- Side squares to the edges (optional)

🪡 STEP 4: ADD A LINING (Optional)
To make your bag stronger and prevent stretching:
- Cut fabric to the shape of your bag.
- Sew sides together.
- Insert lining into bag and stitch along top edge.
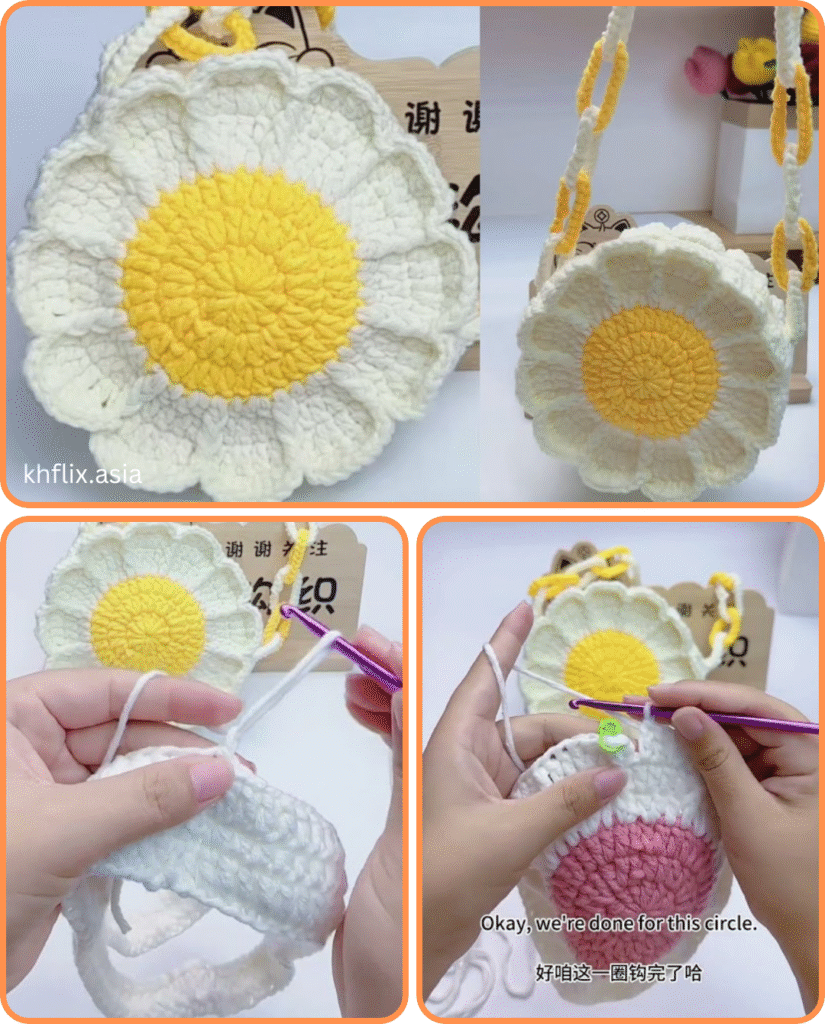
🧶 STEP 5: MAKE THE STRAPS
Option 1: Flat Crochet Strap
- Ch 80–100 (or your desired length).
- Row 1: Sc in 2nd ch from hook and each across.
- Row 2–4: Ch 1, sc across for a flat, sturdy strap.
- Sew each end securely to the inside of the bag.
Option 2: Braided or Rope Strap
- Make 3 long chains and braid them, or twist 2 strands together.
- Attach to bag corners with strong stitching.
🧼 CARE INSTRUCTIONS
- Hand wash gently or machine wash in a delicate bag
- Lay flat to dry
- Avoid heavy stretching, especially if unlined
🎨 CUSTOMIZATION IDEAS
- 🌸 Use different flower colors for a rainbow effect
- 🧵 Add a zipper or button closure
- ✨ Sew on beads or appliqués
- 🎀 Add fringe or tassels to the bottom
Video tutorial:
💬 FINAL THOUGHTS
The crochet daisy bag is the perfect blend of beginner-friendly construction and high-impact style. Whether you’re making it as a cute accessory or a thoughtful gift, this project is sure to bring sunshine to your day.
Once you’ve made one, you’ll want to make them in all colors — so go ahead and bloom with creativity!


