
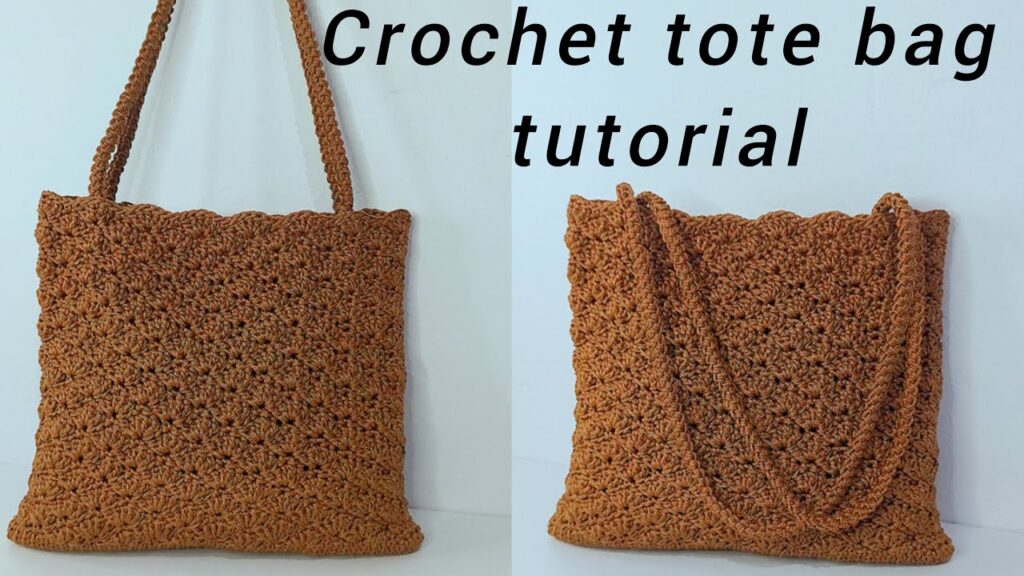
A crochet tote bag is a fantastic first project. It’s practical, reusable, customizable, and doesn’t require any complicated shaping or sewing. You’ll practice basic stitches, work in the round, and create something useful — ideal for shopping, books, or a casual day out.
Let’s walk through this easy and satisfying project together!
🧶 Materials Needed
- Worsted weight cotton yarn (#4) – Approx. 250–350 grams
(Cotton is best for durability and stretch resistance.) - Crochet Hook: 5.0 mm (H/8) or size suitable for your yarn
- Tapestry Needle – for weaving in ends
- Scissors
- Stitch Markers (optional but helpful)
📐 Finished Size
- Approx. 14″ wide x 13″ tall (excluding handles)
- Handles: 18–20″ long (adjustable)
📌 Stitches & Abbreviations
- ch – chain
- sc – single crochet
- dc – double crochet
- sl st – slip stitch
- st(s) – stitch(es)
- rnd – round
We’ll use basic stitches only — perfect for beginners!
🧵 Pattern Structure
- Base – Worked in a flat oval (in rounds)
- Body – Built upward in rounds from the base
- Handles – Crocheted directly into the body
✅ Step-by-Step Instructions
🔸 Step 1: Crochet the Base
Foundation Chain:
- Ch 26 (adjust for wider/narrower base)
Round 1:
- Sc in 2nd ch from hook and in next 23 chs (24 sc total).
- In last ch, work 3 sc (to round the corner).
- Work along the bottom of the chain: sc in next 23 chs.
- Work 2 sc in last stitch (which is the first stitch of the round).
- Sl st to first sc to join. (52 sts)
Round 2:
- Ch 1, sc in each st around, increasing 1 sc in each corner (you’ll add 4 total).
- Join with sl st.
Repeat Rounds 2–3 more times to expand your base. The number of rounds depends on how wide and flat you want the bottom of your bag.
🧶 TIP: You can also switch to double crochet (dc) in later rounds if you want a taller or quicker bag.
🔸 Step 2: Build the Bag Body
Now that your base is complete, begin working upward without increasing.
Round 1 (Body):
- Ch 2 (counts as dc), dc in each stitch around.
- Sl st to join.
Rounds 2–15:
- Repeat dc in each stitch around. Sl st to join each round.
- Adjust number of rounds to your preferred bag height.
💡 Want an open, mesh-like look? Alternate with ch 1, skip 1, dc in next for a more airy pattern.
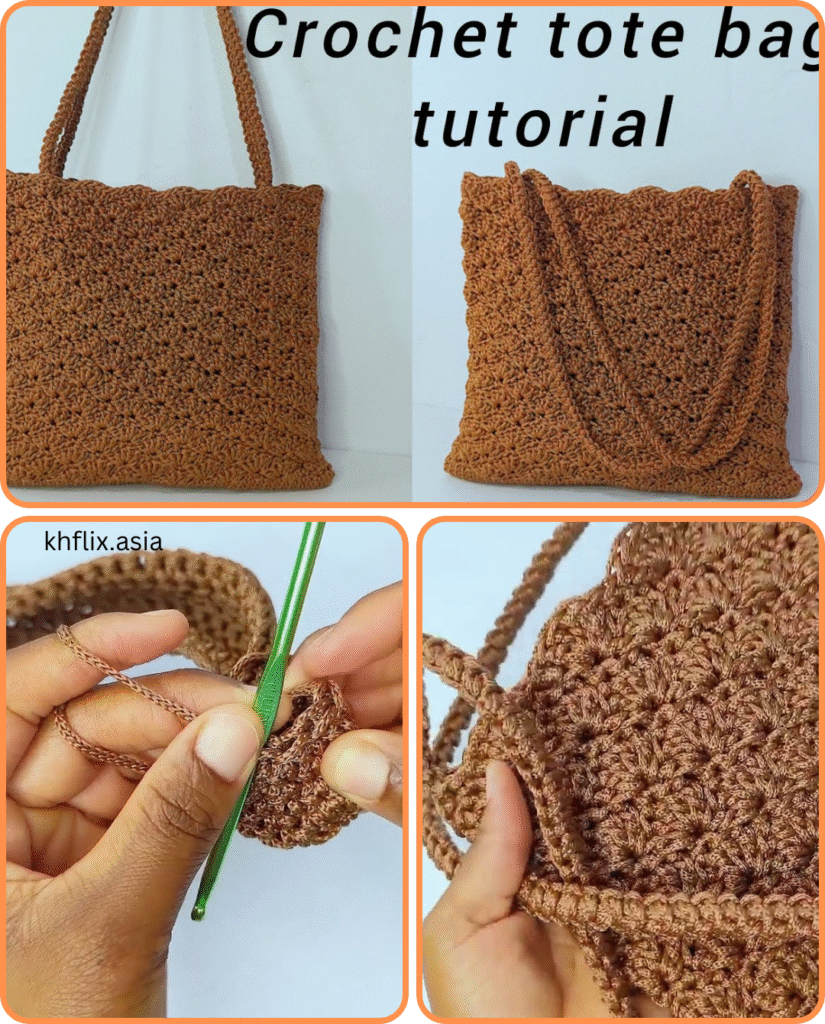
🔸 Step 3: Add Handles
After completing the body height, it’s time to add the straps.
Mark handle placement:
- Find the center front and back. Count approx. 10 stitches from center on both sides.
- Mark with stitch markers.
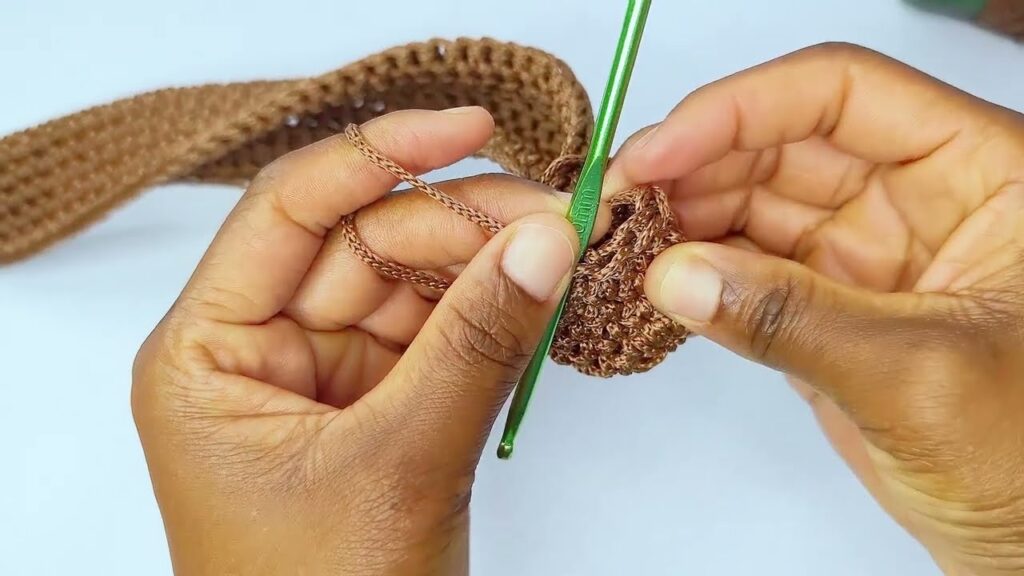
Handle Round:
- Ch 2, dc in each st until you reach marker.
- Ch 30 (or desired handle length), skip marked sts, dc in next.
- Repeat on other side.
- Join with sl st.
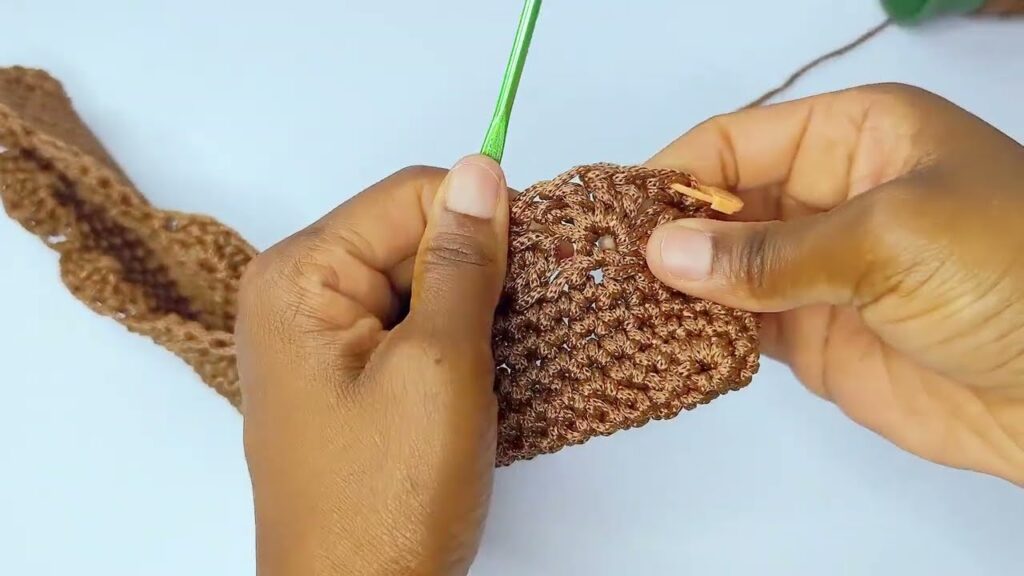
Next Round (to reinforce handles):
- Dc around as normal, but work dc stitches into each ch of the handle as well.
- Repeat for 2–3 more rounds for strength.
✅ Finishing
- Fasten off yarn.
- Use a tapestry needle to weave in all ends securely.
- Lightly block the bag if needed to shape.
🎨 Optional Modifications
- Add a drawstring or button closure for security.
- Line the inside with fabric for more durability.
- Add pockets or inner compartments using leftover yarn or fabric.
🧺 Care Instructions
- Hand wash or machine wash cold on gentle cycle
- Lay flat to dry
- Avoid hanging when wet to prevent stretching
🧡 Final Thoughts
This simple crochet tote bag is one of the best beginner projects — it’s functional, fashionable, and easy to customize. Once you’ve made your first, you’ll likely want to create more in different colors, sizes, or even for gifting!
Video tutorial:


