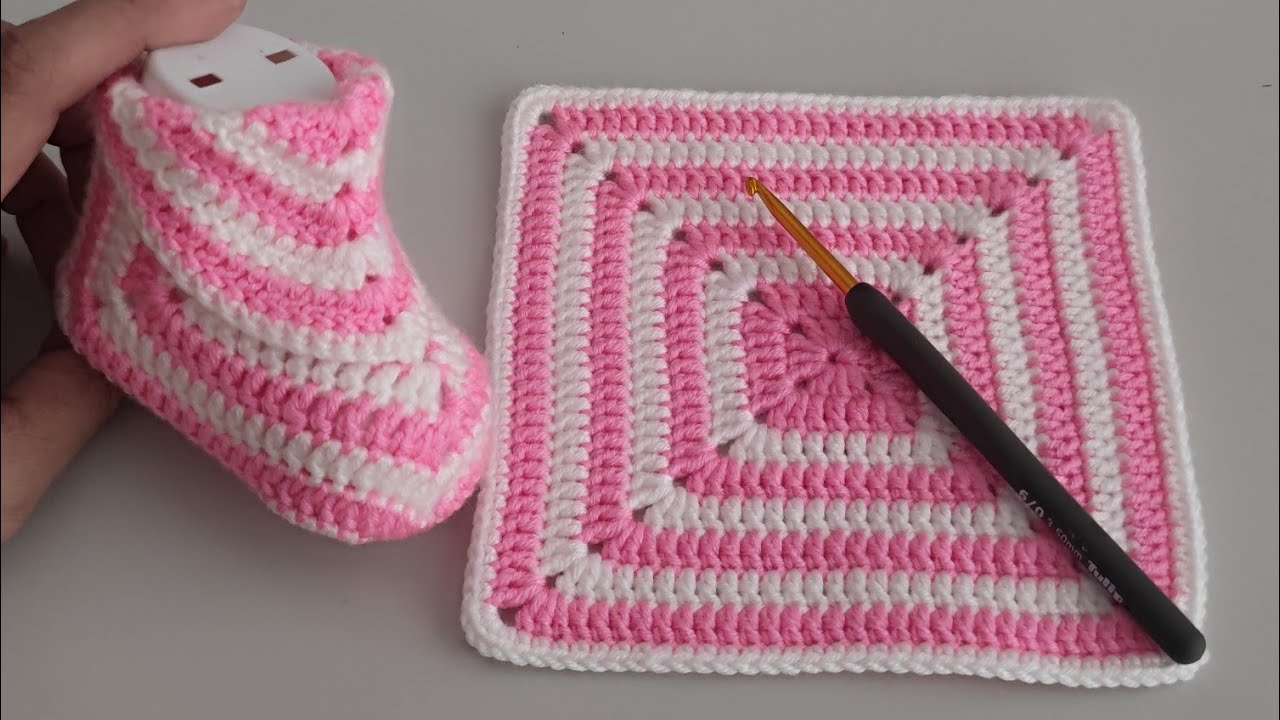
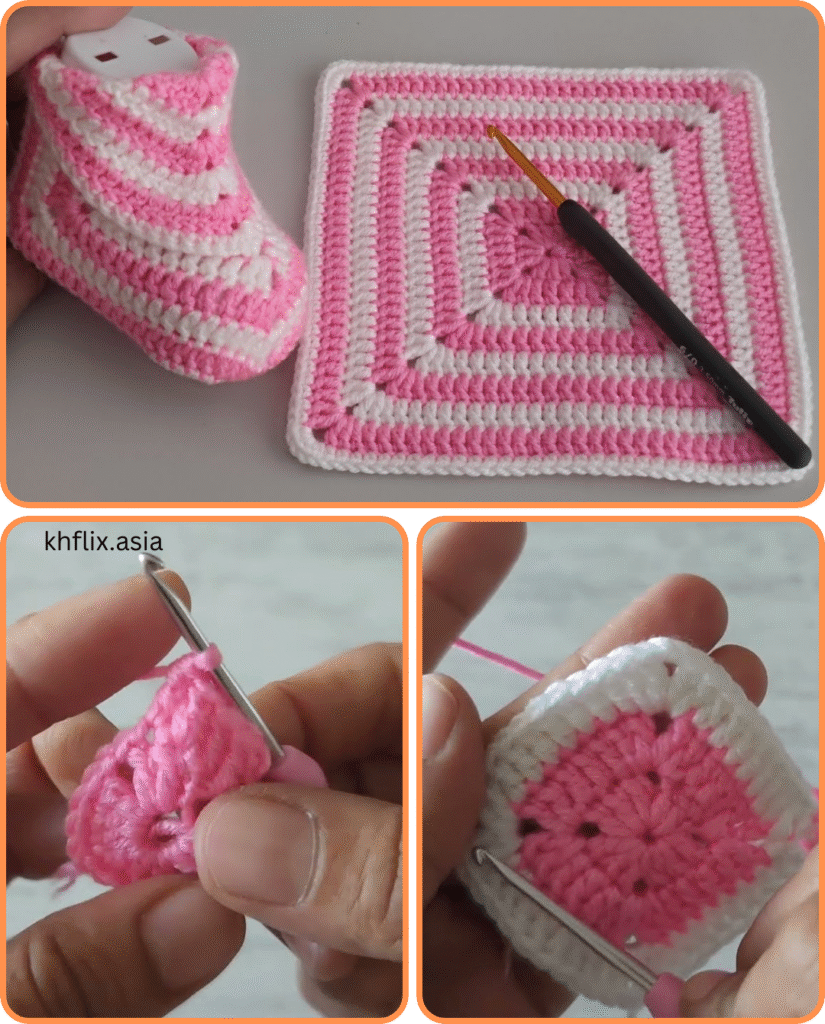
If you’re looking for a creative, vintage-inspired crochet project, baby shoes made from granny squares are a perfect choice. These sweet little booties are soft, stylish, and surprisingly easy to make — using just a few granny squares and some simple shaping.
This is a great project for confident beginners or experienced crocheters looking for a fun gift idea. Let’s get started!

🧶 Materials Needed
- Yarn: Soft cotton or baby wool (DK or light worsted weight)
- Colors:
- Color A (Main granny square)
- Color B (Edging/Joining)
- Crochet Hook: 3.5 mm – 4 mm (E/4 – G/6)
- Tapestry needle
- Scissors
- Buttons, bows, or laces (optional for finishing)
📏 Finished Size
- Best for 0–6 months (approx. 3.5″–4″ sole length)
- Pattern can be adjusted for larger sizes
🧵 Stitches & Abbreviations
- ch – chain
- sl st – slip stitch
- sc – single crochet
- dc – double crochet
- sp – space
- st(s) – stitch(es)
🧡 Pattern Overview
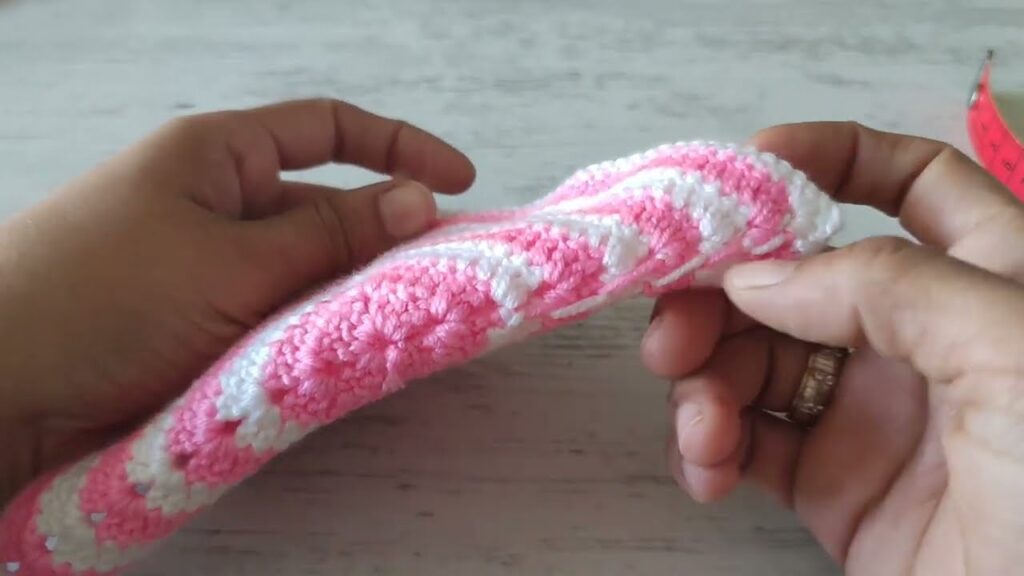
You’ll be crocheting granny squares first and then folding and sewing them together to form the shape of a baby shoe or slipper. It’s a quick project with adorable results.
🔶 Step-by-Step Instructions
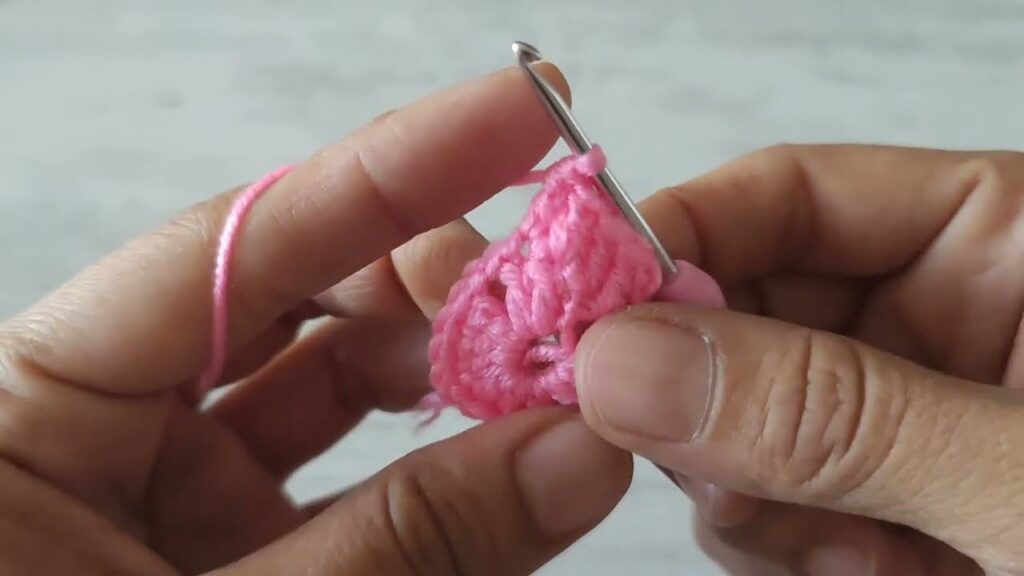
✅ Step 1: Crochet the Granny Squares
Each shoe uses 3 small granny squares.
Basic Granny Square (Make 6 total for one pair):
- Round 1:
- With Color A, ch 4 and sl st to form a ring.
- Ch 3 (counts as dc), 2 dc into the ring, ch 2.
- (3 dc, ch 2) three more times into the ring.
- Sl st to top of ch-3 to close.
✅ You now have 4 clusters and 4 ch-2 corners.
- Round 2:
- Sl st to next ch-2 space.
- Ch 3, 2 dc in same sp, ch 2, 3 dc in same sp.
- (3 dc, ch 2, 3 dc) in each remaining corner.
- Sl st to join.
- Round 3:
- Continue around with (3 dc, ch 2, 3 dc) in each corner, and 3 dc in each side space (between corner clusters).
💡 TIP: End after 3 rounds for baby-size squares. Square should measure approx. 2.5″ to 3″.
Fasten off and weave in ends.
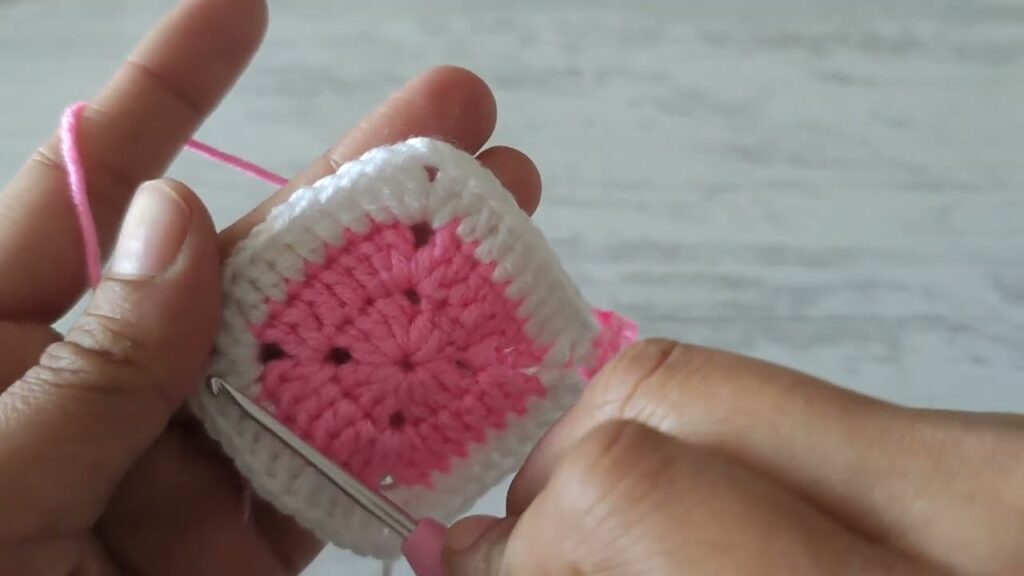
✅ Step 2: Assemble the Shoe
Each bootie uses 3 squares:
- One for the top
- Two for the sides/sole
Layout:
- Lay one square flat (this is the top of the foot).
- Fold two other squares around it like an L-shape, matching edges.
Assembly:
- Using Color B (or matching yarn), slip stitch or whip stitch the squares together on the edges.
- Fold the structure around a center point to create a U-shape:
- One square covers the toes
- Two squares fold under and around the heel
- Sew the back seam closed (heel seam)
- Sew the sides to the top square, forming the shoe shape
✅ Step 3: Add a Cuff or Closure
Once sewn together, you can leave them as slip-ons or add any of the following:
🌸 Rolled Cuff:
- Join yarn at back seam.
- Sc or hdc around the ankle opening for 2–3 rows.
- Optional: Roll down the cuff for a bootie style.
🎀 Buttoned Strap:
- Ch 10–15, attach one end to outer side of shoe.
- Sc back down the chain.
- Sew on a button on the opposite side.
🧵 Ribbon Tie:
- Weave a small satin ribbon through ankle spaces and tie into a bow on the front.
✅ Step 4: Repeat for Second Shoe
Follow the same steps to assemble the second baby shoe. Make sure your seams and orientations match!
🧺 Finishing Touches
- Weave in all yarn ends neatly.
- Lightly steam block if needed to shape the shoe evenly.
- Add non-slip fabric dots or puff paint to the soles for safety (if baby is walking).
🎨 Customization Ideas
- Use multicolor or ombré yarn for a unique effect.
- Embroider little flowers, hearts, or initials onto the toe square.
- Match with a granny square baby hat or cardigan!
🧼 Care Instructions
- Hand wash in cold water or machine wash on delicate cycle.
- Lay flat to dry.
- Avoid tumble drying to prevent warping or shrinkage.
🎁 Perfect For…
- Baby showers 🎀
- First birthdays 🧸
- Keepsake gifts 📦
- DIY newborn photo props 📸
Video tutorial:
🧡 Final Thoughts
Crocheting baby shoes with granny squares is a creative way to repurpose a beloved motif into a fresh, adorable item. These little booties work up quickly, and they’re full of handmade charm — a perfect blend of vintage and modern. Once you’ve made one pair, you’ll be hooked!


