
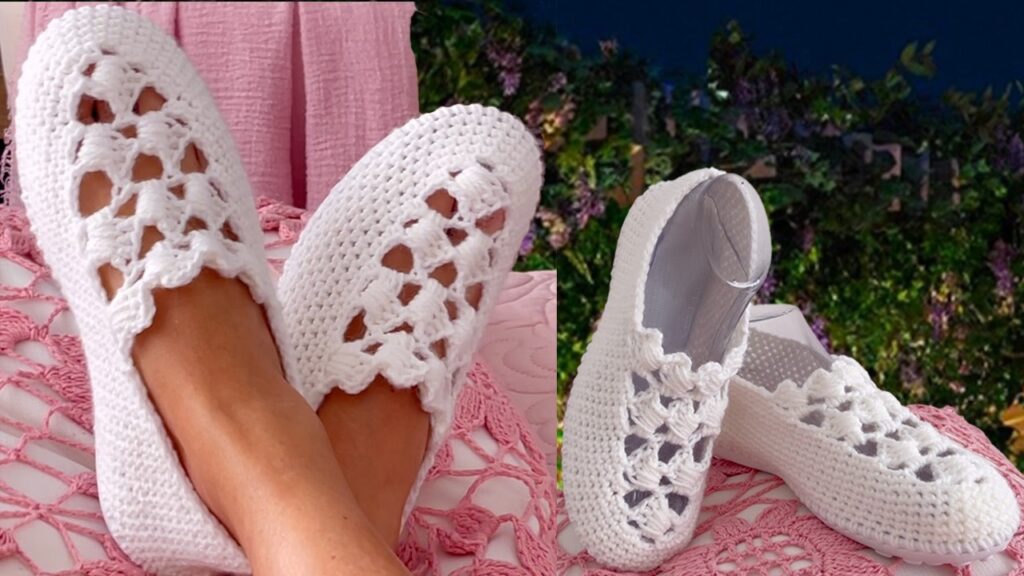
Crochet slippers are cozy, customizable, and fun to make—but adding soles takes them to the next level. Soles give your slippers structure, durability, and grip, making them perfect for indoor (and even some outdoor) wear. Whether you’re crafting them for yourself, as gifts, or to sell, crochet slippers with soles are a practical and stylish project for any level of crocheter.
Materials You’ll Need
Before you start, gather these supplies:
Yarn and Tools
- Worsted weight yarn or chunky yarn (depending on pattern)
- Crochet hook (usually 4.5mm to 6mm; check your yarn label or pattern)
- Tapestry needle for weaving in ends
- Scissors
- Stitch markers (optional, but helpful)
Soles
- Pre-made slipper soles (leather, suede, or rubber soles are available online)
- OR
- DIY soles made from:
- Flip-flop soles
- Felt or cork sheets
- Thick fabric with anti-slip backing
- Hot glue or puffy paint (for grip on regular crocheted soles)
Optional
- Insoles or fleece lining for extra comfort
- Hole punch or awl (if you’re adding stitches around a pre-made or DIY sole)
Step-by-Step Instructions
Step 1: Prepare the Soles
If you’re using pre-made soles with pre-punched holes:
- Simply skip to Step 2.
If you’re making your own soles:
- Trace your foot or use a shoe insole to make a pattern.
- Cut your chosen material (like leather, cork, or felt) using the pattern.
- Punch holes around the edge (about 1/4 inch from the edge, spaced 1/4 inch apart). These will be used for crocheting into the sole.
- For flip-flop soles, remove the straps and use a sharp needle or awl to create holes.

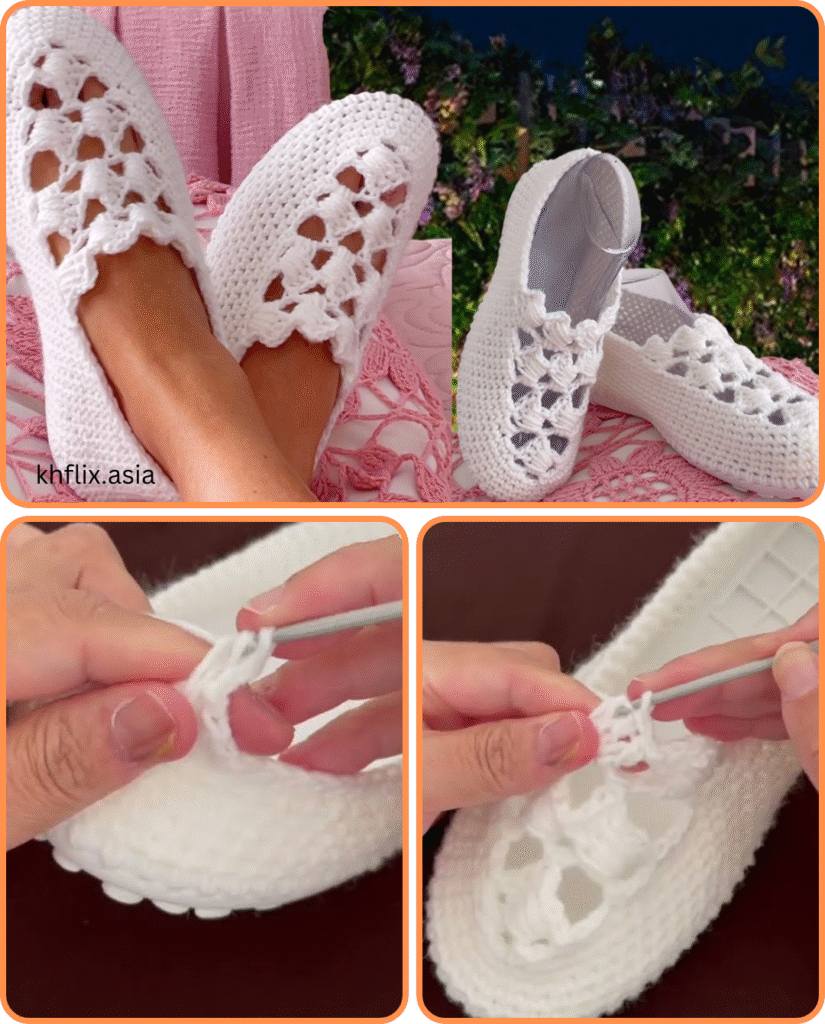
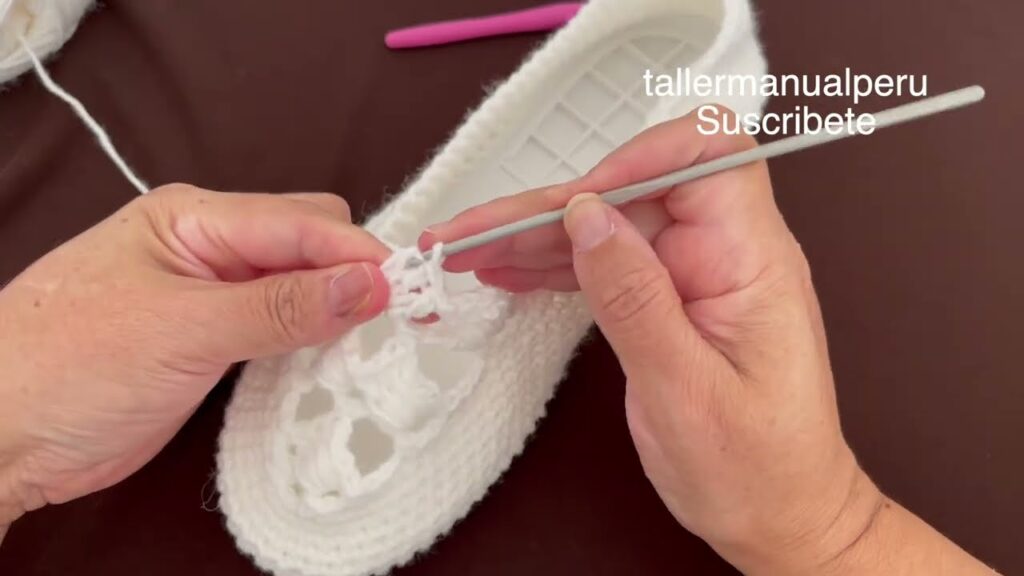
Step 2: Create the Foundation Round
- Use a strong yarn and smaller hook to crochet around the sole.
- Insert the hook through the holes, pull up a loop, and complete a single crochet (sc) in each hole around the entire sole.
- Join with a slip stitch at the end of the round.
This round forms the base for the upper part of the slipper.
Step 3: Build the Slipper Sides
- Chain 1 (or follow your pattern) and begin working single crochet or half double crochet stitches into each stitch around.
- Continue for 2–3 rounds, or until the sides are high enough to start shaping the top of the slipper.
- Use stitch markers to mark the toe and heel sections.
Step 4: Shape the Toe
To close the front of the slipper:
- Begin decreasing stitches around the toe area.
- Common technique: single crochet two together (sc2tog) or double crochet two together (dc2tog).
- Decrease evenly on both sides of the toe area until it closes snugly over the foot.
Step 5: Create the Heel and Cuff
You have a few options here:
- Closed heel: Continue crocheting back and forth, decreasing as needed, and seam together.
- Open heel with strap: Leave the back open and add a strap or button closure.
- Ankle cuff: Crochet a ribbed or textured cuff in rounds or rows (e.g., front/back post stitches for a stretchy finish).
Step 6: Finishing Touches
- Weave in all yarn ends with a tapestry needle.
- Add puffy paint, hot glue dots, or leather patches to the bottom of yarn soles for extra grip.
- Optional: Sew in a fleece insole or lining for extra comfort.

Tips for Success
- Use durable yarns like wool blends or acrylic for longer-lasting slippers.
- For summer slippers, try cotton yarn for breathability.
- Customize your slippers with buttons, embroidery, or applique.
- If making as gifts, get the recipient’s shoe size in advance or use adjustable straps.
Simple Crochet Slipper Pattern (With Soles)
Here’s a quick summary pattern to help you get started:
- Foundation: Crochet around a leather sole with sc.
- Sides: Work 3–4 rounds of hdc in a spiral or joined rounds.
- Toe: Use sc2tog over 6–8 stitches on each side of the toe, repeat until desired coverage.
- Heel: Work back and forth in rows, decreasing at each end to shape, then seam.
- Cuff (optional): Add 3 rounds of hdc or a ribbed cuff in back loop only.
Video tutorial:
Conclusion
Crochet slippers with soles are both functional and fun to make. They offer the perfect blend of comfort and durability, making them a great handmade addition to your wardrobe or gift list. With a bit of creativity and the right materials, you can craft slippers that rival store-bought versions—uniquely tailored to your style and size.
Happy crocheting!


