
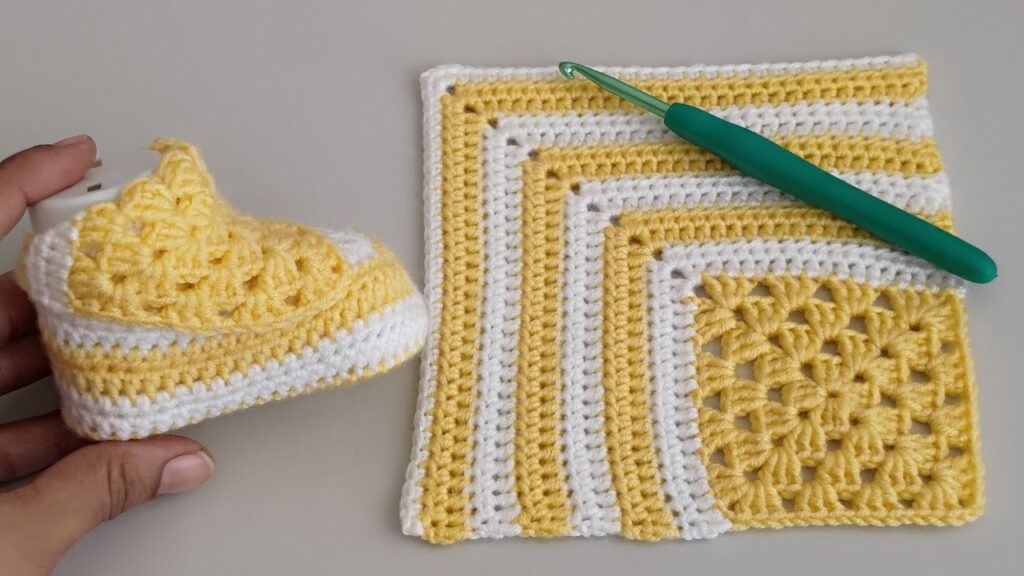
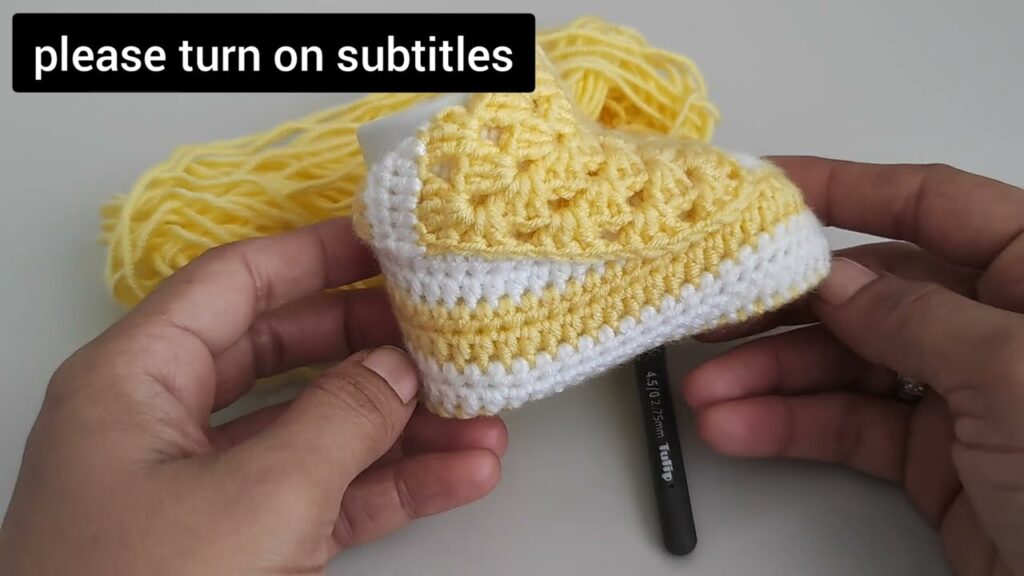
Baby booties are a classic crochet project that’s both quick and deeply satisfying. Using soft woolen thread, you can create beautiful, cozy footwear for babies that keeps tiny toes warm and snug. These booties are functional, stylish, and a treasured keepsake for new parents.
Whether you’re a beginner with basic crochet skills or a seasoned stitcher, this guide will walk you through the entire process.
👶 Project Overview
- Skill Level: Beginner to Intermediate
- Size: Newborn (3–3.5″ sole)
(Instructions for adjusting size are included) - Time Required: 1–2 hours per pair
🧵 Materials Needed
- Woolen Thread or Baby Wool Yarn (Light worsted/DK weight) – soft and gentle on skin
- Crochet Hook: 3.5 mm to 4.0 mm (E/4 to G/6)
- Tapestry Needle – for weaving in ends
- Stitch Marker – optional
- Scissors
- Buttons, bows, or ribbon (optional for decoration)
📌 Abbreviations & Stitches Used
- ch – chain
- sl st – slip stitch
- sc – single crochet
- hdc – half double crochet
- dc – double crochet
- inc – increase (2 stitches in same stitch)
- dec – decrease (crochet 2 stitches together)
- st(s) – stitch(es)
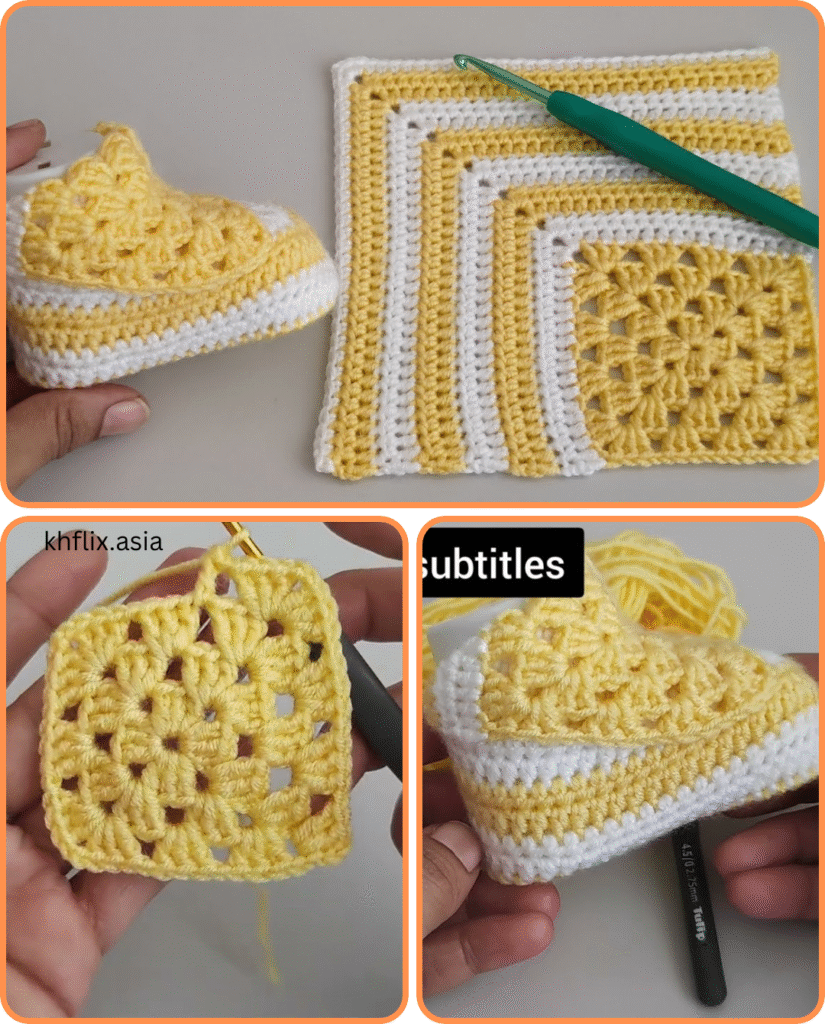
👟 Baby Bootie Structure
The bootie is made in three main parts:
- Sole – the bottom base
- Sides (Upper) – the walls that go up from the sole
- Top Closure / Ankle Cuff – optional cuff, strap, or roll-over style
🧵 Step-by-Step Instructions
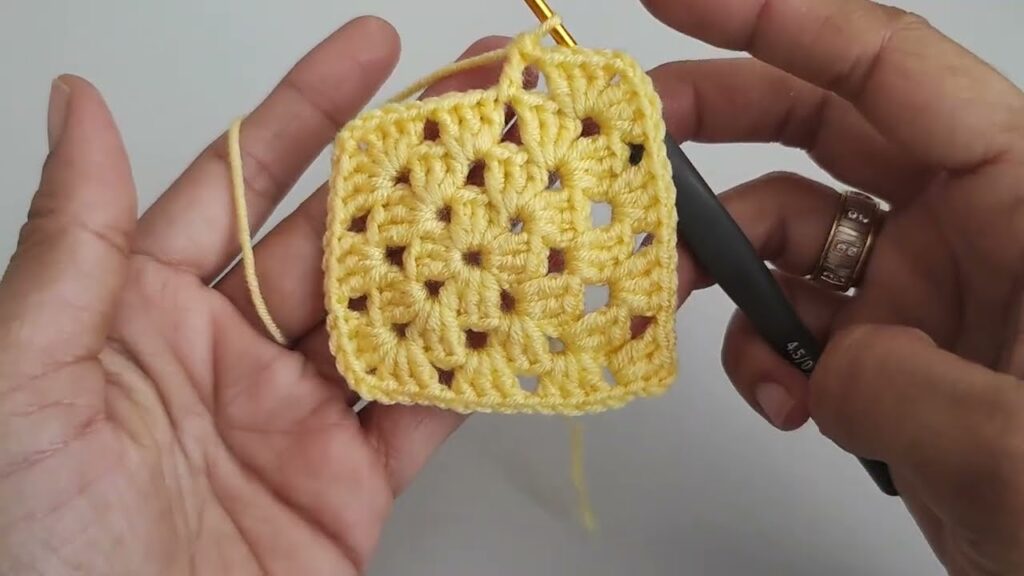
✅ Part 1: The Sole (Newborn Size)
Round 1:
- Ch 10.
- In 2nd ch from hook: 2 sc.
- Sc in next 7 ch.
- 5 sc in last ch (this curves you around the end).
- Now continue on opposite side: sc in next 7 sts, 2 sc in last st.
- Join with sl st. (24 sts)
Round 2:
- Ch 1, 2 sc in first st.
- Sc in next 7 sts.
- 2 sc in each of the next 5 sts.
- Sc in next 7 sts.
- 2 sc in each of the last 2 sts.
- Join with sl st. (32 sts)
Round 3:
- Ch 1, sc around with increases only at the toe and heel curves.
- You should end with approx. 38–40 sts.
- Join and fasten off.
🔧 Adjust for bigger size: Start with 12 or 14 chains and follow the same pattern logic, adding length and stitches evenly.
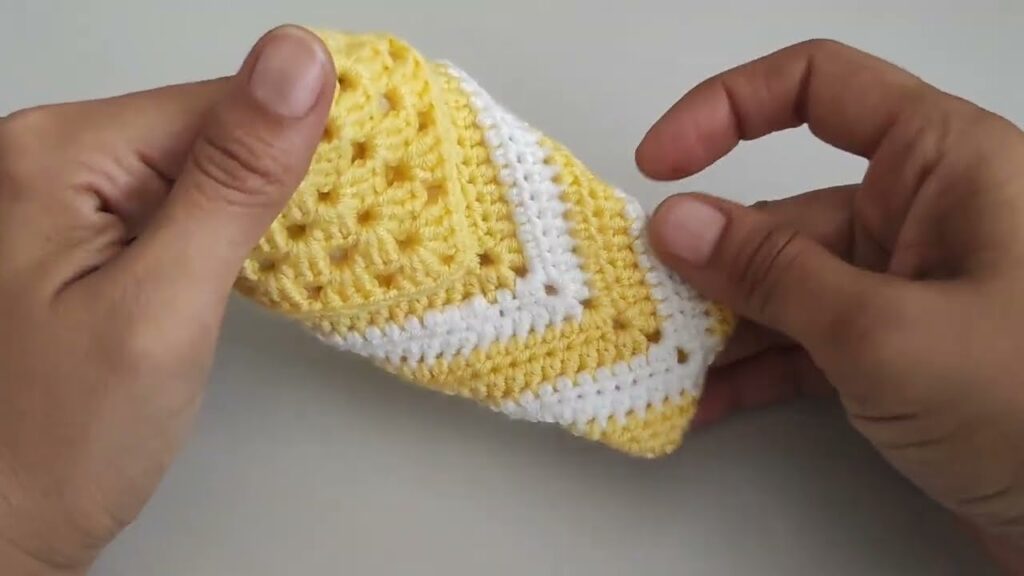
✅ Part 2: The Sides / Upper of the Bootie
Switch to a contrasting color if desired.
Round 4 (Back loop only):
- Join yarn and ch 1.
- Sc in back loops only around the sole to form a defined edge.
- Sl st to join.
Round 5–6:
- Sc around in both loops to build the bootie walls.
- Keep count (~40 sts).
- Optional: Use hdc for a slightly taller bootie.
✅ Part 3: Shaping the Top / Toe
Round 7:
- Sc 12 across the back and sides.
- Dec (sc2tog) across the next 8 stitches (toe shaping).
- Sc 12 across the other side.
- Sl st to join.
Round 8:
- Repeat: Sc to toe, then dec across toe area (e.g., 4–6 sts).
- Sc to end.
Now your bootie should start closing at the toe like a soft slipper.
✅ Part 4: Cuff or Strap (Finishing Touch)
Option 1: Rolled Cuff
- Sc or hdc 3 more rounds to create height.
- Fold down for a soft ankle cuff.
Option 2: Buttoned Strap
- Ch 12 and sl st to opposite side to make a strap.
- Sc across strap and sew on a button.
Option 3: Drawstring Style
- Ch 50 and weave through top round to tie in front like a moccasin.
✂️ Finishing Up
- Fasten off yarn.
- Use tapestry needle to weave in all ends securely.
- Lightly block the booties using steam (optional) to shape.
🎨 Customization Ideas
- Use variegated wool yarn for a unique color blend.
- Add crochet flowers, bows, or mini appliqués for decoration.
- Sew on non-slip soles (grip fabric or puff paint dots) if the baby is starting to stand.
🧺 Care Instructions
- Hand wash in cold or lukewarm water.
- Use gentle detergent; rinse thoroughly.
- Lay flat to dry – do not tumble dry.
🎁 Perfect For…
- Baby showers 🎀
- First birthday gifts 🎂
- Keepsake memory boxes 💝
- Handmade baby sets (match with hat & mittens!)
Video tutorial:
🧡 Final Thoughts
Crocheting baby booties is a joyful project that results in a charming, meaningful gift. Using soft woolen thread ensures warmth and comfort while giving you flexibility to personalize the design. Once you’ve made one pair, you’ll want to make more in every color!


