
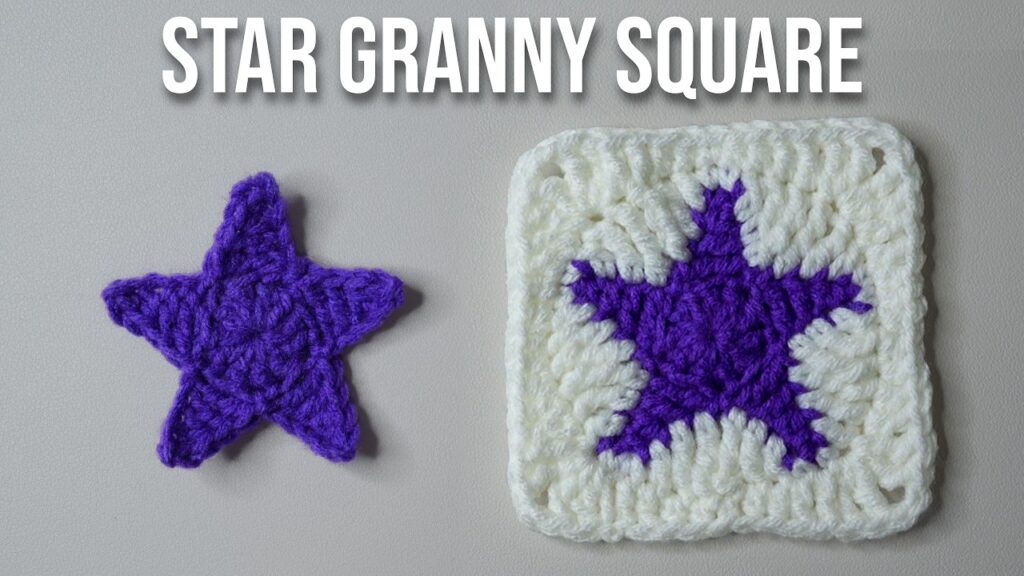
The Crochet Star Granny Square blends the timeless charm of a granny square with the elegant shape of a five- or six-pointed star. It’s the perfect project to add a little sparkle to your crochet collection. Use these squares in blankets, baby throws, or even as motifs for bags or garments.
🧶 Materials Needed
- Worsted Weight Yarn – Choose at least two contrasting colors:
- Color A: Star
- Color B: Background
- Crochet Hook – 5.0 mm (H/8) or appropriate size for your yarn
- Tapestry Needle
- Scissors
- Measuring Tape or Ruler (optional for size check)
📐 Finished Size
- Approx. 5″ to 6″ square, depending on yarn and tension
📌 Crochet Stitches & Abbreviations
- ch – chain
- sl st – slip stitch
- sc – single crochet
- hdc – half double crochet
- dc – double crochet
- tr – treble crochet
- sp – space
- st – stitch
🌟 Overview
This granny square is worked in the round, starting from the center and building outward. The star shape is formed first, and then it’s squared off with background rounds.
🧵 Step-by-Step Instructions: Crochet Star Granny Square
⭐ Round 1 – Magic Ring & Center Circle
- Start with a magic ring.
- Ch 2 (counts as first hdc), then work 9 hdc into the ring.
- Pull the ring closed and sl st into the top of the beginning ch-2.
🔄 Total: 10 hdc
⭐ Round 2 – Create Star Points
This round forms the 5 points of the star:
- Ch 5, sl st in 2nd ch from hook (picot tip), sc in next ch, hdc in next, dc in last ch.
- Skip 1 st on the round below, sl st into next st to anchor the point.
- Repeat from step 1 four more times to make 5 points.
- Sl st to the base of the first point.
🔄 You should now have 5 star points around the circle.
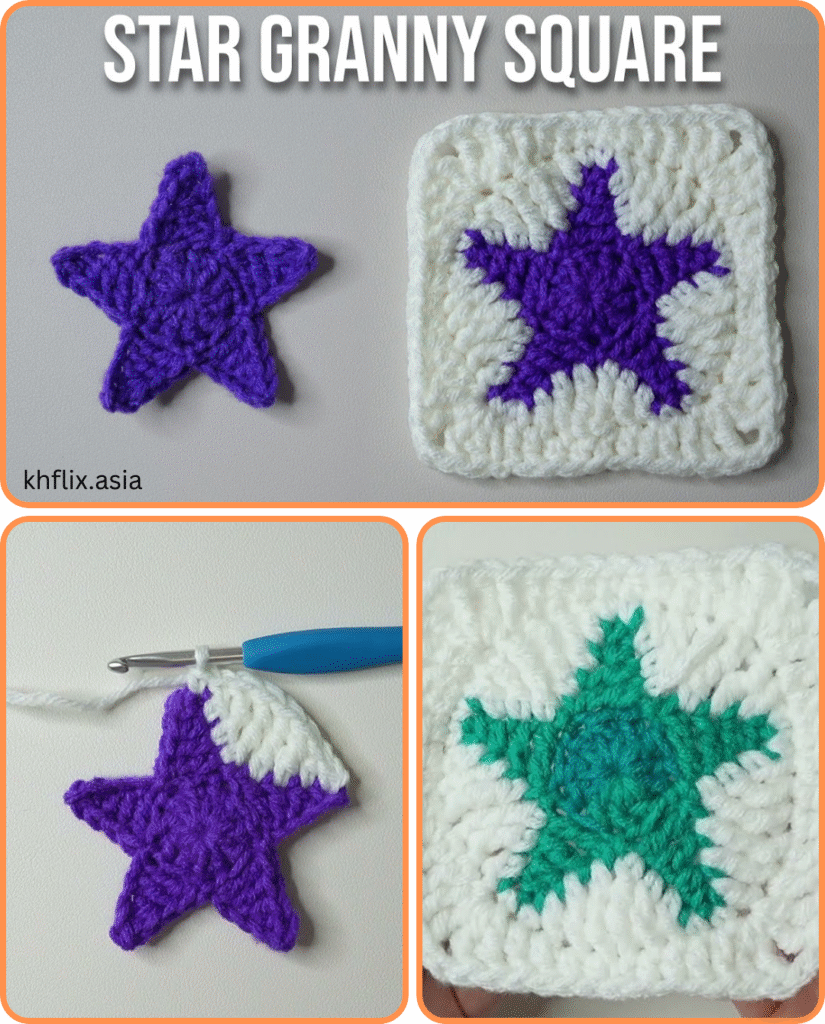
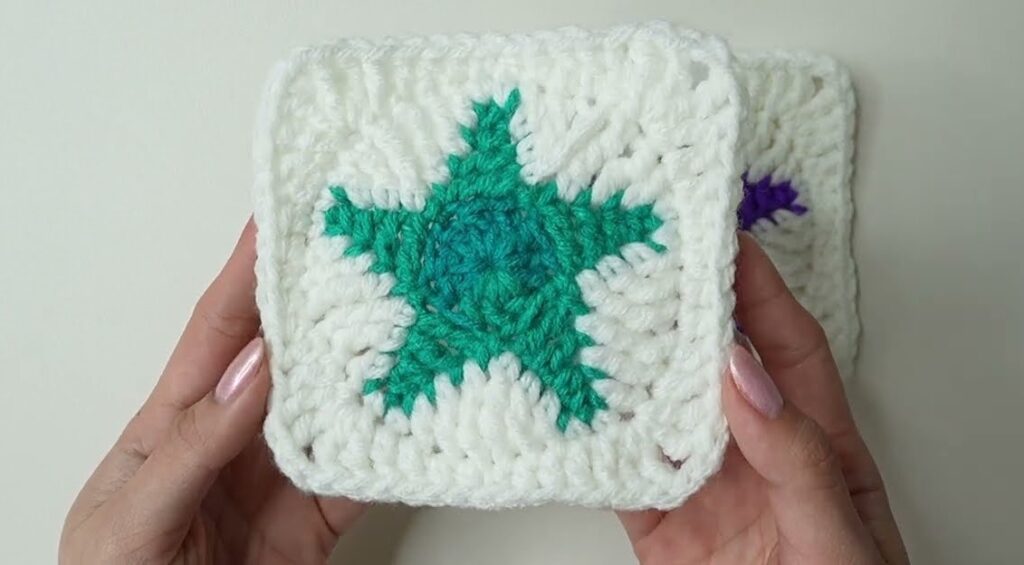
💡 Optional variation: To make a 6-pointed star, use 12 hdc in Round 1, and repeat the point-making process 6 times.
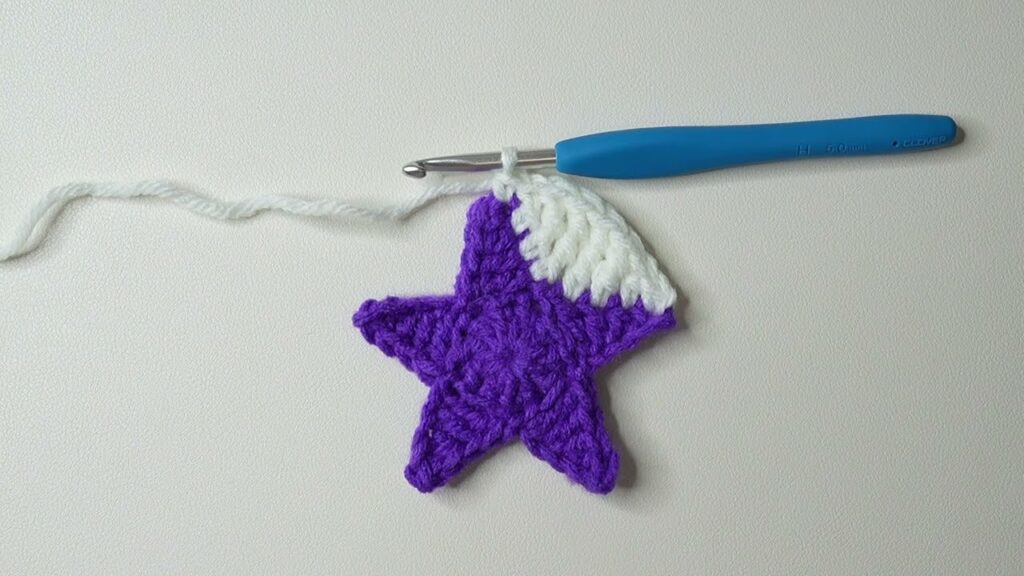
🎨 Round 3 – Squaring Off the Star
Switch to Color B (background color).
Now we’ll crochet around the star, filling the gaps and creating a square shape.
- Attach yarn with a sl st in the space between two star points.
- Ch 3 (counts as dc), dc in same space.
- Work 1 dc in the side of each point (around the dc and hdc posts), and 2 dc between each point.
- For the corners, choose 4 evenly spaced locations (between points) and work: (2 dc, ch 2, 2 dc).
This round is a bit flexible — the idea is to make sure the shape is balanced and square. Adjust stitch placement slightly if needed.
🟦 Round 4 – Granny Square Round
- Start in any corner ch-2 space.
- Ch 3 (counts as dc), 2 dc, ch 2, 3 dc in the same space.
- In each side space, work 3 dc clusters.
- In each corner, work: 3 dc, ch 2, 3 dc.
Repeat around. Sl st to top of ch-3 to close the round.
You should now have a traditional granny square look, with a star centered in the middle.

✅ Finishing Off
- Sl st to close.
- Cut yarn and weave in ends with your tapestry needle.
- Block the square if needed by pinning it to a foam board and steaming lightly.
🌈 Customization Ideas
- 🌟 Use metallic or sparkly yarn for the star (great for holiday decor!)
- 🧵 Make a blanket with alternating solid granny squares and star granny squares
- 🎄 Use red, white, and green yarns for a Christmas-themed star square
- 🌌 Use dark blue background with a white or yellow star for a galaxy vibe
📺 Bonus: How to Use Star Granny Squares
Here are some fun project ideas:
- Baby blankets or crib quilts
- Star-themed cushion covers
- Bags and totes
- Holiday bunting or garlands
- Wall hangings
🧺 Care Instructions
- Hand wash or gentle machine cycle
- Lay flat to dry
- Avoid wringing or twisting
Video tutorial:
🧡 Final Thoughts
The Crochet Star Granny Square is a creative twist on a classic that’s both visually striking and beginner-accessible. It’s a fun way to explore motifs and color combinations while building something you can use for years to come.


