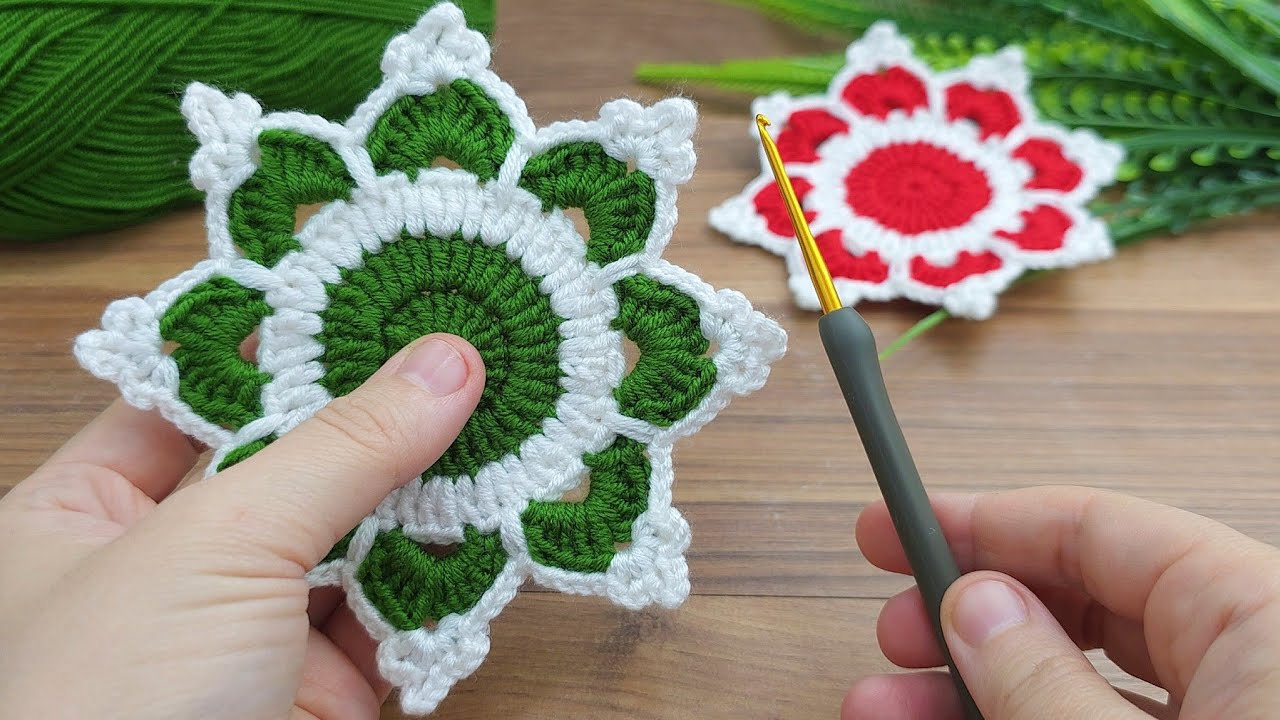
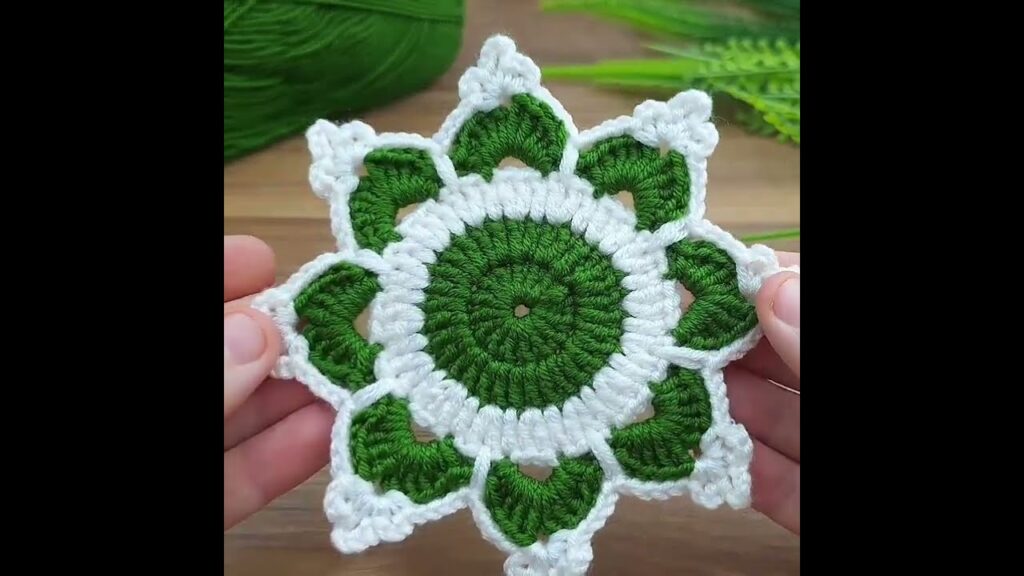
Crochet snowflake coasters are stunning little creations that look delicate but are quick and simple to make. Inspired by the natural symmetry of snowflakes, this coaster brings a touch of winter charm to your table. It can be made in traditional white, icy blues, or sparkly yarn for a frosty feel.
Whether you’re a beginner with a bit of experience or a seasoned crocheter, this project is fun and satisfying!

🧶 Materials Needed
- Cotton Yarn or Acrylic (Light DK or Sport Weight) – White, silver, blue, or any wintry color
- Crochet Hook – 3.5 mm or 4.0 mm (E/4 – G/6)
- Scissors
- Tapestry Needle – for weaving in ends
- Starch or fabric stiffener (optional) – for a firmer snowflake
❄️ Finished Size
- Approx. 4 to 5 inches in diameter, depending on yarn and hook size.
📌 Stitches & Abbreviations Used
- ch – chain
- sl st – slip stitch
- sc – single crochet
- dc – double crochet
- tr – treble crochet
- picot – ch 3, sl st in the first ch
- st(s) – stitch(es)
🧵 Crochet Snowflake Coaster Pattern
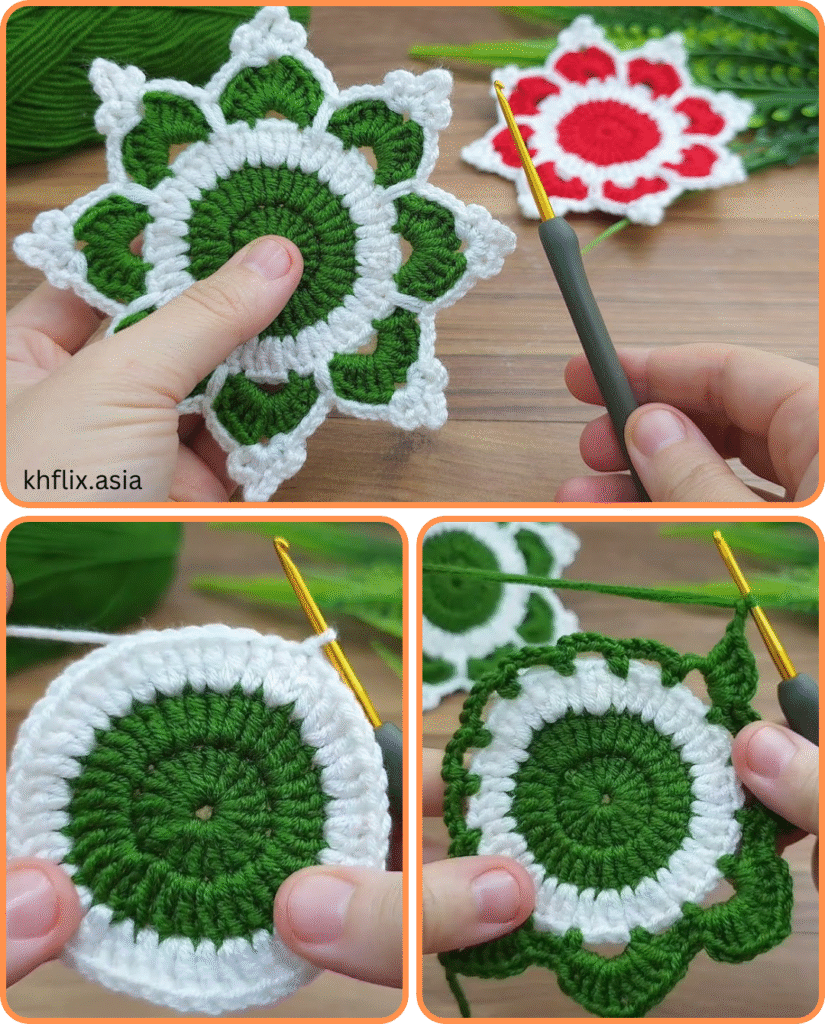
We’ll work in rounds to create a symmetrical snowflake shape with 6 points — just like real snowflakes.
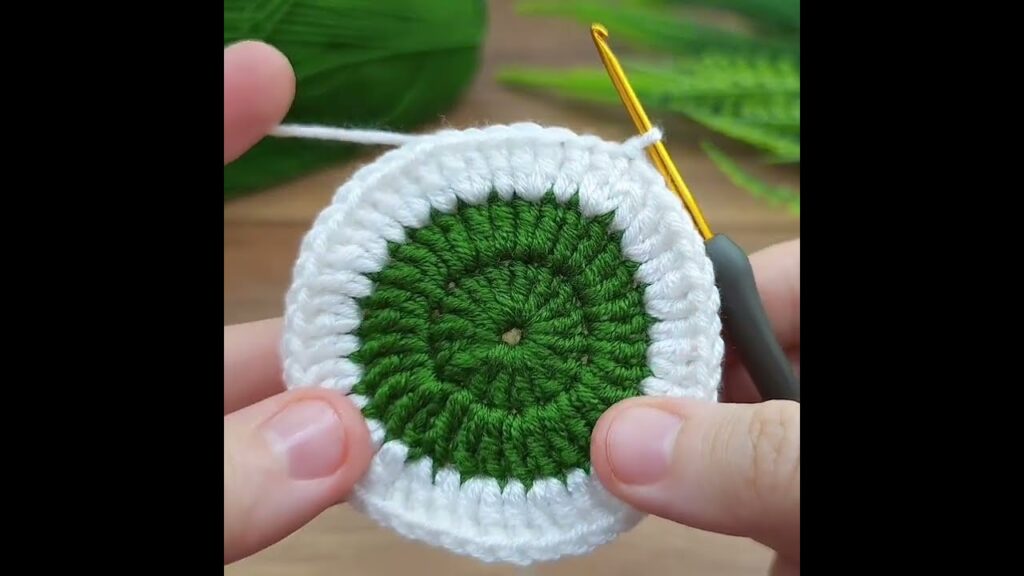
✅ Round 1 – Center Ring
- Start with a magic ring, or ch 4 and sl st to form a ring.
- Ch 3 (counts as 1 dc), then work 11 dc into the ring.
- Sl st to the top of the beginning ch-3 to close.
🔄 Total: 12 dc
✅ Round 2 – Foundation Loops
- Ch 5, skip 1 st, sl st into next st.
- Repeat around — you’ll create 6 chain loops total.
- Sl st into the base of the first ch-5 loop to join.
🔄 6 chain loops
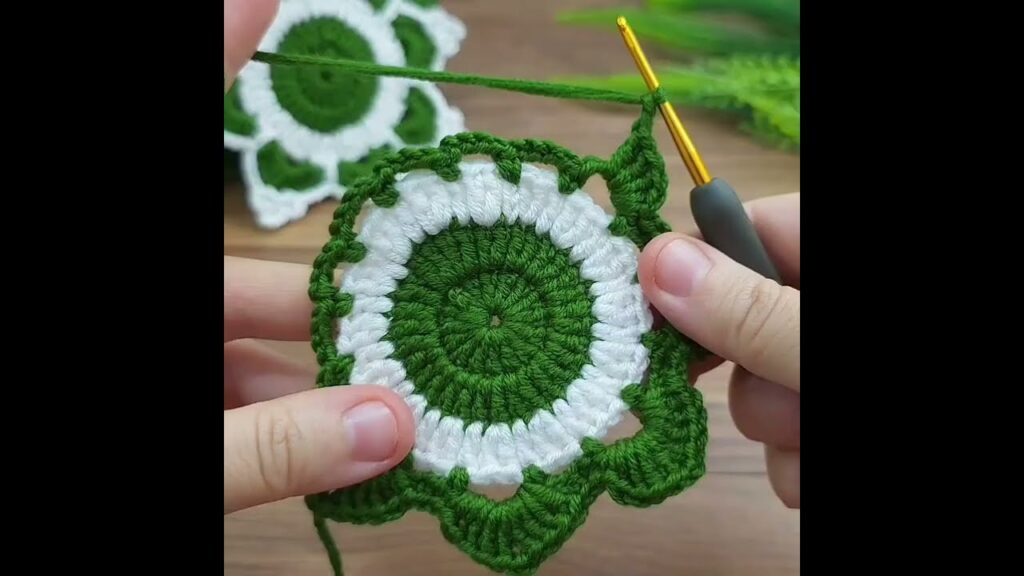
✅ Round 3 – Snowflake Arms
Now we’ll work into each ch-5 loop:
- Sl st into the first ch-5 loop.
- (Ch 1, sc, ch 3, dc, ch 3, tr, picot, tr, ch 3, dc, ch 3, sc) all in the same loop.
- Repeat the same snowflake arm in each of the remaining 5 loops.
- Sl st into the first sc to join.
Now your snowflake has 6 points with decorative arms!
✅ Optional Round 4 – Border Touch-Up
For a more lacy or icy look:
- Sl st into any ch-3 space on the side of an arm.
- (Ch 2, sc in next ch space) along the edge of each arm to add tiny loops or sparkly touches.
- Fasten off and weave in ends.
✂️ Finishing Touches
- Weave in yarn tails neatly with a tapestry needle.
- Block your snowflake gently by pinning it on a flat surface and spraying it lightly with water.
- Optional: Spray with a light starch or fabric stiffener for a crisp, flat finish — great for ornaments or holiday decor.
🌟 Style Variations
- Glitter yarn: Use white yarn with a silver thread for a frosty sparkle.
- Multicolor snowflakes: Use a different color for each round for a whimsical look.
- Larger coaster or doily: Add an extra round of open lace or shell stitches.
🎁 Ideas for Use
- Hot drink coasters (protect your table and look festive!)
- Gift sets (wrap 4 in ribbon for a handmade present)
- Tree ornaments (just add a loop to hang)
- Table scatter or wall garlands
🧺 Care Instructions
- Hand wash gently or spot clean
- Lay flat to dry
- Store flat between uses to keep shape
Video tutorial:
🧡 Final Thoughts
Crocheting snowflake coasters is a fast, fun, and festive project that brings a handmade touch to your winter decor. They look elegant in pure white or magical in icy blues and silvers. Make a few in one evening and enjoy them all season long!


