Sure! Here’s a step-by-step guide on how to crochet a hat in all sizes—from newborns to adults. This guide covers the basic method for making a top-down beanie using single crochet (sc) or double crochet (dc) stitches, depending on your preference. I’ll also include a size chart for different ages, so you can adjust accordingly.
HOW TO MAKE A CROCHET HAT IN ALL SIZES (STEP-BY-STEP)
SUPPLIES NEEDED:
- Yarn: Worsted weight (category 4) is common for hats.
- Crochet hook: Usually 5mm (H-8) or as recommended on your yarn label.
- Scissors
- Yarn needle
- Measuring tape
- Stitch marker (optional)
HAT SIZE CHART (APPROXIMATE GUIDELINES):
| Size | Head Circumference | Hat Height |
|---|---|---|
| Newborn | 13–14 in (33–36 cm) | 5 in (12.5 cm) |
| 0–3 months | 14–15 in (36–38 cm) | 5.5 in (14 cm) |
| 3–6 months | 15–16 in (38–41 cm) | 6 in (15 cm) |
| 6–12 months | 16–17 in (41–43 cm) | 6.5 in (16.5 cm) |
| Toddler (1–3) | 18–19 in (46–48 cm) | 7 in (18 cm) |
| Child (3–10) | 19–20 in (48–51 cm) | 7.5 in (19 cm) |
| Teen/Adult S | 21–22 in (53–56 cm) | 8 in (20.5 cm) |
| Adult M/L | 22–24 in (56–61 cm) | 8.5–9 in (21.5–23 cm) |
BASIC HAT CONSTRUCTION METHOD:
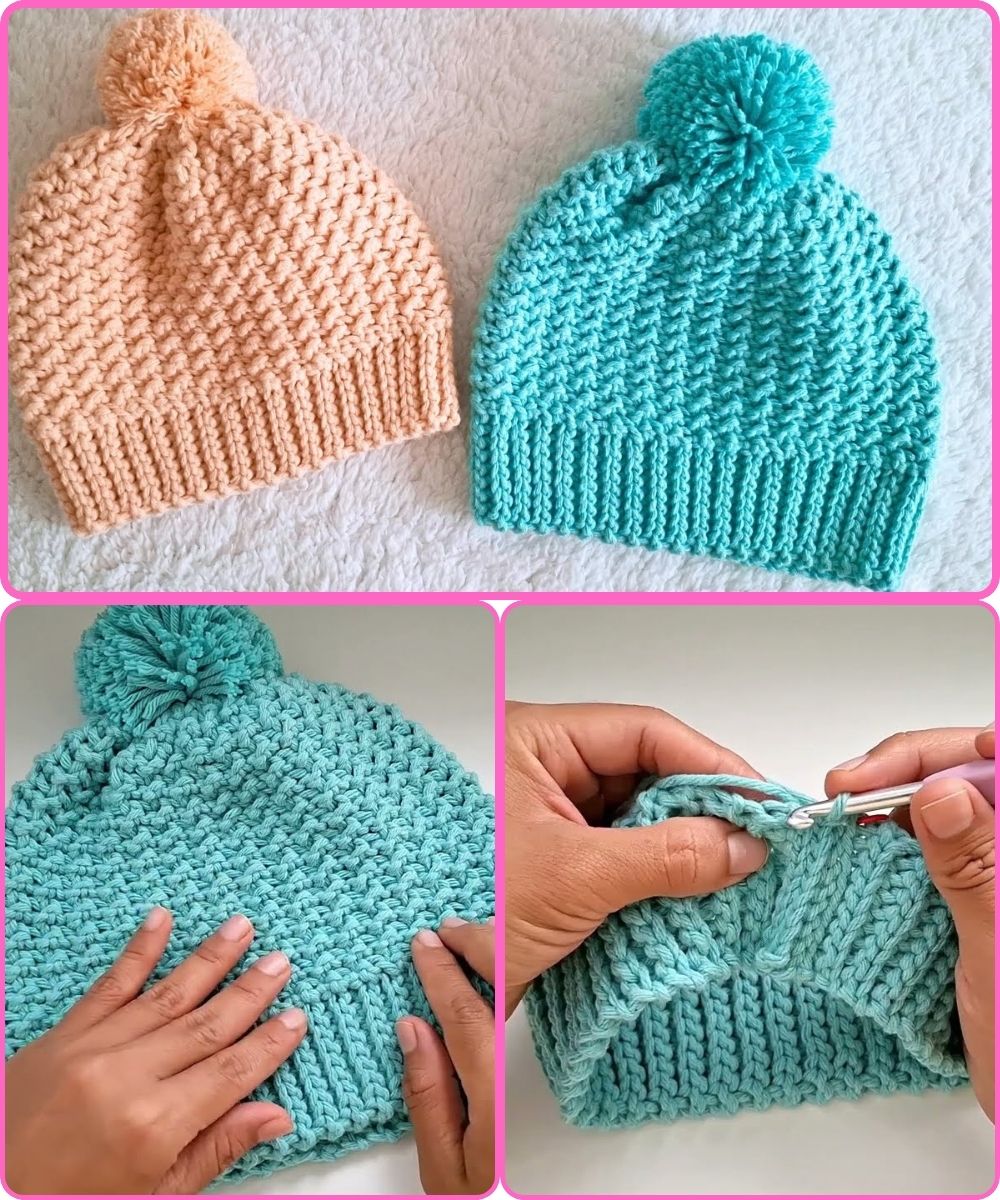
We’ll use a top-down approach: starting at the crown and increasing until it fits the head circumference, then crocheting straight for the height of the hat.
STEP-BY-STEP INSTRUCTIONS
Step 1: Make a Magic Ring
- Wrap the yarn around your fingers to make a magic ring (or start with ch 4 and join to make a circle).
- This forms the crown.
Step 2: Round 1 — Form the Crown
- Into the ring, make 10–12 dc (or sc) depending on your stitch and yarn.
- Join with a slip stitch to the first stitch.
- Example: 12 dc into the ring.

Step 3: Round 2 — Increase
- dc 2 in each stitch around (total 24 dc).
- Join with a slip stitch.
Step 4: Continue Increasing in Rounds
Each round will increase the number of stitches. Here’s a general pattern for double crochet:
| Round | Instructions | Total Stitches |
|---|---|---|
| 1 | 12 dc in magic ring | 12 |
| 2 | 2 dc in each st | 24 |
| 3 | (1 dc, 2 dc in next st) repeat | 36 |
| 4 | (2 dc, 2 dc in next st) repeat | 48 |
| 5 | (3 dc, 2 dc in next st) repeat | 60 |
| 6 | (4 dc, 2 dc in next st) repeat | 72 |
TIP: Keep increasing until the diameter of your circle = desired crown diameter, which is:
Crown Diameter = Head Circumference ÷ π (approx. 3.14)
Example: For a 20 in head → 20 ÷ 3.14 ≈ 6.4 in crown diameter
Use a measuring tape to check!
Step 5: Work Even Rounds (No Increases)
- Once the crown is wide enough, stop increasing.
- Work 1 dc (or sc) in each stitch around until the hat reaches the desired height (see size chart above).
- Continue for several rounds depending on height needed.

Step 6: Finishing
- When the hat is the right height, fasten off the yarn.
- Weave in the tail using a yarn needle.
OPTIONAL ADDITIONS:
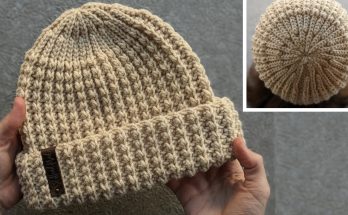
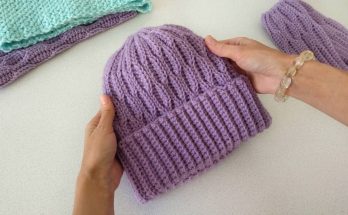
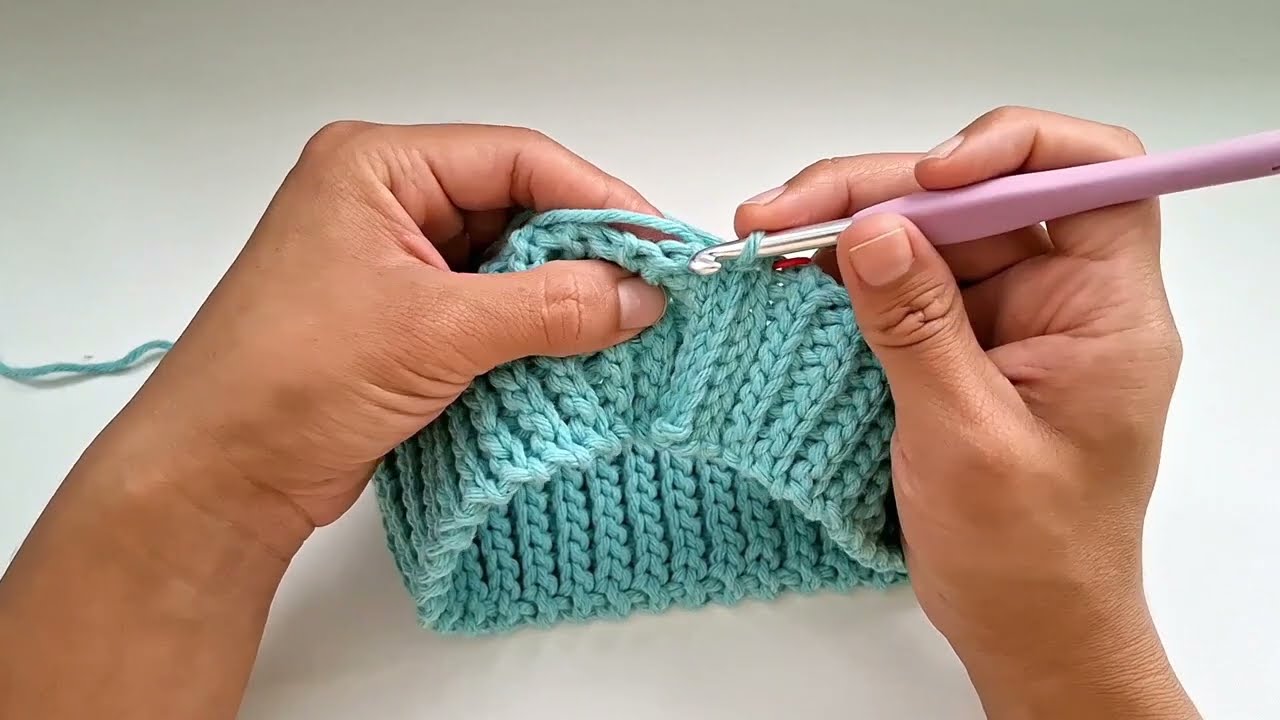
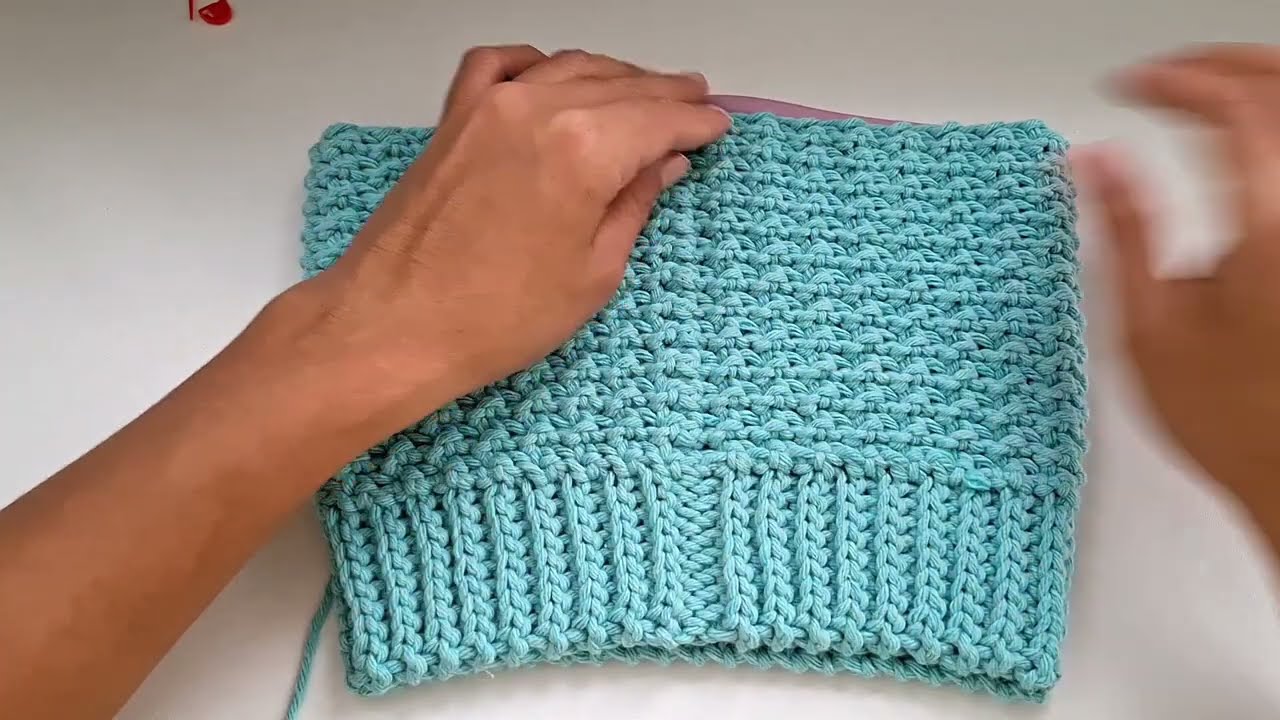
- Brim: Add rows of single crochet or front post/back post stitches for a ribbed look.
- Earflaps: Chain desired length, then decrease in rows.
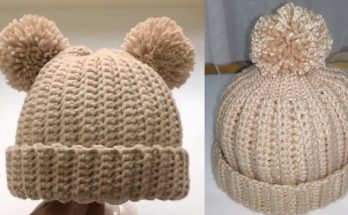
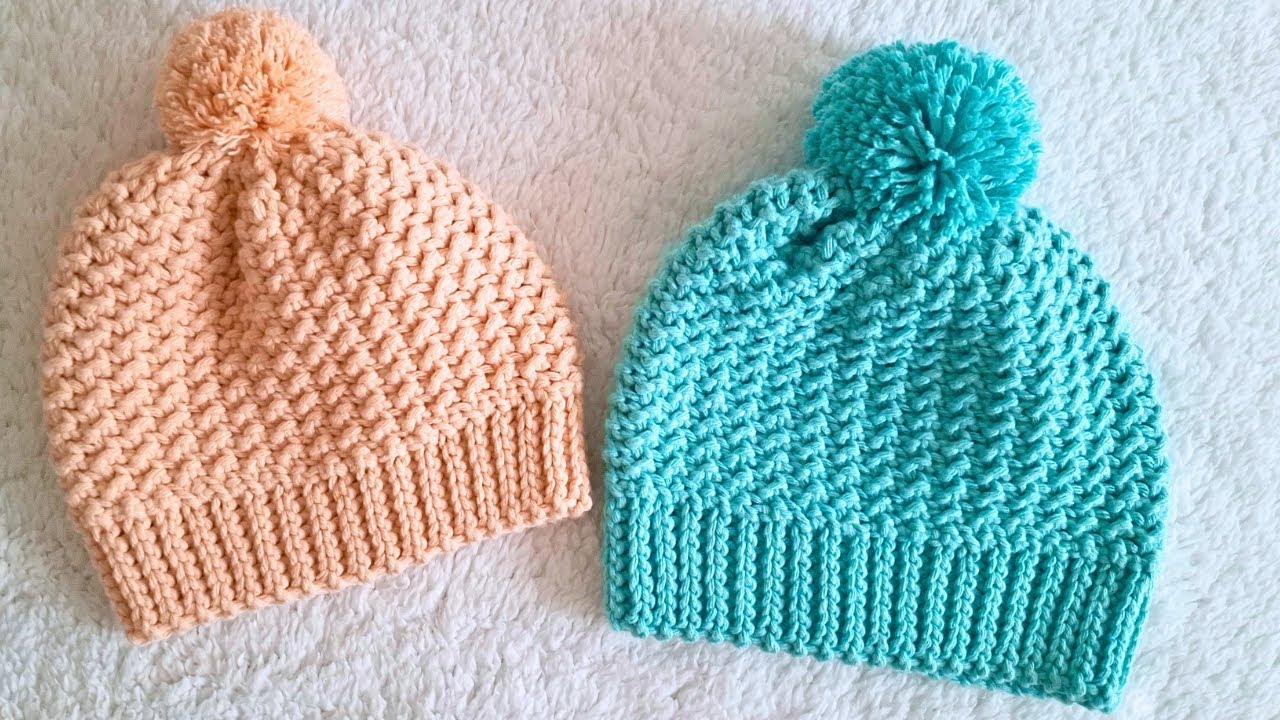
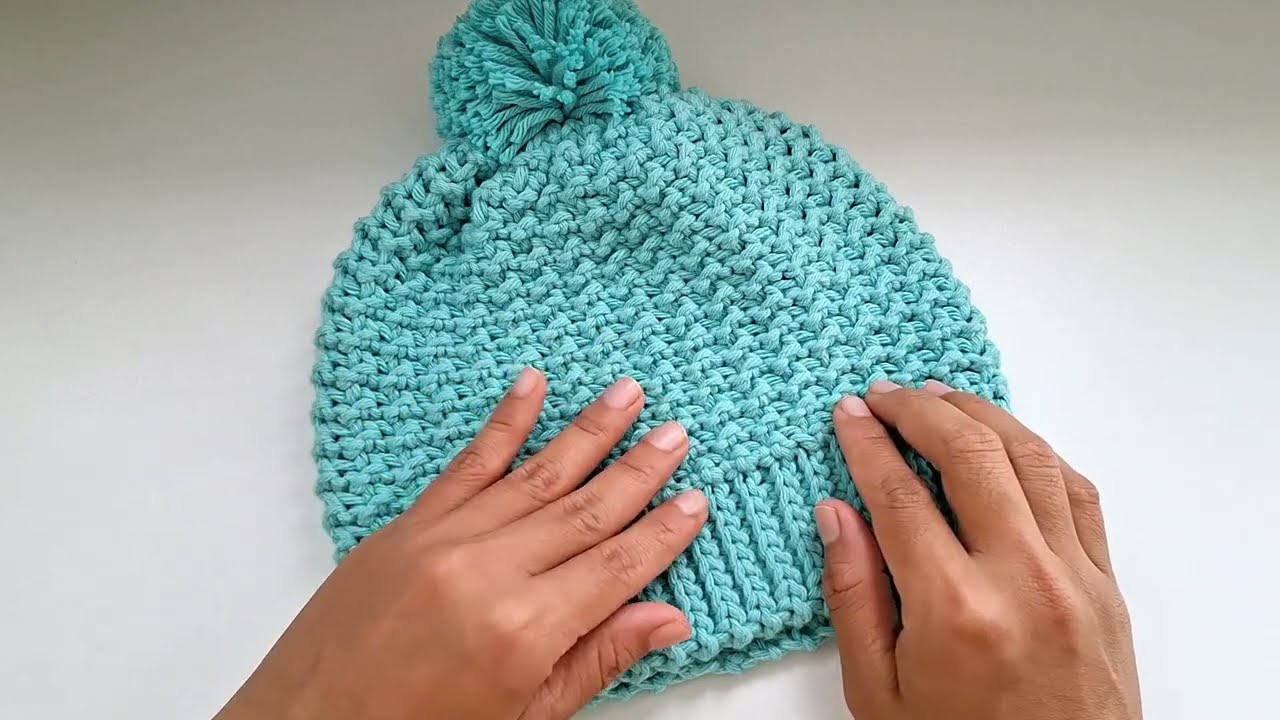
- Pom-pom: Attach a pom-pom on top for flair.
- Color Changes: Use stripes or patterns as desired.
SAMPLE PATTERN — CHILD SIZE BEANIE (US TERMS)
Hook: 5mm
Yarn: Worsted Weight
Round 1: Magic ring, 12 dc in ring. Join. (12 sts)
Round 2: 2 dc in each st around. Join. (24)
Round 3: *1 dc, 2 dc in next* repeat around. (36)
Round 4: *2 dc, 2 dc in next* repeat. (48)
Round 5: *3 dc, 2 dc in next* repeat. (60)
Rounds 6–13: 1 dc in each st around. (60)
Fasten off, weave in ends.
NOTES & TIPS:
- Use sc for a tighter, warmer hat.
- Use dc for faster progress and more flexibility.
- Adjust stitch count slightly based on your personal tension or yarn/hook combo.
- Use stitch markers to keep track of rounds if working in continuous spiral.
Watch tutorial: