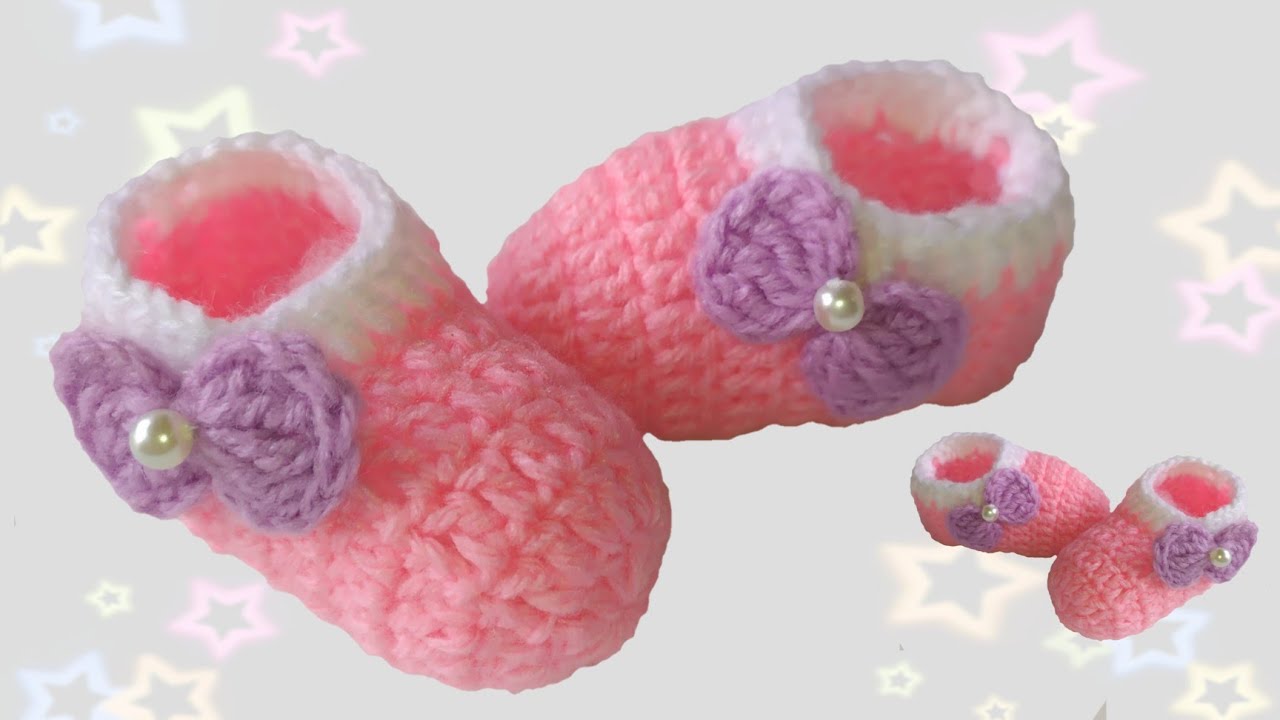
Crocheting baby shoes is a delightful project that results in adorable, handmade footwear perfect for gifting or dressing up little ones. Whether you’re a seasoned crocheter or a beginner, this guide will walk you through the process of creating charming baby shoes.

🧵 Materials You’ll Need
Before you begin, gather the following supplies:
- Yarn: Choose a soft, washable yarn suitable for babies. Acrylic or cotton yarns are popular choices.
- Crochet Hook: Select a hook size appropriate for your chosen yarn. Refer to the yarn label for recommendations.
- Tapestry Needle: For weaving in ends and sewing pieces together.
- Scissors: To cut yarn.
- Stitch Markers: Optional, but helpful for keeping track of rounds.
👶 Choosing the Right Size
Baby shoe sizes can vary, but here’s a general guide based on age:
- Newborn: 3.5″ sole length
- 0–3 Months: 3.75″ sole length
- 3–6 Months: 4.0″ sole length
- 6–12 Months: 4.25″ sole length
- 12–18 Months: 4.5″ sole length
To ensure a proper fit, it’s best to measure the baby’s foot length and add approximately 0.5″ for wiggle room.
🧶 Step-by-Step Baby Shoe Pattern
Sole (Make 2)
- Foundation Chain: Ch 10.
- Round 1: In the second ch from the hook, make 2 half double crochets (hdc). Continue by making 7 hdc in the next 7 chains. In the last chain, make 5 hdc. Working on the opposite side of the foundation chain, make 7 hdc in the next 7 chains. In the last chain, make 2 hdc. Join with a slip stitch (sl st) to the top of the first hdc. (24 stitches)
- Round 2: Ch 1. In the first st, make 2 sc. Sc in the next 6 sts. 2 sc in the next 6 sts. Sc in the next 6 sts. 2 sc in the next 2 sts. Join with a sl st to the first sc. (36 stitches)
- Round 3: Ch 1. Sc in the first 6 sts. 2 sc in the next st. Sc in the next 6 sts. 2 sc in the next st. Repeat this pattern around. Join with a sl st to the first sc. (48 stitches)
Note: Adjust the number of stitches in each round to match the desired sole length.
Upper (Make 2)
- Foundation Chain: Ch 12 (or the number of stitches that matches the width of the sole).
- Row 1: Sc in the second ch from the hook and in each ch across. Ch 1, turn.
- Row 2 and onwards: Sc in each st across. Repeat until the piece measures the desired height for the shoe’s upper.
- Fasten off, leaving a long tail for sewing.
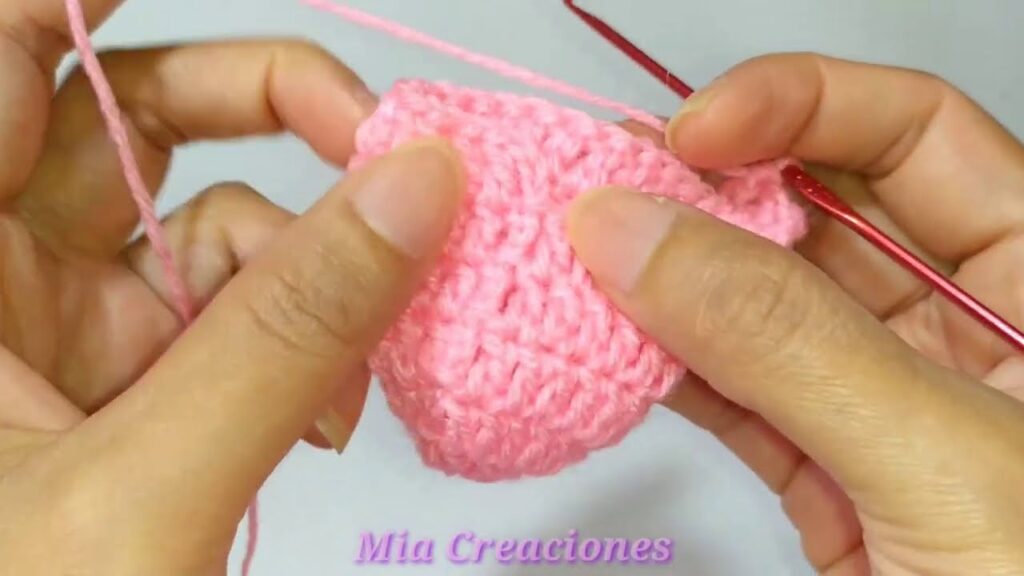
Assembly
- Attach the Upper to the Sole: Align the upper piece with the front edge of the sole. Using the tapestry needle and the yarn tail, sew the upper to the sole, ensuring a snug fit.
- Form the Heel: Fold the back edge of the upper piece down to create the heel. Sew the sides together to secure the heel in place.
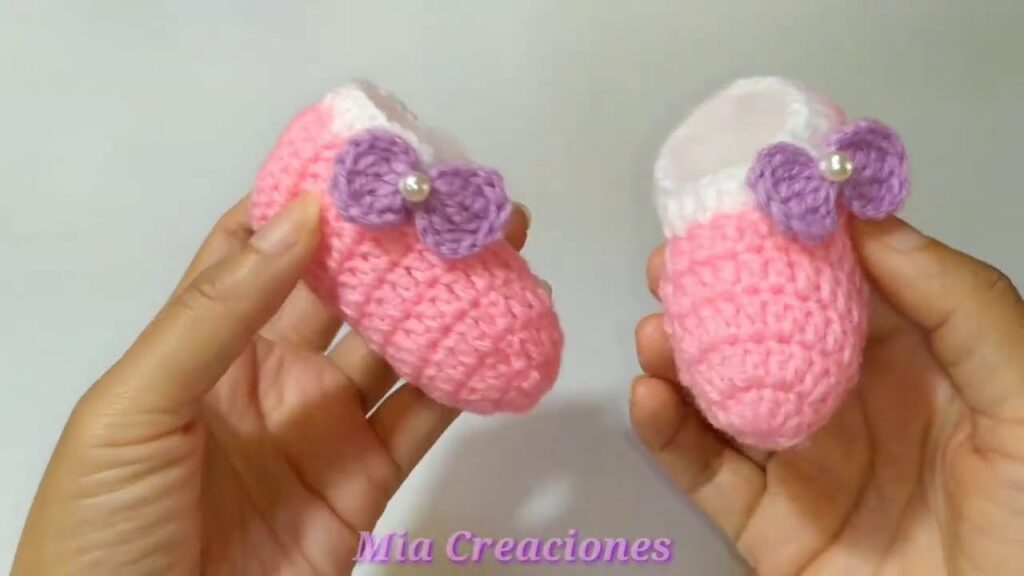
- Add a Strap or Closure: For a secure fit, crochet a small strap or use a button closure. Attach it across the top of the shoe and sew it in place.
- Weave in Ends: Use the tapestry needle to weave in any loose yarn ends.
🎨 Customization Ideas
- Colors: Use different yarn colors for the sole, upper, and accents to match your desired theme.
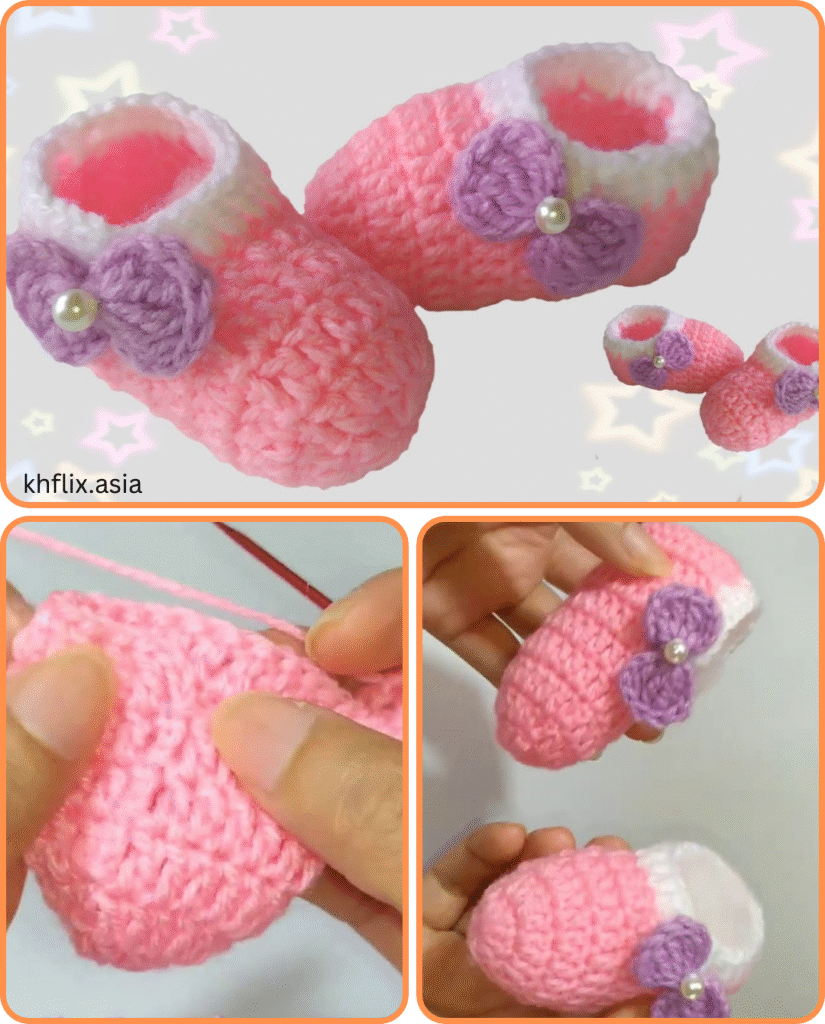
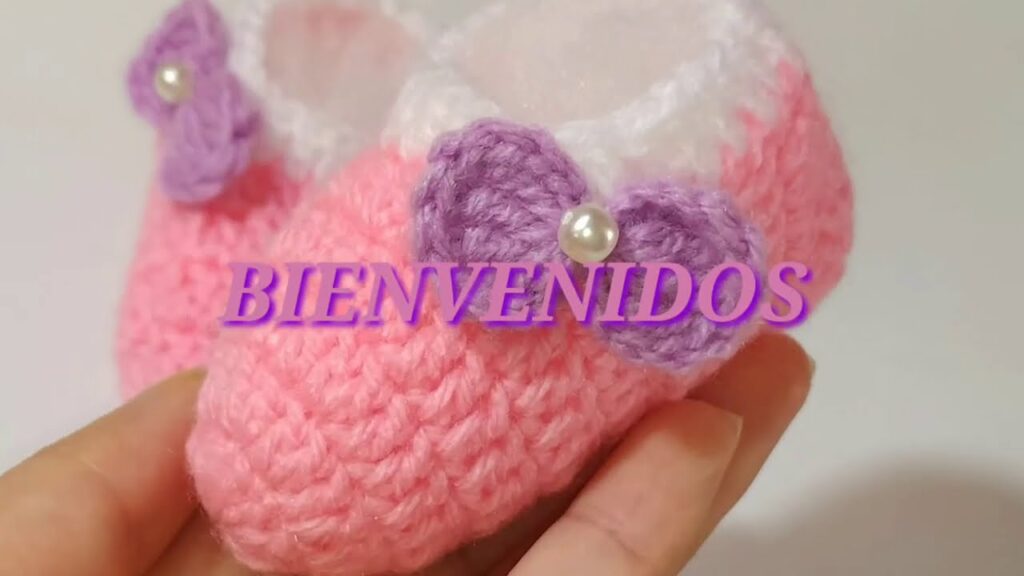
- Embellishments: Add buttons, bows, or appliqués for extra charm.
- Textures: Incorporate different stitches like half double crochet (hdc) or double crochet (dc) for varied textures.
📚 Additional Resources
For more detailed patterns and tutorials, consider the following:
- Sweetheart Baby Shoes: A free pattern featuring a heart-shaped design.
- Classic Crochet Baby Booties: A timeless design with a folded cuff.
- Leafy Steps Baby Shoes: A pattern inspired by nature, complete with leaf accents.
🧶 Tips for Success
- Gauge: Always check your gauge to ensure the shoes will fit properly.
- Soft Yarn: Opt for soft, baby-friendly yarns to ensure comfort.
- Secure Fastenings: Ensure any buttons or embellishments are securely attached to prevent choking hazards.
Video tutorial:
Happy crocheting! 🧶👶


