Crocheted cat appliqués are a delightful way to add a touch of whimsy and warmth to your handmade accessories. Whether you’re looking to embellish scarves, hats, or baby blankets, these charming feline motifs bring personality and playfulness to your creations. In this article, we’ll explore various ways to incorporate crocheted cat appliqués into your projects, along with some free patterns and tips to get you started.
🧶 What Is a Crocheted Cat Appliqué?
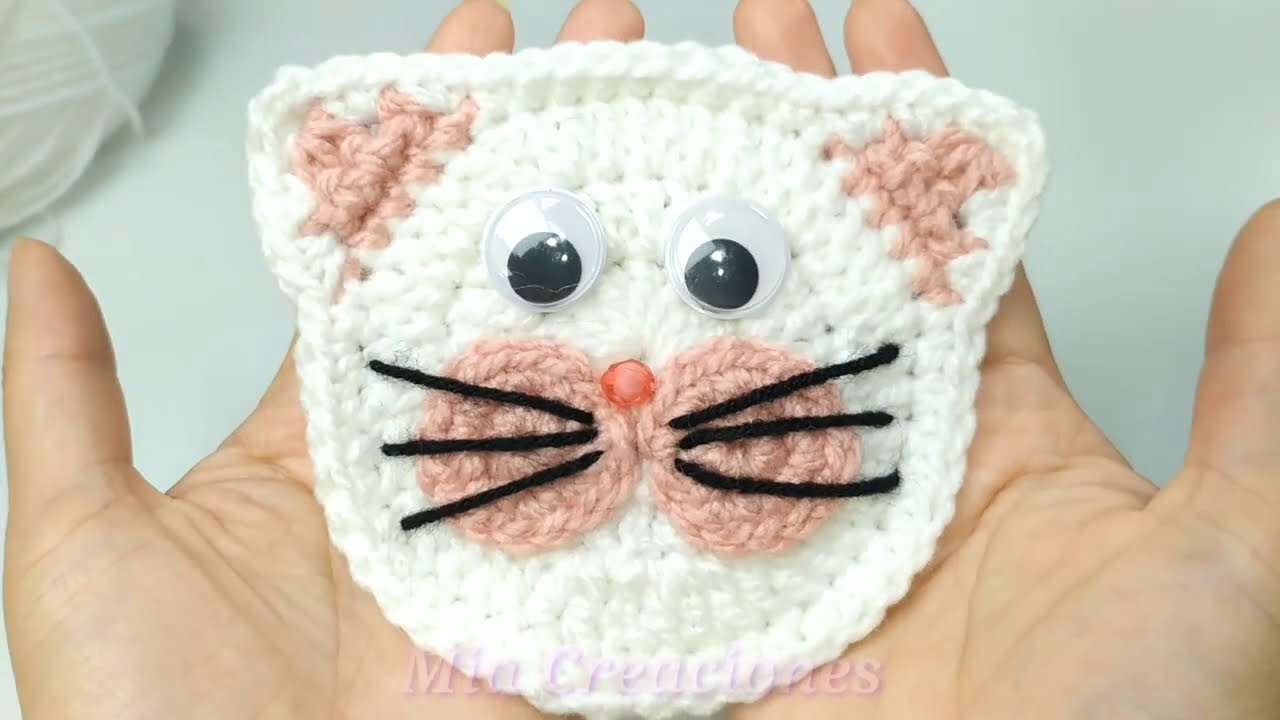
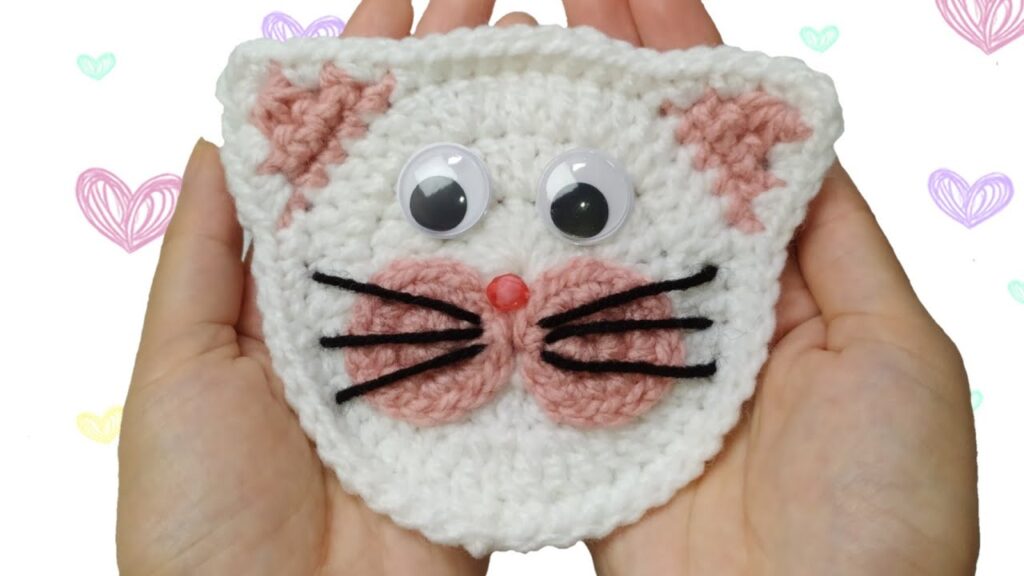
An appliqué is a decorative element sewn onto a larger piece of fabric or crochet work. In the case of a crocheted cat appliqué, it’s a small, crocheted motif—often featuring a cat’s face, ears, or full body—that can be sewn onto scarves, hats, or blankets to add visual interest and a personal touch.
These appliqués can be made using basic crochet stitches and are suitable for crocheters of all skill levels. They can be customized in various colors and sizes to match your project’s theme or the recipient’s preferences.
🧶 Materials Needed
- Yarn: Choose yarn in your preferred colors. For a classic look, gray or black works well for the cat’s body, with pink for the nose and ears.
- Crochet Hook: Select a hook size appropriate for your yarn. A 4.00 mm (G-6) hook is commonly used for worsted weight yarn.
- Tapestry Needle: For weaving in ends and sewing the appliqué onto your project.
- Scissors: To cut yarn.
🐱 Cat Appliqué Pattern
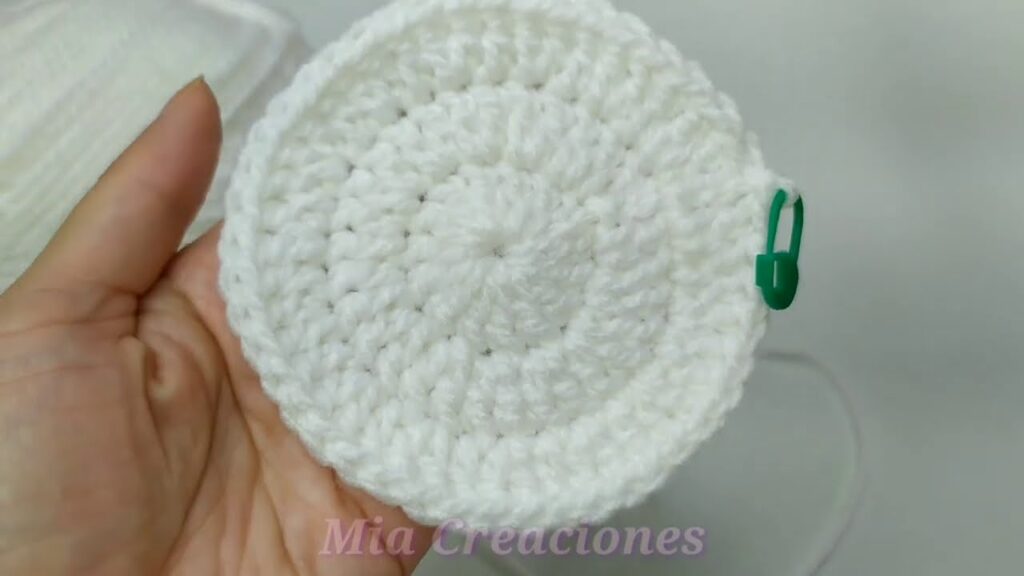
Head and Body:
- Start with a magic ring and chain 1.
- Make 10 single crochet (SC) stitches into the ring.
- Join with a slip stitch to the first SC.
- Chain 1.
- For Round 2, make 2 SC in each stitch around (20 SC).
- Join with a slip stitch to the first SC.
- For Round 3, make 2 SC in the first stitch, then 1 SC in the next stitch. Repeat around (30 SC).
- Join with a slip stitch to the first SC.
- For Round 4, SC in the first 10 stitches, then double crochet (DC) in the next 5 stitches, SC in the next 10 stitches, then DC in the next 5 stitches. Join with a slip stitch to the first SC.
Ears (Make 2):
- Start with a magic ring and chain 1.
- Make 6 SC into the ring.
- Join with a slip stitch to the first SC.
- For Round 2, make 2 SC in each stitch around (12 SC).
- Join with a slip stitch to the first SC.
- For Round 3, make 1 SC in each stitch around (12 SC).
- Join with a slip stitch to the first SC.
Tail:
- Chain 20.
- Join with a slip stitch to the bottom of the cat’s body.
- Fasten off, leaving a long tail for sewing.

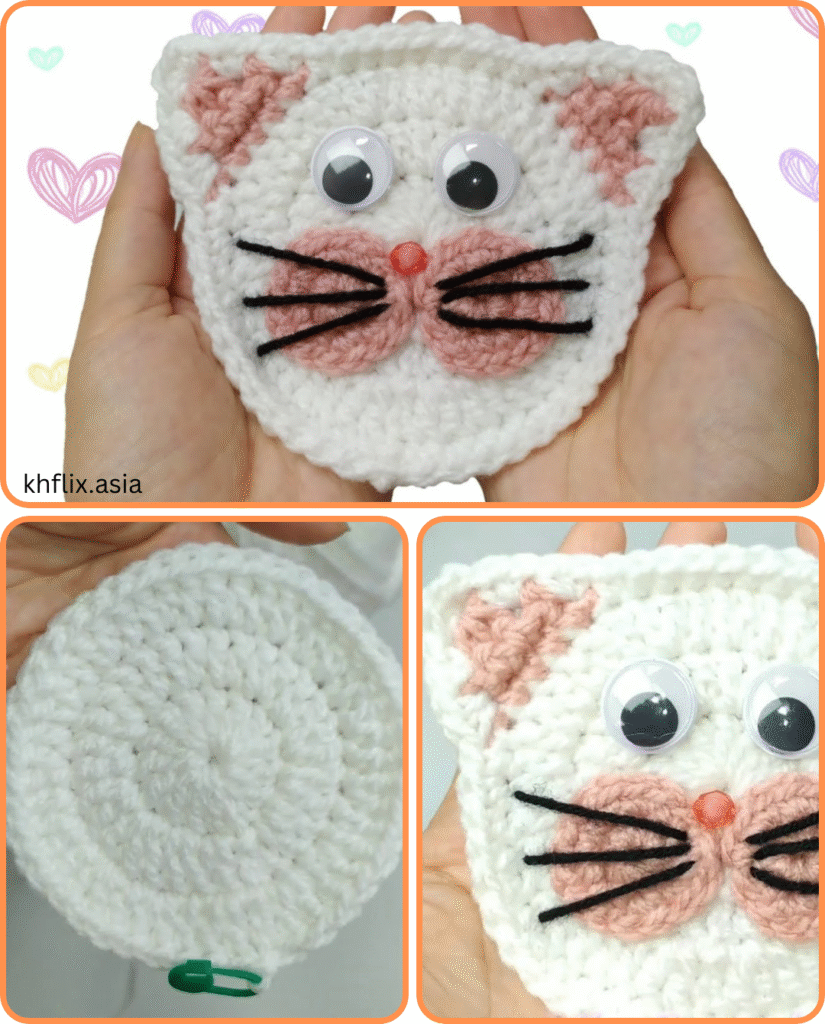
🧵 Assembly
- Sew the ears onto the top of the cat’s head.
- Attach the tail to the back of the body.
- Use a tapestry needle to weave in any loose ends.
🎨 Optional Embellishments
- Eyes: Embroider eyes using black yarn or attach small buttons.
- Nose and Whiskers: Use pink yarn for the nose and black yarn for the whiskers.
- Collar: Add a small chain or piece of yarn around the neck for a collar.

🧣 Attaching the Appliqué
Once your cat appliqué is complete, sew it onto your desired project using a whip stitch or slip stitch. Position it where you want and secure it firmly.
Video tutorial:
🐾 Final Thoughts
Crocheted cat appliqués are a delightful way to personalize your handmade accessories. Whether you’re adding them to scarves, hats, or baby blankets, these charming motifs bring warmth and personality to your creations. With a variety of patterns and techniques available, you can easily incorporate these feline-inspired embellishments into your crochet projects.
Happy crocheting! 🧶🐱


