Sure! Here’s a detailed guide on how to make a beautiful crochet hat from one skein of yarn using the honeycomb pattern. This project is perfect for intermediate crocheters or confident beginners who are comfortable with front and back post stitches or working in the round.
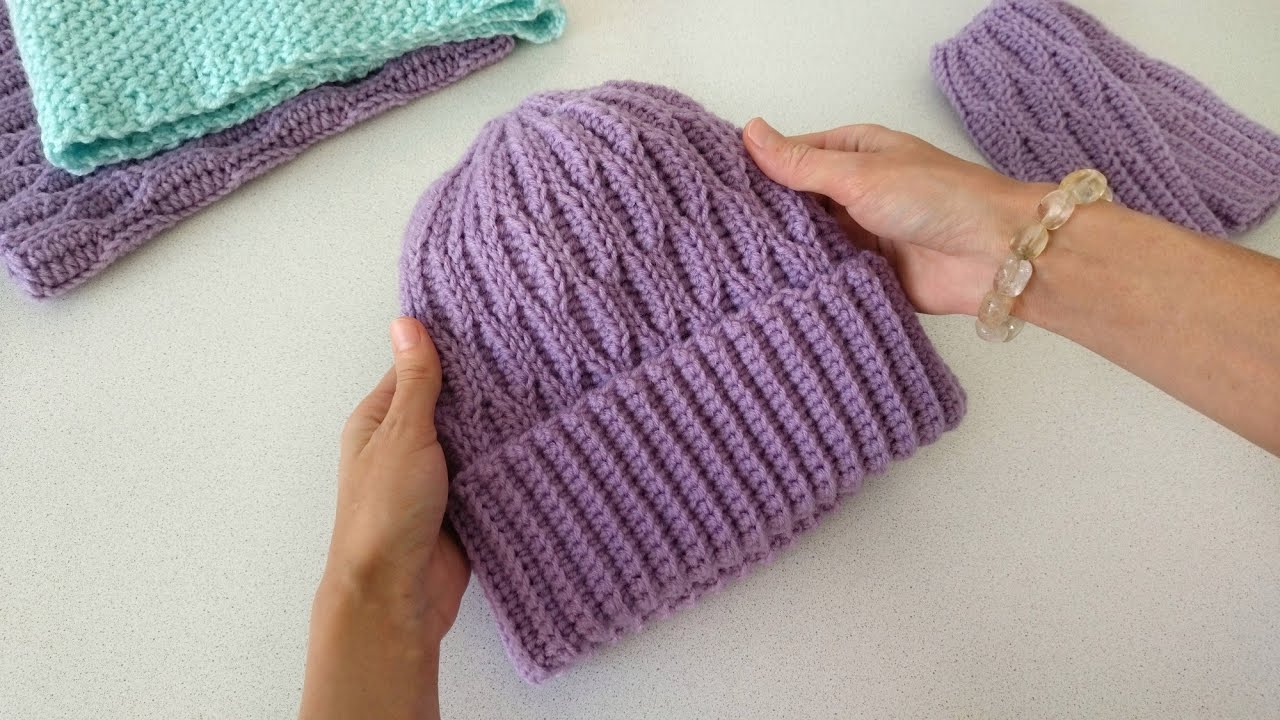
How to Make a Beautiful Crochet Hat from One Skein
Pattern: Honeycomb Texture Hat
Skill Level: Intermediate
Yarn: 1 skein (approx. 100g / 200–250 yards) of worsted weight yarn (category 4)
Hook Size: 5.0 mm (H) crochet hook (adjust as needed for gauge)
Gauge (in pattern): About 14 sts x 10 rows = 4″x4″
Finished Size: Fits average adult (head circumference 21–23 inches)
Supplies:
- 1 skein of worsted weight yarn (wool, acrylic, or blend)
- 5.0 mm crochet hook
- Yarn needle
- Scissors
- Stitch marker (optional)

Abbreviations (US Terms):
| Abbreviation | Meaning |
|---|---|
| ch | chain |
| sc | single crochet |
| dc | double crochet |
| fpdc | front post double crochet |
| bpdc | back post double crochet |
| sl st | slip stitch |
| st(s) | stitch(es) |
| rep | repeat |
About the Honeycomb Pattern:
The honeycomb texture is created by alternating front post double crochet (fpdc) and back post double crochet (bpdc) stitches. It gives a raised, 3D texture that resembles honeycomb cells.
Instructions:
1. Start with the Ribbed Brim (worked flat, then joined):
Ch 10.
Row 1: Sc in 2nd ch from hook and across. (9 sts)
Row 2: Ch 1, turn. Sc in back loop only (BLO) across.
Rep Row 2 until the band measures approx. 18" (unstretched) or fits comfortably around your head.
Do not fasten off.
Join the brim:
Fold the strip so short ends meet. Sl st through both loops of each stitch across to join. Do not cut yarn. Turn band inside out so seam is on the inside. Now you’ll work around the edge for the hat body.
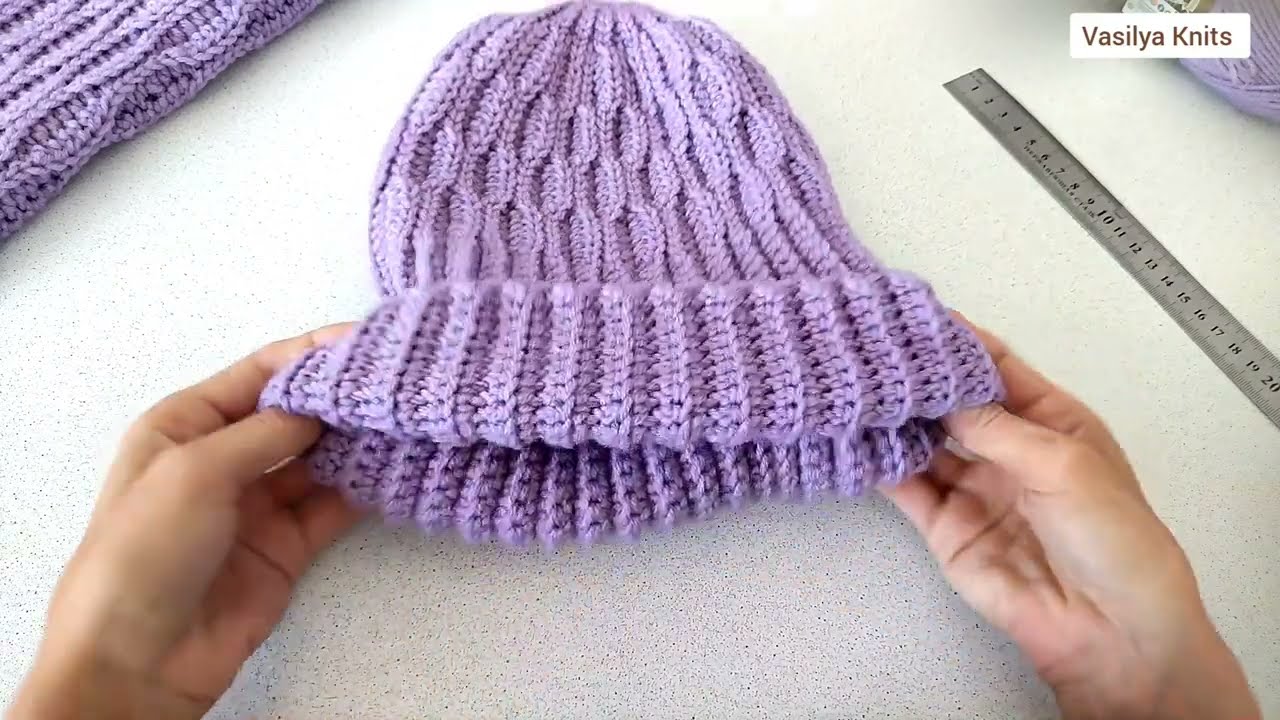

2. Hat Body:
Round 1:
Ch 1, sc evenly around the edge of the band. (Place approx. 60 sc evenly; adjust to make it a multiple of 6). Sl st to first sc to join.
Round 2:
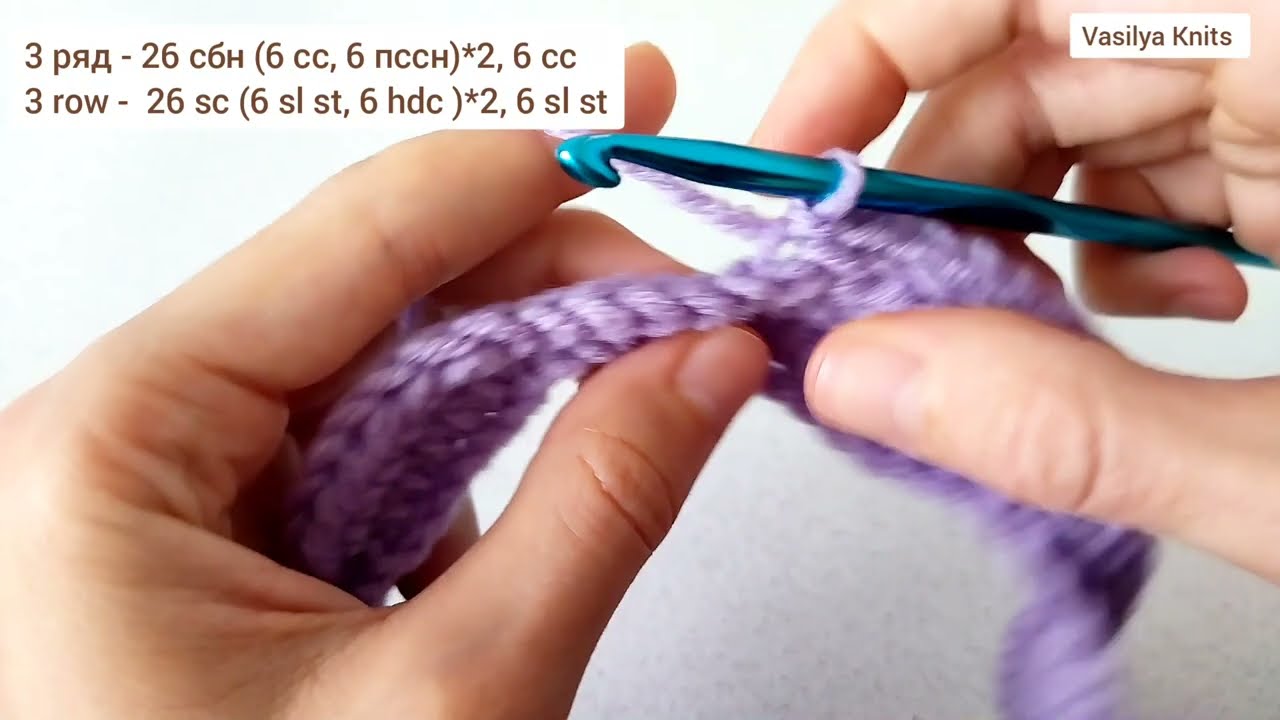
Ch 2 (does not count as st), fpdc around next st, bpdc around next st; repeat from * to * around. Sl st to join.
Round 3:
Repeat Round 2, but alternate the placement of the fpdc and bpdc stitches to form the honeycomb texture. So if you did fpdc over a stitch in the previous round, now do bpdc, and vice versa.
Rounds 4–12:
Continue alternating fpdc and bpdc in every round, matching the post stitches accordingly. The texture should now look like a honeycomb with raised cells.
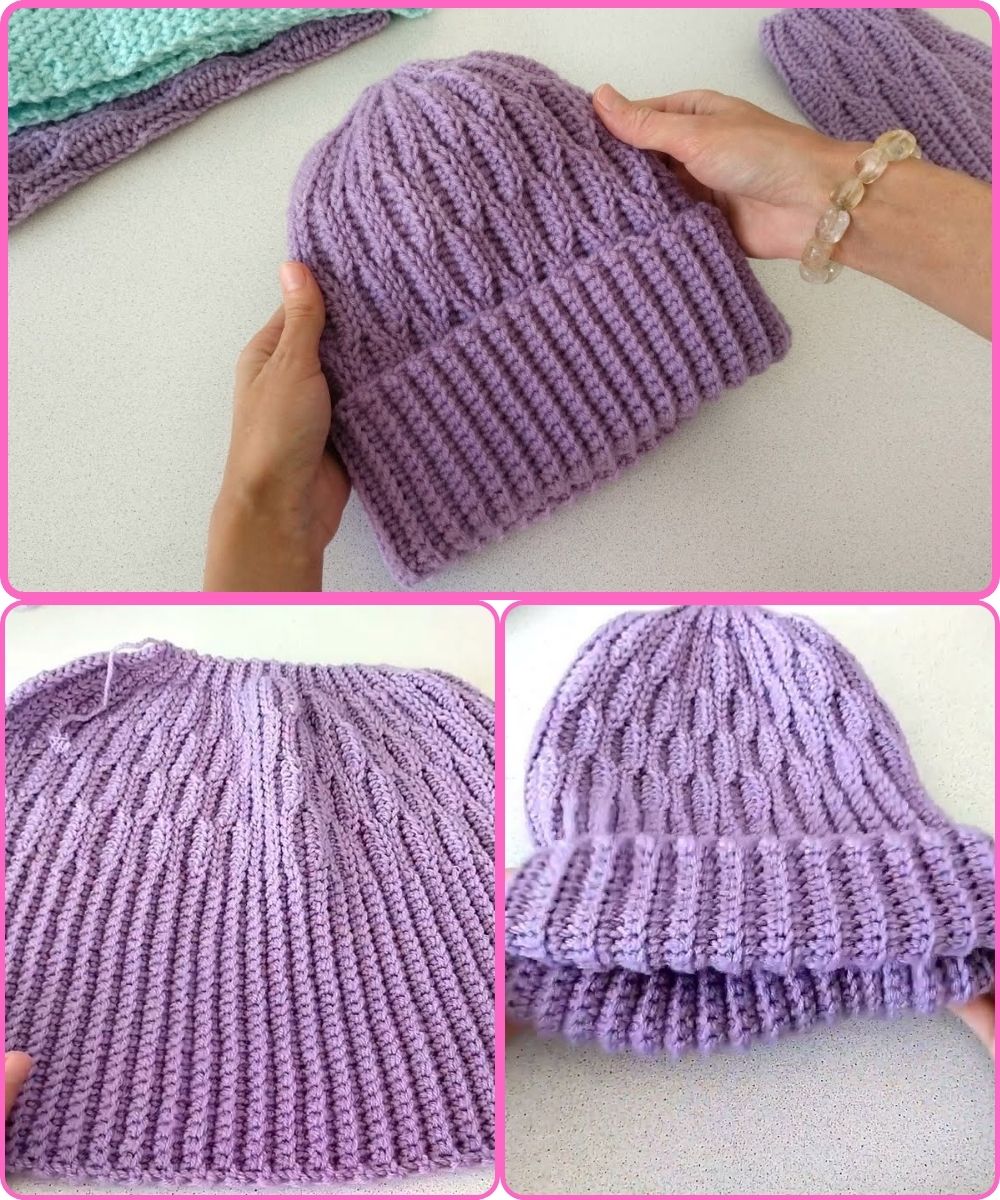
3. Shape the Crown (Top of Hat):
Start decreasing while maintaining the texture:
Round 13:
fpdc, bpdc, dc2tog over next two sts repeat around. (Adjust based on stitch count)
Round 14:
Continue pattern, but decrease again: fpdc, dc2tog, repeat around.
Round 15:
Dc2tog around to close the top.

4. Finish:
- Fasten off, leaving a long tail.
- Thread the tail through remaining stitches and pull tight to close the top.
- Weave in all ends.
Optional Embellishments:
- Add a faux fur or yarn pom-pom
- Sew on a leather or wooden tag
- Use a gradient or speckled yarn for added dimension
Watch tutorial:


