Sure! Here’s a detailed step-by-step guide on how to knit a headband or hat, perfect for beginners or intermediate knitters. We’ll start with a basic knitted headband (great beginner project), then a simple knitted hat.
HOW TO KNIT A HEADBAND – STEP BY STEP
Materials Needed:
- Yarn (medium-weight or worsted is great for beginners)
- Knitting needles (size 5mm/US 8 recommended)
- Scissors
- Yarn needle (for sewing ends)
- Measuring tape (optional)
Step-by-Step Instructions:
Step 1: Cast On Stitches
- Cast on about 15 to 25 stitches depending on the desired width of the headband.
- Use the long-tail cast-on for a stretchy edge.
- Example: 20 stitches will give a medium-width band.
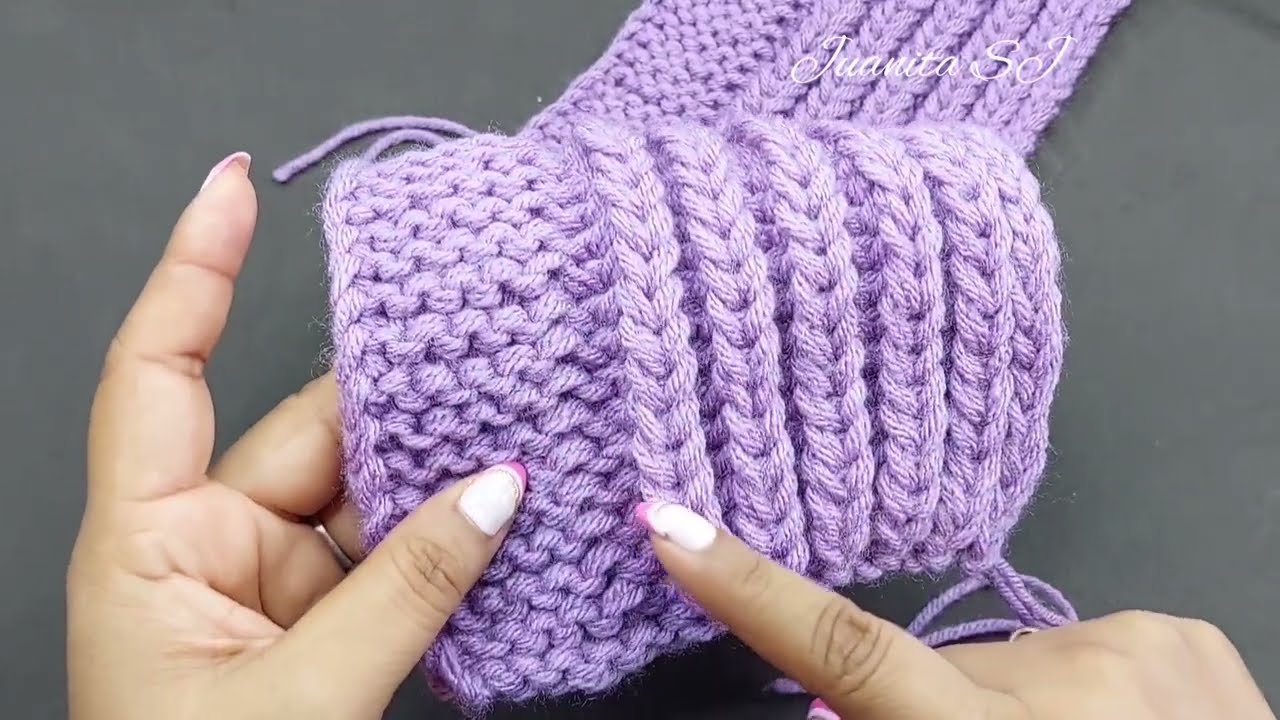
Step 2: Choose a Simple Stitch Pattern
Choose one of these easy stitches:
- Garter Stitch (Knit every row)
- Ribbing (K1, P1) – stretchy, snug fit
- Stockinette (Knit one row, Purl one row) – flat, smooth front
Let’s go with Garter Stitch for beginners:
- Row 1: Knit all stitches
- Row 2: Knit all stitches
- Repeat until it’s long enough to fit around your head (approx. 18-22 inches for adults – stretch it a little when measuring)
Step 3: Bind Off
- Once long enough, bind off all stitches loosely.
Step 4: Seam the Ends Together
- Fold the headband in half.
- Use the yarn needle and whip stitch or mattress stitch to join the ends.
- Tie off and weave in the yarn tail.
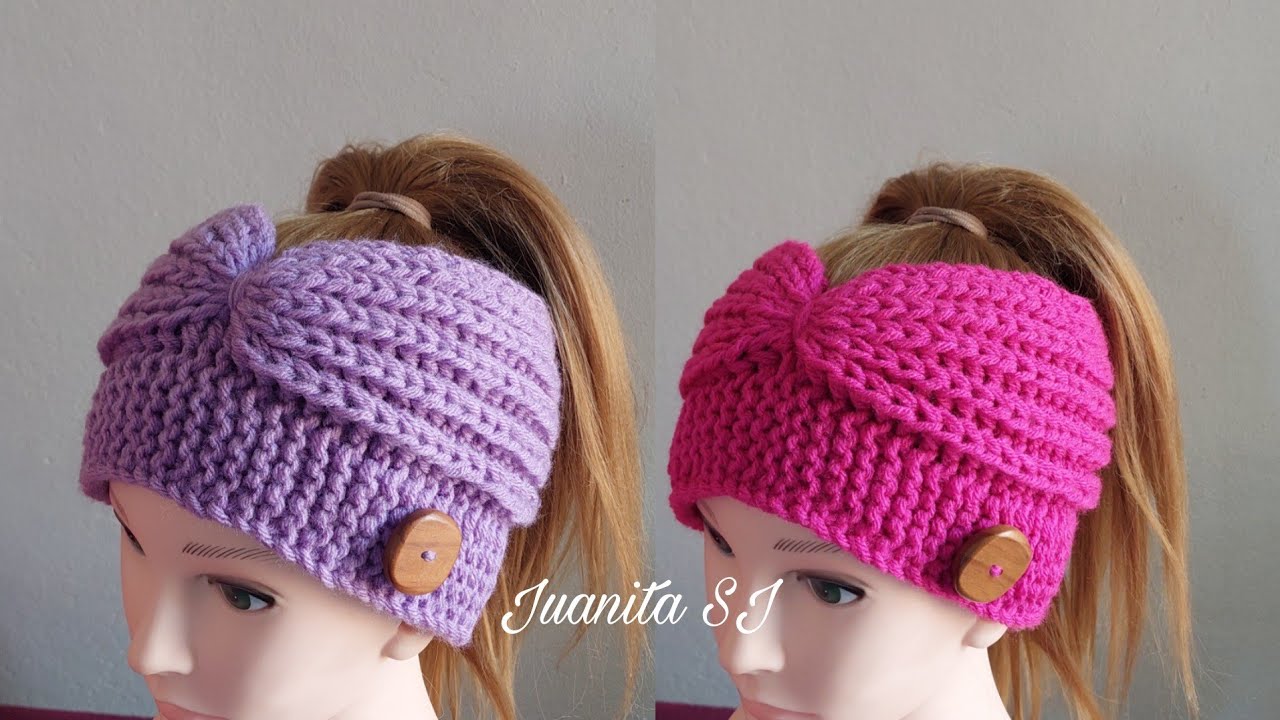
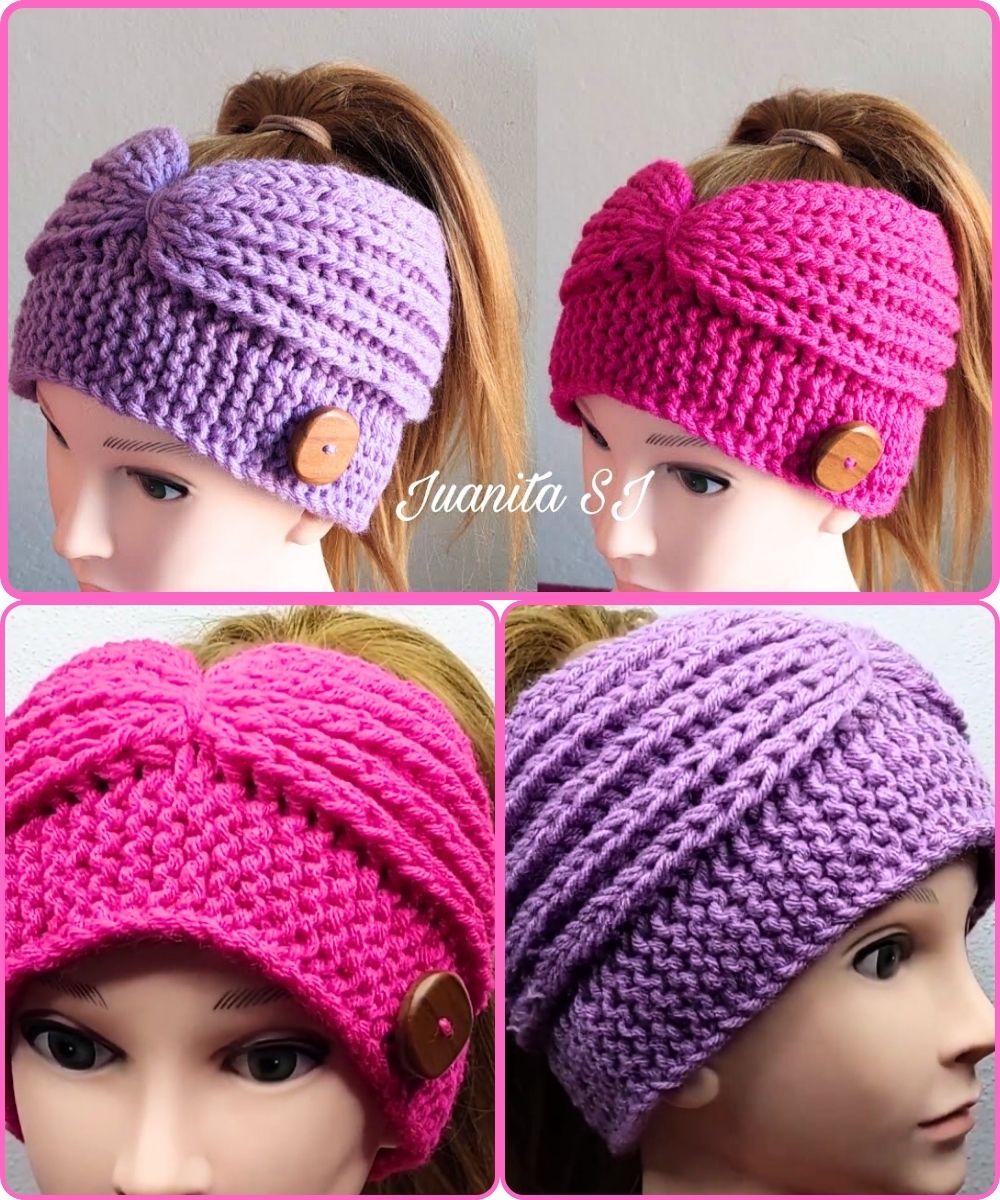
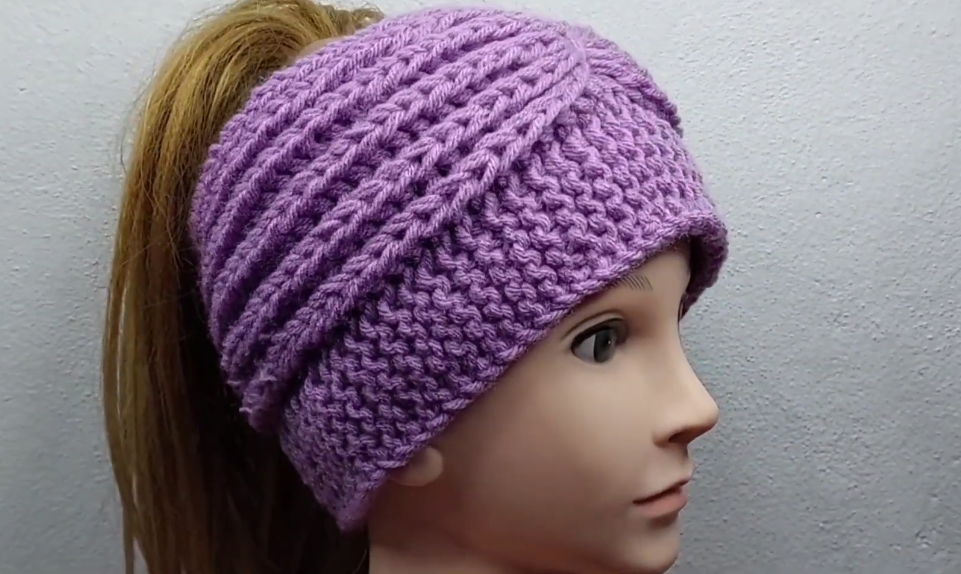
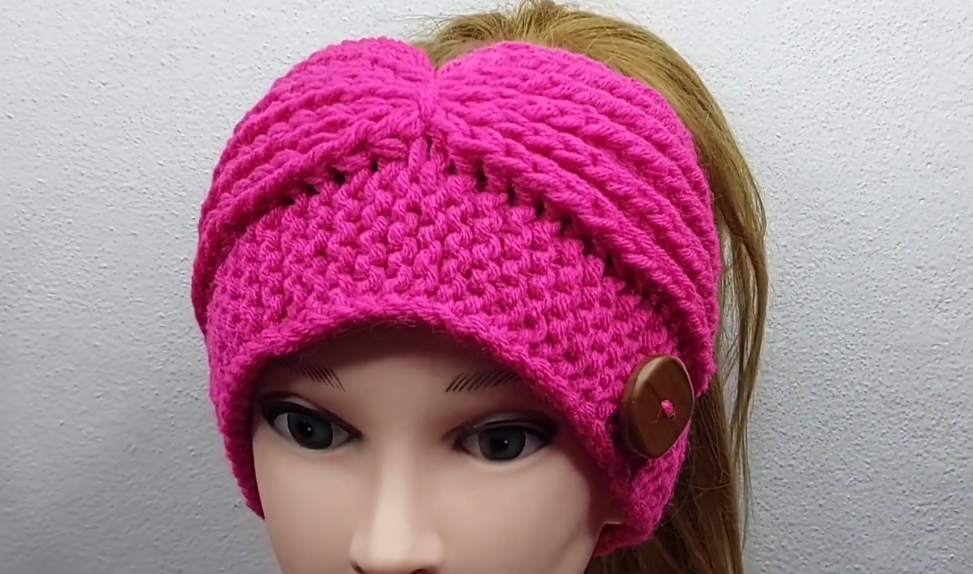
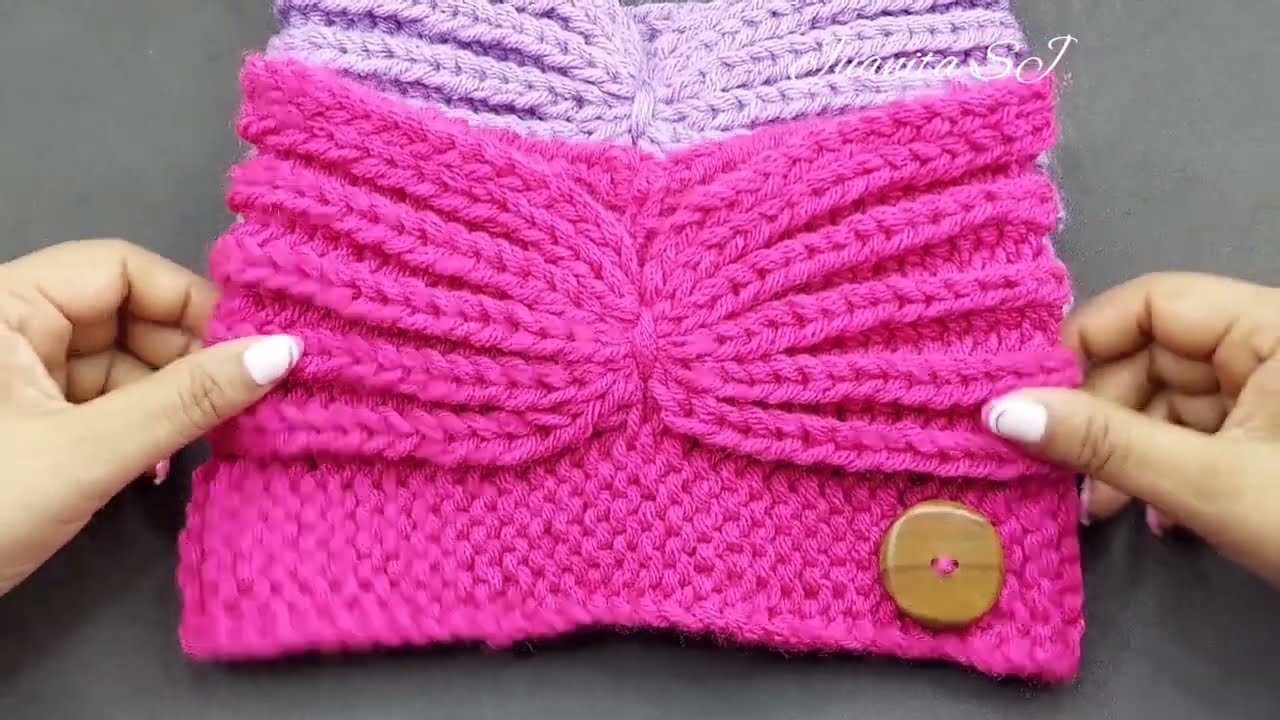
(Optional) Step 5: Add a Twist or Knot
- For a trendy look, fold each end in half and twist them before seaming, or sew a small knit rectangle over the seam to cover and style it like a knot.
HOW TO KNIT A BASIC HAT – STEP BY STEP
Materials Needed:
- Yarn (worsted or chunky yarn)
- Knitting needles (circular or double-pointed needles – size 6mm–8mm depending on yarn)
- Stitch marker
- Yarn needle
- Measuring tape
Step-by-Step Instructions:
Step 1: Measure and Cast On
- Measure the circumference of your head (e.g., 22″).
- Cast on the number of stitches to fit your head circumference. Use the gauge (stitches per inch) on your yarn label.
- Example: If your gauge is 4 stitches per inch, and your head is 22″, cast on 88 stitches.
Step 2: Knit the Ribbed Brim
- Join in the round using a stitch marker to mark the beginning.
- Work K2, P2 ribbing for about 2 inches (for stretchy brim).
Step 3: Knit the Body of the Hat
- Switch to stockinette in the round (just keep knitting every stitch).
- Knit until the hat measures 6 to 7 inches from the cast-on edge (including the brim).
Step 4: Start Decreasing for the Crown
Example decrease (for 88 stitches):
- Round 1: K6, K2tog – repeat across
- Round 2: Knit all
- Round 3: K5, K2tog
- Round 4: Knit all
(Continue decreasing every other round, reducing the number between K2tog by 1 each time) - Stop when you have about 8–10 stitches left.
Step 5: Finish the Hat
- Cut the yarn, leaving a long tail.
- Thread the yarn needle, pull it through the remaining stitches, and pull tight to close.
- Secure and weave in the ends.
(Optional) Step 6: Add a Pom-Pom
- Use leftover yarn to make a pom-pom and sew it to the top.
Tips for Beginners:
- Always check your gauge if fit is important.
- Use chunky yarn and larger needles for faster results.
- Practice tension control – your stitches should not be too tight or too loose.
Watch tutorial:


