
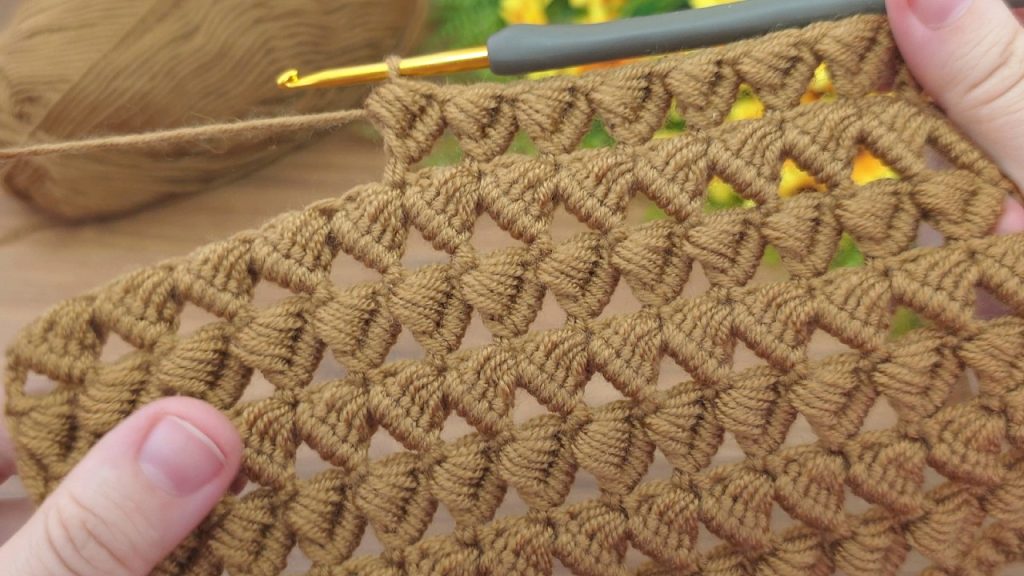
Inspired by the concept of a “Super easy crochet baby blanket” from the online tutorial, this pattern is designed to deliver maximum texture with minimal complexity. The Ocean Ripple Stitch uses a simple four-row repeat that creates a flowing, wavy pattern, reminiscent of gentle ocean waves or soft clouds. This easy-to-memorize stitch works up quickly, offering a dense, cozy fabric that is perfect for a baby’s delicate skin.
Project Details
- Skill Level: Easy (Relies on basic sc and dc stitches).
- Finished Size: Approximately 32 inches x 36 inches (81 cm x 91 cm).
- Gauge: 16 stitches and 9 rows (4 rows of SC, 5 rows of Texture) = 4 inches (10 cm) in Pattern Stitch, blocked. Gauge is important for drape and size.
Materials
- Yarn: Approximately 1,400 yards (1280 m) of Worsted Weight (Category 4) yarn.
- Recommendation: A soft acrylic or cotton blend for washability and comfort.
- Hook: 5.5 mm (US I/9) Crochet Hook.
- Notions: Scissors, tapestry needle for weaving in ends.
Abbreviations & Special Stitches
| Abbreviation | Meaning |
| ch | Chain |
| st(s) | Stitch(es) |
| sl st | Slip Stitch |
| sc | Single Crochet |
| dc | Double Crochet |
| sp | Space |
| RS | Right Side (Texture rows) |
| WS | Wrong Side (SC rows) |
The Ocean Ripple Stitch (4-Row Repeat)
The pattern is worked in a multiple of 6 stitches, plus 4.
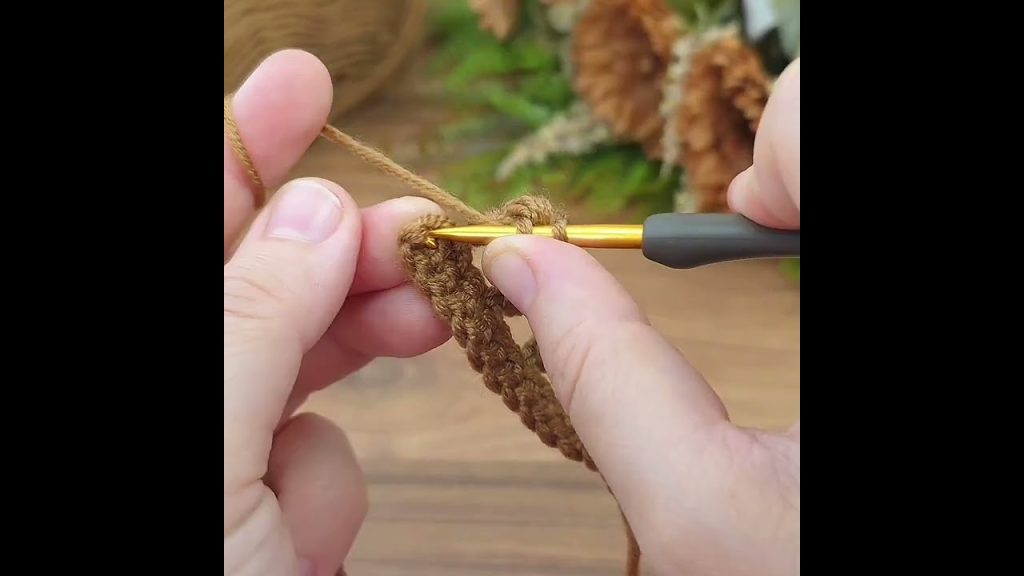
Step 1: Foundation
- Ch 130 (This will create a blanket that is approximately 32 inches wide).
- Row 1 (WS/SC Foundation): Sc in the 2nd ch from the hook and in every chain across. (129 sc).
- Row 2 (RS/Texture Row 1): Ch 3 (counts as 1 dc here and throughout), turn. Dc in the first st.
- *Skip the next 2 sts, sc in the next st.
- Skip the next 2 sts, work 5 dc in the next st (this is your Shell).*
- Repeat from * to * until 3 sts remain.
- Skip the next 2 sts, 2 dc in the last st.
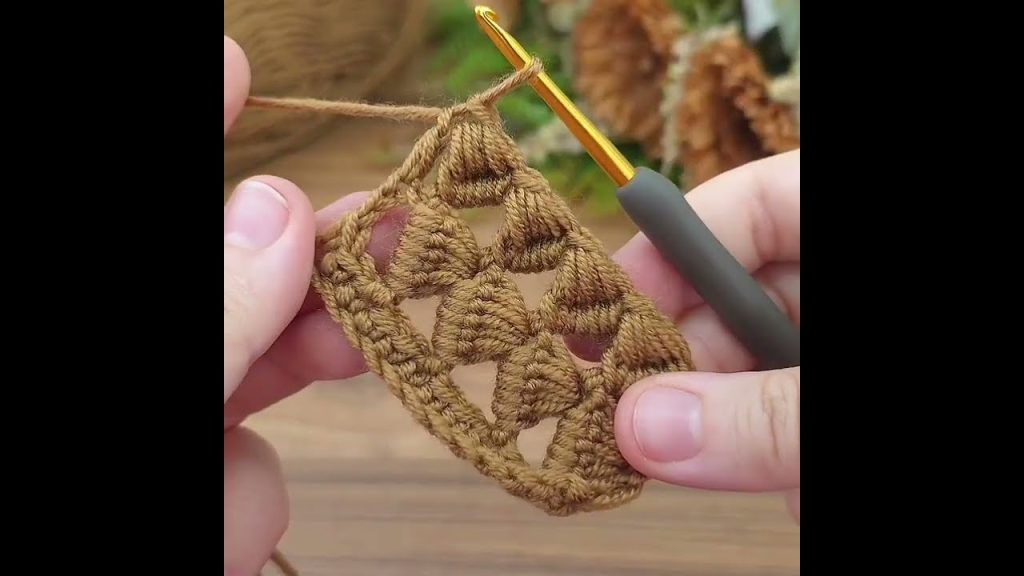
Step 2: The Core Repeat
This four-row sequence creates the flowing ripple texture.
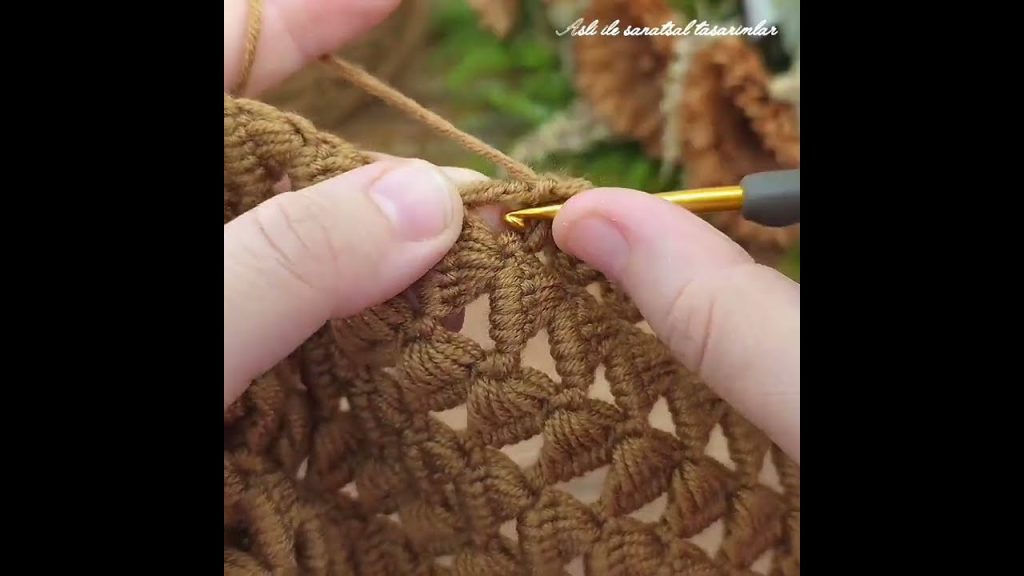
Row 3 (WS/SC Stabilizer):
- Ch 1, turn. Sc in the first st and in every stitch across, including the top of the turning chain-3 from the previous row. (129 sc).
- Tip: Place your hook under both loops of the stitch to create a clean horizontal line.
Row 4 (RS/Texture Row 2 – Shifted):
- Ch 1, turn. Sc in the first st.
- *Skip the next 2 sts, work 5 dc in the next st (Shell).
- Skip the next 2 sts, sc in the next st.*
- Repeat from * to * until 3 sts remain.
- Skip the next 2 sts, work 5 dc in the next st (Shell).
- Skip the next 2 sts, sc in the last st.
Row 5 (WS/SC Stabilizer):
- Ch 1, turn. Sc in the first st and in every stitch across. (129 sc).
Row 6 (RS/Texture Row 3 – Shifted Back):
- Ch 3 (counts as 1 dc), turn. Dc in the first st.
- *Skip the next 2 sts, sc in the next st.
- Skip the next 2 sts, work 5 dc in the next st (Shell).*
- Repeat from * to * until 3 sts remain.
- Skip the next 2 sts, 2 dc in the last st.
Step 3: Main Blanket Body
Continue repeating Rows 3-6 until the blanket measures approximately 35 inches (89 cm) from the beginning, or until the desired length is reached.
- IMPORTANT: End your final repeat after a Row 5 (SC Stabilizer Row).
Step 4: The Clean Edge
You should have just completed a SC Stabilizer Row (Row 5). This row serves as the perfect, non-ruffling foundation for the border.
- Fasten off your main yarn and weave in the ends.
Step 5: The Sunset Edge Border
This simple border uses a combination of basic stitches to create a gentle, scalloped edge, mirroring the main stitch pattern.
Round 1 (SC Base):
- Attach your yarn to any corner with a sl st. Ch 1 (does not count as a stitch).
- Work sc evenly around the entire perimeter of the blanket.
- Side Edges: Work 1 sc into the side of each sc row, and 2 sc into the side of each dc texture row. Adjust this ratio slightly to keep the edge flat—it should not ruffle or pull.
- Corners: Work (sc, ch 2, sc) into each of the four corner stitches.
- Join with a sl st to the first sc.
Round 2 (Shell Detail):
- Ch 1, turn (to keep the texture consistent). Sc in the first st.
- *Skip the next 2 sts, work 5 dc into the next st. Skip the next 2 sts, sc in the next st.*
- Repeat from * to * around the perimeter.
- Note: You may need to adjust the skip/shell count slightly as you approach the corners to ensure a sc lands in the corner ch-2 space.
- When you reach a corner ch-2 space, work sc in the space, then continue the pattern repeat on the next side.
- Join with a sl st to the first sc.

Round 3 (Picot Finish):
- Ch 1, turn. Work sc in the first st.
- *Work (sc, ch 3, sl st into first ch—Picot made) in each of the 5 dc of the Shell. Work sc into the single crochet below.*
- Repeat from * to * around the entire edge. This will create a delicate, bobbled scallop.
- Join with a sl st to the first sc.
- Fasten off.
Finishing Touches
- Weave in all ends carefully and securely on the wrong side of your work using a tapestry needle.
- Blocking: For the best possible drape and to showcase the flowing ripple texture, blocking is highly recommended. Pin the blanket out to the finished dimensions on a soft surface, mist generously with water (or steam lightly if using acrylic), and allow it to dry completely.
Enjoy your beautiful, handmade Ocean Ripple Baby Blanket! It’s an easy project that results in a gift-worthy heirloom.
Video tutorial:


