
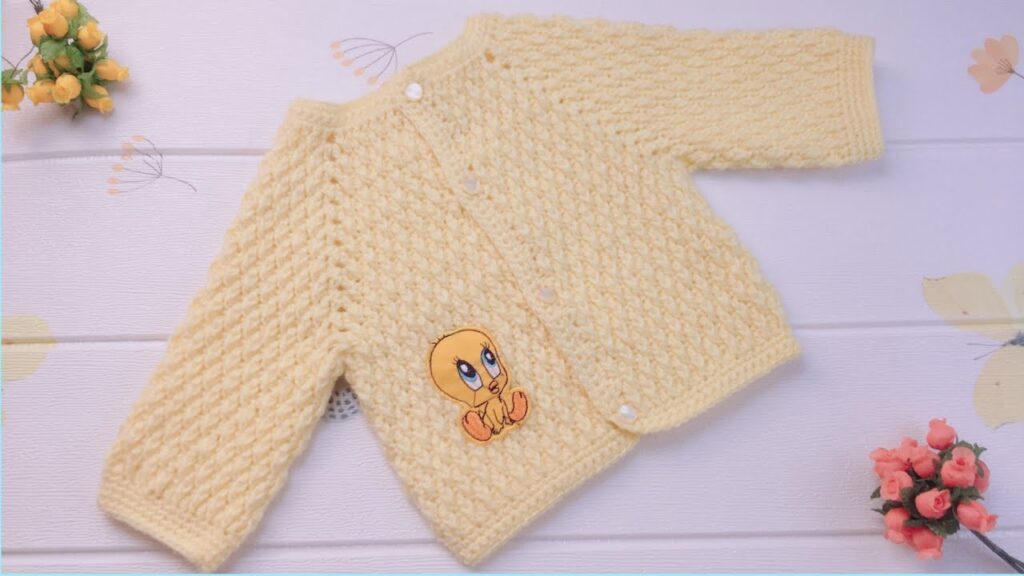
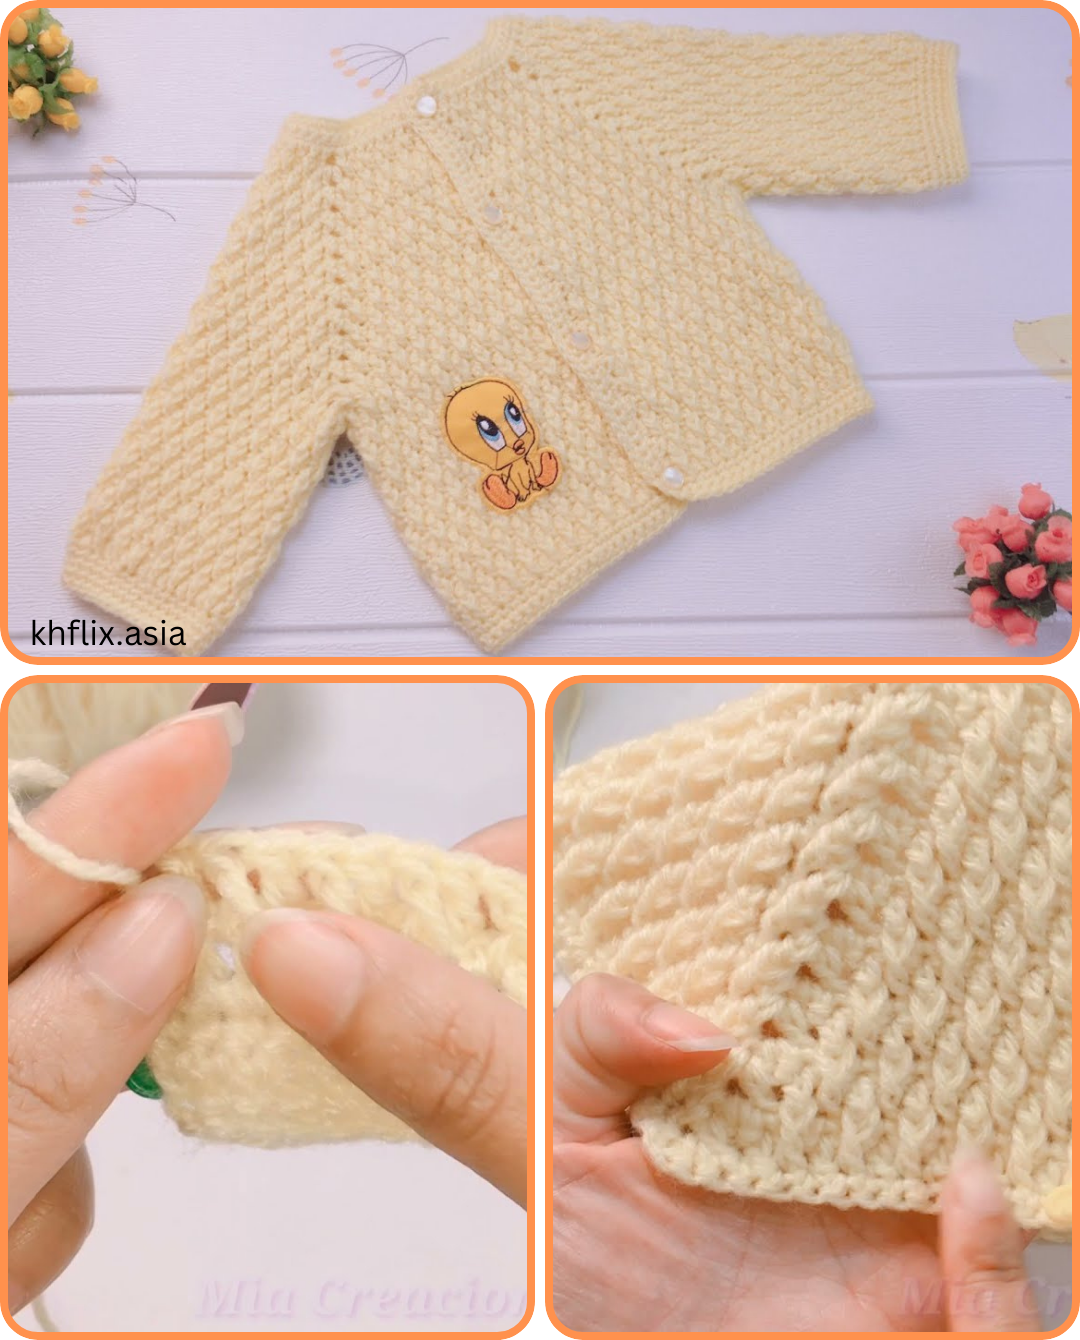
Crocheting a baby sweater is one of the most rewarding projects you can make. It’s a practical, thoughtful handmade gift, and the 0–3 month size works up quickly with minimal yarn and time.
This tutorial features a top-down raglan-style sweater — no sewing pieces together, and it’s completely customizable!
🧷 Overview
| Feature | Details |
|---|---|
| Skill Level | Advanced Beginner |
| Yarn Type | DK weight yarn (Category 3) or light worsted |
| Crochet Hook | 4.0 mm (G/6) |
| Construction Style | Seamless, worked top-down |
| Size | 0–3 months |
| Finished Chest | Approx. 16–17 inches (stretches with wear) |
| Length | Approx. 9–10 inches |
🧵 Materials Needed
| Item | Details |
|---|---|
| Yarn | ~250 yards of DK (3) weight yarn |
| Hook | 4.0 mm (G/6) |
| Buttons | 3–5 small buttons (½ inch) |
| Yarn Needle | For weaving in ends and sewing buttons |
| Stitch Markers | To mark raglan corners |
| Scissors | Basic crafting scissors |

🪡 Stitches & Abbreviations (U.S. Terms)
- ch – chain
- sl st – slip stitch
- sc – single crochet
- dc – double crochet
- inc – increase (2 dc in same stitch)
- st(s) – stitch(es)
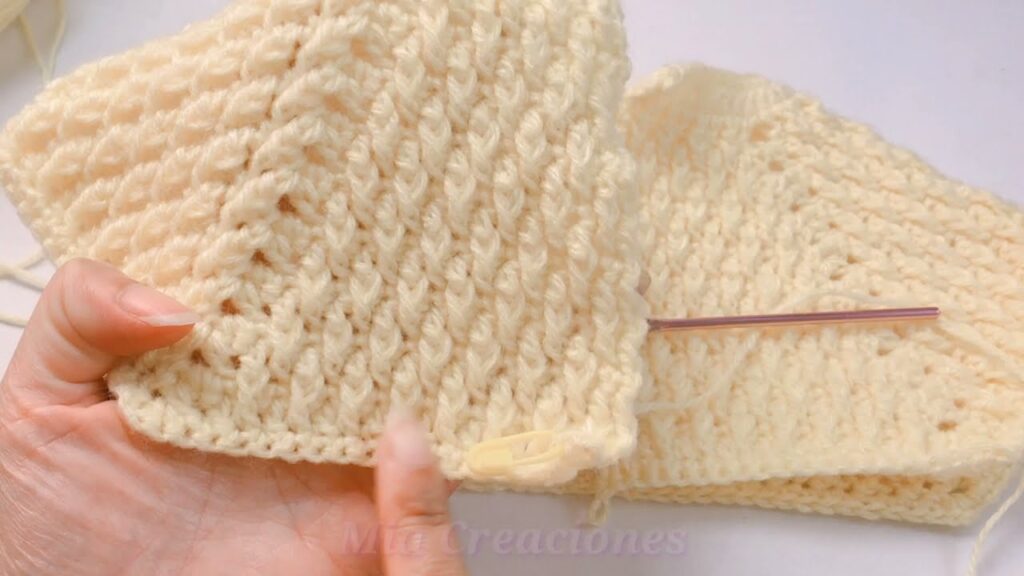
👕 CONSTRUCTION OVERVIEW
This sweater is worked in one piece from the neck down using raglan increases at the shoulder seams. Once you reach the underarm, you separate for sleeves and body, then work them individually.
📐 Sweater Yoke Pattern (Top Section)
Step 1: Create the Neckline
Ch 40 (foundation chain for neck).
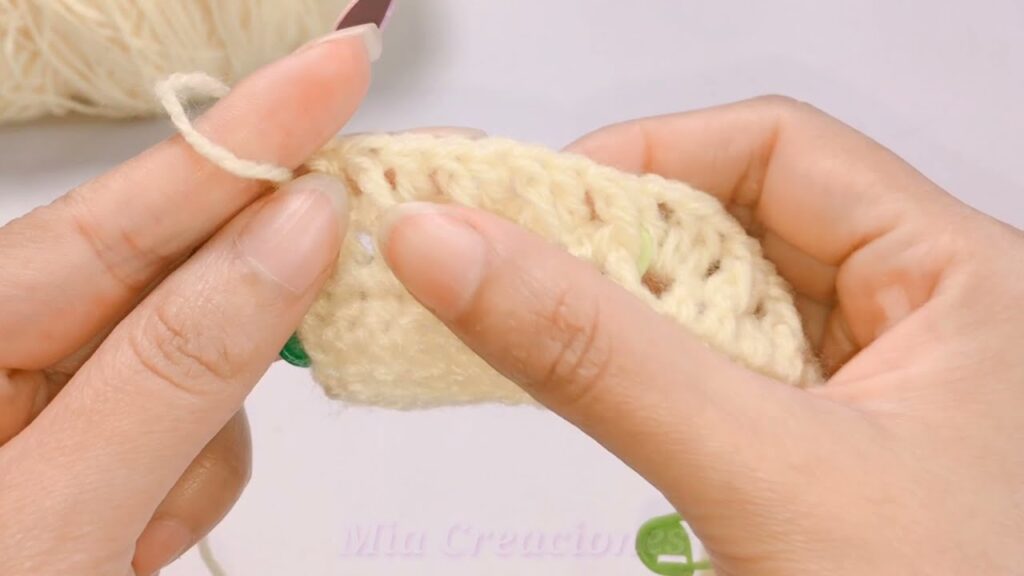
Row 1 (Setup Row):
Dc in 4th ch from hook and in each ch across. (38 dc)
Place Stitch Markers to mark raglan increases:
- After 6 stitches (front)
- After next 6 (sleeve)
- After next 14 (back)
- After next 6 (sleeve)
- Remaining 6 (front)
You’ll now increase at 4 points to shape shoulders.
Step 2: Raglan Increase Rows
Row 2:
Ch 2 (counts as dc), turn.
Dc in each st across, placing (dc, ch 1, dc) in each marked stitch.
Move stitch markers up into the ch-1 spaces after each row.
Repeat Row 2 for 6–8 rows or until the yoke fits across the baby’s shoulders (approx. 4.5–5 inches deep from neckline to underarm).
🧥 Step 3: Divide for Body and Sleeves
Once your yoke is wide enough:
Next Row:
- Dc across to first ch-1 space (first raglan point).
- Dc into that space, skip all stitches for the sleeve, and go to next ch-1 space.
- Dc into it, and continue across the back, skipping next sleeve as above.
- Finish row.
You’ll now work just the body section in rows.
👚 Step 4: Work the Body
Continue working dc rows (no more increases) for 12–14 more rows or until the desired body length (approx. 6–6.5 inches from armhole).
Optional Ribbed Border (Bottom Hem):
Ch 6, turn.
Sc in 2nd ch from hook and across (5 sc).
Sl st to next 2 sts on body, turn.
Sc BLO across ribbing, repeat to end of round.
Fasten off and weave in ends.
👖 Step 5: Add the Sleeves
Reattach yarn at armhole.
Round 1:
Dc around the sleeve opening. Join with sl st.
(You can place decreases near the underarm if needed.)
Continue for 8–10 rounds or until desired sleeve length (approx. 4–5 inches).
Optional Ribbed Cuff:
Repeat same ribbing method as bottom hem.
Fasten off and repeat for second sleeve.
👕 Step 6: Add Front Button Band (If Open Cardigan Style)
If you’re making an open cardigan (not pullover):
- Attach yarn along front edge.
- Work sc evenly up and down both sides.
- On one side, add buttonholes by chaining and skipping 1–2 stitches.
Example for buttonholes:
Sc 4, ch 2, skip 2, sc 5 – repeat
Sew buttons on opposite side.
🌼 Optional Embellishments
- Add a crochet flower or bow on the chest.
- Use contrasting yarn for edging or sleeves.
- Embroider a simple initial or motif.
🧼 Care Instructions
- Use soft, washable yarn (baby-friendly acrylic or cotton blends).
- Hand wash or use a gentle cycle.
- Lay flat to dry to maintain shape.
Video tutorial:
🎁 Final Thoughts
Crocheting a baby sweater for 0–3 months is a beautiful way to give a handmade gift that is both practical and heartfelt. This seamless raglan pattern is easy to customize with colors, edging, and buttons. Once you’ve made one, you’ll be tempted to crochet an entire baby wardrobe!


