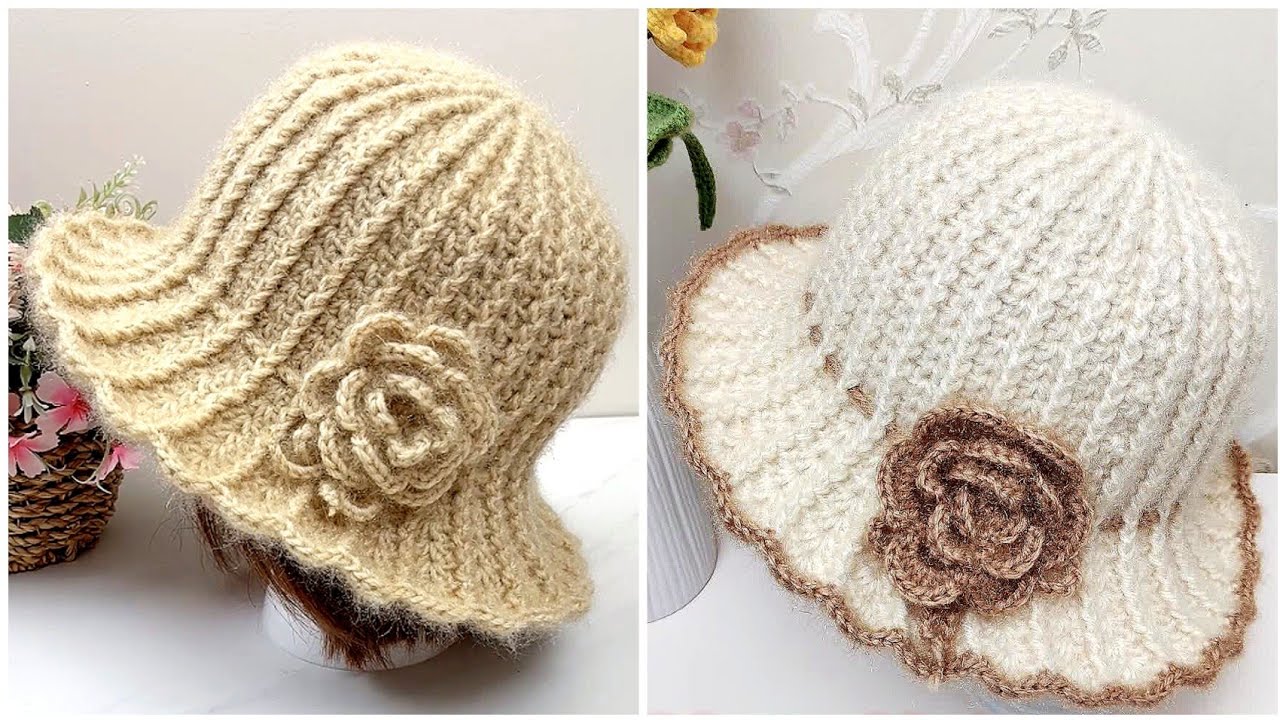
If you’re looking for a fun, fashionable, and beginner-friendly crochet project, making a flower bucket hat might be just the thing for you. This stylish accessory combines practicality with flair, and it’s an excellent way to practice basic crochet stitches while creating something uniquely beautiful.
In this article, we’ll walk you through everything you need to know to crochet your own flower bucket hat—even if you’re completely new to crocheting. From choosing the right yarn and hook to detailed instructions for the hat and decorative flowers, this guide is designed to be easy to follow, enjoyable, and rewarding.

🌼 What Is a Flower Bucket Hat?
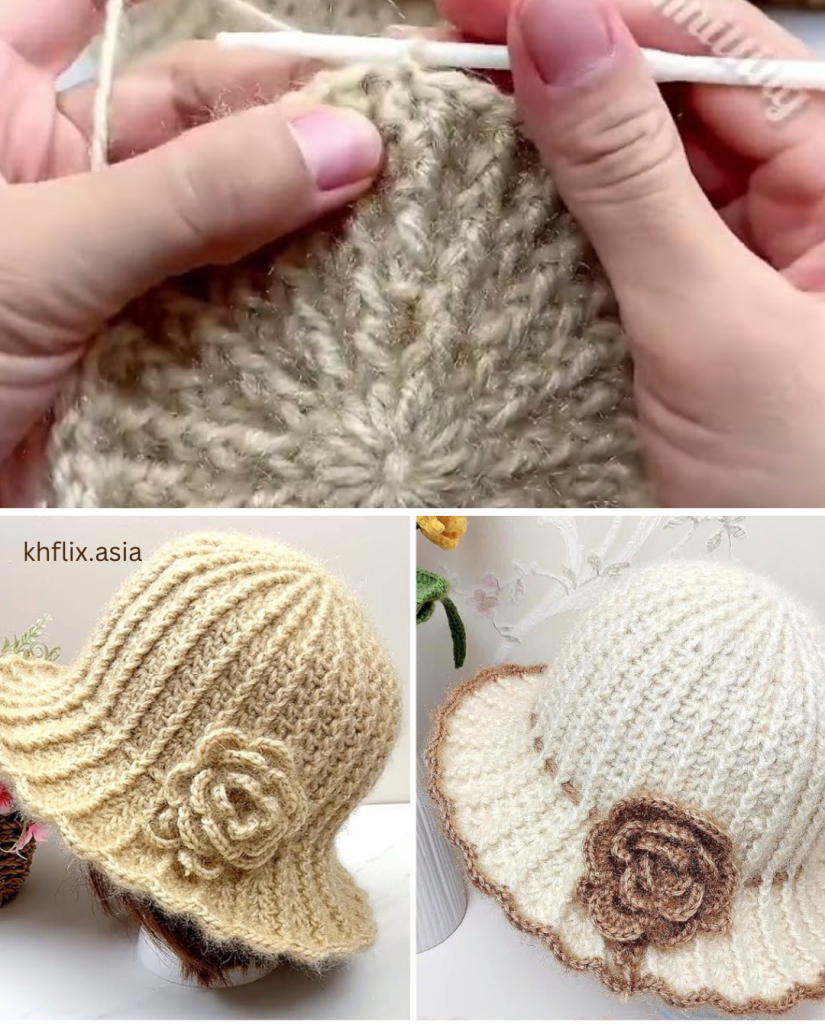
A bucket hat is a soft, downward-sloping hat with a wide brim that provides sun protection and a relaxed look. The “flower” part refers to the addition of crocheted floral appliqués, either as accents or as part of the hat’s actual stitch pattern. These flowers add a pop of color and whimsy, turning a simple bucket hat into a charming fashion statement.
🧶 What You’ll Need
Before diving into the steps, gather the following supplies:
Materials:
- Yarn – Choose a medium-weight (worsted weight) cotton yarn. Cotton is breathable, durable, and perfect for hats. Select at least two colors: one for the main hat and one or more for the flowers.
- Crochet Hook – Typically, a 4.0 mm (G-6) or 5.0 mm (H-8) hook works well for worsted yarn. Check your yarn label for the recommended size.
- Tapestry Needle – For weaving in ends.
- Scissors
- Stitch Markers – Optional but helpful for keeping track of rounds.
- Measuring Tape – To ensure the hat fits properly.
🧵 Basic Crochet Stitches You’ll Use
Even if you’re a beginner, the stitches used in this project are simple:
- Chain (ch)
- Slip Stitch (sl st)
- Single Crochet (sc)
- Half Double Crochet (hdc)
- Double Crochet (dc)
- Magic Ring (also called magic circle) – For a seamless start at the crown
If you’re unfamiliar with these, there are many free tutorials and videos online. Practice them briefly before starting.
🧢 Step-by-Step Guide: Crochet the Bucket Hat
🥇 Part 1: Crochet the Crown of the Hat
The crown is the top of the bucket hat. We’ll start from the center and work our way outward in a circular shape.
**Round 1:** Start with a magic ring. Ch 2 (does not count as a stitch), work 10 dc into the ring. Sl st to the first dc to join. (10 sts)
**Round 2:** Ch 2, 2 dc in each st around. Sl st to join. (20 sts)
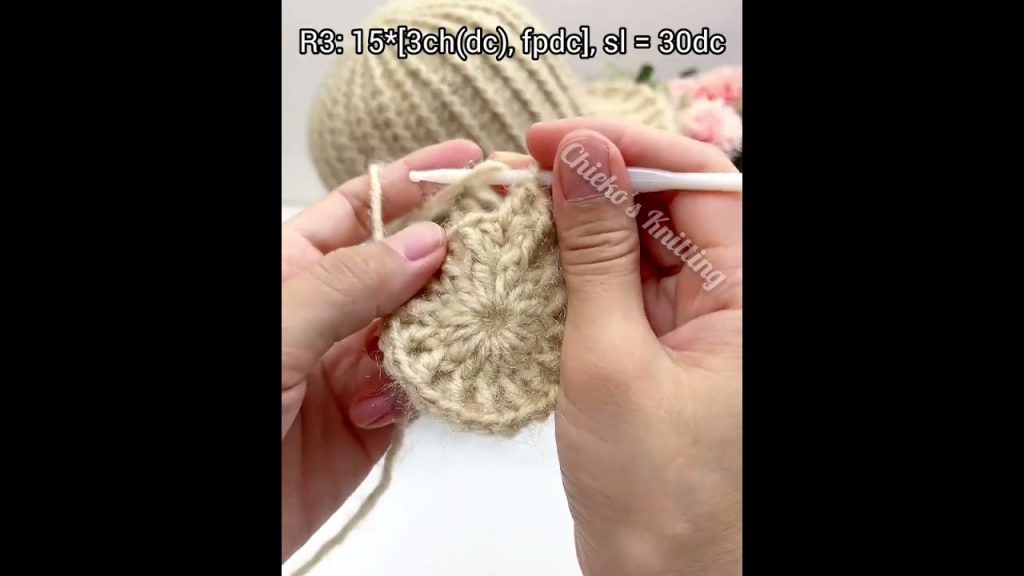
**Round 3:** Ch 2, *1 dc in next st, 2 dc in next st*, repeat from * around. Sl st to join. (30 sts)
**Round 4:** Ch 2, *1 dc in next 2 sts, 2 dc in next*, repeat around. (40 sts)
Continue increasing in this manner until your circle is approximately 6–7 inches in diameter (for an adult-sized hat). Stop increasing when the crown fits the top of your head.
🥈 Part 2: Forming the Sides
Now we work downward to shape the sides of the bucket hat.
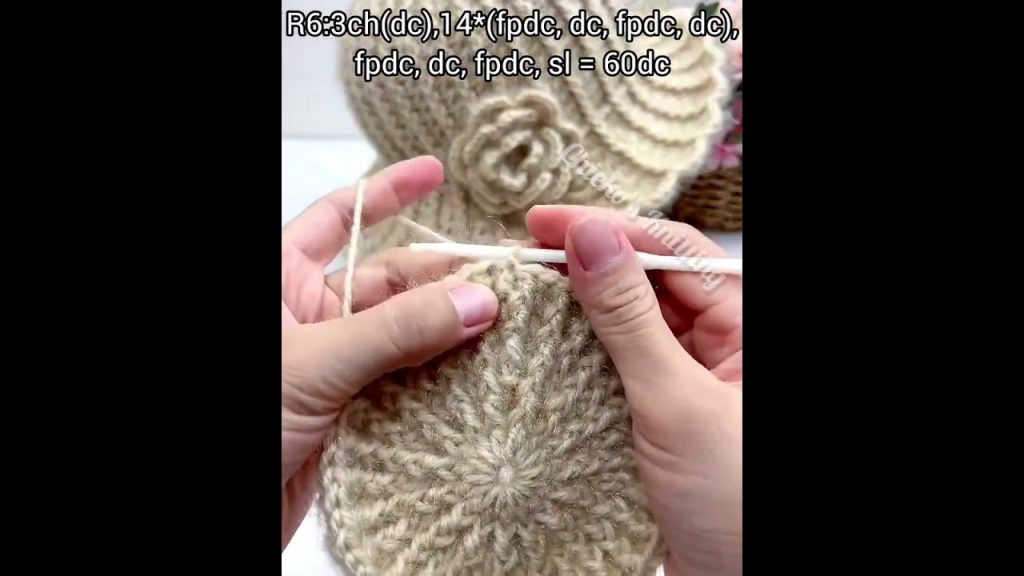
**Next Rounds:** Ch 2, dc in each st around. Sl st to join. Do not increase.

Repeat this round for about 10–12 rows, or until the sides reach just above your ears.
This will create the body of the hat. You can switch colors halfway if you’d like a color-blocked look.
🥉 Part 3: Creating the Brim
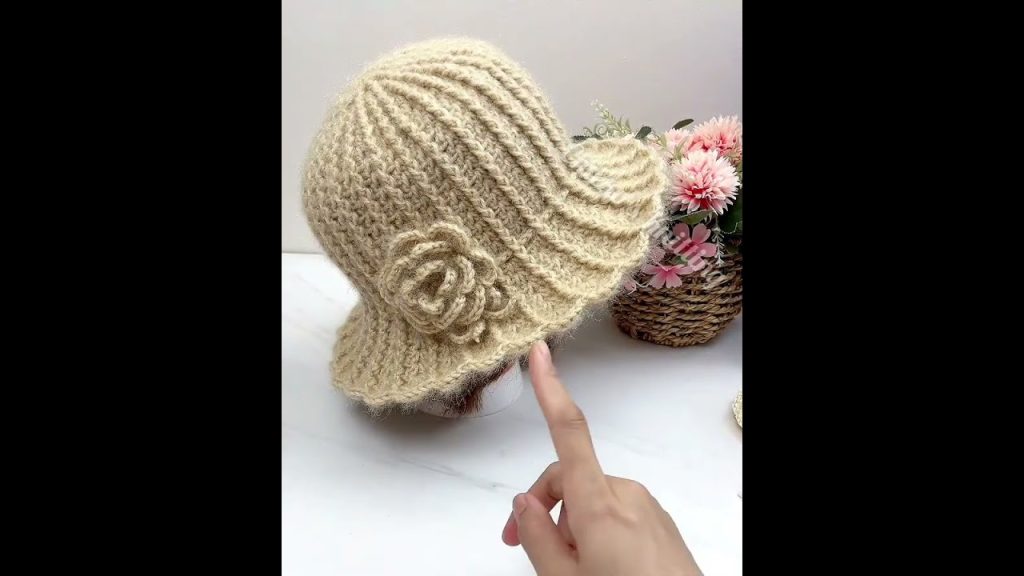
The brim gives the bucket hat its signature look. It also helps protect your face from the sun.
**Brim Round 1:** Ch 2, *2 dc in next st, 1 dc in next 2 sts*, repeat around. Sl st to join.

**Brim Round 2:** Ch 2, dc in each st around. Sl st to join.

Repeat the increase round once more, followed by 1–2 rounds of regular dc or hdc to build up the brim.

Note: If you want a stiffer brim, you can hold two strands of yarn together or use a tighter stitch like single crochet.
🌸 Add the Crochet Flowers
Now the fun part—decorating with flowers!
Basic Flower Pattern:
**Round 1:** Make a magic ring. Ch 1, work 6 sc into the ring. Sl st to the first sc to join. (6 sts)

**Round 2:** *Ch 2, 2 dc in next st, ch 2, sl st in same st*, repeat in each st around to create 6 petals. Fasten off.

Make as many flowers as you like in different colors and sizes. You can also add leaves or a larger central flower for a statement piece.
Use your tapestry needle to sew the flowers onto the hat. You can cluster them on one side, space them evenly around the brim, or even add them to the top of the crown for a boho style.
🎨 Customization Ideas
- Color Blocking: Use multiple yarn colors in stripes or sections.
- Yarn Types: Try using variegated yarn for a tie-dye look or add metallic threads for sparkle.
- Edging: Add a contrasting edge to the brim with picot stitch or crab stitch (reverse single crochet).
- Accessories: Attach buttons, beads, or fabric bows in the flower centers.
🧼 How to Care for Your Crochet Hat
Cotton yarn is generally washable, but always check the yarn label. Here’s a safe approach:
- Hand wash with mild soap in cold water.
- Reshape while damp.
- Air dry flat—don’t hang it, or it might stretch.
🌟 Final Thoughts
Crocheting a flower bucket hat is not only an enjoyable and relaxing project, but it also results in a fashionable and functional piece you can wear with pride. Whether you’re lounging in the sun, heading to a music festival, or just looking to elevate your handmade wardrobe, this hat has you covered—literally!
Plus, once you’ve mastered the basic pattern, the sky’s the limit in terms of customization. Add as many (or as few) flowers as you like, experiment with colors, or even adjust the size for children and friends.
Happy crocheting, and don’t forget to share your beautiful creations!
Video tutorial:


