
Winter is the perfect season to cozy up with your favorite yarn and crochet hook and create something warm, stylish, and practical. Whether you’re new to crochet or just looking for a quick and satisfying project, a simple crochet winter hat is an ideal way to start. Not only is it a fun and relaxing project, but it also makes a thoughtful handmade gift.
In this comprehensive guide, we’ll walk you through how to super easily crochet a winter hat—no complex stitches or intimidating patterns required. Even if you’ve never picked up a hook before, by the end of this article, you’ll feel confident and inspired to make your own winter headwear.
🧶 Why Crochet a Winter Hat?
There are so many reasons to crochet your own winter hat:
- Easy and quick: Most basic hats can be made in just a few hours.
- Beginner-friendly: Uses simple stitches and minimal shaping.
- Customizable: Choose your favorite colors, yarn texture, or add a pom-pom.
- Cost-effective: Handmade hats are cheaper (and often cozier!) than store-bought.
- Great gift idea: Everyone appreciates a warm, handmade touch in winter.
📦 What You’ll Need
Before you start, gather the following supplies:
🧵 Materials:
- Worsted weight yarn (Category 4) – 1 skein (about 150–200 yards)
- Acrylic or acrylic-wool blends are perfect for warmth and washability.
🪝 Tools:
- Crochet hook – 5.5 mm (I-9) or 6.0 mm (J-10)
- Yarn needle – for weaving in ends
- Scissors
- Measuring tape (optional)
- Pom-pom maker (optional)
🔤 Basic Stitches You’ll Use
This easy winter hat uses the most beginner-friendly stitches:
| Abbreviation | Stitch Name | How to Use It |
|---|---|---|
| ch | Chain | Used to start your rounds or rows |
| sl st | Slip Stitch | Used to join or finish rounds |
| sc | Single Crochet | Tight and warm basic stitch |
| hdc | Half Double Crochet | Slightly taller than sc, still cozy |
| dc | Double Crochet | Taller stitch that adds height & texture |
🔁 Don’t worry! We’ll walk through exactly where and how to use them step by step.
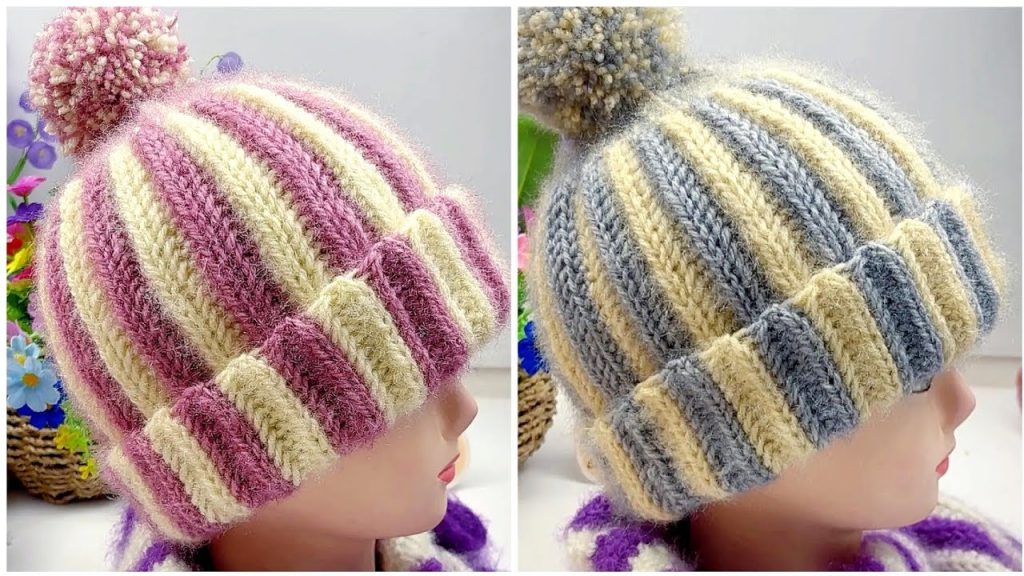
👒 Super Easy Winter Hat – Step-by-Step Tutorial
We’ll be making a top-down beanie-style hat that fits most adult heads (21″–23″ circumference). You can adjust the size easily for kids or larger heads by tweaking your increases or adding/removing rounds.
✳️ Step 1: Start with a Magic Ring (or Chain 4)
This will form the top of your hat.
- Create a magic ring, or ch 4 and join with a sl st to form a ring.
- Round 1: Ch 2 (does not count as a stitch), make 10 hdc into the ring, sl st to join. (10 sts)
🎯 Tip: Use a stitch marker to mark the beginning of each round if you’re working in continuous rounds.

🔄 Step 2: Increase to Create the Crown
Increase the size of your circle until it fits the crown of the head.
- Round 2: Ch 2, 2 hdc in each st around, sl st to join. (20 sts)
- Round 3: Ch 2, 1 hdc in next st, 2 hdc in next, repeat around. (30 sts)
- Round 4: Ch 2, 1 hdc in next 2 sts, 2 hdc in next, repeat. (40 sts)
- Round 5: Ch 2, 1 hdc in next 3 sts, 2 hdc in next, repeat. (50 sts)
You can continue increasing until the flat circle is about 6.5 inches across, which fits an average adult.
🧵 Step 3: Work Even to Build the Body
Once the hat is wide enough to cover the top of the head, you’ll stop increasing and just crochet evenly.
- Rounds 6–14: Ch 2, hdc in each stitch around, sl st to join.
This forms the body of the hat. You can adjust how tall the hat is by adding or subtracting rounds.
Measure from the center of the crown to the bottom. For a snug beanie, aim for 7.5–8 inches total height. For a slouchy hat, go for 9–10 inches.

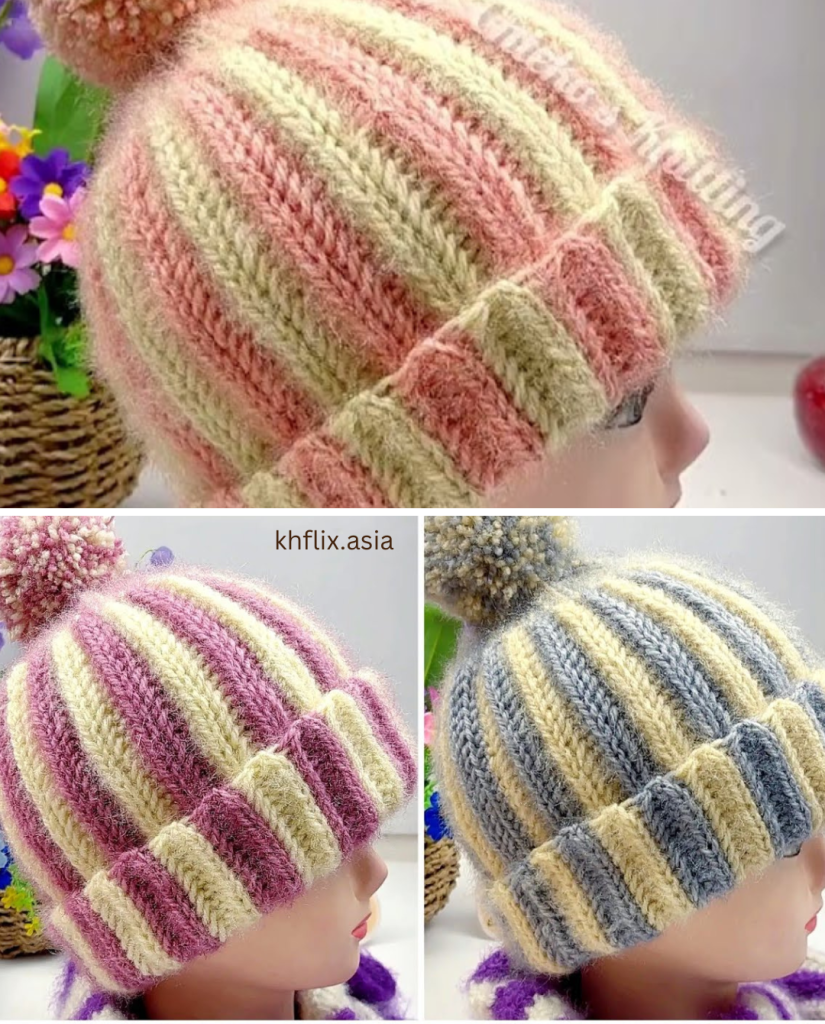
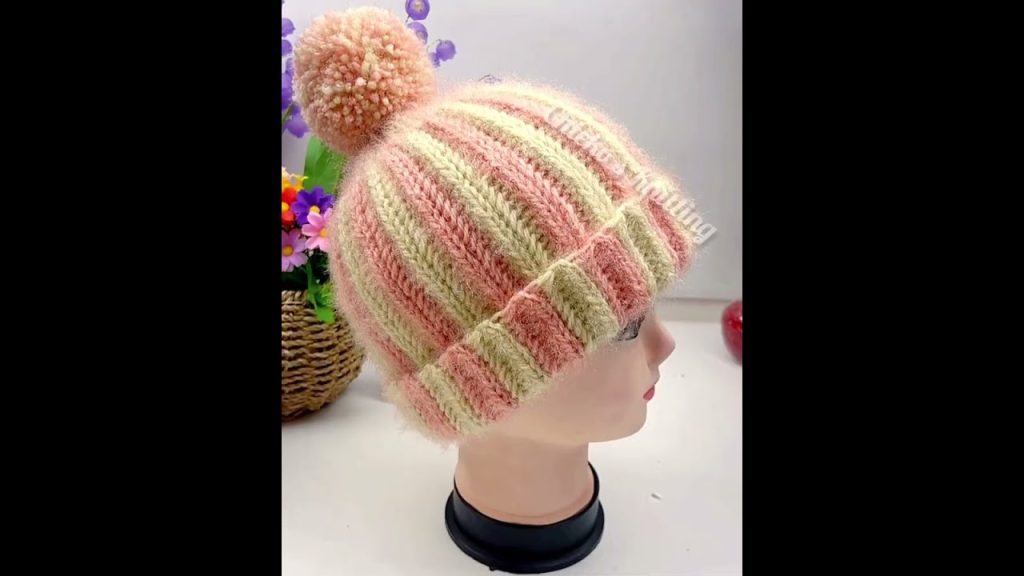
🧶 Step 4: Add a Simple Ribbed Brim (Optional)
Adding a brim helps the hat stay on securely and adds style.
You have a few easy options:
💡 Option A: Ribbed Look with Front/Back Post Stitches
- Round 15–17: Alternate front post double crochet (fpdc) and back post double crochet (bpdc) around.
💡 Option B: Rolled Brim
- Simply fold up the last 2 inches of the hat. No extra stitches needed!
💡 Option C: Sc or Hdc Brim
- Work 2–3 rounds of single or half double crochet for a clean finish.
🎀 Step 5: Add a Pom-Pom or Embellishments (Optional)
- Attach a store-bought faux fur pom-pom or make your own with leftover yarn.
- Add a wooden button, leather tag, or small appliqué for decoration.
📏 Size Adjustments for Different Ages
Here’s a quick guide for customizing your hat for different sizes:
| Size | Crown Diameter | Hat Height |
|---|---|---|
| Baby | 4–4.5″ | 5–6″ |
| Toddler | 5″ | 6.5″ |
| Child | 5.5–6″ | 7″ |
| Teen/Adult | 6.5–7″ | 8–9″ |
| Slouchy Fit | 6.5–7″ | 9–10″ |
🧼 Washing and Care Tips
- Yarn choice matters: Acrylic yarn is machine washable. Wool may need handwashing.
- General care: Hand wash with mild detergent, lay flat to dry to maintain shape.
- Avoid dryers: Even “machine-safe” hats can shrink or deform in high heat.
🛠 Troubleshooting Tips
- Hat too big? Try going down a hook size or skipping the last increase round.
- Hat too small? Add one or two more increase rounds or use thicker yarn.
- Not round? Make sure your increases are evenly spaced in each round.
- Edges curling? This can happen if your tension is too tight—relax your grip or try a larger hook.

🌟 Final Thoughts: You Did It!
Making a winter hat from scratch may seem daunting, but with the super simple method above, it’s more than achievable—even for total beginners. Once you finish your first hat, you’ll probably want to make one in every color!
Crochet is not only a fun, mindful activity but also a way to create something warm and personal. As you gain confidence, you can explore more advanced hat patterns with cables, bobbles, or intricate textures.
Video tutorial:


