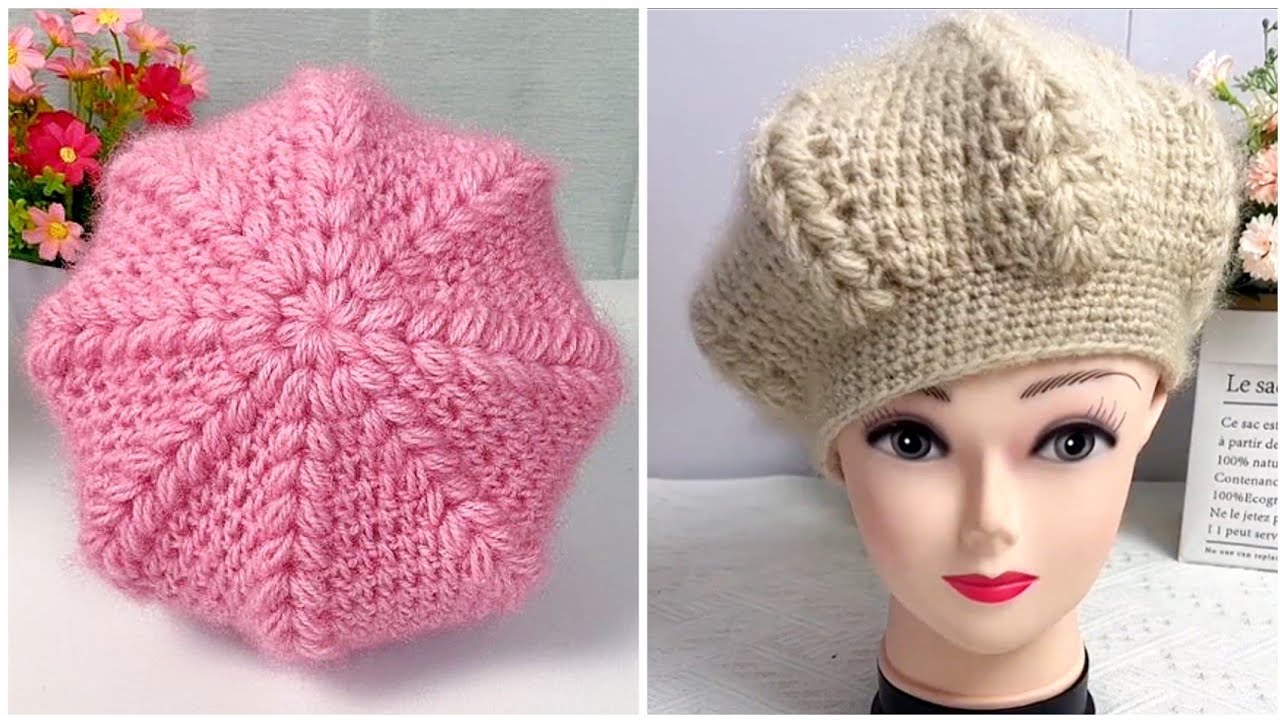
Crocheting is not just a hobby; it’s a creative journey that connects tradition with personal expression. Among the many beautiful stitches in the world of crochet, the wheat ear pattern stands out for its elegant texture and warmth. If you’re a beginner looking to level up your crochet skills, this tutorial on how to make a wheat ear pattern crochet hat will guide you step-by-step.
In this article, we’ll walk through everything you need—from materials to techniques—to create a stylish and comfortable hat that’s perfect for chilly weather or as a handmade gift.

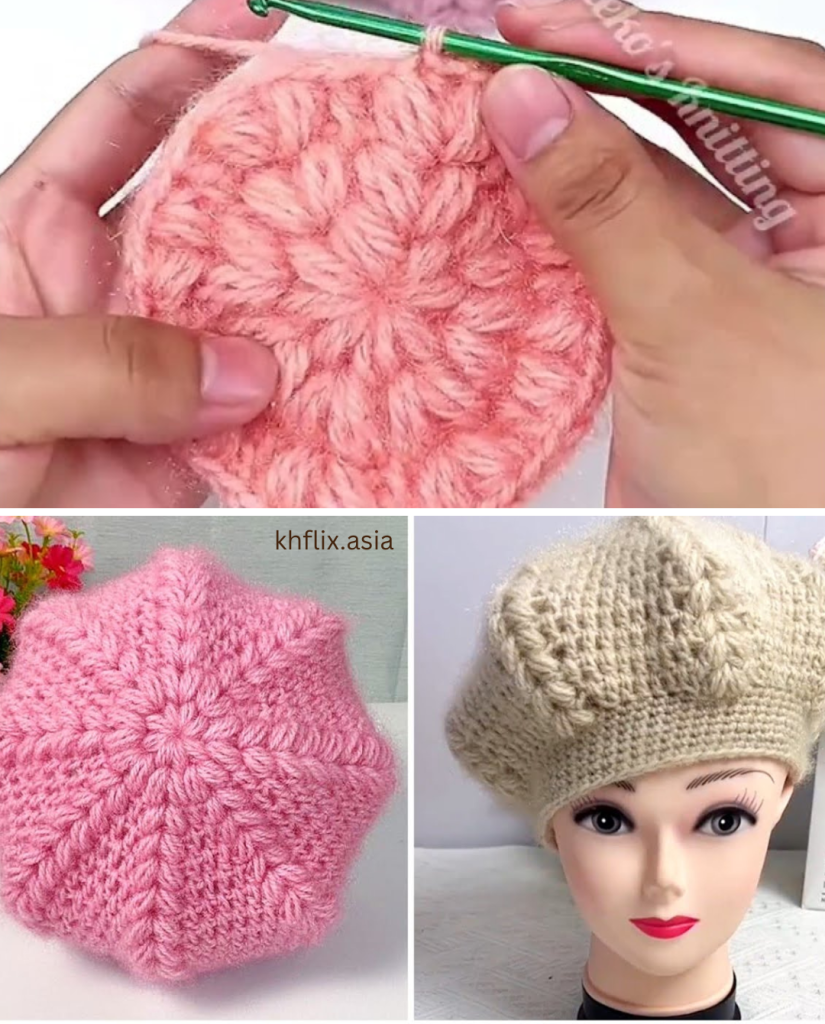
🌾 What is the Wheat Ear Crochet Pattern?
The wheat ear stitch (sometimes known as the wheat stitch or wheat sheaf stitch) is a textured crochet pattern that resembles rows of wheat grains. The design is both elegant and practical, creating a thick, slightly stretchy fabric that provides warmth and structure—ideal for hats, scarves, and winter accessories.
It usually involves a combination of front post stitches, half double crochets, and chain spaces to build the raised pattern that mimics the shape of a wheat stalk.
🧶 Materials You’ll Need
Before you start crocheting, gather the following supplies:
Tools:
- Crochet hook: 5.0 mm (H-8) or as recommended for your yarn
- Yarn needle (for weaving in ends)
- Stitch markers (optional but helpful)
- Scissors
Yarn:
- Worsted weight yarn (Medium/Category 4) – about 150g or 200–250 yards
- Choose a soft wool or acrylic blend for warmth and comfort.
- Solid or lightly variegated yarns show the wheat ear texture best.
Gauge (optional but recommended):
- 14 stitches and 10 rows = 4 inches in half double crochet
🧵 Basic Crochet Stitches and Abbreviations

If you’re new to crochet, make sure you’re familiar with these common stitches:
| Abbreviation | Stitch Name |
|---|---|
| ch | Chain |
| sl st | Slip stitch |
| sc | Single crochet |
| hdc | Half double crochet |
| dc | Double crochet |
| fpdc | Front post double crochet |
| rep | Repeat |
| st(s) | Stitch(es) |
| rnd | Round |
If any of these are new to you, consider practicing them individually before starting the hat.
🪡 Step-by-Step Wheat Ear Pattern Crochet Hat Tutorial
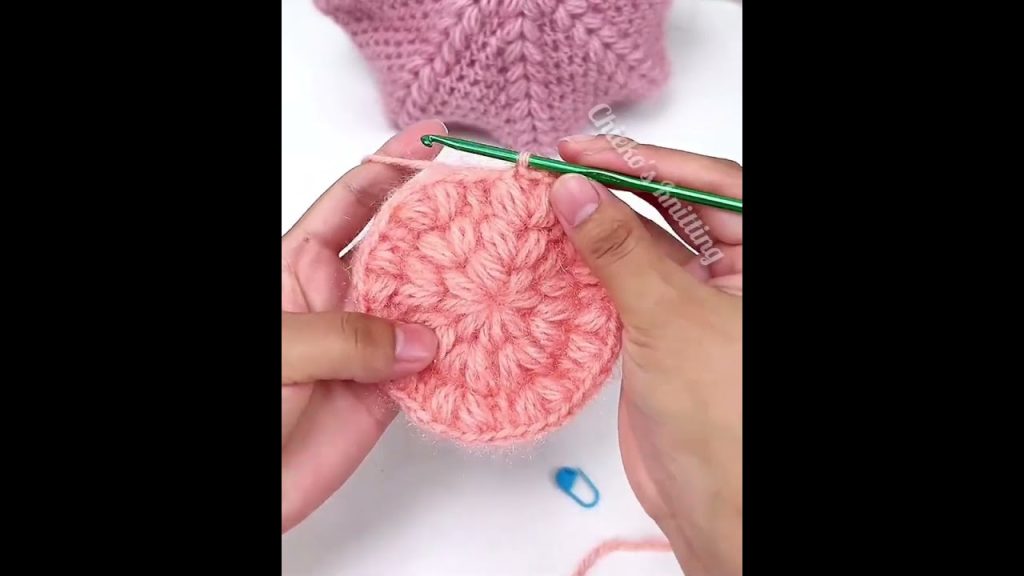
Step 1: Crochet a Magic Ring
We’ll begin the hat from the top using a magic ring or adjustable loop.
- Make a magic ring, ch 2 (counts as 1st hdc).
- Work 11 hdc into the ring. Join with sl st to the top of the first hdc. (12 hdc total)
🔁 Tip: Use a stitch marker to keep track of the beginning of your rounds.
Step 2: Increase Rounds to Form the Crown
We’ll gradually increase to make the crown of the hat.
- Round 2: Ch 2, 2 hdc in each st around, join. (24 sts)
- Round 3: Ch 2, 1 hdc in next st, 2 hdc in next, repeat around, join. (36 sts)
- Round 4: Ch 2, 1 hdc in next 2 sts, 2 hdc in next, repeat around, join. (48 sts)
- Round 5: Ch 2, 1 hdc in next 3 sts, 2 hdc in next, repeat around, join. (60 sts)
📐 For adult size, stop increasing when the diameter of the circle is about 6–6.5 inches.
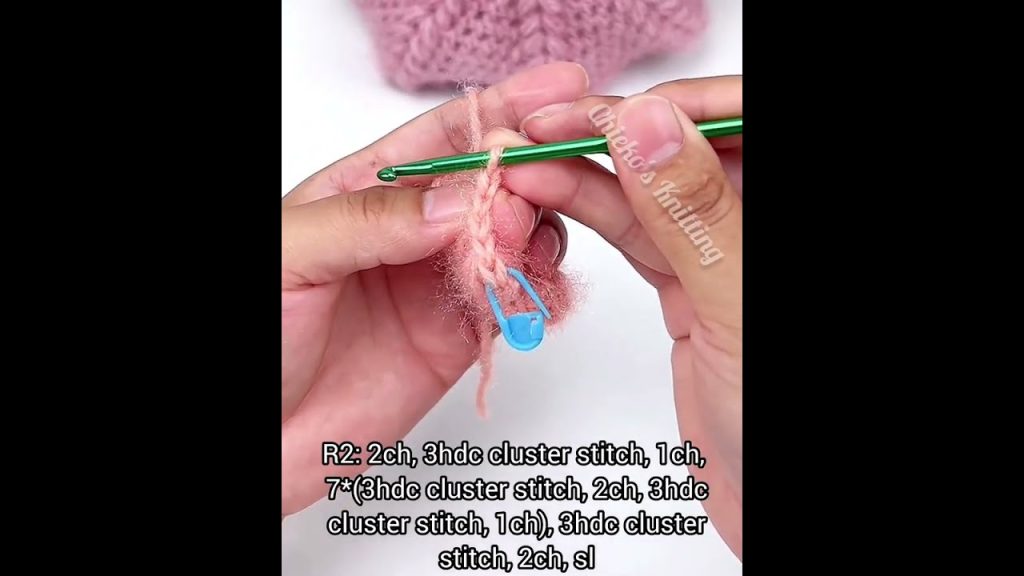
Step 3: Begin the Wheat Ear Pattern
Now it’s time to transition into the textured wheat ear design. Here’s a simplified version of the stitch pattern suitable for beginners.
Wheat Ear Stitch Pattern Round:
- Round 6: Ch 2, fpdc around next post, hdc in next 2 sts, repeat around, join.
This creates the “wheat stalk” effect. Continue repeating this pattern in the subsequent rounds.
- Rounds 7–15: Repeat Round 6. Make sure to alternate fpdc placement so that they align vertically with previous fpdc stitches.
🧡 The combination of fpdc + 2 hdc creates a beautiful raised texture. Be consistent in stitch placement for a neat finish.
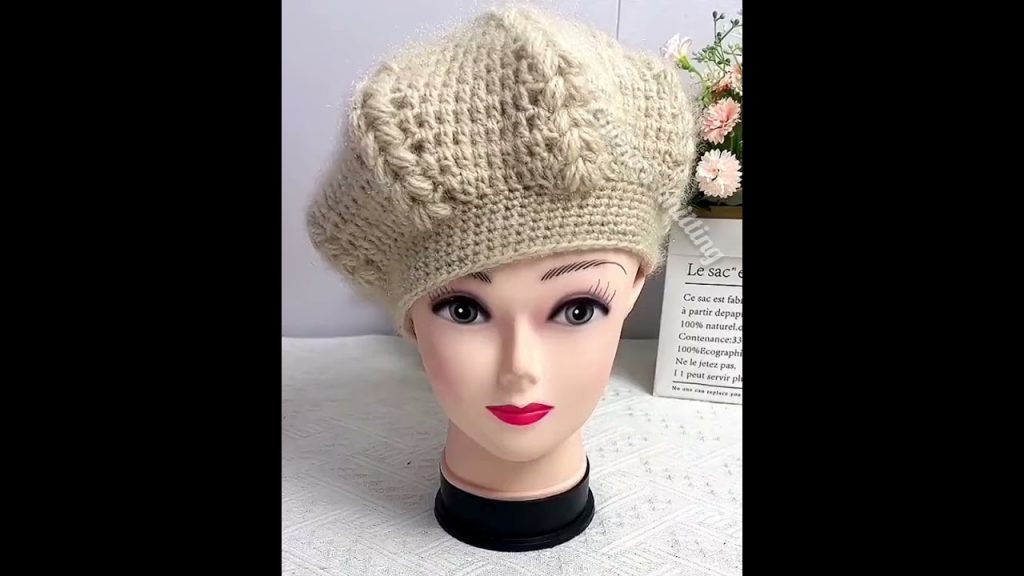
Step 4: Adjust Length of Hat
For an average adult beanie, aim for a total height (from crown to bottom edge) of 7.5 to 8.5 inches before adding the brim. You can add more or fewer rounds depending on how slouchy or snug you want your hat.
👒 Step 5: Add a Ribbed Brim
To finish the hat and help it stay snug on the head, we’ll crochet a stretchy brim using front and back post double crochets.
- Brim Round 1: Ch 2, fpdc in next st, bpdc in next st, repeat around, join.
- Brim Round 2–4 (or desired height): Repeat Brim Round 1.
You can make the brim wider for more texture or a turned-up cuff style.
🧷 Step 6: Fasten Off and Finish
- Once you’ve reached your desired hat length and brim thickness, sl st to join and fasten off.
- Use a yarn needle to weave in all loose ends.
- Optionally, sew on a faux fur pom-pom or crochet a matching one to attach at the top.
🧼 Care Instructions
If you’re using acrylic or washable wool yarn, your hat can typically be machine washed on a gentle cycle. For handmade items, handwashing and air drying is always the safest method to maintain shape and texture.
🎁 Customization Ideas
Make the hat your own with these creative twists:
- Add a pom-pom or wooden button on the brim.
- Use striped yarn for a multi-tone look.
- Incorporate beads or small flowers into the design.
- Crochet a matching wheat ear cowl or scarf to complete the set.
🌟 Final Thoughts
The wheat ear pattern crochet hat is not only beautiful but also a rewarding project for beginners looking to practice texture and post stitches. With its elegant lines and cozy feel, it’s a piece you’ll love wearing or gifting.
Don’t be intimidated by the post stitches—they become easier with practice and add incredible detail to your crochet work. Keep experimenting, and soon you’ll be able to adapt the pattern to different styles and sizes.
Video tutorial:


