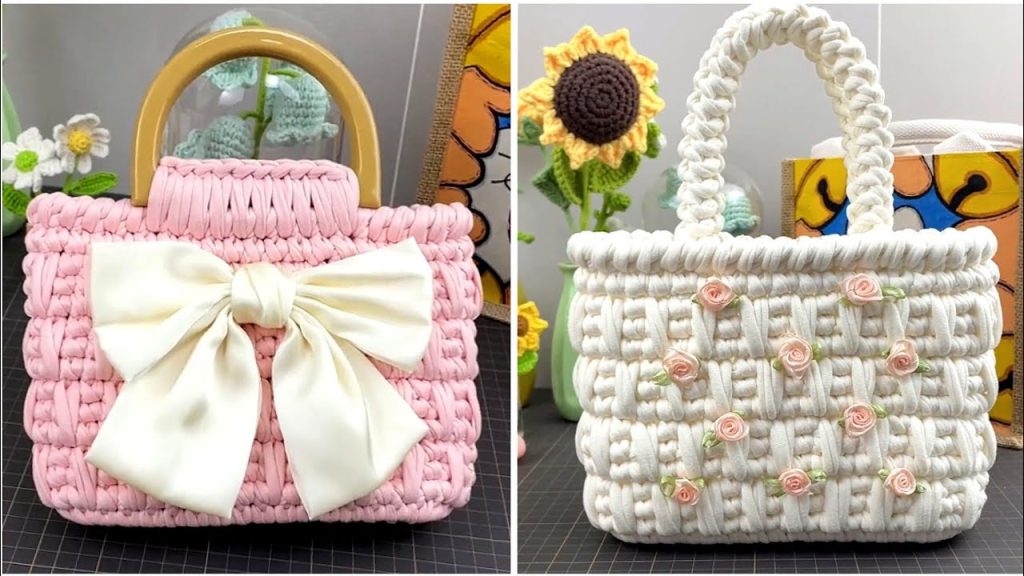
Crochet bags are the perfect blend of function and fashion. Whether you’re heading to the beach, the farmer’s market, or just want to make a cute accessory, a handmade crochet bag is the way to go. The best part? You don’t need to be a crochet expert to create one! With just a few basic stitches and simple techniques, you can crochet your very own stylish and durable bag.
In this comprehensive guide, we’ll show you how to make a super easy crochet bag from start to finish. It’s a great project for beginners, and the end result is a versatile tote you’ll love using or gifting.
🧺 Why Crochet a Bag?
There are plenty of reasons to love crocheting your own bags:
- 🪄 Beginner-friendly – No complicated shaping or stitches required.
- 💼 Practical – Great for everyday use or as reusable shopping bags.
- 🎨 Customizable – Change colors, add pockets, make it bigger or smaller.
- 🌱 Eco-friendly – Reusable crochet bags help reduce plastic waste.
- 🎁 Great gifts – Handmade and personal gifts are always appreciated.
✨ What You’ll Need
Let’s get started by gathering everything you need.
🧵 Materials:
- Yarn: Worsted weight cotton yarn (Category 4) — about 200–300 yards
- Cotton yarn is strong and durable — perfect for bags.
- Acrylic yarn works too but may stretch more.
🪝 Tools:
- Crochet hook: 5.0 mm (H-8) or as recommended for your yarn
- Scissors
- Yarn needle for weaving in ends
- Stitch markers (optional but helpful)
🧶 Stitches & Abbreviations Used

This pattern uses simple, beginner-level stitches. Here’s a quick rundown:
| Abbreviation | Stitch Name |
|---|---|
| ch | Chain |
| sc | Single Crochet |
| hdc | Half Double Crochet |
| sl st | Slip Stitch |
| st(s) | Stitch(es) |
| rnd | Round |
🔰 If you’re just learning, practice these stitches first. They’re the foundation of most crochet patterns.
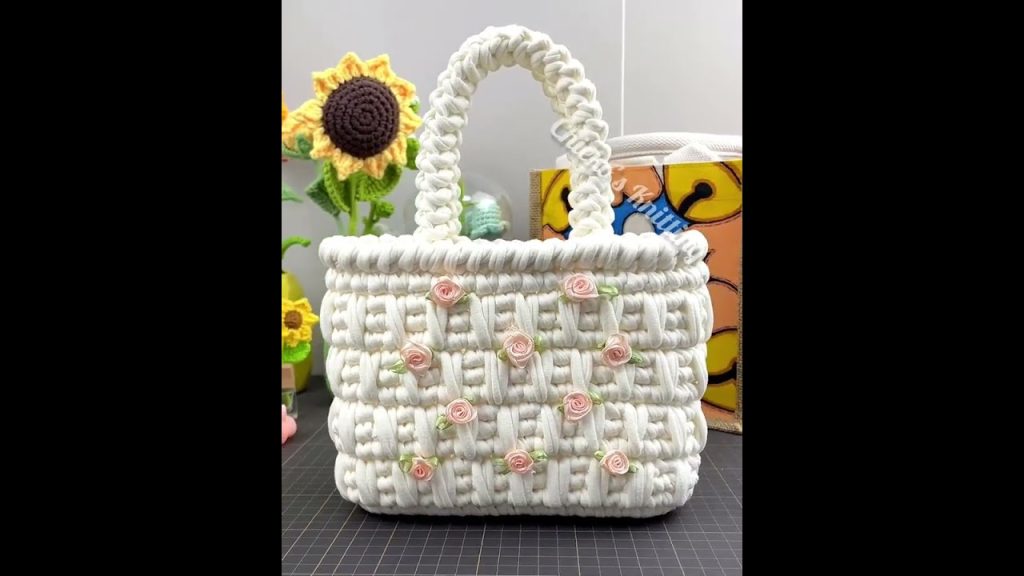
👜 Let’s Crochet: Super Easy Flat-Bottom Tote Bag
This beginner-friendly crochet bag is made from the bottom up with a flat base, seamless sides, and built-in handles.
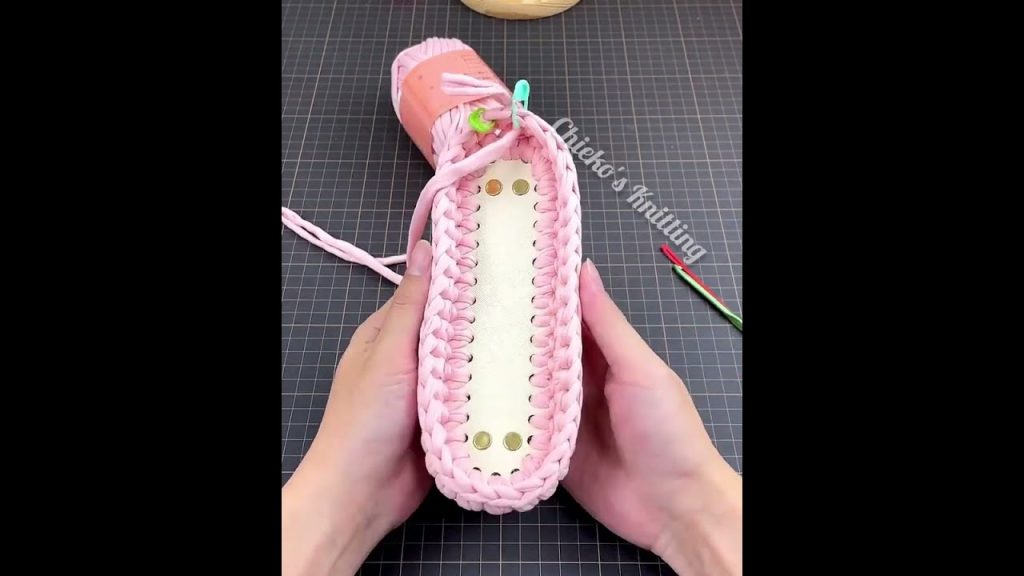
✅ Step 1: Crochet the Base (Oval Shape)
The base of the bag is made using rounds of half double crochet to form a strong foundation.
Foundation:
- Ch 25 (or adjust for desired bag width)
Round 1:
- Hdc in 3rd ch from hook and in next 21 sts
- Make 3 hdc in the last ch (this curves around to the other side)
- Work down the other side of the chain: hdc in next 21 sts
- 2 hdc in the same first stitch (where your first hdc was)
- Join with sl st to first hdc (48 sts)
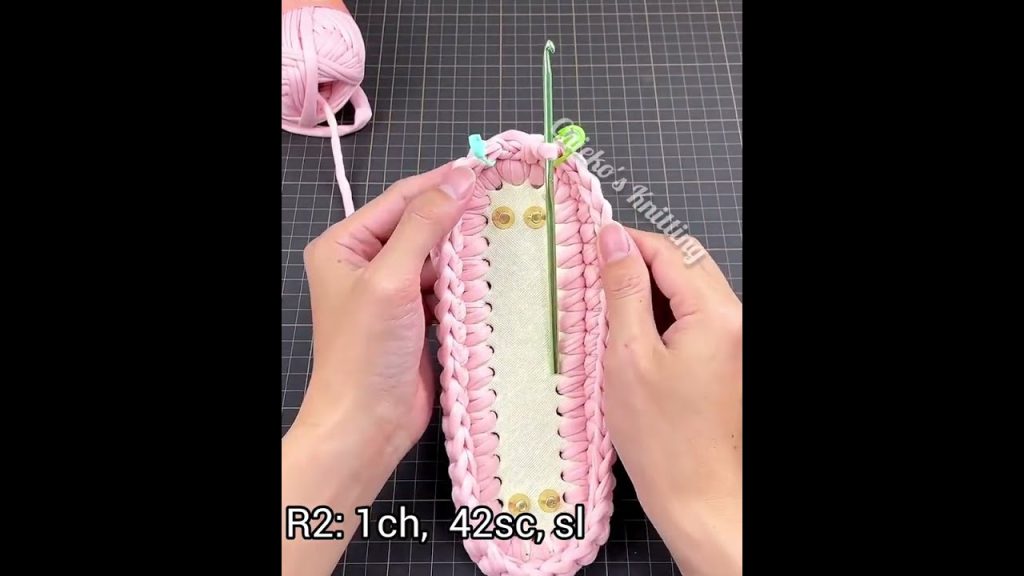
Round 2:
- Ch 2 (doesn’t count as a st), hdc in next 22 sts
- 2 hdc in next 3 sts (corner curve)
- hdc in next 22 sts
- 2 hdc in next 2 sts, hdc in same as joining
- Join with sl st (54 sts)
Round 3:
- Ch 2, hdc in next 23 sts
- 2 hdc, hdc, 2 hdc in next 5 sts (adds more to the curve)
- hdc in next 23 sts
- 2 hdc, hdc, 2 hdc in remaining sts
- Join (62 sts)
🎯 Adjust the length by changing the initial chain. Add or subtract rounds to change the width.
✅ Step 2: Build the Sides
Now we stop increasing and work straight up to form the sides of the bag.
Rounds 4–20:
- Ch 2, hdc in each st around
- Join with sl st at the end of each round
🧺 You can make your bag taller by adding more rounds here.
Optional Variation:
- Alternate 1 round of sc with 1 round of hdc for texture
✅ Step 3: Create the Handles
Handles are built right into the top of the bag using chains and skipped stitches.
Round 21:
- Ch 1, sc in next 10 sts (adjust depending on width)
- Ch 20 (for handle), skip 10 sts, sc in next 20 sts
- Ch 20, skip 10 sts, sc in next 10 sts
- Join
Round 22:
- Ch 1, sc in each st and across each chain (handles) – be sure to place 1 sc in each chain stitch
- Join
Rounds 23–24:
- Ch 1, sc in each st around to strengthen the top and handles
- Join and fasten off
✅ Step 4: Finishing Touches
- Weave in ends with a yarn needle
- Steam block the bag lightly (optional, but helps shape it)
- Add accessories like:
- Wooden or leather tags
- Buttons or clasps
- Fabric liner (advanced but optional)
- Crochet flowers or appliqués
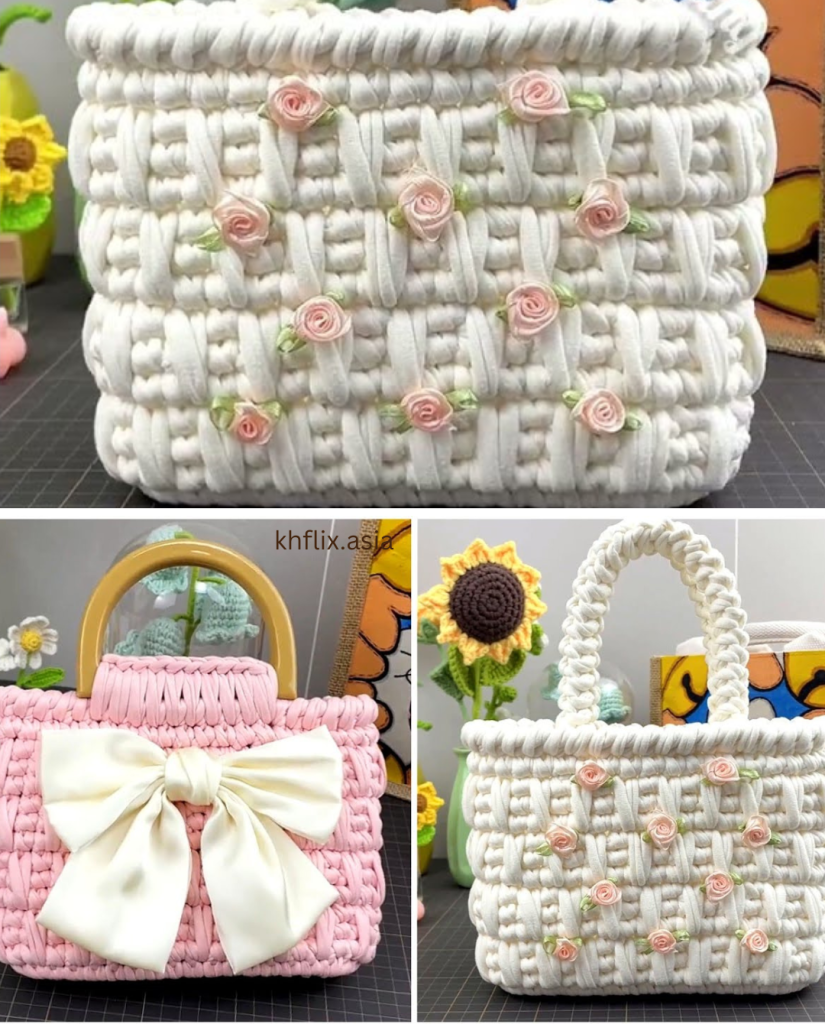
🧺 Bag Customization Ideas
Here are some creative ways to personalize your bag:
🌈 Color Changes
- Use striped yarn or color blocks
- Try ombre or gradient effects
🧵 Stitch Variations
- Use moss stitch, granny stitch, or puff stitch for a decorative look
🎀 Add-ons
- Sew in a lining if you want more structure
- Add an inner pocket
- Attach a snap button or zipper
- Use wooden rings for a boho-style handle
🧼 How to Care for Your Crochet Bag
- Cotton yarn: Machine washable on gentle. Air dry flat.
- Acrylic yarn: Machine wash cold, gentle cycle. Avoid hot dryers.
- Blocking: Light steam can help shape the bag, especially if it curls.
📏 Resize for Different Uses
Want to make more than just a tote? Here are easy adjustments:
| Use Case | Adjustments |
|---|---|
| Grocery Bag | Use mesh stitch and taller sides |
| Beach Bag | Add a drawstring or open weave |
| Purse/Handbag | Use tighter stitches like sc |
| Project Bag | Add inside pockets and lining |
🎁 Final Thoughts: You Made a Bag!
Congratulations! You just created your very own super easy crochet bag — stylish, practical, and made with your own two hands.
This project proves that even beginners can create beautiful, functional accessories. Once you’ve mastered this basic design, the sky’s the limit! Try adding different stitch textures, changing the shape, or exploring other types of bags like backpacks, slings, and clutches.
Video tutorial: