
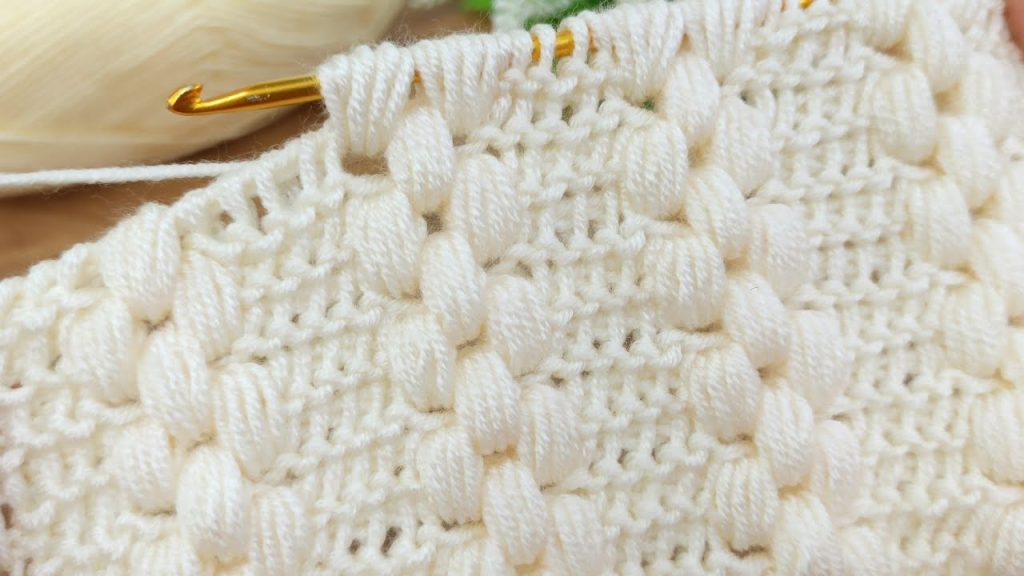
Inspired by the beautiful and simple construction shown in the video, this pattern combines the soothing texture of the Tunisian Simple Stitch (TSS) with modern color blocking to create a warm, yet lightweight baby blanket. It’s a fantastic project for beginners looking to try Tunisian crochet, as it focuses on basic stitches and rhythmic color changes.
The key to this design is the TSS Boundary Block, where a row of Tunisian Purl Stitch (TPS) is strategically placed to create a pronounced, cord-like separator between the large blocks of color, giving the finished piece a sharp, structured look.
🌟 Materials & Sizing
| Item | Details |
| Yarn | Color A (Main): 600g (approx. 1400 yards) Worsted Weight (Category 4) in a solid, light color (e.g., Cream or Soft Gray). |
| Yarn | Color B (Contrast): 200g (approx. 450 yards) Worsted Weight (Category 4) in a complementary or bright color (e.g., Navy, Blush Pink, or Mint). |
| Hook | 6.0 mm (US J/10) Tunisian Crochet Hook with a flexible cable (at least 36 inches long to accommodate the width). |
| Notions | Scissors, Yarn Needle, 1-2 Stitch Markers. |
Finished Size & Gauge
- Approximate Finished Size: 30 inches wide x 36 inches long.
- Gauge (approx.): 15 stitches and 15 rows of TSS = 4 inches, measured after blocking. (Gauge is not critical for a blanket, but aim for a fabric that is slightly loose and not stiff.)
📘 Terminology & Special Stitches
This pattern uses standard US and Tunisian crochet abbreviations.
| Abbreviation | Meaning |
| Ch | Chain |
| Sl St | Slip Stitch |
| FO | Fasten Off |
| FP | Forward Pass (gathering loops onto the hook) |
| RP | Return Pass (working loops off the hook) |
| TSS | Tunisian Simple Stitch |
| TPS | Tunisian Purl Stitch |
| LTS | Last Tunisian Stitch (see instruction below) |
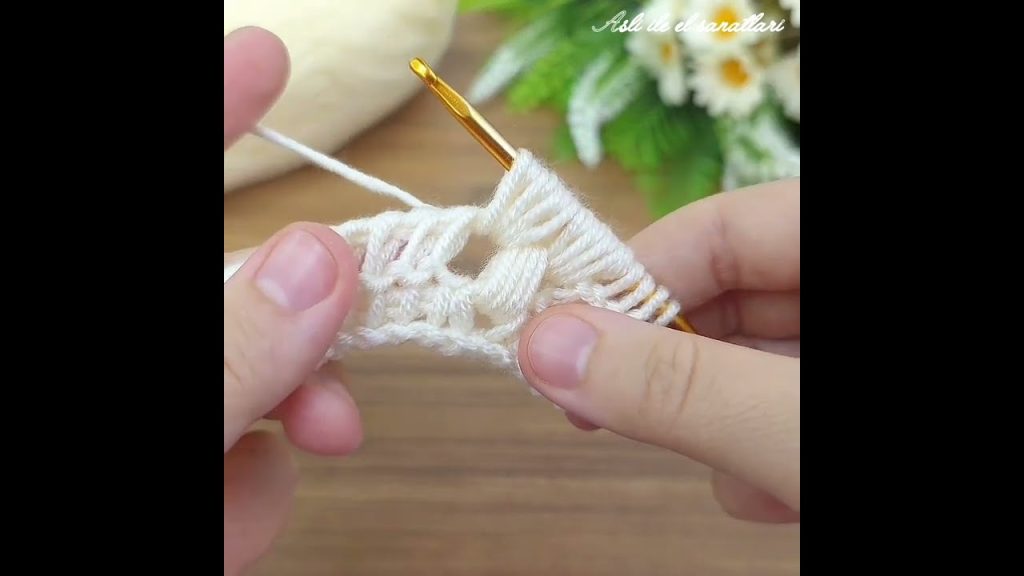
1. Tunisian Simple Stitch (TSS)
- Used for the main fabric.
- Insert hook horizontally under the vertical bar of the next stitch, YO, pull up a loop.
2. Tunisian Purl Stitch (TPS)
- Used for the unique horizontal divider.
- Bring the yarn to the front of the work, insert hook under the vertical bar of the next stitch, bring the yarn back behind the hook, YO, pull up a loop.
3. Last Tunisian Stitch (LTS)
- Used at the end of every Forward Pass for a clean edge.
- Insert hook under both the front and back loops of the last vertical stitch of the previous row, YO, pull up a loop.
Standard Return Pass (RP)
(Used for every row unless otherwise noted)
- Ch 1 (locks the row).
- *YO, pull through 2 loops on hook*. Repeat from * until only 1 loop remains on the hook.
🧱 The Pattern: TSS Boundary Block
This pattern is worked in sections of alternating colors. The stitch count will be the same for all sections.
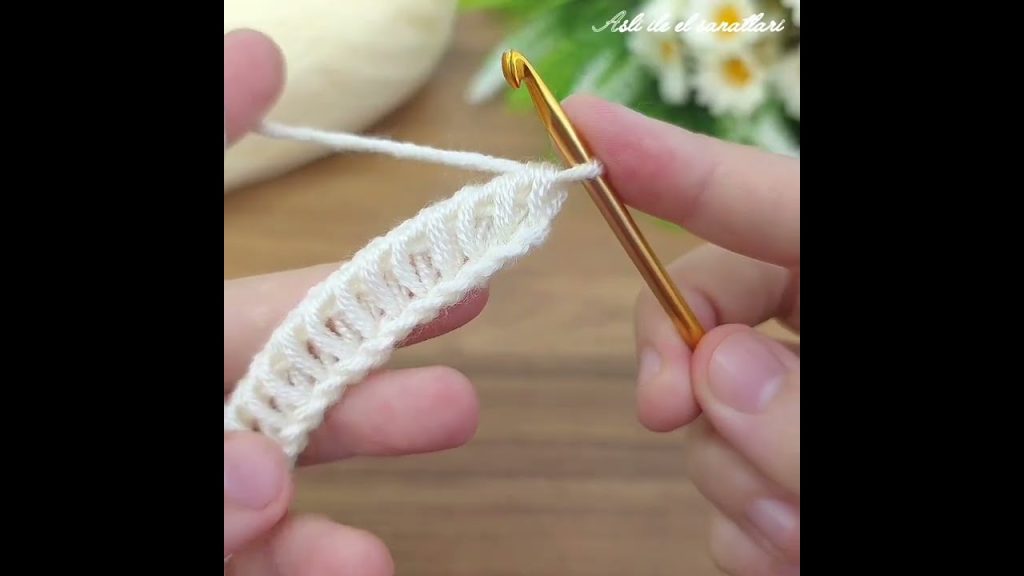
Setup: Foundation Row (Color A)
- Using Color A, Ch 115 (or any number for your desired width, aim for an even width in inches).
- Forward Pass (FP): Insert hook into the back bump of the 2nd Ch from the hook, YO, pull up a loop. Repeat across all 114 chains. (115 loops on your hook).
- Return Pass (RP): Work a Standard RP.
Section 1: Main Body (Color A)
- Work Rows 1-30 in TSS (approx. 8 inches in height).
Row 1 (FP):
- TSS in every vertical bar across. Work LTS in the last stitch. (115 loops on hook). Row 1 (RP):
- Work a Standard RP.
Rows 2-30: Repeat Row 1 (FP and RP).
At the end of Row 30, complete the RP, but DO NOT slip stitch or cut yarn A. Leave the loop live and drop the yarn.
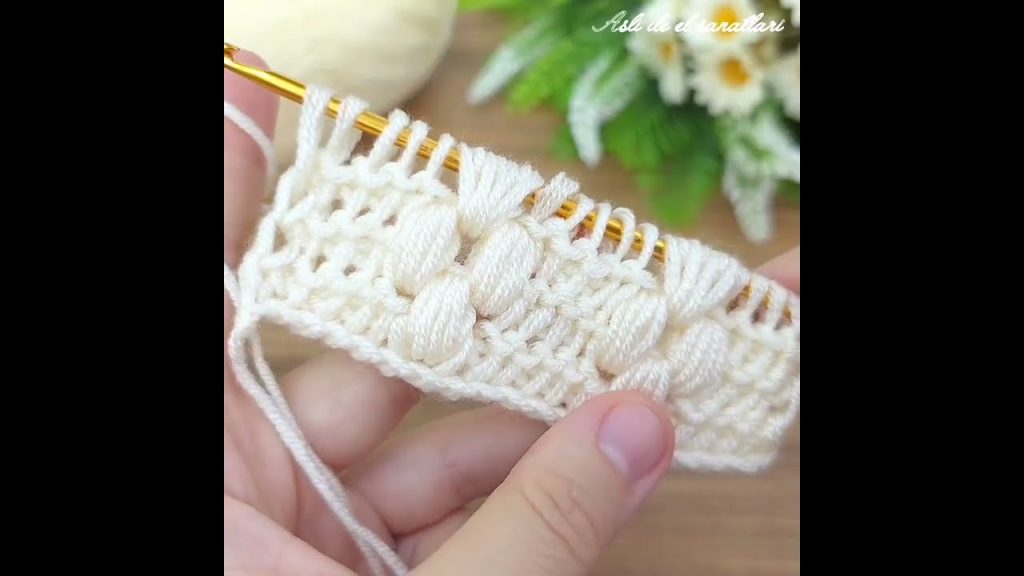
Section 2: The Boundary Strip (Color B)
This strip is worked with the contrasting color and uses the Tunisian Purl Stitch to create a dense, highly textured horizontal line that visually separates the color blocks.
- Attach Color B (join to the live loop left by Color A).
- Row 31 (FP – TPS Boundary):
- TPS in every vertical bar across. Work LTS in the last stitch. (115 loops on hook).
- Row 31 (RP):
- Work a Standard RP.
- Row 32 (FP – TSS):
- TSS in every vertical bar across. Work LTS in the last stitch. (115 loops on hook).
- Row 32 (RP):
- Work a Standard RP.
- Row 33 (FP – TPS Boundary):
- TPS in every vertical bar across. Work LTS in the last stitch. (115 loops on hook).
- Row 33 (RP):
- Work a Standard RP.
At the end of Row 33, complete the RP, and DO NOT cut yarn B. Leave the loop live and drop the yarn.
Section 3: Color Block Re-entry (Color A)
- Pick up Color A (it should be waiting).
- Row 34 (FP):
- TSS in every vertical bar across. Work LTS in the last stitch. (115 loops on hook).
- Row 34 (RP):
- Work a Standard RP.
Rows 35-63: Repeat the TSS pattern from Row 1, working 30 rows in Color A.
At the end of Row 63, complete the RP, drop yarn A, and pick up yarn B again.
Pattern Repeat
Continue alternating the sections until the blanket reaches 36 inches (or your desired length).
| Section Type | Rows | Color | Approx. Height |
| Color Block | 30 Rows of TSS | Color A | 8 inches |
| Boundary Strip | 3 Rows (TPS, TSS, TPS) | Color B | 1 inch |
| Color Block | 30 Rows of TSS | Color A | 8 inches |
| Boundary Strip | 3 Rows (TPS, TSS, TPS) | Color B | 1 inch |
| Color Block | 30 Rows of TSS | Color A | 8 inches |
| Boundary Strip | 3 Rows (TPS, TSS, TPS) | Color B | 1 inch |
| Final Block | 30 Rows of TSS | Color A | 8 inches |
(This structure results in 4 large blocks of Color A separated by 3 Boundary Strips of Color B, totaling approximately 36 inches.)
✂️ Finishing and Edging
Once you have completed your final Color Block section:
- Final Row (Bind Off): This row secures all the loops and matches the density of the side edges.
- Forward Pass (FP – Sl St Bind Off): Work a TSS into the first vertical bar, then Sl St through the loop on your hook. *TSS into the next vertical bar, Sl St through the loop on your hook*. Repeat from * across the row, working a Sl St into the last stitch of the row.
- Fasten Off: Cut the yarn and pull the tail through the last loop.
Perimeter Edging (Optional)
To create a clean, uniform border, work a round of Single Crochet (SC) around the entire perimeter of the blanket, working 1 SC into each row-end on the sides, 1 SC into each stitch along the top/bottom, and 3 SC into each corner. Join with a Sl St and Fasten Off.

Final Care
- Weave in all yarn tails securely.
- Wet or steam block the blanket to relax the Tunisian stitches and ensure the edges are straight and the fabric has a beautiful drape.
Video tutorial:


