Crochet has a way of turning simple yarn into beautiful, functional art—and what better example than a crochet bag? Whether you’re heading to the market, out for a casual brunch, or just need a stylish, handmade tote for everyday essentials, a crochet bag can be the perfect accessory. Even better, with the right pattern and techniques, you don’t need to be an expert to make a beautifully designed crochet bag that turns heads.
In this guide, we’ll walk you through everything you need to know to create a bag that is both easy to make and beautifully crafted—no frustration, just joy in every stitch.
💡 Why Make a Beautiful Crochet Bag?
Crochet bags strike the perfect balance between form and function. They’re fashionable, durable, eco-friendly, and completely customizable. You can design a bag that fits your unique style, from minimalist chic to boho flair.
Here’s why a beautifully designed crochet bag is worth the effort:
- 🌟 Visually impressive, technically simple
- 🎨 Creative freedom – change colors, patterns, and textures
- 🧵 Great practice for basic stitches and shaping
- 👜 Reusable and practical for everyday use
- 🎁 Perfect for gifting – handmade gifts are always special
🧶 Materials You’ll Need
To make a crochet bag that’s easy yet beautiful, choose materials that are practical, strong, and easy to work with.
🧵 Yarn:
- Type: 100% cotton or a cotton-blend yarn
- Weight: Worsted weight (#4 medium) or bulky (#5) for thicker texture
- Color: Go for solids for a minimalist look or variegated yarn for an artistic effect
🪝 Hook:
- Recommended Size: 5.0 mm to 6.5 mm, depending on yarn
- Adjust your hook size for tighter or looser fabric
📋 Other Supplies:
- Stitch markers (optional but helpful)
- Yarn needle
- Scissors
- Measuring tape
- Lining fabric (optional for interior)
- Magnetic snap or button (optional for closure)
🧵 Stitches & Techniques You’ll Use
You don’t need complex stitches to make a beautiful bag. Here are the basic techniques and stitches used:
| Technique | Description |
|---|---|
| Chain (ch) | Creates the foundation row |
| Single Crochet (sc) | Dense, tight stitch for structure |
| Half Double Crochet (hdc) | Slightly taller, adds texture |
| Slip Stitch (sl st) | Used for joining and clean edges |
| Crocheting in the Round | Ideal for seamless bag bottoms |
| Crocheting in Rows | Used for flat panels or bag flaps |
Optional:
- Shell stitch or puff stitch for decorative touches
✨ Beautiful and Easy Crochet Bag Pattern
Let’s dive into a beginner-friendly yet elegant pattern for a bag that’s as beautiful as it is functional.
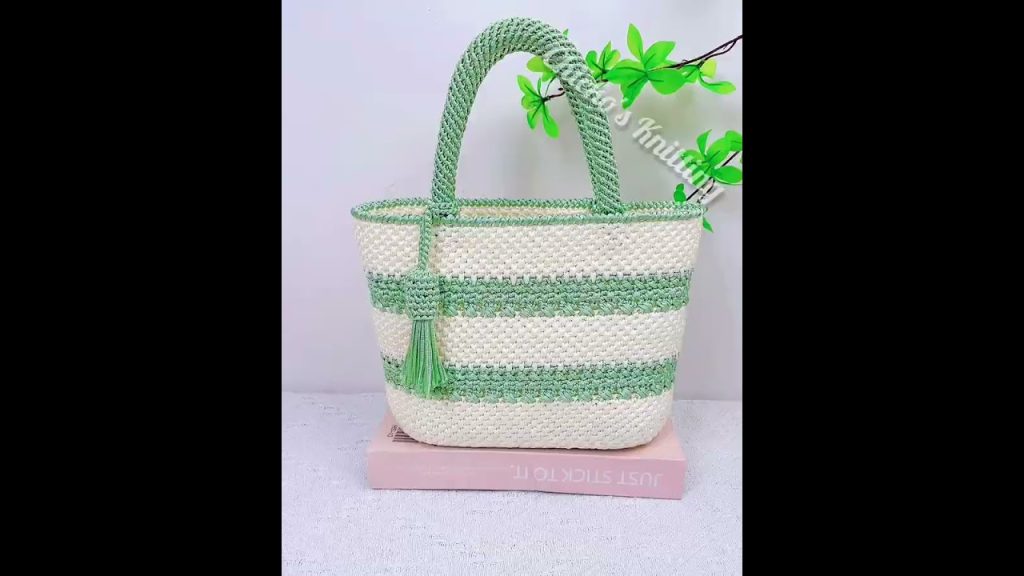
👜 Pattern: “The Everyday Chic Tote”
🧵 Skill Level:
Beginner to Intermediate
📐 Finished Size:
Approx. 13” wide x 14” tall, handles add 10”
🧶 Materials:
- 2 skeins of worsted weight cotton yarn (~400–500 yards)
- 5.5 mm crochet hook
- Yarn needle
- Optional: Fabric for lining and a magnetic snap
🔄 Instructions
Step 1: Crochet the Bag Base
We’ll start with an oval base to give the bag structure.
Round 1:
- Ch 31
- Sc in 2nd ch from hook, sc in next 28, 3 sc in last ch
- Working on opposite side, sc in next 28, 2 sc in last ch
- Sl st to first sc (62 sts total)
Round 2:
- Ch 1, sc in each st, placing 2 sc in each of the 3 curved-end stitches on both ends
- Sl st to join
Round 3:
- Repeat Round 2, increasing evenly at ends
- Your base should now be oval and slightly cupped
Step 2: Build the Bag Body
You can now crochet upwards in rounds for the body of the bag.
Rounds 4–24 (or until desired height):
- Ch 1, hdc in each stitch around
- Join with sl st
🌟 Design Tip: Alternate between rows of hdc and sc every few rounds to add texture. You can also do stripes by changing yarn color every 3–4 rows.

Step 3: Create the Handles
You have a few elegant yet simple options for handles.
Option 1: Built-In Handles (Open-Work Style)
Next Round:
- Ch 1, sc in next 10 sts, ch 30 (skip next 10 sts), sc in next 20, ch 30 (skip next 10), sc to end
- Next round: sc in every st and across each chain
Option 2: Strap Handles (Thick and Durable)
- Ch 60, turn, sc across, repeat for 2–3 rows
- Make two and sew to inside edges of the bag
🧵 Optional Finishing Touches
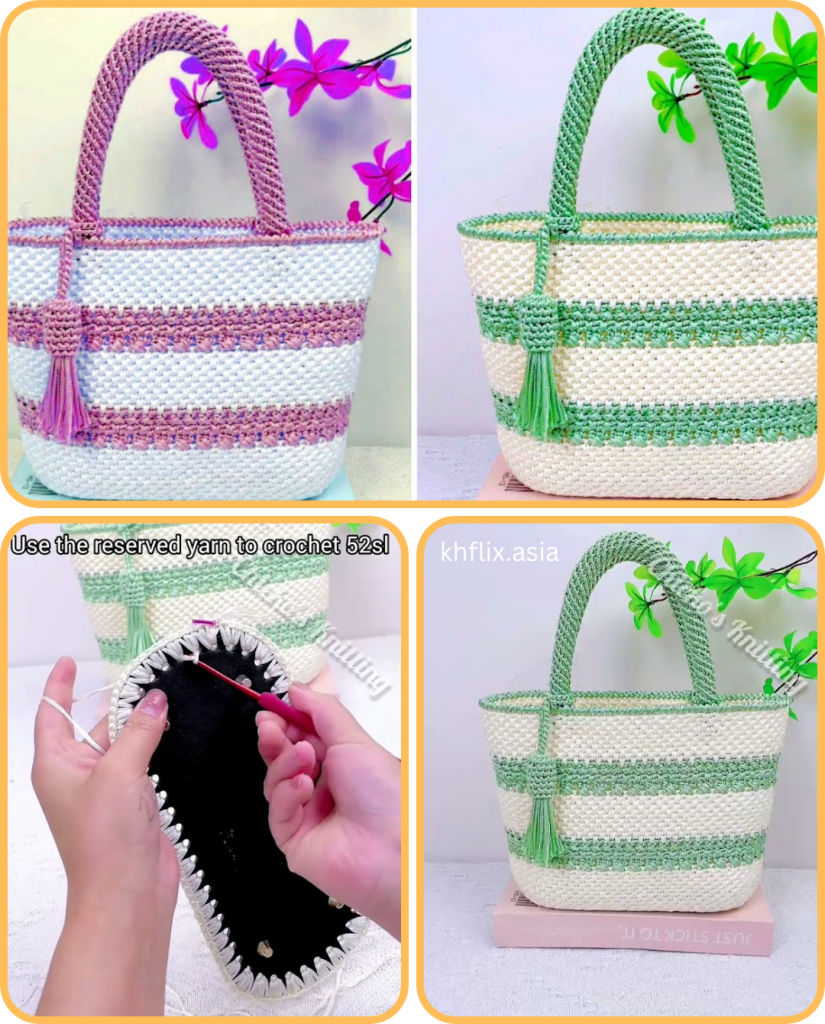
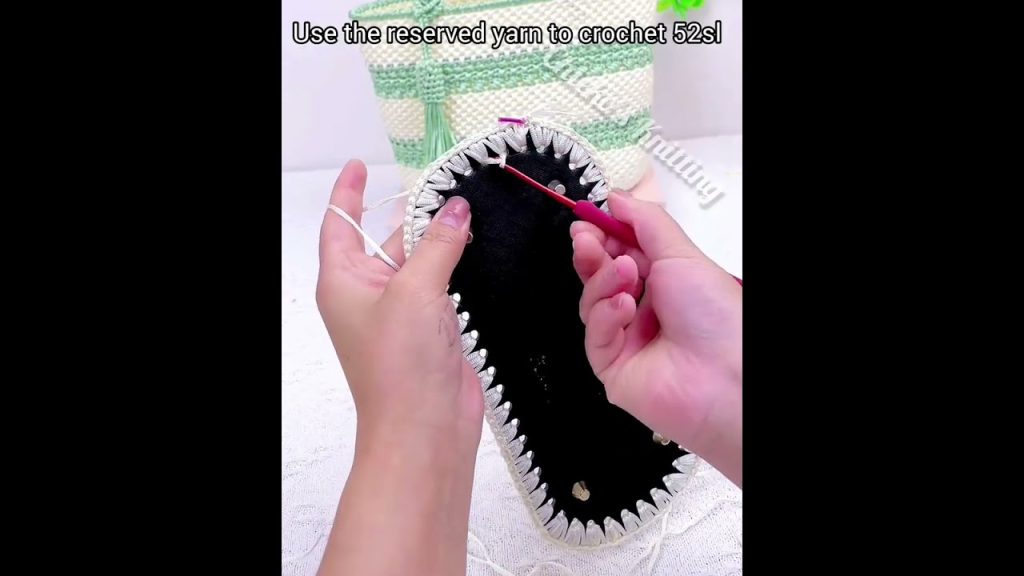
- Lining: Cut and sew a fabric lining to the bag’s interior for extra support and a clean finish
- Closure: Add a button, magnetic snap, or crochet drawstring
- Decorative Stitching: Try a shell stitch border at the top
- Embroidery or Appliqué: Use leftover yarn to add shapes or initials
🌸 Design Variations to Elevate Your Bag
Want to make your crochet bag even more beautiful? Try these variations:
🌀 Boho-Chic Style
- Use macramé cord or jute yarn
- Add fringe along the bottom or sides
- Try a granny square base and build up
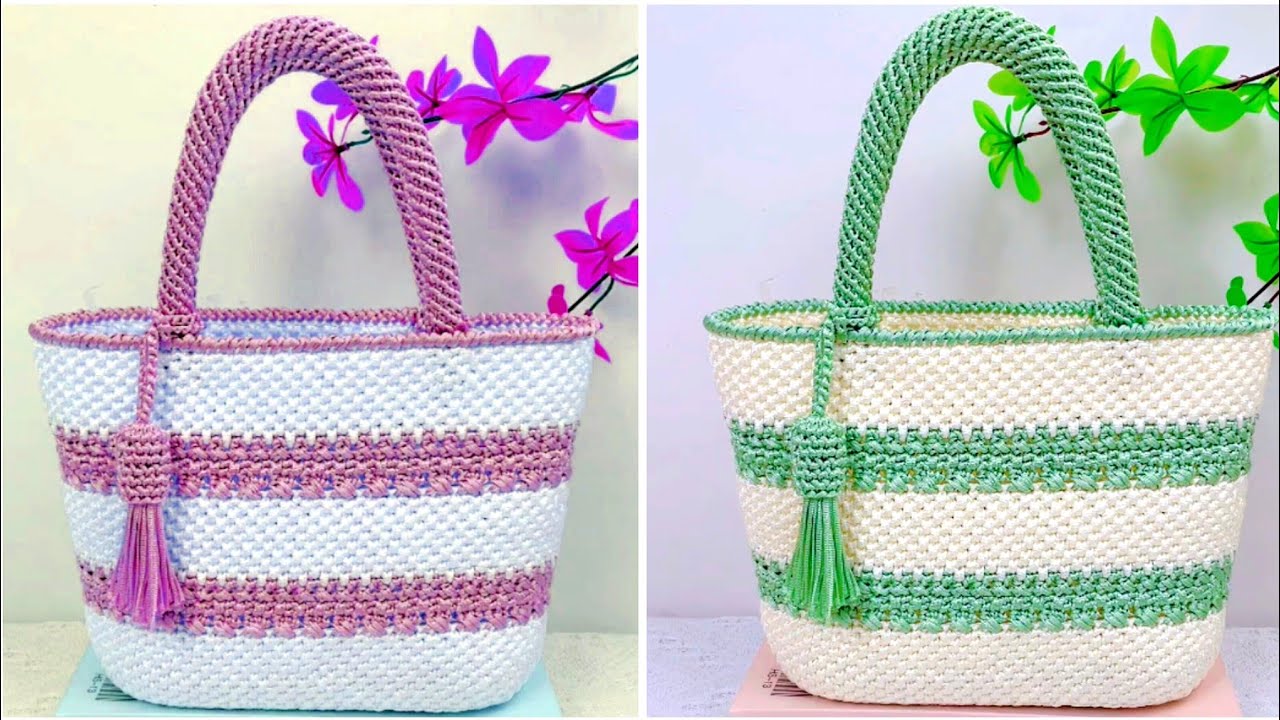
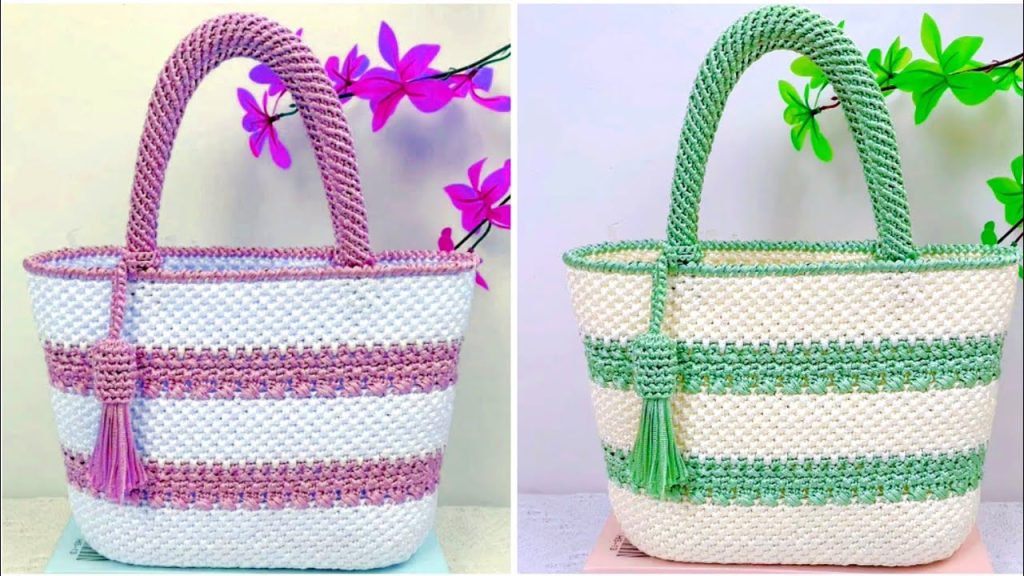
🎨 Color Block Elegance
- Use three coordinated colors: base, body, and handles
- Add a stripe every few rows for a classic look
🌿 Nature-Inspired Texture
- Use puff stitches or bobbles for dimension
- Incorporate leaf or flower motifs
🧼 How to Care for Your Crochet Bag
Proper care helps your bag last and look great for years:
- Washing: Hand wash gently in cold water with mild soap
- Drying: Reshape and lay flat to air dry
- Storage: Store flat or hang by handles to prevent warping
✨ Final Thoughts
Creating a beautifully designed and easy to make crochet bag is more than a weekend craft—it’s a creative experience that leaves you with something personal and practical. With just a few basic stitches and your choice of yarn, you can craft a bag that looks store-bought but holds the charm of being handmade.
Whether you make it for yourself, a loved one, or to sell at a local craft fair, your crochet bag is sure to impress. The best part? You can make another with a different design twist every time.
So pick up your hook, choose a color that inspires you, and start stitching your way to a beautiful new bag today. 💖
Video tutorial:


