Crochet is one of the most versatile and rewarding crafts. From cozy blankets to intricate garments, there’s something for everyone. But if you’re new to crochet or just want a fast, functional project, a super easy crochet bag is the perfect choice. Whether you’re looking to make a casual tote, a market bag, or a small pouch, this project requires minimal materials, basic stitches, and a bit of creativity.

In this article, we’ll walk you through:
- Why crochet bags are the perfect DIY project
- Materials you’ll need
- Basic stitches and techniques
- A step-by-step beginner-friendly pattern
- Tips for customization
- Finishing touches and care
Why Make a Crochet Bag?
Crochet bags are more than just a fun project—they’re practical, fashionable, and eco-friendly. Here’s why they’re worth your time:
- ✅ Easy for beginners – No complicated shaping or sizing.
- 👜 Useful – Use them as market totes, beach bags, or even handbags.
- 🎁 Great for gifts – Handmade gifts show care and thought.
- 🌱 Sustainable – Say goodbye to plastic bags and opt for handmade, reusable alternatives.
Materials You’ll Need
One of the best things about crochet is that you don’t need a lot to get started. Here’s what you’ll need to make your own easy crochet bag:
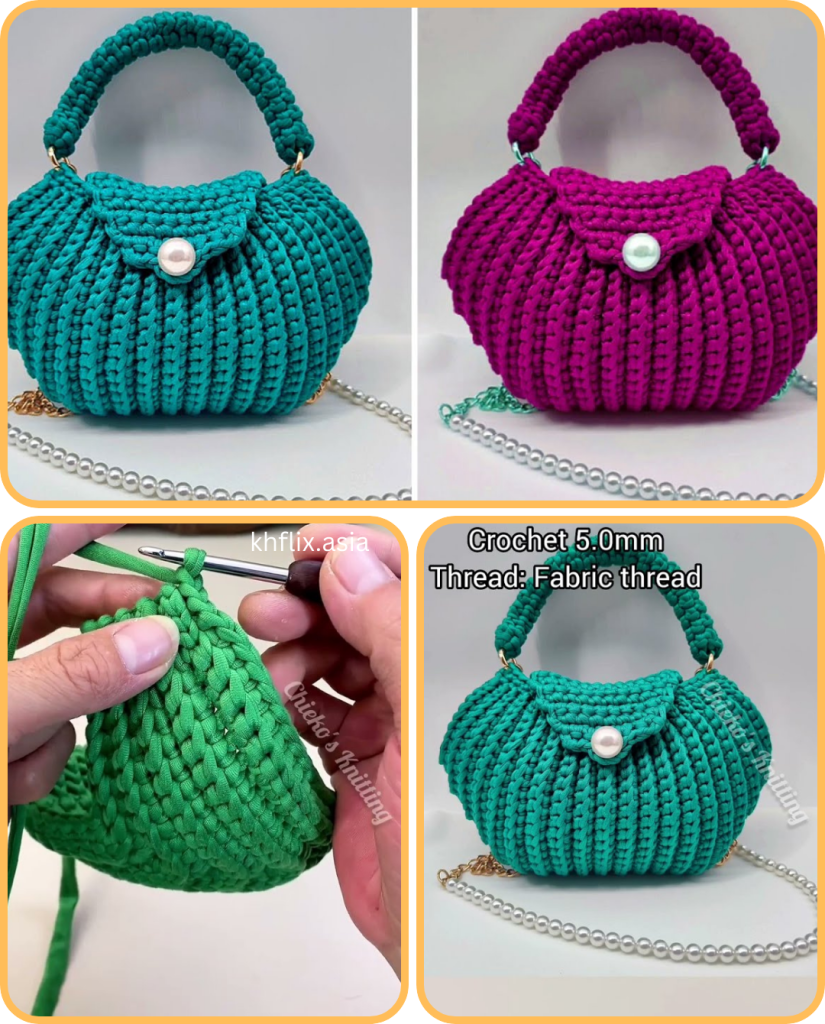
🧶 Yarn:
- Recommended type: Cotton yarn (like Lily Sugar’n Cream or Bernat Handicrafter)
- Weight: Worsted weight (#4 medium)
- Color: Any you like!
Cotton is sturdy, washable, and perfect for bags since it holds shape better than acrylic yarn.
🪡 Hook:
- Recommended size: 5.0 mm (H-8) or 5.5 mm (I-9)
- Always check your yarn label for a recommended hook size, but you can go up or down slightly for desired tightness.
✂️ Other Supplies:
- Yarn needle (for weaving in ends)
- Scissors
- Stitch markers (optional)
- Measuring tape (optional)
Basic Crochet Stitches and Techniques
If you know the basics, you can make this bag. Here are the stitches you’ll need:
| Stitch | Abbreviation | Description |
|---|---|---|
| Chain | ch | Foundation stitch; creates the base row |
| Single Crochet | sc | Tight, dense stitch; great for structure |
| Slip Stitch | sl st | Used for joining rounds or creating a smooth edge |
| Half Double Crochet | hdc | Taller than sc, quicker to work up |
| Magic Ring | – | Optional for starting in the round (alternative: ch 2 and work into first ch) |
You’ll also need to know how to:
- Increase (add stitches evenly)
- Work in the round (for a seamless bag bottom)
- Crochet in rows (for the bag body)
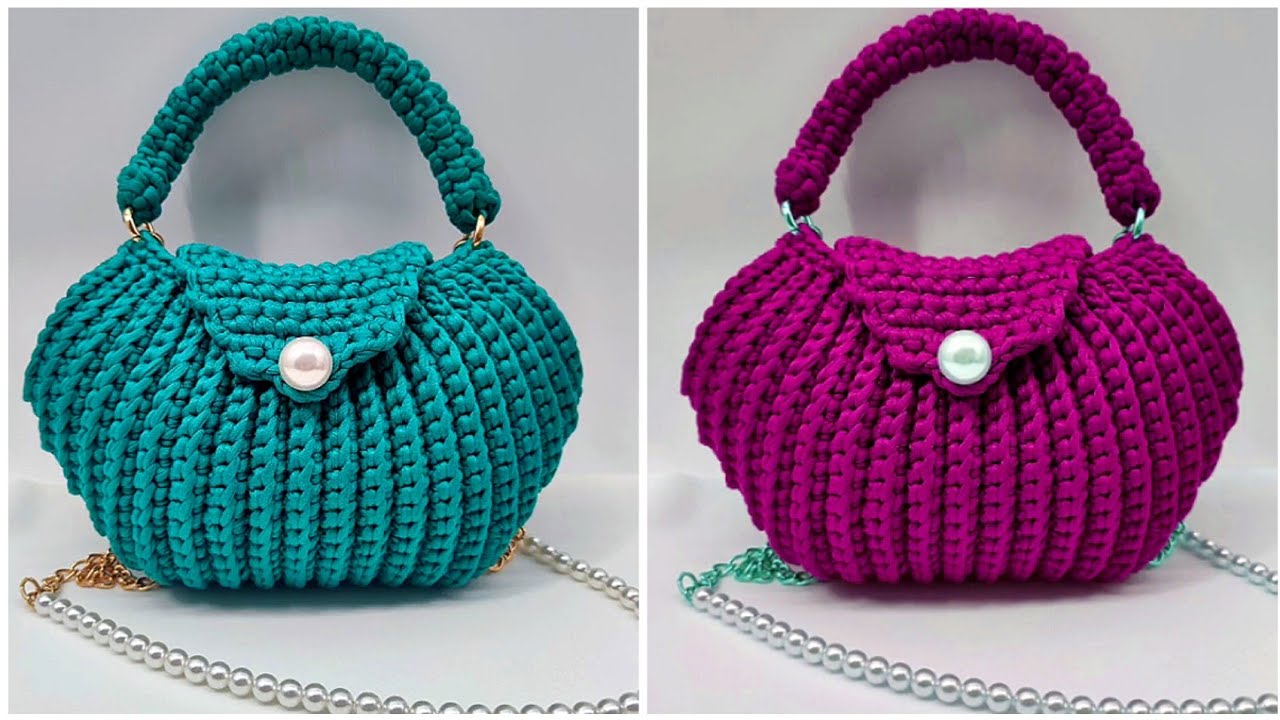
Super Easy Crochet Bag Pattern (Beginner-Friendly)
📏 Finished Size:
Approx. 12″ wide x 14″ tall (excluding handles)
🧵 Step-by-Step Instructions:
1. Crochet the Base (Flat Oval Shape)
Round 1:
- Ch 21 (this creates the base width)
- Sc in 2nd ch from hook and in next 18 sts, 3 sc in last ch.
- Working down the other side of the chain, sc in next 18 sts, 2 sc in last ch (same ch as first sc).
- Join with sl st to first sc. (Total: 42 sts)
Round 2:
- Ch 1, sc in same st, sc in next 18 sts, 2 sc in each of next 3 sts (the rounded end), sc in next 18 sts, 2 sc in each of last 2 sts.
- Join. (Total: 48 sts)
Round 3 (optional, for a wider base):
- Ch 1, sc around, increasing evenly at the curved ends.
- Join.
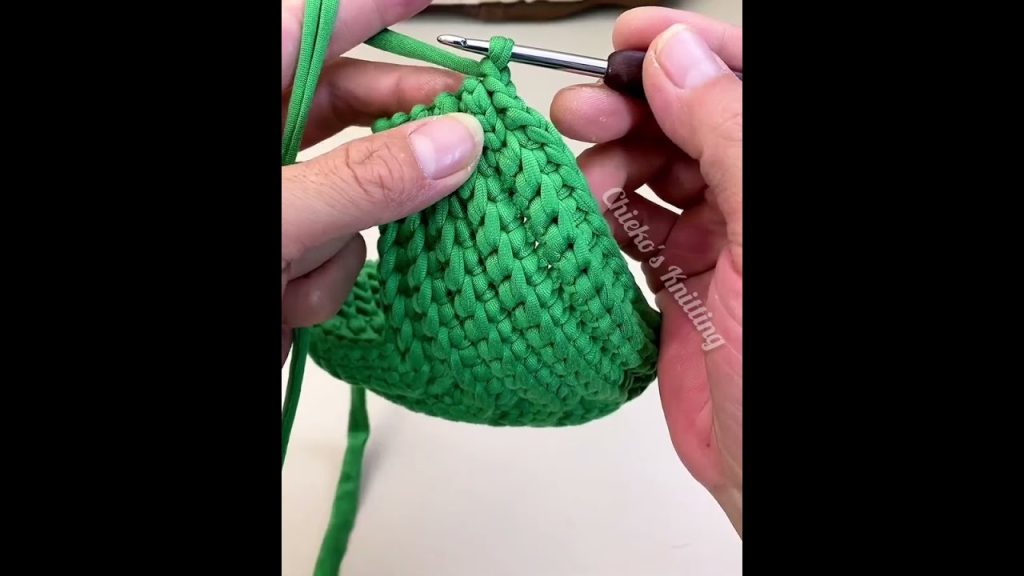
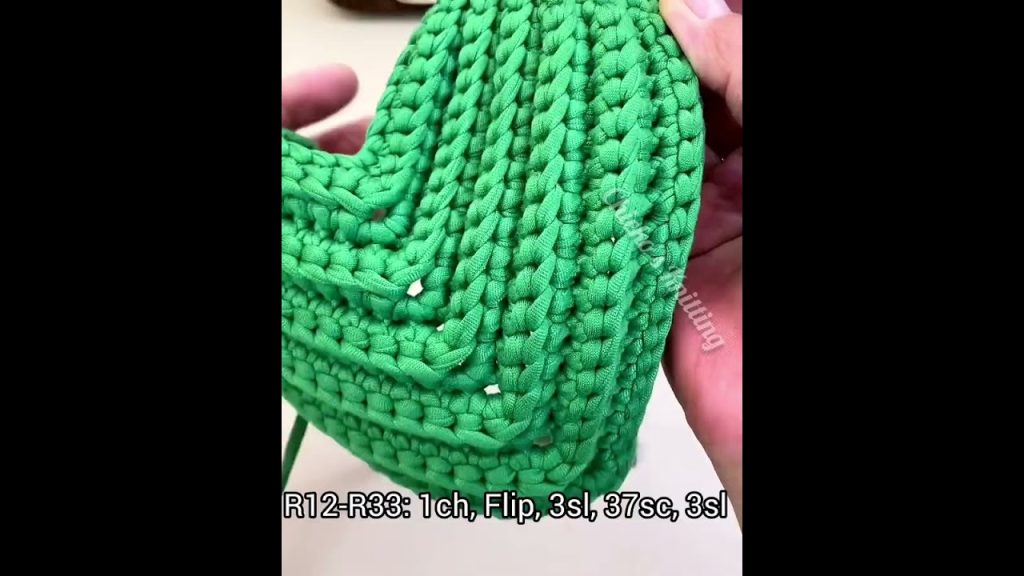
2. Work the Bag Body
Rounds 4–25 (or until desired height):
- Ch 1, sc in each stitch around.
- Join with sl st.
- You can also switch to hdc for faster height-building and a more flexible body.
🌟 TIP: If you want a mesh-style bag (great for markets), alternate ch 1, skip 1 st, dc in next st around. This creates an open, airy texture.
3. Make the Handles
There are two easy options for handles:
Option A: Built-in Handles
- After last round of the body, continue:
- Ch 1, sc in next 10 sts, ch 30 (or as long as you want your handle), skip next 10 sts, sc in next 20 sts, ch 30, skip next 10 sts, sc to end.
- Next round: sc in each st and across each chain space (to reinforce handle).
Option B: Sew-On Straps
- Crochet two long strips (ch 60, sc across for 2–3 rows).
- Sew securely to the inside of the bag.

🧼 Finishing Touches
- Weave in ends using your yarn needle.
- Block your bag if it’s a bit misshapen—just dampen it and let it dry flat in the desired shape.
- Optional lining: If you want to carry small items (like makeup or keys), sew in a fabric lining with a few basic stitches or using fabric glue.
🧚♀️ Customization Ideas
Want to get creative? Here are a few ways to personalize your super easy crochet bag:
| Idea | How-To |
|---|---|
| 🎨 Color Blocking | Use multiple yarn colors and change colors every few rows. |
| 🧵 Add a Pocket | Crochet a small rectangle and sew it onto the inside or outside. |
| 🌼 Embellishments | Add crochet flowers, tassels, or buttons. |
| 🧢 Make It a Backpack | Add two straps and a drawstring closure at the top. |
| 💻 Add a Laptop Divider | Sew a piece of felt or foam inside for a padded section. |
💧 How to Care for Your Crochet Bag
- Hand wash in cold water with mild detergent.
- Lay flat to dry—never put it in the dryer!
- For cotton yarn, you can lightly iron the bag using a towel between the iron and the yarn.
🧵 Final Thoughts
The super easy crochet bag is one of those projects that gives a lot while demanding very little. Whether you’re just starting out or need a weekend project to satisfy your creative cravings, this bag is stylish, practical, and completely customizable.
You don’t need to be a crochet pro to make something functional and beautiful. With just a few stitches and a bit of yarn, you can carry your creations with pride—literally!
So grab your hook, pick your favorite yarn, and get started. Happy hooking! 🧶
Video tutorial:


