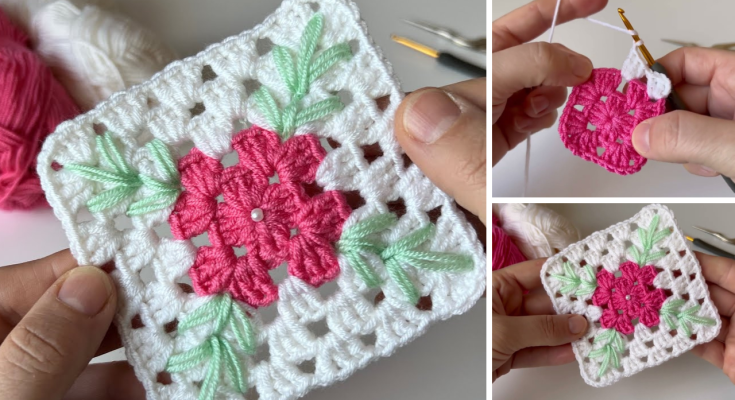
A beautiful, handmade blanket is a cherished item in any home, and one made from classic granny squares is a true timeless treasure. The “Patchwork Dreams” Granny Square Blanket is a fantastic project for any crocheter, featuring a simple, beginner-friendly design that is both stylish and incredibly functional. This detailed tutorial will guide you through creating a cozy, patchwork-style blanket that is a fantastic way to use up your scrap yarn and express your unique style.
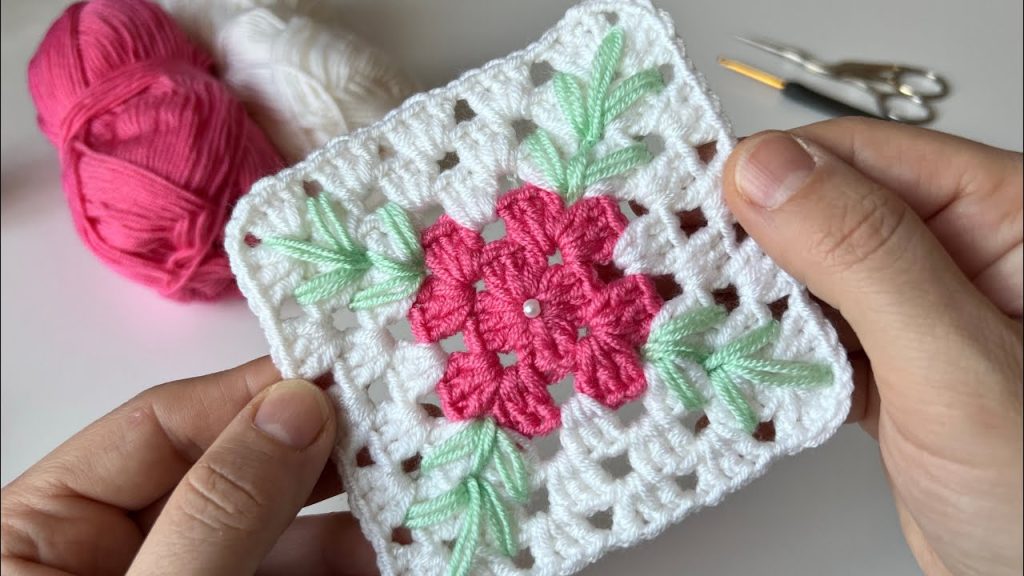
This project is an excellent choice for a beginner looking to create a beautiful, practical item or for an experienced crocheter wanting a fast and fun project. The blanket is made from individual granny squares that are then joined together, which makes it a great project for on-the-go crocheting.
Why Crochet the Patchwork Dreams Blanket?
- Iconic & Versatile: The granny square is a classic motif that never goes out of style, and the finished blanket is a perfect addition to any couch or bed.
- Great for Scrap Yarn: This project is a fantastic way to use up small amounts of leftover yarn from other projects.
- Skill Building: You’ll master the art of crocheting granny squares and learn how to join them to create a large, three-dimensional piece.
- Customizable: Easily change the size, colors, and number of squares to create a blanket that is a perfect fit for you.
- Unique & Personal: A handmade blanket is a statement piece that is both fashionable and personal.
1. Planning Your Blanket: Size & Materials
- Finished Size: The pattern is designed for a versatile baby blanket size (approx. 36 x 36 inches / 91 x 91 cm). You can easily adjust the size by changing your hook size or the number of granny squares.
- Yarn Choice: Choose a yarn that is soft, gentle on the skin, and machine-washable.
- Fiber: A sturdy, medium-weight yarn like Worsted Weight (#4) in Acrylic or Cotton is a great choice.
- Color: You can use a single color for a minimalist look or use multiple colors for a vibrant, patchwork effect.
- Quantity: You will need approximately 800-1000 yards (730-915 meters) of yarn in total. The exact amount will depend on the size of your squares and the number you need.
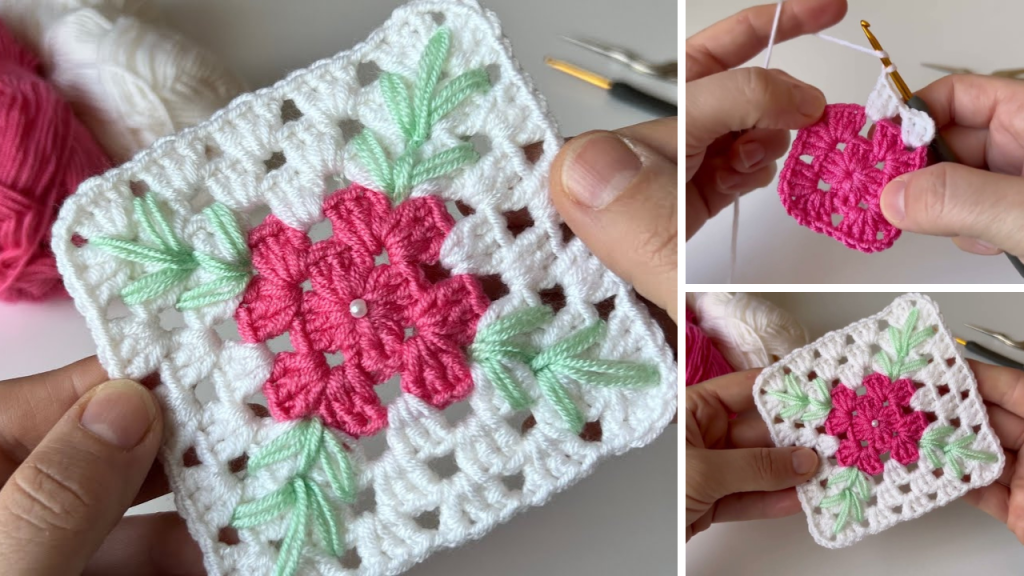
2. Materials You’ll Need
- Yarn: Your chosen quantity of Worsted Weight (#4) yarn.
- Crochet Hook: 4.0 mm (G-6 US) or a size that gives you a dense but flexible fabric with your yarn.
- Scissors: For cutting yarn.
- Yarn Needle (Tapestry Needle): For weaving in ends and seaming.
- Stitch Markers (Optional): To mark corners.
3. Essential Crochet Stitches & Techniques
- Slip Knot
- Chain (ch)
- Slip Stitch (sl st): For joining and neatening.
- Double Crochet (dc)
- Granny Cluster: A group of 3 dc stitches worked into the same space.
- Working in the Round: The granny squares are worked in rounds.
- Joining Squares: The process of seaming the squares together.
4. Let’s Crochet the Patchwork Dreams Blanket!
The blanket is made from a series of individual granny squares that are joined together to form the finished blanket.
Part 1: The Granny Squares
You will need a total of 81 granny squares (9 squares x 9 squares).
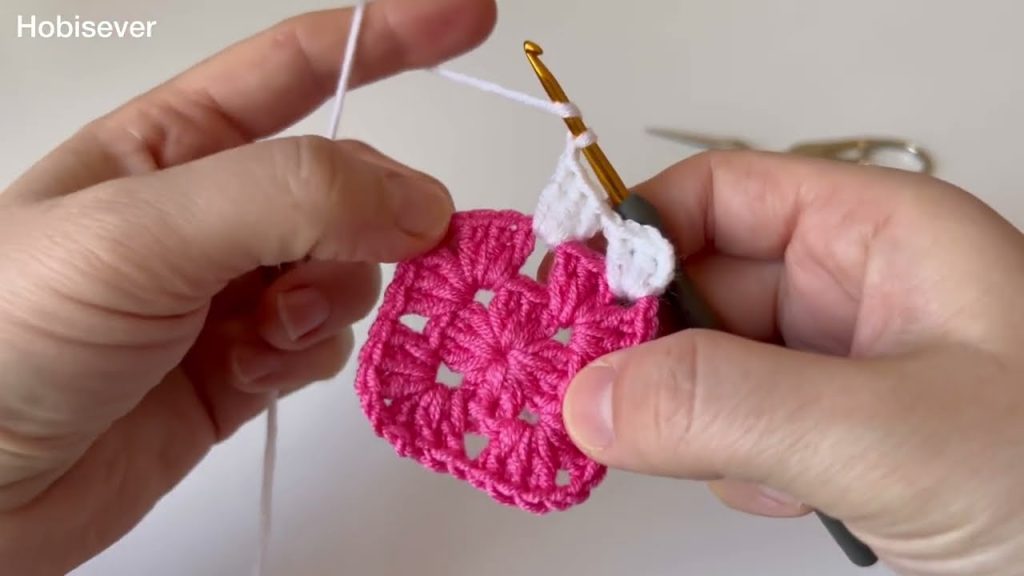
- Start with a Magic Ring (or Ch 4, sl st to first ch to form a ring).
- Round 1: Ch 3 (counts as 1 dc). Work 2 dc into the ring. Ch 2, work 3 dc into the ring. Repeat from * to * two more times. Ch 2, join with a sl st to the top of the beginning Ch 3.
- [4 groups of 3 dc]
- Round 2: Sl st into the next two stitches and into the first ch-2 space. Ch 3 (counts as 1 dc), work 2 dc into the same ch-2 space. Ch 2, work a Granny Cluster (3 dc) into the next ch-2 space. Repeat from * to * two more times. Ch 2, join with a sl st to the top of the beginning Ch 3.
- Round 3: Sl st into the next two stitches and into the first ch-2 space. Ch 3 (counts as 1 dc), work 2 dc into the same ch-2 space. Ch 1, work a Granny Cluster into the next space. Ch 2, work a Granny Cluster into the next corner space. Repeat from * to * two more times. Ch 1, work a Granny Cluster into the last space, Ch 2, join with a sl st to the top of the beginning Ch 3.
- Repeat Round 3 until your squares are approximately 4 inches (10 cm) wide.
- Make sure all your squares are the same size!
- Fasten off and weave in all ends.
Part 2: Joining the Squares
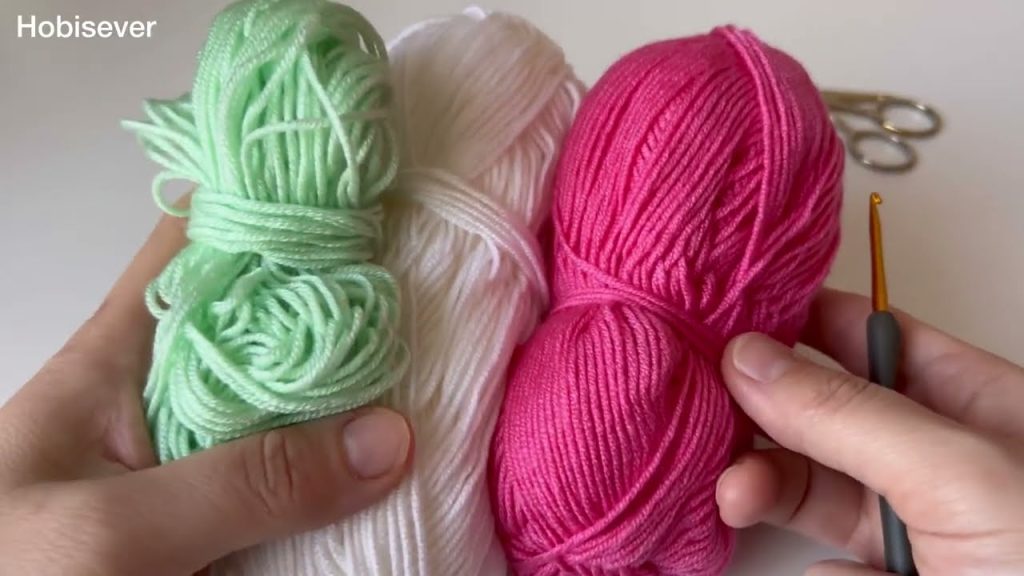
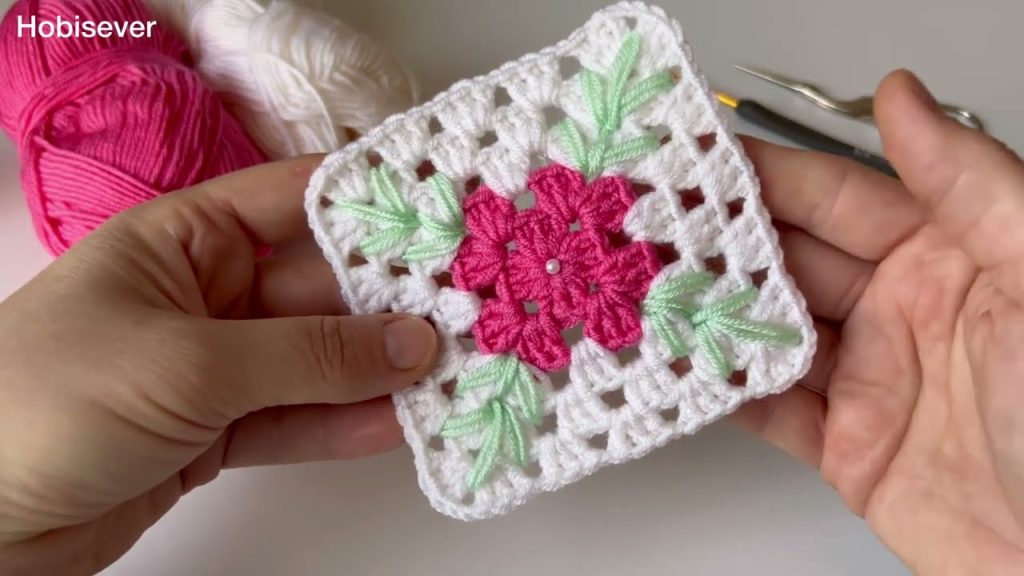
- Lay Out: Lay out your squares in a 9 x 9 grid.
- Seam: Use the whip stitch or a slip stitch join to seam the squares together. Seam the squares in each row together first, then seam the rows together.
- Make sure your tension is consistent to ensure a flat, even blanket.
- Weave in all ends: Use your yarn needle to carefully weave in any remaining loose yarn tails.
Part 3: The Border (Optional)
- Join Yarn: Rejoin your yarn to a corner of the blanket.
- Round 1: Ch 1 (does not count as a stitch). Work a round of single crochet (sc) stitches evenly around the entire blanket, working 3 sc in each corner. Join with a sl st to the first sc.
- Round 2: Ch 3 (counts as 1 dc). Dc in each sc around. Work 3 dc in each corner. Join with a sl st to the top of the beginning Ch 3.
- Fasten off and weave in all ends.
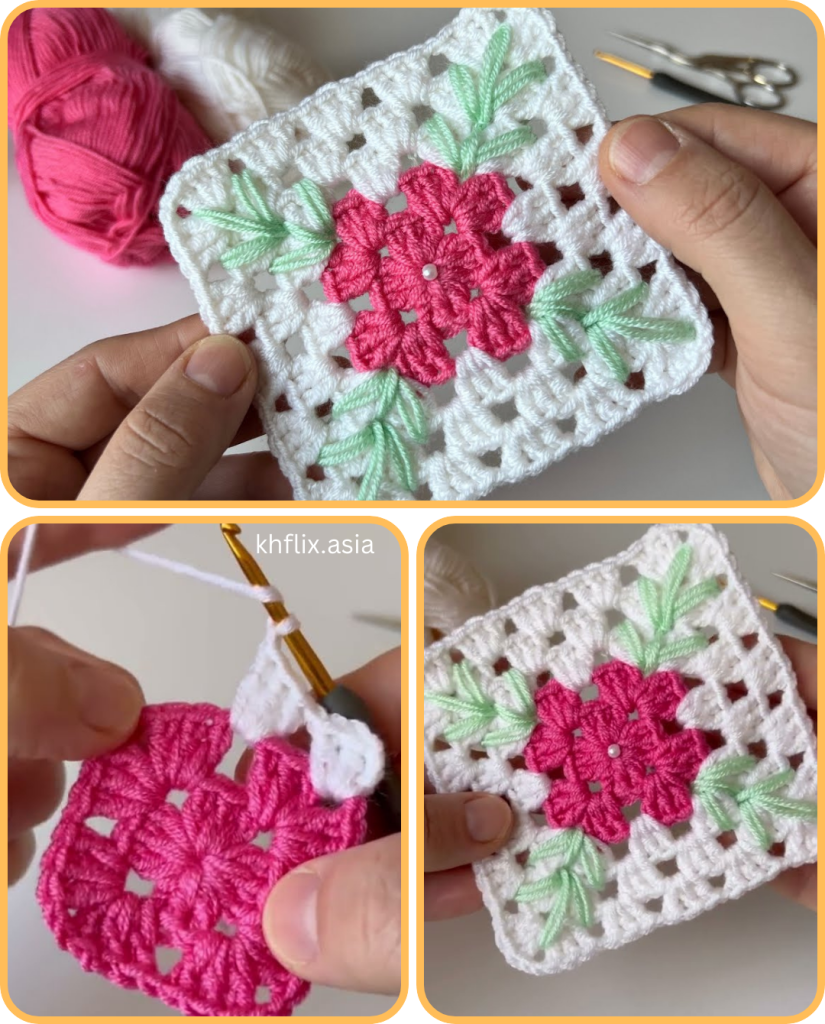
Enjoy your beautiful, handmade “Patchwork Dreams” Granny Square Blanket. It’s a labor of love that is a perfect addition to your home!
Video tutorial:
