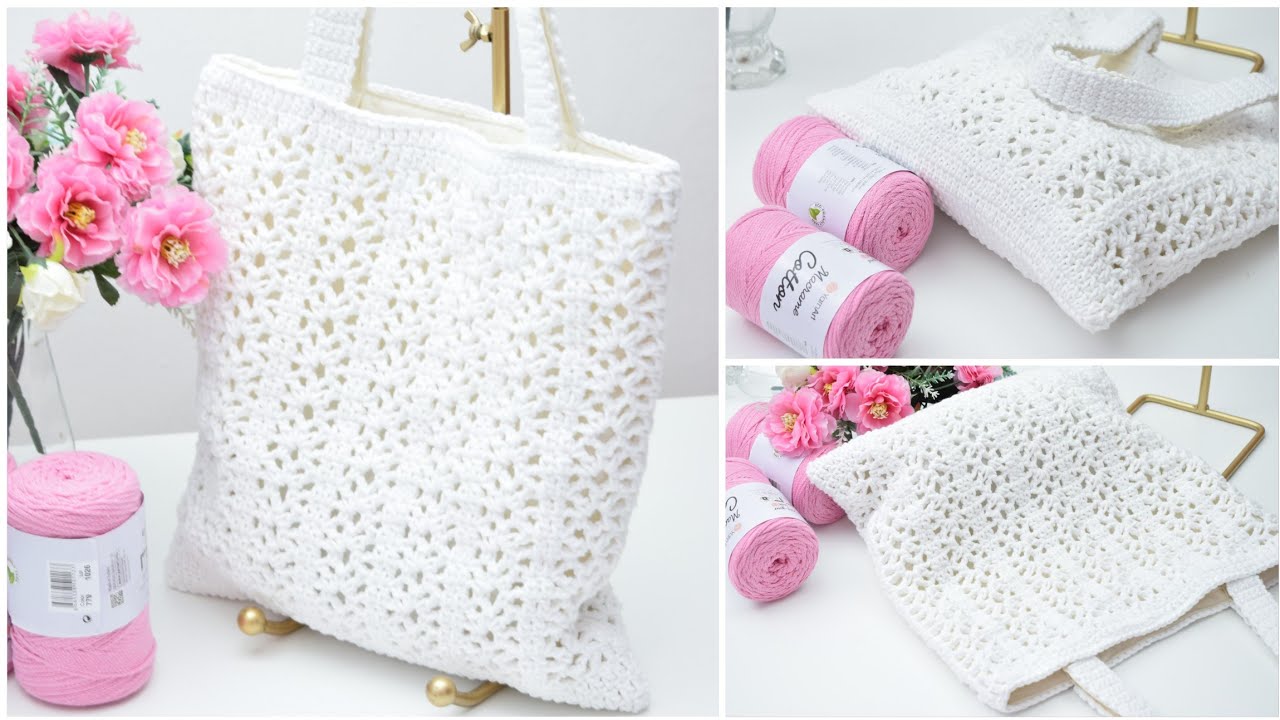
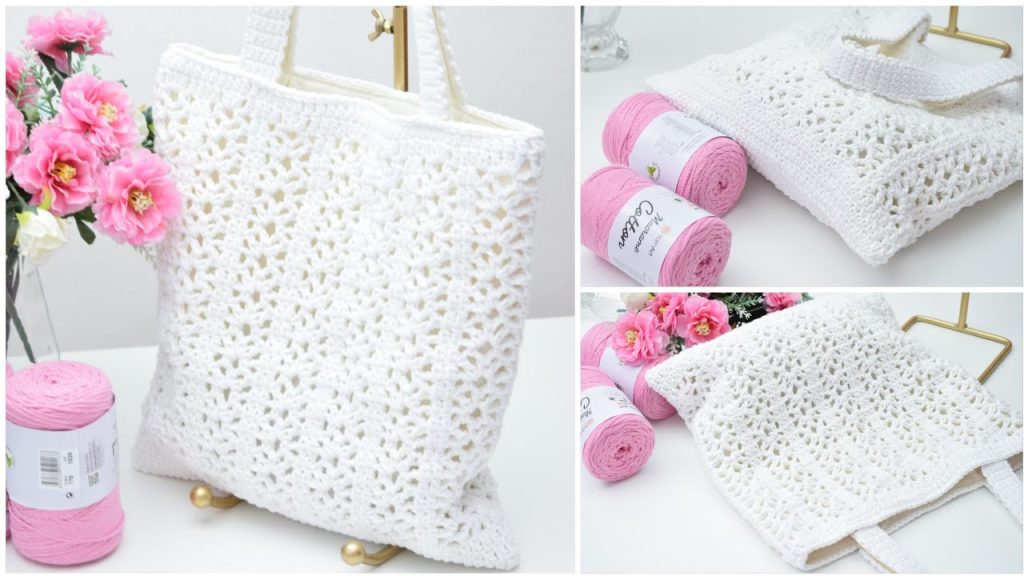
When the sun is out and the days are longer, our fashion often shifts to lighter, airier styles—and that includes our accessories. Enter the lace crochet bag: the perfect summer companion that’s as functional as it is beautiful. Whether you’re heading to a beach picnic, a weekend market, or just out for coffee with friends, a lacey crochet tote or purse adds a boho-chic touch to any outfit.
And here’s the best part — you don’t need to be an expert crocheter to make one! This article will guide you through creating a beautiful, lace-patterned crochet bag, using easy techniques that even a confident beginner can master.
🌞 Why Choose a Lace Crochet Bag for Summer?
Crochet lace bags are popular for good reason, especially during the warmer months:
- 🧺 Lightweight and breathable – Perfect for hot days
- 💼 Roomy and practical – Ideal for carrying sunglasses, books, or beach essentials
- 🧶 Stylish and feminine – Lace patterns give an elegant, handcrafted look
- 🌱 Eco-friendly – A great alternative to plastic or synthetic handbags
- 🎨 Customizable – You choose the yarn, color, and finishing touches
🧵 Materials You’ll Need
To make this project both easy and successful, gather the following supplies:
✨ Yarn:
- Cotton or bamboo yarn – Fingering or light sport weight is ideal
- Suggested amount: 200–300g (around 400–600 yards)
- Lighter yarn = more delicate lace look
🧷 Hook:
- Crochet hook: Size 3.0 mm – 4.0 mm (US D–G), depending on yarn and tension
🧶 Notions:
- Tapestry needle (for weaving in ends)
- Scissors
- Stitch markers (optional, but helpful)
- Fabric lining (optional, for extra durability)
💡 Tip: Choose a solid-colored yarn to show off your lace pattern beautifully.
🧚 Basic Crochet Skills Needed
This pattern is accessible for advanced beginners or intermediate crocheters. You should know:
- Chain (ch)
- Single Crochet (sc)
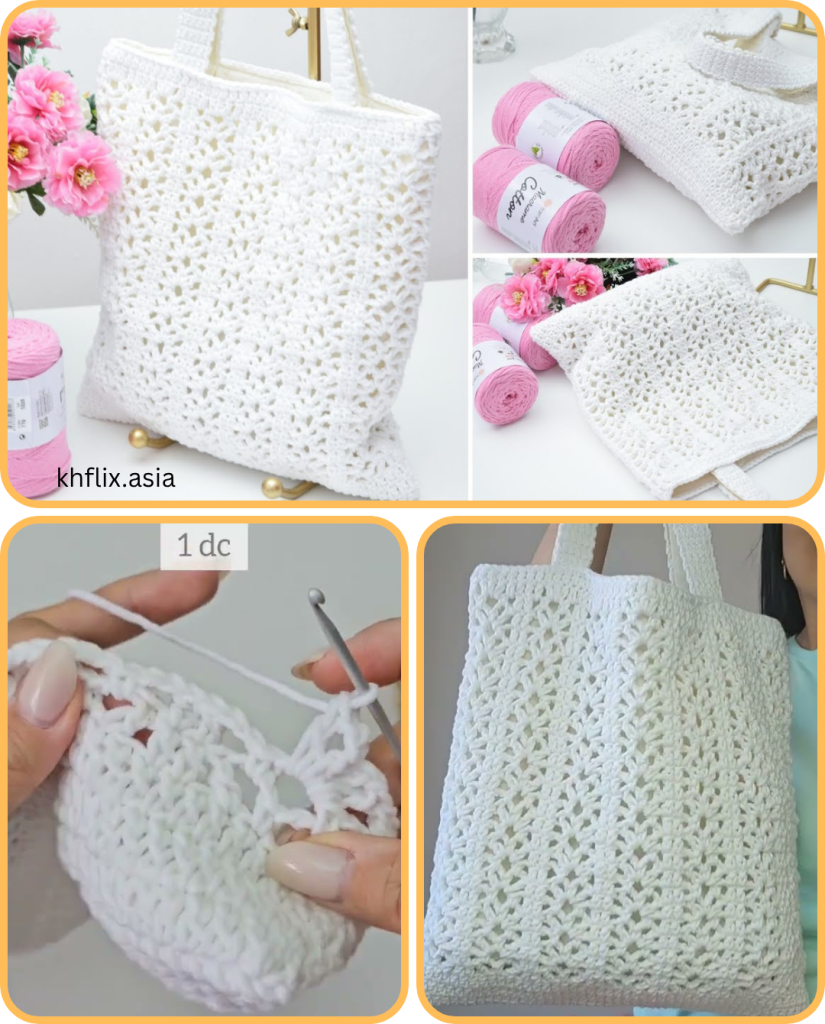
- Double Crochet (dc)
- Slip Stitch (sl st)
- Shell Stitch or V-stitch (explained below)
Don’t worry — we’ll guide you through any special stitches!
💼 Bag Design Overview
We’ll be making a lightweight lace shoulder bag or tote using a simple shell stitch lace pattern, worked in the round (no complicated seaming!).
The design includes:
- A round or oval base
- A repeating lace pattern for the body
- Optional fabric lining
- Simple straps using chains or dense stitches
🪡 STEP-BY-STEP: Beautiful Lace Crochet Bag for Summer
✅ STEP 1: Make the Base
You can choose to make a circular, oval, or rectangular base. We’ll use a circular base for a breezy bucket-bag shape.
Round Base:
- Ch 4, sl st to join into a ring.
- Round 1: Ch 3 (counts as dc), make 11 dc into the ring. Join with sl st. (12 dc)
- Round 2: Ch 3, dc in same st, 2 dc in each st around. (24 dc)
- Round 3: Ch 3, dc in next st, 2 dc in next st around. (36 dc)
- Continue increasing in this pattern (adding 12 sts per round) until the base is approx. 6-8 inches in diameter.
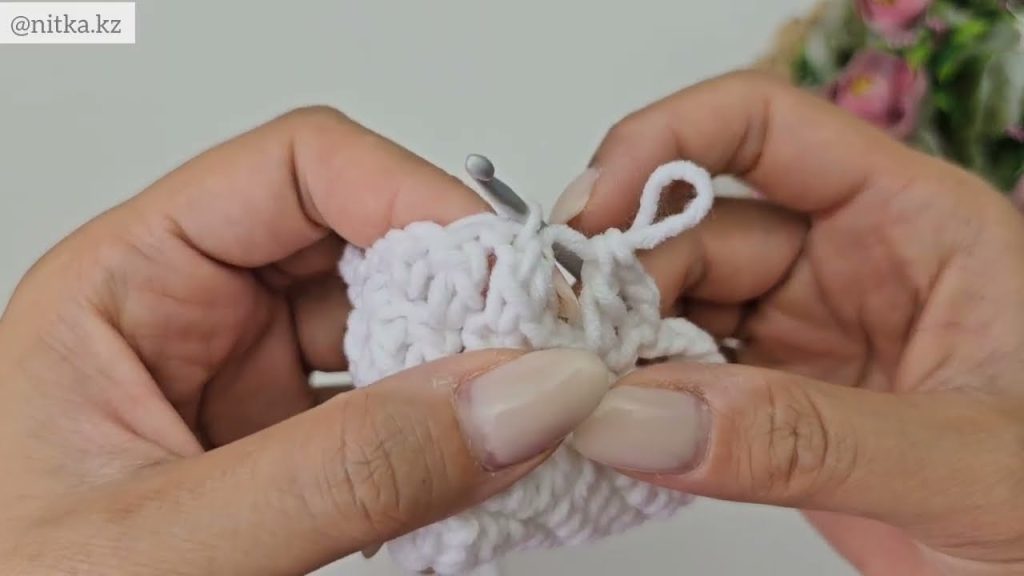
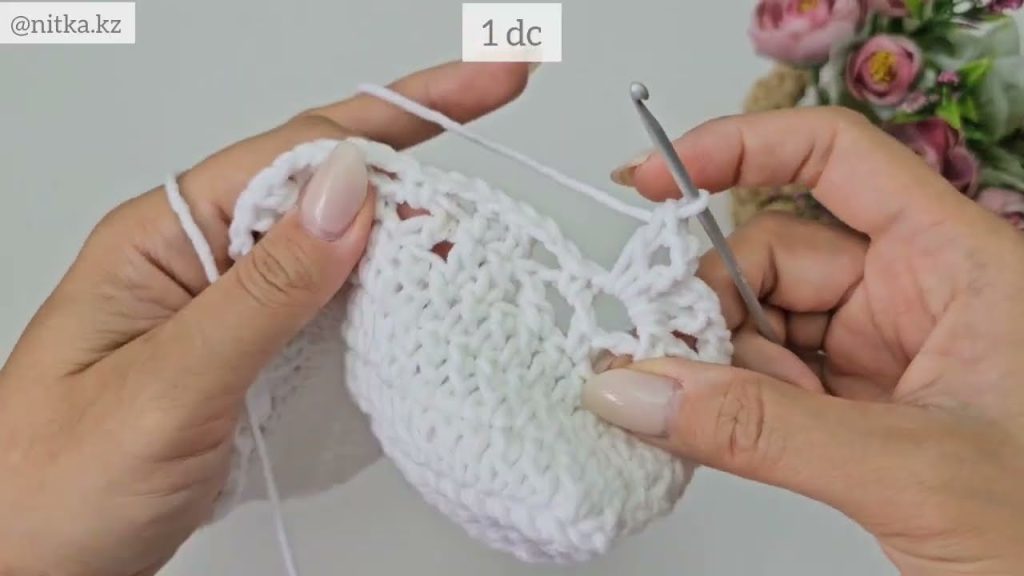
🌸 STEP 2: Create the Lace Body
Simple Shell Stitch Pattern:
- Shell stitch: 5 dc in the same stitch
- Skip 2 sts between shells
Instructions:
- Round 1 (setup): Ch 3, skip 2, 5 dc in next st (shell), skip 2, sc in next st, repeat around. Join with sl st.
- Round 2: Sl st into center of first shell, ch 3, 2 dc, ch 1, 3 dc (makes shell), sc in next shell center, repeat.
- Continue repeating shell pattern for 15–20 rounds, or until your desired bag height is reached (usually 10–12 inches tall).
📏 Tip: If your bag feels too floppy, add a few rounds of single crochet before finishing to give it structure.
👜 STEP 3: Add the Handles
There are multiple handle styles to choose from. Here’s a simple chain strap:
Strap Method:
- After your final lace round, switch to single crochet for 2 rounds to stabilize the top edge.
- Place stitch markers where you want the straps to start and end (on opposite sides).
- Strap round:
- Ch 60–80 (depending on desired length), skip marked stitches, sl st to other marker.
- Repeat on the opposite side.
- Final round: Sc around the bag and into each chain (strap) to make it sturdy.
👜 For a shoulder bag: 60–70 ch per strap
👜 For a crossbody: 90–110 ch per strap
🧵 STEP 4: Optional Finishing Touches
Lining (optional but recommended):
- Cut a fabric rectangle the size of your bag.
- Sew side seams.
- Hand stitch or machine sew the lining to the inside of the bag with matching thread.
Additions:
- Wooden or metal rings for handles
- Button closure or drawstring top
- Embroidery or sewn-on lace accents
- Beads or tassels at the strap ends
🎨 Customization Tips
Want to make your lace bag truly one-of-a-kind? Here are some ideas:
🧶 Yarn Colors:
- White or cream = classic and elegant
- Pastels = fresh and youthful
- Earth tones = bohemian and chic
- Brights = playful and bold
🧵 Stitch Variations:
- Use V-stitch (dc, ch 1, dc) for an open, airy texture
- Combine shell stitch with rows of single crochet for contrast
- Try filet lace or fan stitch patterns for a more delicate look
🧼 Care Instructions
- Hand wash gently in cold water
- Lay flat to dry (avoid hanging when wet)
- If lined, remove lining before washing if possible
- Reshape while damp to maintain form
🎁 Perfect for Gifting or Selling
This lace crochet bag is:
- Quick enough to make in a weekend
- Stylish enough to sell at craft fairs
- Ideal as a handmade gift for birthdays, bridal showers, or summer holidays
Package it with a matching pouch or crocheted keychain for an extra special touch.
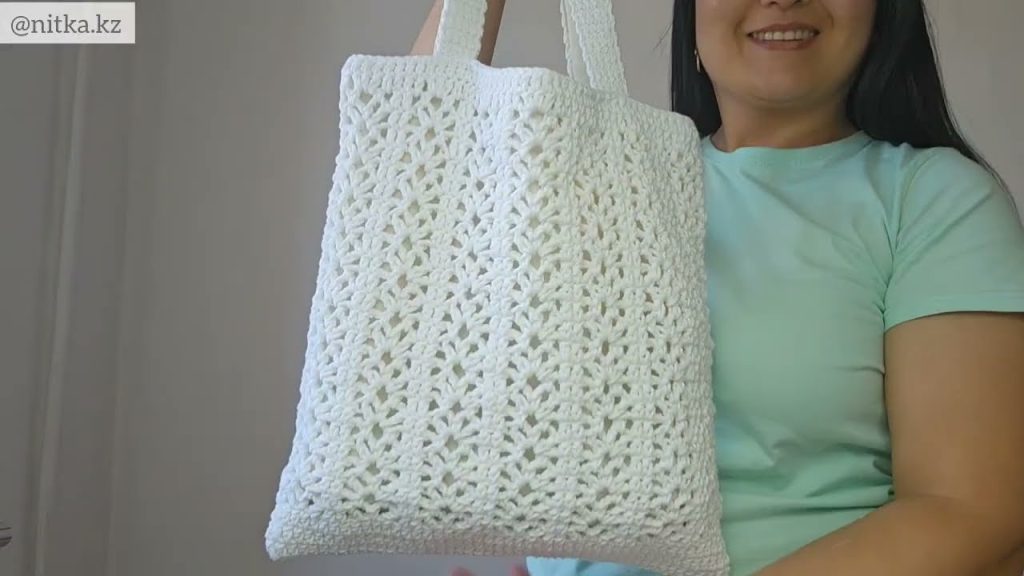
🌟 Final Thoughts
The Beautiful Lace Crochet Bag for Summer is the perfect blend of form and function. With its open stitch work, delicate appearance, and practical design, it’s a staple accessory for the sunny season—and a fulfilling project for any crochet enthusiast.
Whether you’re new to lace crochet or looking for a relaxing project, this bag delivers style without stress. All you need is some yarn, a hook, and a bit of patience, and you’ll have a stunning handmade bag that turns heads wherever you go.
Video tutorial:


