
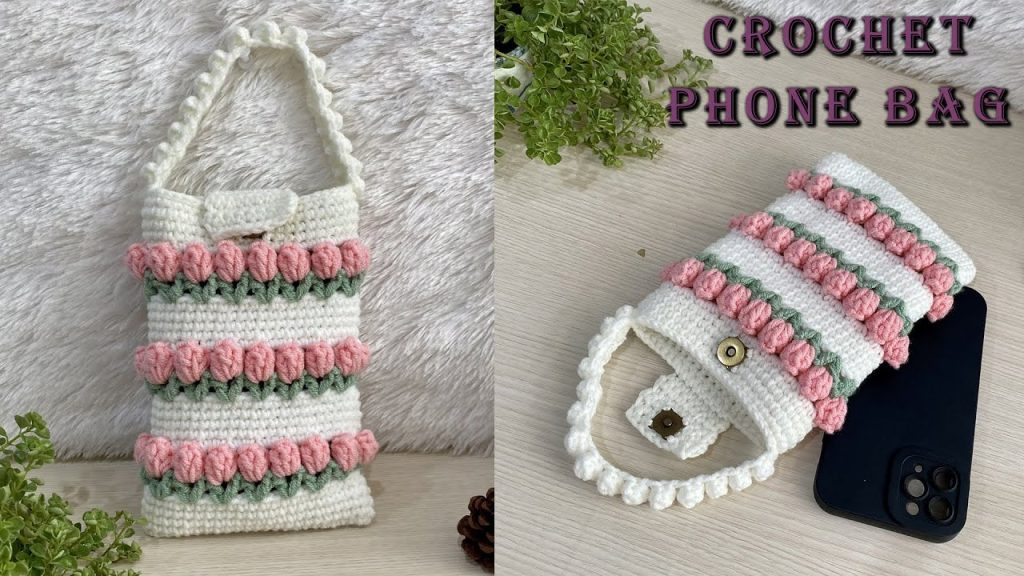
Crocheting is more than just a hobby—it’s an expressive art form. One of the most enchanting patterns that has captured the imagination of crafters around the world is the Tulip Stitch, a 3D floral technique that brings projects to life with texture and charm. Among the many applications of this stitch, the Crochet Tulip Stitch 3D Phone Bag stands out as both practical and beautifully decorative.
Whether you’re looking to expand your crochet skills or searching for a stylish, handmade accessory, this project offers a perfect balance of form and function. In this article, we’ll explore the Tulip Stitch, how to make a 3D phone bag with it, and tips for customizing your design.
🌷 What Is the Tulip Stitch?
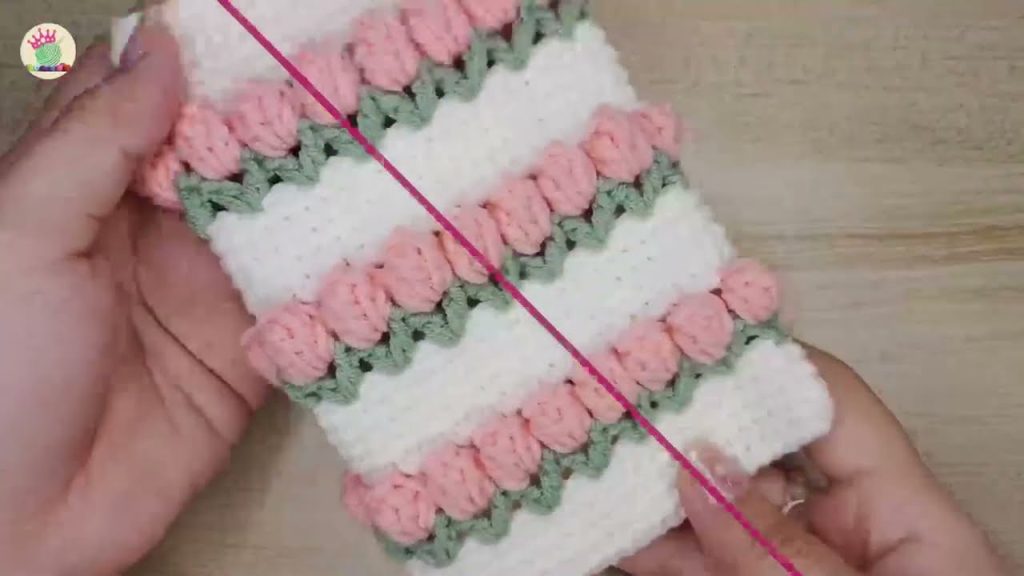
The Tulip Stitch is a textured crochet pattern that resembles rows of tiny tulip flowers in bloom. It typically uses a combination of double crochets, chain stitches, and cluster stitches to create the layered petal effect. When done in different colors, each tulip stands out vibrantly against its background, offering a striking 3D appearance.
While the stitch looks complex, it’s beginner-friendly with a bit of practice. It’s an excellent stitch for those looking to add texture and design to their work without diving into advanced techniques.
📱 Why a 3D Phone Bag?
In the era of smartphones, carrying your device securely and stylishly is a must. A crochet phone bag provides a lightweight, soft, yet protective holder for your device. The 3D texture of the Tulip Stitch adds a cushioning effect, helping to protect your phone from bumps and scratches.
These bags are perfect for:
- Walking, when you don’t want to carry a purse
- Festivals or craft fairs
- Lightweight travel
- Fashionable gifts
🧶 Materials Needed
To create your own Crochet Tulip Stitch 3D Phone Bag, you’ll need the following:
- Yarn: Choose a medium weight (worsted or DK) cotton or cotton-blend yarn. For tulip effect, pick contrasting colors for the base and tulip clusters.
- Main color (background) – typically a neutral tone like white, cream, or green
- Tulip color – pink, red, orange, purple, etc.
- Leaf color (optional) – green or light green
- Crochet Hook: Recommended size for your yarn, usually 4.0 mm (G/6) or 4.5 mm (7)
- Scissors
- Tapestry needle: For weaving in ends
- Button or drawstring: Optional for closure
- Lining fabric (optional): To reinforce the interior

🔄 Crochet Techniques You’ll Use
Here are the main stitches and techniques involved:
- Chain (ch)
- Slip Stitch (sl st)
- Single Crochet (sc)
- Double Crochet (dc)
- Cluster Stitch (used to form the tulip flower)
- Changing Colors (for multi-colored tulips)
🧵 Step-by-Step Instructions
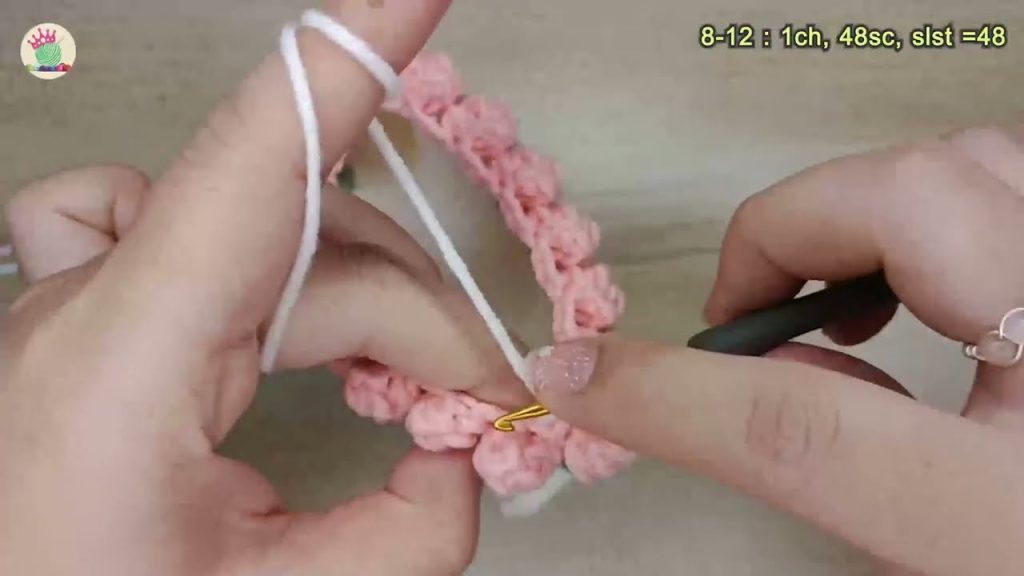
Step 1: Make the Base Chain
- Chain a multiple of 6 + 1 (depending on the width of your phone), typically 25 to 31 chains.
- Add 1 more chain to turn.
Step 2: First Row (Foundation)
- Single crochet into the second chain from the hook.
- Continue single crocheting across.
- Chain 1 and turn.
Step 3: Create Tulip Row
- Tulips are made using clusters of 3 double crochets into a single stitch.
Here’s the pattern logic:
- [Background color] Work single crochets for spacing.
- [Tulip color] In the stitch where you want a flower, work a 3 double crochet cluster into the same stitch.
- [Leaf color] Optional: work a small leaf using 2 double crochets in the stitches beside the tulip.
Example pattern for a row:
- sc, sc, cluster (dc3), sc, sc, cluster (dc3)
Chain 1 and turn.
Step 4: Repeat Rows
Repeat alternating rows of single crochet and tulip rows. Continue until the piece is twice the height of your phone (so it can be folded in half like a pouch).
Step 5: Fold and Seam
- Fold the finished rectangle in half lengthwise.
- Seam the sides together using single crochet or whip stitch.
- Turn right-side out.
Step 6: Add Strap (Optional)
- For a crossbody or shoulder strap, chain a long length (e.g., 100–130 chains).
- Attach each end to the sides of the pouch using slip stitch or securely sew in place.
Alternative: Use a braided yarn strap or repurpose a leather cord.
Step 7: Add Closure
- Add a button and a loop (made from chain stitches) at the top center.
- Alternatively, crochet a flap to fold over and add Velcro or snap buttons.
✨ Design Tips & Variations
- Colorful Garden Effect: Use multiple colors of yarn for tulips across rows for a garden-inspired design.
- Add Beads: Add small beads to the center of each tulip for a glam look.
- Use Metallic Yarn: For evening or formal looks.
- Mini Version: Make a smaller version as an AirPods case or card holder.

🧼 Care Instructions
- Hand wash with mild detergent
- Lay flat to dry
- Avoid heavy stretching to preserve shape
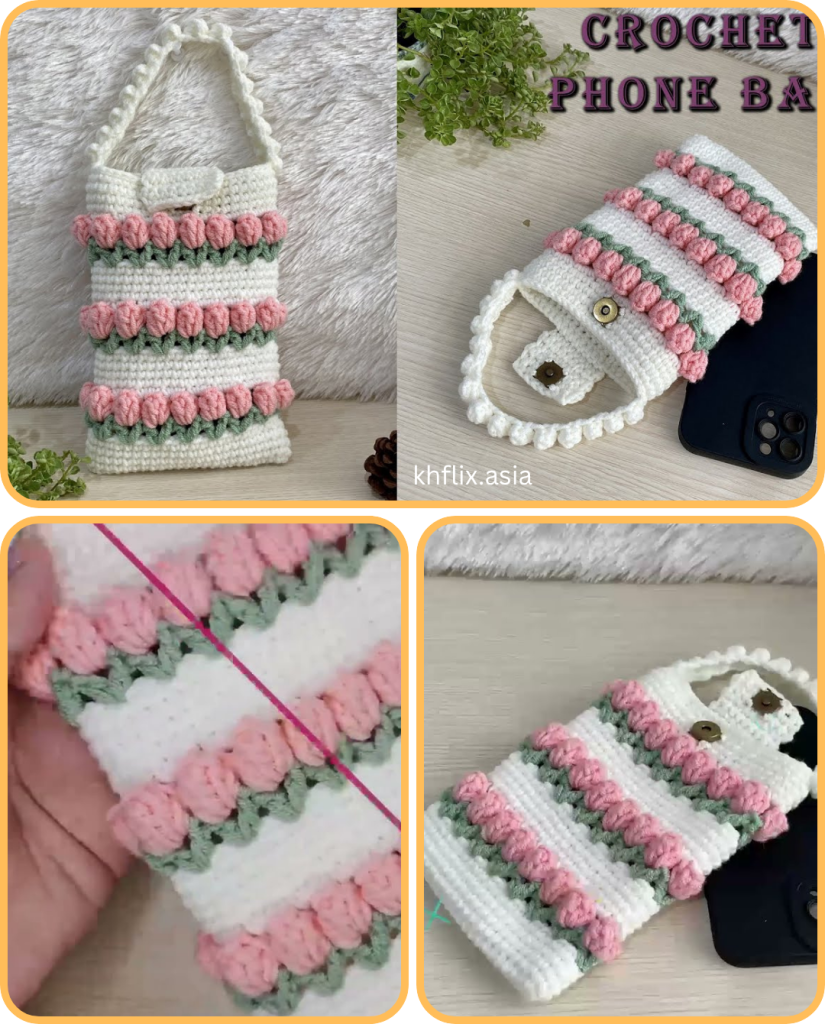
🎁 Perfect Handmade Gift
The Crochet Tulip Stitch 3D Phone Bag is a beautiful handmade item that makes a thoughtful gift. Customize it for birthdays, Mother’s Day, Valentine’s, or craft fair inventory. Add a personal tag or monogram for extra charm.
💬 Final Thoughts
Crocheting the Tulip Stitch 3D Phone Bag offers an opportunity to elevate your crochet game with minimal effort. The stitch is both eye-catching and beginner-accessible, while the project itself is highly functional and stylish. With endless color possibilities and simple materials, you can make one for every season—or every outfit!
Whether you’re creating for yourself or gifting to someone special, this phone bag project is sure to bloom with creativity.
Video tutorial:


