
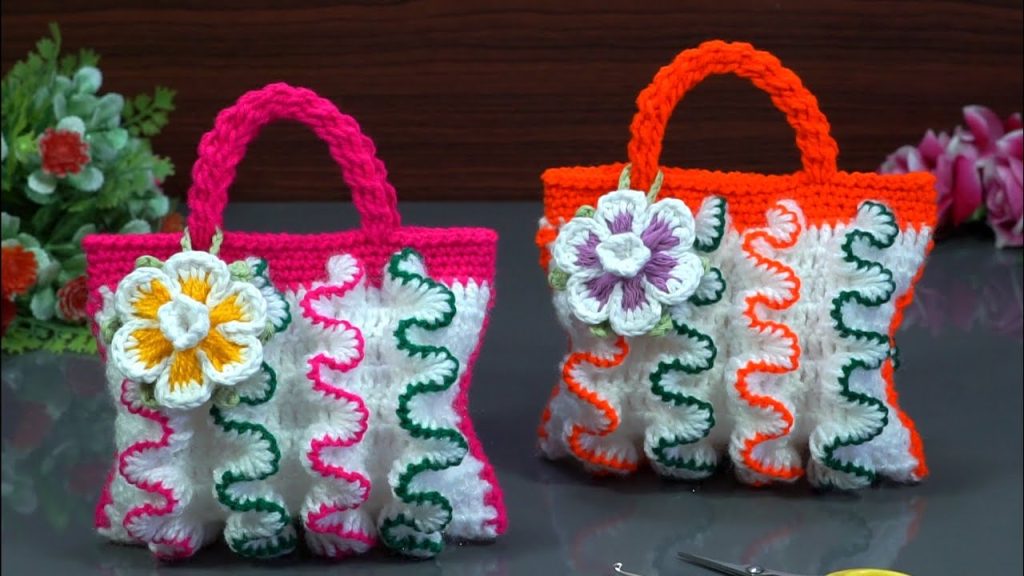
In the world of handmade accessories, few items are as charming and practical as the mini mobile bag. These small crossbody or shoulder bags are perfect for carrying your phone, some cards, and maybe even a lip balm, all while adding a splash of personality to your outfit. If you’re a fan of vibrant colors and playful embellishments, this adorable mini mobile bag with flower decoration is the perfect project to try. Whether you’re a beginner with a love for color or a seasoned crocheter looking for a quick, satisfying make, this guide will walk you through everything you need to know.
🌈 Why Make a Mini Mobile Bag?
The mini mobile bag has grown in popularity as people seek compact and convenient ways to carry essentials without a bulky purse. Here’s why this specific style is worth your time:
- Portable & Lightweight: Small enough for on-the-go ease, yet big enough for a smartphone.
- Perfect for Gifting: A thoughtful, personalized gift for friends or family.
- Quick to Make: Ideal weekend or evening project.
- Highly Customizable: Play with colors, closures, straps, and motifs.
- Eco-Friendly: Replace plastic phone holders with a handmade, sustainable alternative.
🧶 Materials You’ll Need
Yarn
- Type: DK (Double Knit) or worsted weight cotton or acrylic yarn
- Colors: At least 2–4 vibrant colors for the body and flower motif
- Suggested Brands: Paintbox Yarns Cotton DK, Lily Sugar’n Cream, or Red Heart Soft
Hook
- Size: 3.5mm to 4.5mm depending on your yarn weight
Notions
- Yarn needle
- Scissors
- Stitch markers (optional)
- Button or magnetic snap (optional closure)
- D-ring or swivel clasp (optional for detachable straps)
🧵 Stitches & Techniques Used
- Chain (ch)
- Slip Stitch (sl st)
- Single Crochet (sc)
- Half Double Crochet (hdc) (optional for texture)
- Magic Ring (for the flower)
- Basic Sewing (for attaching flower/strap)
🧺 Pattern: Adorable Mini Mobile Bag
Let’s break the pattern down into simple, clear steps:
Step 1: Create the Bag Body
This version is worked in the round from the bottom up.
Base:
Ch 15 (adjust to the width of your phone)

Round 1: Sc in 2nd ch from hook and next 12, 3 sc in last ch. Continue on other side, sc in 12, 2 sc in the last st. Join with sl st. (30 sc)

Round 2: Ch 1, sc around, increasing by 1 sc at each curve to keep the oval shape. Join.
(Optional: Repeat another round if you want a wider base)
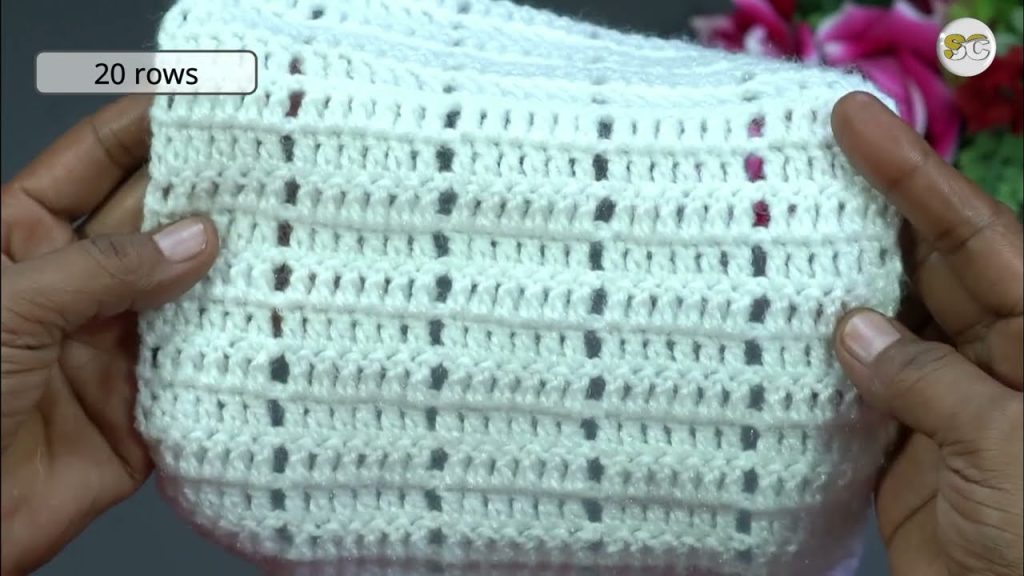
Bag Height:
From here, stop increasing and start building up.

Round 3–20: Ch 1. Sc in each stitch around. Join.
(Add more rounds for taller bag)

Optional for texture: Alternate some rounds with hdc or dc for visual interest.
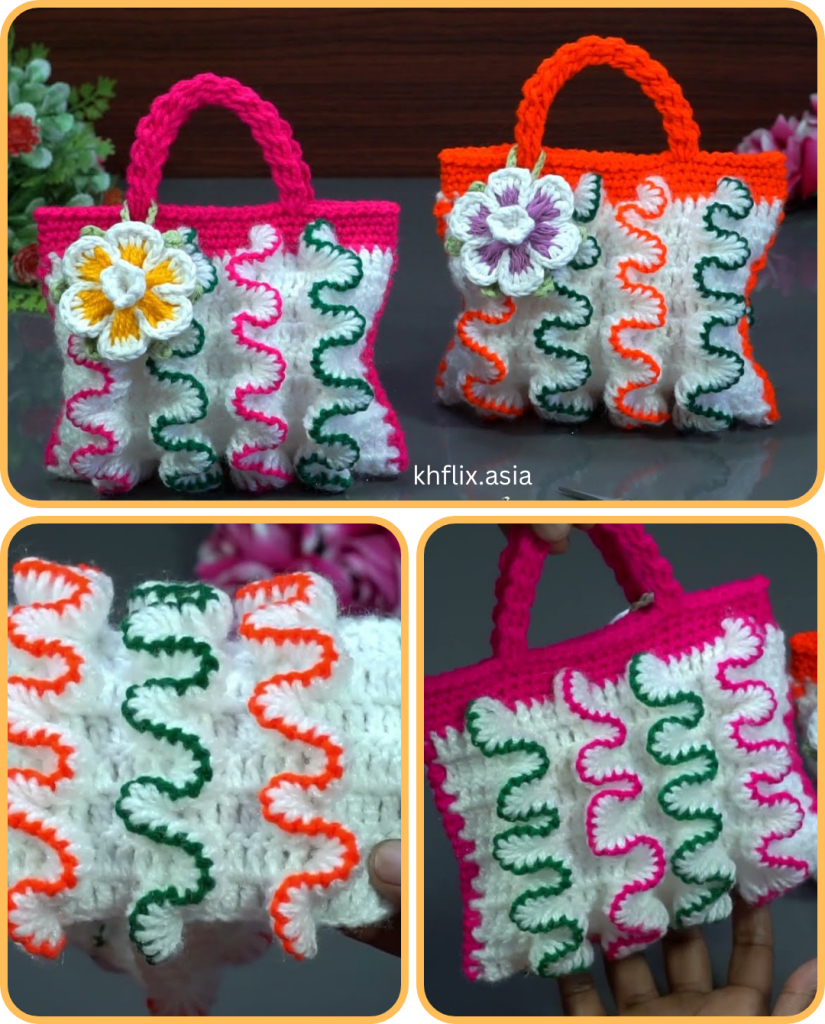
Step 2: Add Vibrant Color Stripes
After 5–6 rounds of one color, change to a new color by completing the last pull-through of the stitch with the new yarn.
Color Ideas:
- Sunset gradient: Pink, coral, orange, yellow
- Tropical: Teal, lime, magenta, sunshine yellow
- Candy stripes: Sky blue, lavender, baby pink, white
Switch colors every 2–3 rounds or as desired.

Step 3: Add the Strap
You can crochet a long chain strap or make a flat strap for added strength.
Option 1: Simple Chain Strap
Ch 130–150 (or desired length).
Sc in 2nd ch from hook and across. Fasten off.

Sew each end to opposite sides near the top of the bag.
Option 2: Flat Strap
Row 1: Ch 6. Sc across (5 sts).
Repeat until the strap reaches your desired length.
Fasten off and sew securely.
Tip: Reinforce strap attachments with a few extra stitches.
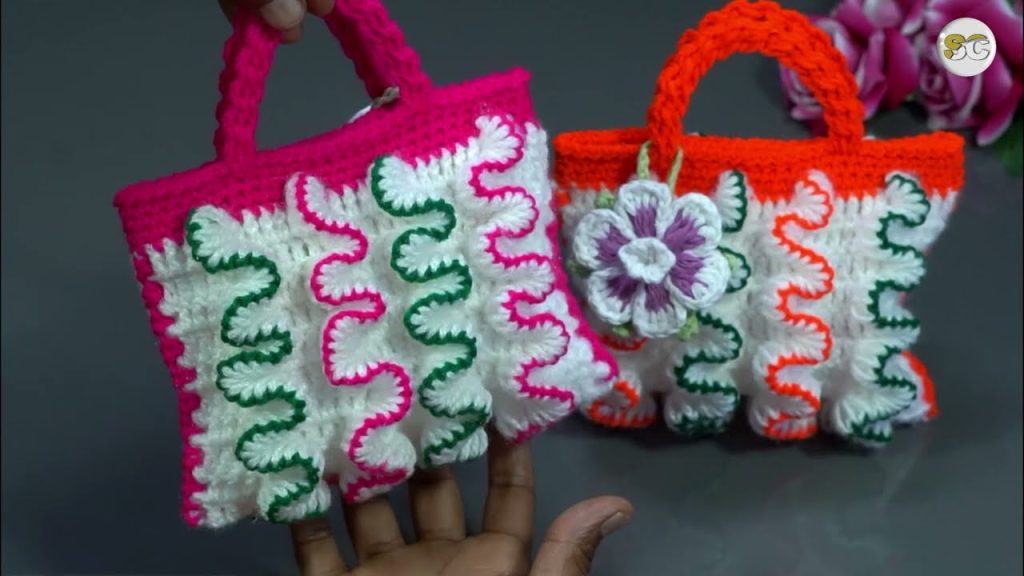
Step 4: Flower Decoration 🌸
Crocheted flowers are the heart of this adorable bag. Here’s a basic five-petal flower:
Magic ring.

Round 1: Ch 1, 10 sc into ring. Sl st to first sc.

Round 2 (petals):
*Ch 2, 2 dc in next st, ch 2, sl st in same st* – repeat in next 4 stitches for 5 petals total.

Fasten off. Leave a long tail to sew onto the bag.
You can make the flower in contrasting or complementary colors for extra impact.
Optional Embellishments:
- Sew a small button in the center of the flower.
- Add leaf motifs or a stem using surface slip stitch.
Step 5: Optional Closure
For added security:
- Sew a button and create a loop with chain stitches.
- Add a magnetic snap or press stud.
- Use Velcro if preferred for children’s bags.
🧼 Finishing Touches
- Weave in all ends with a yarn needle.
- Block the bag if it curls or needs shape (especially for cotton yarn).
- Attach the flower securely near the top corner or center front.
- Test fit with your phone inside to ensure dimensions work.
✨ Creative Variations
Once you’ve made your first, you’ll likely want to make many more. Here are some fun ways to personalize:
1. Boho-Chic Style
- Add tassels or fringe to the bottom.
- Use multicolor or ombré yarns.
2. Kids’ Version
- Use bright neon or pastel colors.
- Add animal ears or faces.
- Sew in a soft lining for comfort.
3. Festival Look
- Attach beads or sequins to the flower.
- Mix bold stripes with chevrons or zigzags.
💡 Tips for Beginners
- Keep your tension consistent for a neat finish.
- Use stitch markers to track rounds.
- Practice the flower motif separately before attaching.
- Use cotton or cotton-blend yarns for durability and better stitch definition.
🎁 Perfect as a Gift or Small Business Product
Mini mobile bags are not only delightful personal projects but also:
- Great handmade gifts for birthdays or holidays
- Sell well at craft fairs or on Etsy
- Ideal for summer festivals, beach trips, or kids’ outings
Add a custom tag or wrap it in tissue paper for a boutique finish.
🧡 Final Thoughts
This adorable mini mobile bag with vibrant colors and flower decoration is a small project with big personality. It combines function and fun, making it perfect for crafters who love adding flair to everyday items. Whether you’re looking for a new accessory or a quick handmade gift, this bag is sure to bring joy—with every stitch and every color.
Video tutorial:


