Crocheting is a joyful and meditative craft that offers endless ways to make beautiful, functional accessories. One beginner-friendly project that’s both quick and satisfying is a crochet headband. And when you pair it with the Bead Stitch, you get an elegant, textured design that looks far more complicated than it really is!
In this guide, we’ll walk you through how to crochet a headband using the Bead Stitch—step by step. This project is perfect for new crocheters who want to expand their skills with a textured stitch that adds flair without frustration.
🧶 What Is the Bead Stitch?
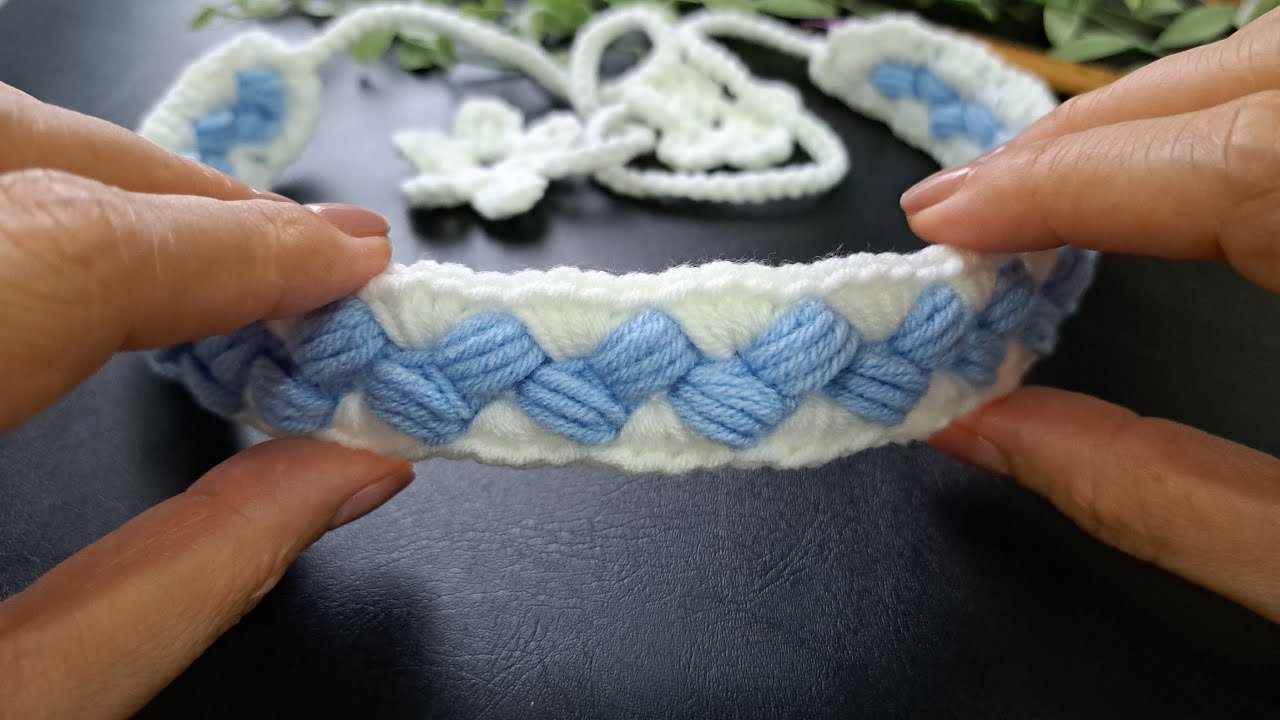
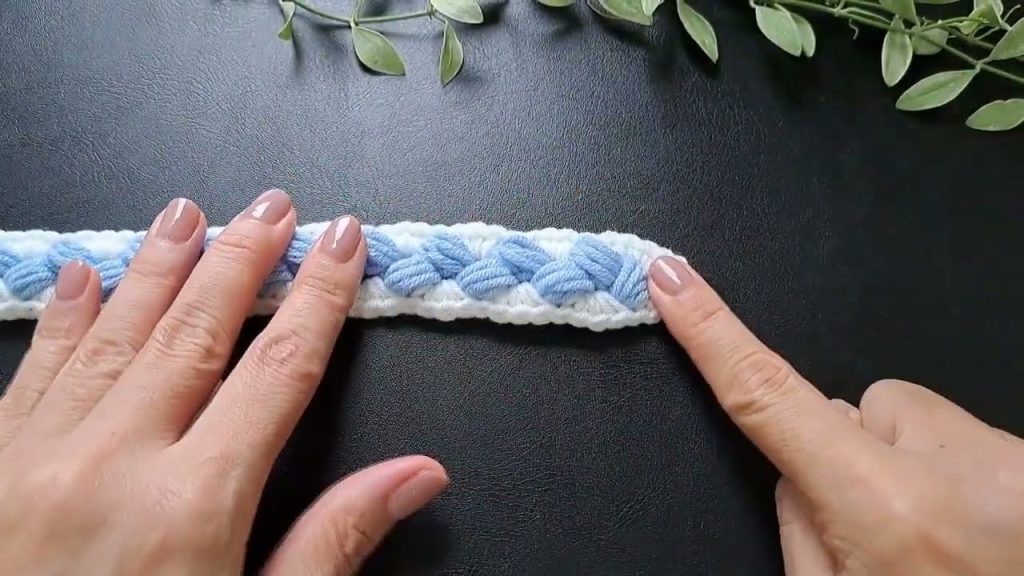
The Bead Stitch is a decorative crochet stitch that creates a raised, bubble-like texture resembling a string of beads. It’s made by working a double crochet followed by a series of yarn-overs around the post of that stitch—kind of like wrapping yarn to form a small cluster.
The result is a dimensional stitch that looks intricate, but is surprisingly easy to master.

🌟 Why Make a Headband?
Headbands are one of the best beginner projects because they are:
- Quick to make (often under an hour!)
- Perfect for practicing tension and stitch patterns
- Customizable in size and color
- Stylish—they can be worn all year round
Plus, a Bead Stitch headband makes a wonderful handmade gift, especially when customized with color choices or embellishments like buttons or bows.
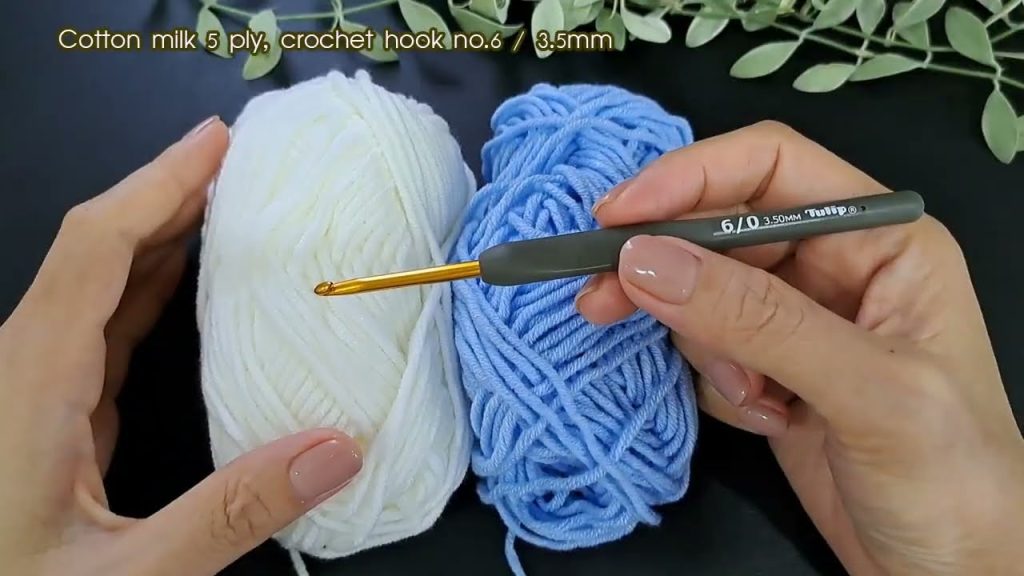
🧵 Supplies You’ll Need
- Yarn: Worsted weight (Category 4) or Aran weight yarn works best. Acrylic, cotton, or a blend.
- Tip: Use a solid color to show off the texture of the Bead Stitch.
- Crochet Hook: 5.0 mm (H/8) or as recommended for your yarn
- Tapestry Needle: For weaving in ends
- Scissors
- Measuring Tape: To size the headband to your head
- Stitch Marker (optional)
📏 Sizing the Headband
To make your headband fit comfortably, measure around your head where you want the band to sit (typically just above the ears and across the forehead). Subtract about 1–2 inches to account for stretch.
Standard Adult Headband Size: 20–22 inches long x 3–4 inches wide
🔄 Crochet Stitches You’ll Use
- Chain (ch)
- Slip Stitch (sl st)
- Double Crochet (dc)
- Bead Stitch
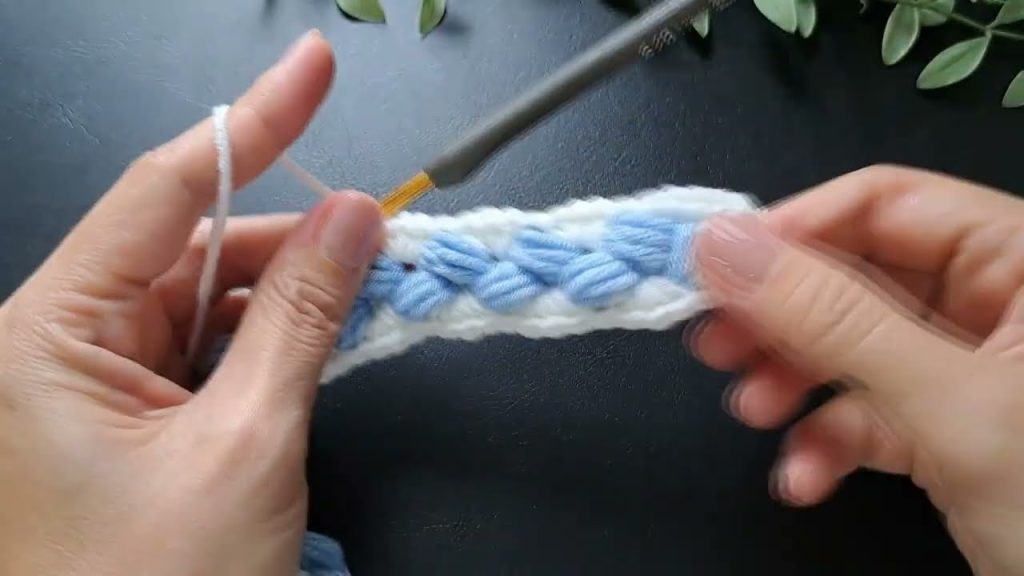
💡 How to Crochet the Bead Stitch (Step-by-Step)
The Bead Stitch is worked over two stitches:
- Make one double crochet (dc).
- Then, yarn over, insert your hook around the post of the dc you just made (like a front post dc), pull up a loop.
- Repeat that three more times, for a total of 4 yarn-overs around the post.
- Yarn over and pull through all loops on the hook except the last one.
- Yarn over one last time and pull through both loops on the hook.
This creates the “bead” that pops forward.
🪡 Crochet Bead Stitch Headband Pattern (Beginner Friendly)
✨ Step 1: Foundation Row
- Chain 13 (or any number depending on desired width; 13 gives approx. 3 inches wide).
- Row 1: In the second chain from the hook, work 1 single crochet (sc).
- Work 1 sc in each chain across. (12 sc)
- Ch 1, turn.
✨ Step 2: Bead Stitch Rows
- Row 2:
- Start with 1 dc in the first stitch.
- Skip the next stitch, work 1 Bead Stitch in the following stitch.
- Repeat * across until last stitch.
- End with 1 dc in the final stitch.
- Ch 1, turn.
- Row 3: Work 1 sc in each stitch across. Ch 1, turn.
👉 Repeat Rows 2 and 3 until the headband measures your desired length (usually 20–22 inches for an adult).
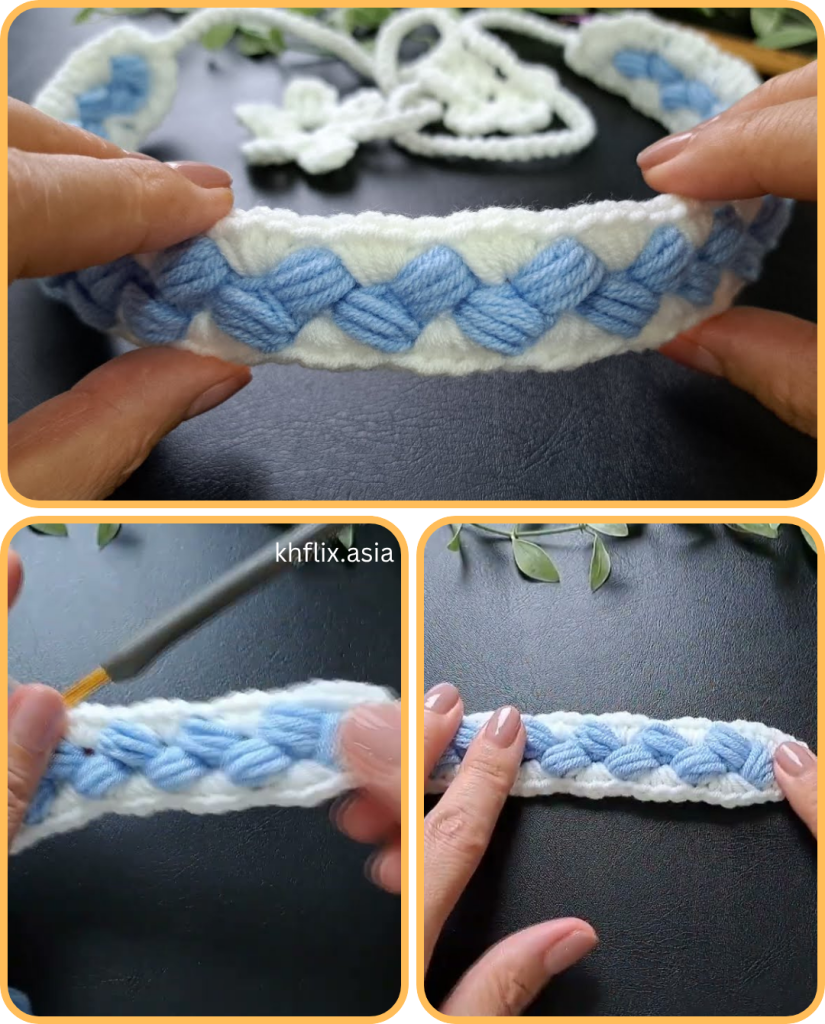
✨ Step 3: Finishing
Once you’ve reached your desired length:
- Fold the headband in half, bringing the two short ends together.
- Use slip stitches or whip stitch to seam the ends together.
- Weave in all yarn tails using a tapestry needle.
You now have a beautiful, stretchy headband with elegant bead-like texture!
🎨 Customization Ideas
Want to make your headband even more unique? Try some of these variations:
🧁 Color Changes
- Alternate colors every couple of rows to create a striped or gradient effect.
- Use variegated yarn for an automatic color-blend look.
🎀 Add Embellishments
- Sew on a bow, crochet flower, or wooden button.
- Attach a faux leather tag with your brand or initials.
🧣 Make a Matching Set
- Use the same stitch to create a matching scarf, cowl, or fingerless gloves.
👶 Adaptations for Other Sizes
To make this headband for kids or babies, simply reduce the length:
| Age | Head Circumference | Suggested Headband Length |
|---|---|---|
| Baby | 14–16 inches | 12–14 inches |
| Toddler | 16–18 inches | 14–16 inches |
| Child | 18–20 inches | 16–18 inches |
| Teen/Adult | 20–22 inches | 18–21 inches |
Always test the stretch before final seaming.
🧼 Care Instructions
If using acrylic or cotton yarn:
- Hand wash in cool water with gentle detergent
- Lay flat to dry to preserve shape
- Avoid ironing or machine drying
🎁 Perfect Handmade Gift
Crocheted headbands are great for:
- Holiday presents
- Craft fairs
- Thank-you gifts
- Hair accessories for all ages
- Beginner crochet class projects
They’re fast to make, easy to ship, and always appreciated.

🧘 Final Thoughts
The Bead Stitch headband is a wonderful project that strikes the perfect balance between easy and impressive. With just a few simple stitches and a creative texture, you’ll walk away with a practical and stylish accessory that looks polished—without needing advanced skills.
So grab your hook, pick out a yarn you love, and start stitching. You’ll be surprised how addictive and satisfying this little project can be!
Video tutorial:


