
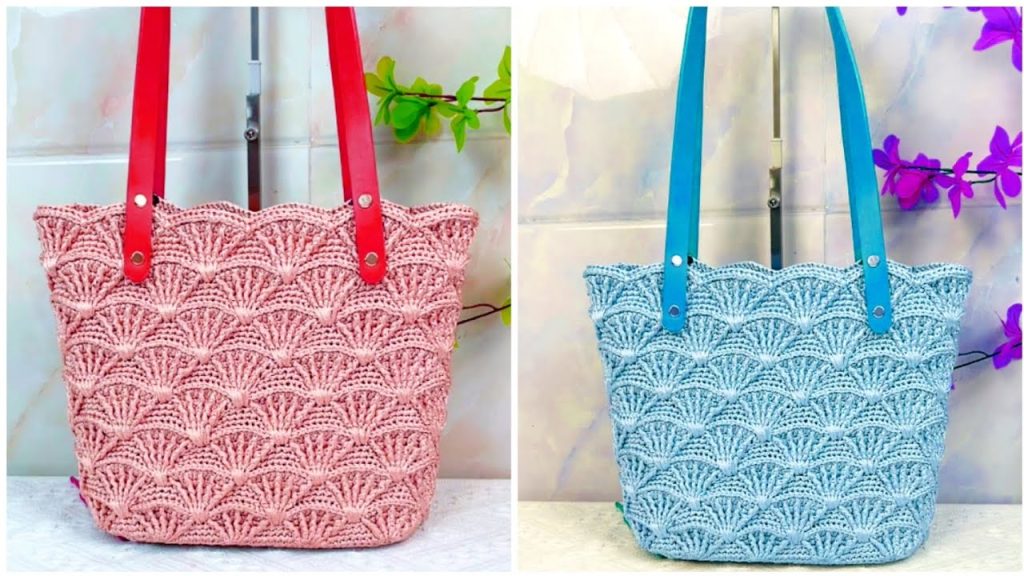
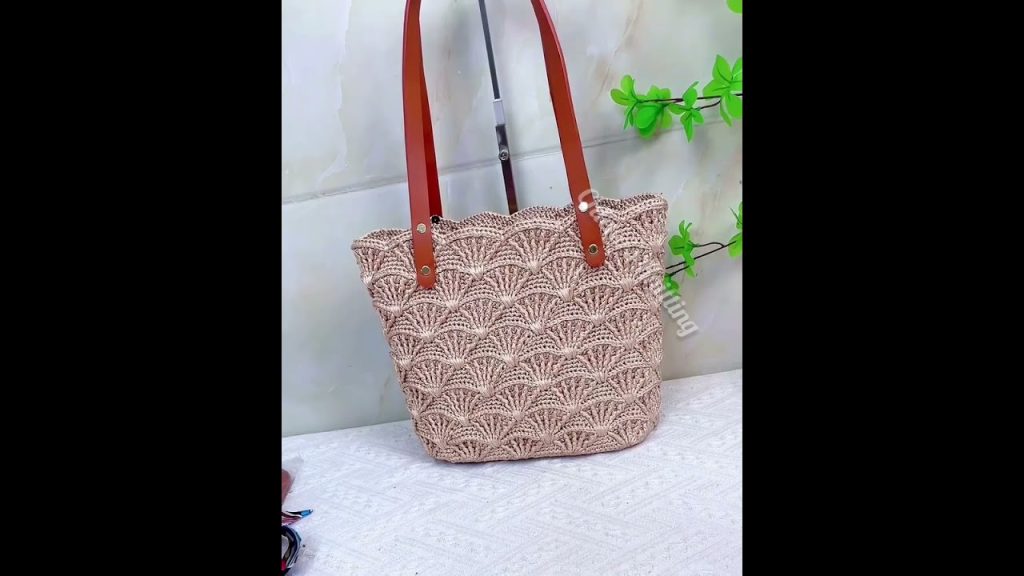
Are you ready to create a stylish, functional, and surprisingly simple tote bag? Inspired by the fantastic work of Chieko’s Knitting, we’ve designed a pattern that’s perfect for beginners and a satisfying project for experienced crocheters. This bag is not just a carry-all; it’s a statement piece that combines a beautiful, textured design with the simplicity of basic stitches.
Why You’ll Love This Project
- Quick to Make: Using chunky yarn and a large hook, you’ll see your bag take shape in just a few hours.
- Simple Stitches: We’ll be using fundamental crochet stitches, making this a great way to practice your technique.
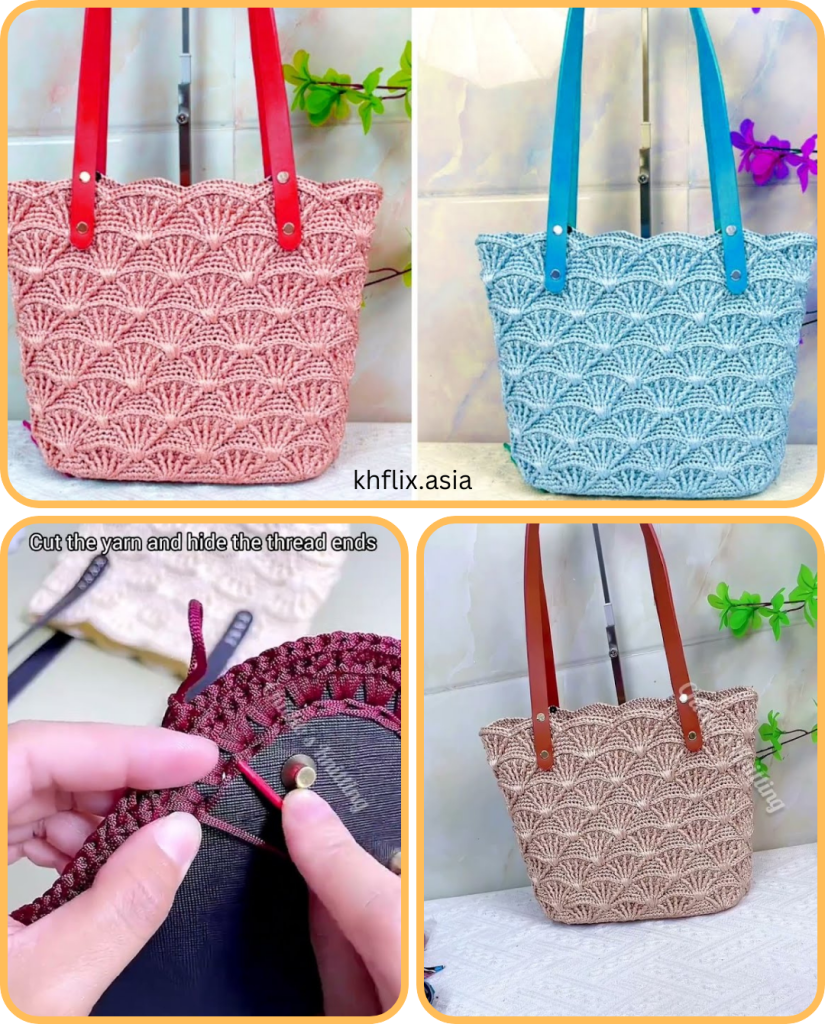
- Versatile Design: The finished tote is ideal for market trips, beach days, or as a chic everyday accessory.
- Unique Texture: The pattern creates a gorgeous, squishy fabric that holds its shape and feels wonderful to the touch.
Materials You’ll Need
- Yarn: Approximately 300-400 yards of a bulky (size 5) or super bulky (size 6) yarn. A cotton or cotton blend is recommended for a sturdy bag, but acrylic or wool will also work beautifully.
- Crochet Hook: A large hook, such as an 8.0 mm (L-11) or 9.0 mm (M/N-13), to match your yarn weight.
- Tapestry Needle: For weaving in ends.
- Scissors
Stitches & Abbreviations
- ch: chain
- sc: single crochet
- dc: double crochet
- sl st: slip stitch
- rep: repeat
- st(s): stitch(es)
The Pattern
Base of the Bag
The bag is worked in the round, starting with the base. We will create a rectangle to ensure a flat, stable bottom.
- Row 1: Ch 26. Sc in the 2nd ch from the hook and in each ch across (25 sc). Ch 1, turn.
- Row 2-25: Sc in each st across. Ch 1, turn.
- Edging: After completing the final row, ch 1 and sc evenly around the entire rectangle, placing 3 sc in each corner to allow for a smooth turn. Join with a sl st to the first sc.
Body of the Bag
Now we will build up the sides of the bag using a simple yet elegant stitch pattern. This section is worked in continuous rounds without turning.
- Round 1: Ch 3 (counts as a dc). Dc in each sc around. Join with a sl st to the top of the beginning ch-3.
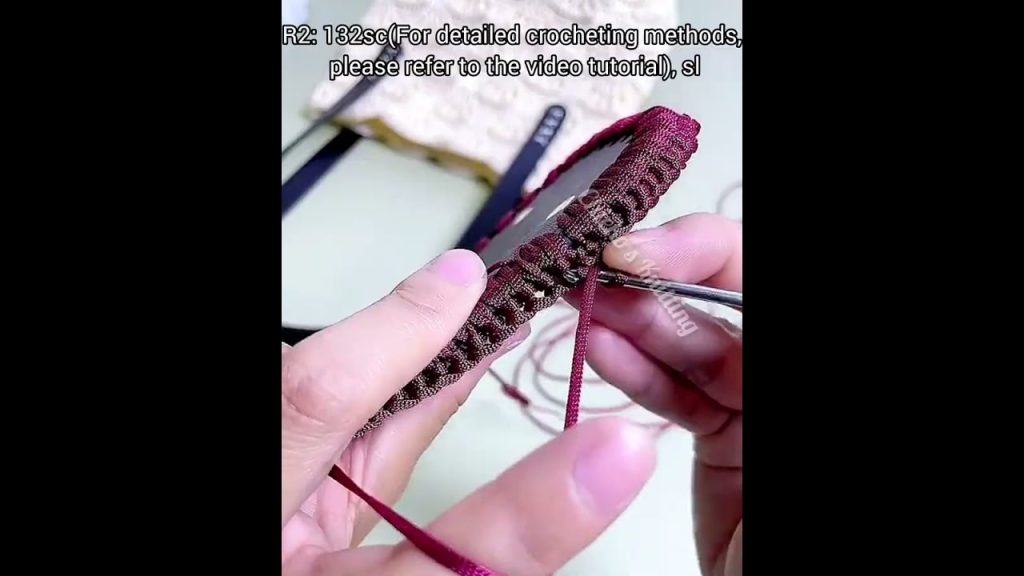
- Round 2: Ch 1 (does not count as a st). Sc in each dc around. Join with a sl st to the first sc.
- Round 3: Ch 3 (counts as a dc). Dc in each sc around. Join with a sl st to the top of the beginning ch-3.
- Round 4: Ch 1 (does not count as a st). Sc in each dc around. Join with a sl st to the first sc.
- Repeat: Rep Rounds 3 and 4 until your bag reaches your desired height. A good length is typically around 12-14 inches from the base.
Creating the Straps
The straps are worked directly from the top of the bag for a seamless finish.
- Placement: On the final round, identify the points for your straps. A good general rule is to skip 10-15 sts on each side, depending on the width of your bag.
- First Strap: Ch 50 (or your desired length for the strap). Sl st into the designated st on the other side of the bag’s opening, creating a loop. Sc evenly across the top of the bag until you reach the next strap placement.
- Second Strap: Ch 50. Sl st into the final designated st. Sl st to join the round.
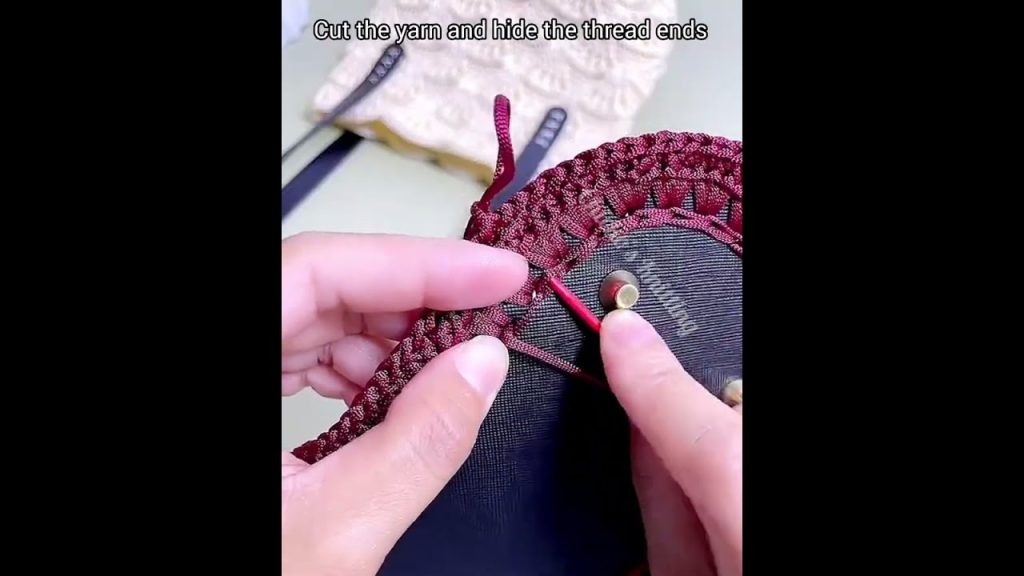
- Finishing: Sc back around the entire top of the bag, including the chain portions of the straps, to create a strong and neat edge. Fasten off and weave in all your ends.
Video tutorial:


