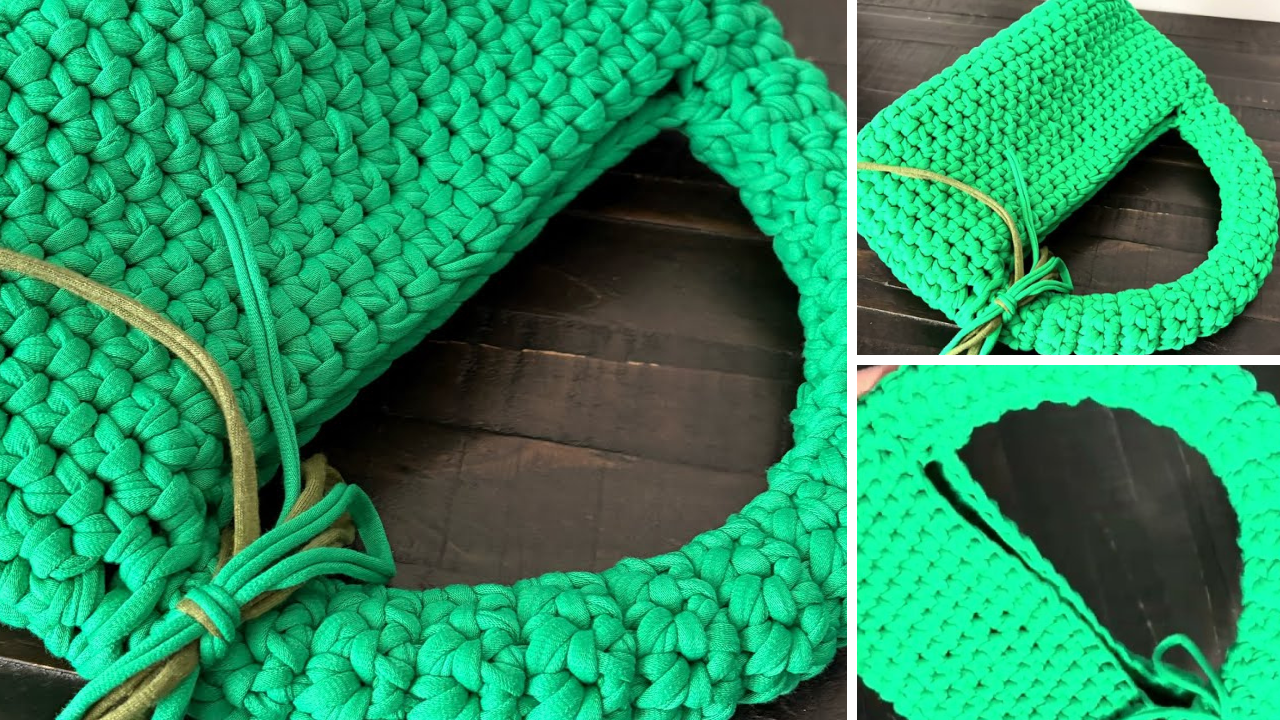
Make a Statement: Crochet a Stylish Bag with a Chunky Handle
The right accessory can elevate any outfit, and a crochet bag with a chunky handle is a surefire way to do just that. This design marries the cozy, handmade charm of crochet with a modern, eye-catching element, resulting in a bag that’s both functional and fashionable. Whether you’re heading to brunch or a casual evening out, this bag is designed to turn heads and hold your essentials in style.
This guide will walk you through creating a chic bag body and then attaching a striking chunky handle, transforming a simple crochet project into a standout piece.
What You’ll Need: Your Creative Toolkit
Before you dive in, let’s gather your materials. Choosing the right yarn and tools is crucial for achieving the desired look and feel of your bag.
- Yarn for the Bag Body:
- Type: Consider a sturdy yarn that will hold its shape well. Cotton, cotton blends, T-shirt yarn, or macrame cord are excellent choices. T-shirt yarn offers a naturally chunky texture, while cotton provides good stitch definition.
- Weight: Worsted weight (Aran) or bulky weight yarn is ideal for a substantial bag. If using worsted, you might hold two strands together for extra sturdiness.
- Quantity: Approximately 200-400 yards, depending on your desired bag size and yarn weight.
- Yarn for the Chunky Handle (or a Pre-Made Handle):
- Type: A super bulky (jumbo) yarn or macrame cord that’s significantly thicker than your bag body yarn. This is what gives the handle its “chunky” appeal.
- Alternatively: You can purchase pre-made chunky acrylic or wooden chain links (often found in craft stores or online) if you prefer not to crochet the handle.
- Crochet Hook:
- For the bag body: Choose a hook size appropriate for your chosen yarn (e.g., 5.0mm (H/8) to 6.5mm (K/10) for worsted/bulky). Check the yarn label for recommendations.
- For the chunky handle (if crocheting): You’ll need a much larger hook, possibly 9.0mm (N/13) to 15.0mm (P/Q), depending on your super bulky yarn.
- Yarn Needle (Tapestry Needle): Essential for weaving in ends and seaming.
- Scissors: For cutting yarn.
- Stitch Markers (Optional but Recommended): Helpful for marking the beginning of rounds.
- Measuring Tape (Optional): For checking dimensions.
Essential Crochet Stitches
This project uses a few basic stitches, making it accessible for intermediate beginners. If you’re new to these, a quick online tutorial will get you up to speed!
- Chain (ch): The foundation of most projects.
- Slip Stitch (sl st): Used to join stitches and rounds.
- Single Crochet (sc): A dense, sturdy stitch perfect for bags.
- Half Double Crochet (hdc): Slightly taller and a bit more flexible than sc.
- Double Crochet (dc): A taller stitch that creates a more open fabric. (We’ll mostly stick to sc/hdc for the bag body for durability).

Part 1: Crafting the Bag Body (The Seamless Pouch)
We’ll create a simple, rectangular pouch by working in continuous rounds, starting with an oval base. This method eliminates side seams for a clean finish.
Approximate Finished Size: 10 inches wide x 7 inches tall (excluding handle). Adjust the starting chain for different sizes.
Abbreviations:
- ch: chain
- sc: single crochet
- sl st: slip stitch
- st(s): stitch(es)
- rep: repeat
- FO: fasten off
- BLO: back loop only
Instructions:
- Start the Base (Oval Shape):
- Ch 26 (or any even number + 2 for your desired width).
- Round 1: Sc in the 2nd ch from hook. Sc in the next 23 chains. 3 sc in the last chain. (This forms one end of the oval).
- Now, working on the opposite side of the starting chain: Sc in the next 23 chains. 2 sc in the last chain (the same chain where you made your first sc). Join with a sl st to the first sc. (52 sc total).
- Tip: Place a stitch marker in the first stitch of each round to easily identify the beginning.
- Round 2: Ch 1 (does not count as a stitch). 2 sc in the first st. Sc in the next 23 sts. 2 sc in each of the next 3 sts. Sc in the next 23 sts. 2 sc in each of the last 2 sts. Join with a sl st to the first sc. (58 sc total).
- Note: The increases at the ends expand the base. If you want a wider base, add more increase rounds, distributing increases evenly at the curved ends.
- Build the Sides of the Bag:
- Round 3: Ch 1 (does not count as a stitch). Sc in the BLO of each stitch around. Join with a sl st to the first sc. (58 sc total).
- Why BLO? This creates a defined ridge that clearly separates the base from the sides, giving your bag a crisp, neat edge.
- Rounds 4 onwards: Ch 1 (does not count as a stitch). Sc in both loops of each stitch around. Join with a sl st to the first sc. (58 sc total).
- Repeat Round 4: Continue repeating this round until your bag reaches your desired height (e.g., 7 inches). Aim for a height that complements your chosen handle size.
- Pro Tip: For a different texture, you could alternate between sc and hdc rounds, or use only hdc stitches for a slightly more flexible fabric. Just ensure your stitch count remains consistent.
- Round 3: Ch 1 (does not count as a stitch). Sc in the BLO of each stitch around. Join with a sl st to the first sc. (58 sc total).
- Finishing the Bag Body:
- Once you’ve reached your desired height, sl st in the next few stitches to create a smooth, even finish.
- FO (Fasten Off) by cutting your yarn, leaving a 6-inch tail, and pulling the tail completely through the loop on your hook.
- Weave in all loose ends securely with your yarn needle.

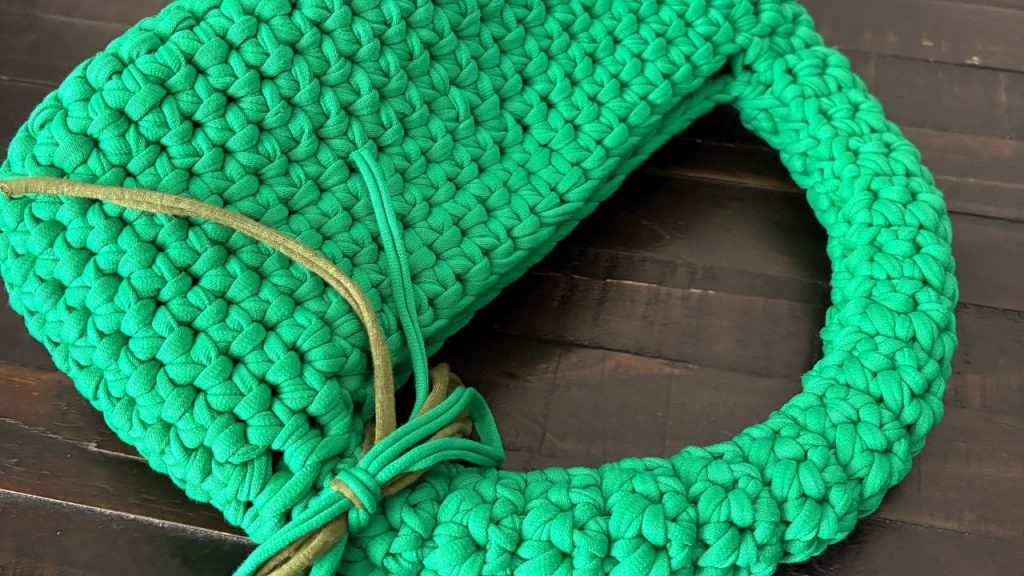
Part 2: Creating the Chunky Handle
This is where the “chunky” magic happens! You have two main options: crocheting your own or using pre-made links.
Option A: Crocheting Your Own Chunky Handle
This method is for those who want a fully handmade look and control over the handle’s texture and color.
- Choose Your Stitch: For a truly chunky handle, a simple chain stitch or slip stitch cord works beautifully with super bulky yarn. A single crochet row can also be used for a flatter, wider handle.
- Method 1: Super Chunky Chain Handle:
- Using your super bulky yarn and large hook, make a long chain. The length will depend on how much “drop” you want for your handle.
- Trial & Error: Drape the chain around your wrist or over your shoulder (if it’s a shoulder bag) to gauge the ideal length. A good starting point is around 18-24 inches for a hand/forearm carry.
- Create the “Links” (Optional): Instead of one long chain, you can make individual short chains (e.g., 5-10 chains each) and then use a slip stitch to join them into rings. Link these rings together before securing the ends to create a chain-link look. This is more time-consuming but very effective.
- Method 2: Super Chunky Slip Stitch Cord:
- Make a slip knot on your large hook.
- Alternative: Create a small chain (e.g., ch 2-3). Sl st into the first chain, then sl st into the back bumps of the slip stitches you just made. This builds a dense, round cord. This method creates a very sturdy and round handle.
- Continue until your desired length.
- Finishing the Crocheted Handle:
- Once your handle is the desired length and thickness, FO, leaving long tails on both ends for attaching.
Option B: Using Pre-Made Chunky Chain Links
This is the quickest way to achieve a bold, modern look without extra crocheting.
- Purchase Links: Acquire chunky acrylic or wooden chain links from a craft store. These often come in sets or long strands that you can cut.
- Determine Length: Decide how many links you need for your desired handle length. Most bags look good with a handle that allows a comfortable grip, typically 15-25 inches total length (including where it attaches to the bag).
Part 3: Attaching the Handle
This step is crucial for the bag’s functionality and aesthetic. Secure attachment prevents sagging and ensures durability.
- Placement:
- Lay your bag body flat. Decide where you want the handle to attach. Typically, this is centered on the side edges, a few stitches in from each corner. Mark these points with stitch markers.
- Ensure the handle isn’t twisted before attaching.
- Attaching a Crocheted Handle:
- Using your yarn needle and the long tails from the handle, securely sew each end of the handle to the designated spots on the top inside edge of your bag.
- Go through both layers of the bag fabric (the outer and inner “walls” of your stitches) multiple times to ensure a very strong connection. Reinforce by sewing back and forth. Hide any remaining tails within the stitches.
- Attaching Pre-Made Links:
- Many pre-made chunky links have an openable link at the end, or you can purchase small split rings or D-rings to connect them.
- Direct Attachment: If the end link opens, you can directly thread it through a sturdy stitch on your bag’s top edge and close it.
- Using Yarn: For extra security, you can use a strong strand of matching yarn to whip stitch the end link of your chunky chain directly to the top edge of your bag, making sure to go through the bag’s fabric multiple times.
- D-Rings/Split Rings: Sew D-rings or sturdy split rings securely to the top corners of your bag first. Then, attach your chunky chain links to these rings. This can give a more polished finish.

Optional Enhancements:
- Lining: For added structure and to prevent small items from slipping through stitches, sew a fabric lining inside your bag.
- Closure: Add a magnetic snap, a simple button and loop, or even a zipper for security.
- Embellishments: Attach a tassel, a pom-pom, or a small decorative charm to your bag for extra flair.
Tips for a Professional Finish:
- Weave in ends meticulously: Loose ends can unravel your beautiful work. Take your time to weave them in securely.
- Consistent tension: Try to maintain an even tension throughout your crocheting for a neat and uniform fabric.
- Block your bag (optional): If your bag seems a bit wonky, gently wet it and shape it to the desired dimensions, then let it dry completely. This can significantly improve its appearance.
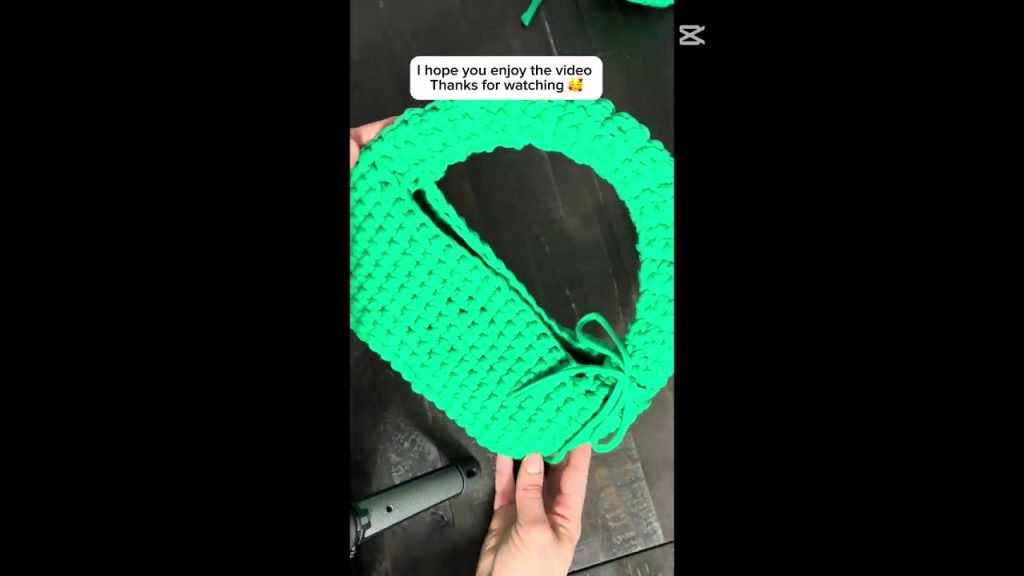
Congratulations! You’ve created a stunning and stylish crochet bag with a chunky handle that’s truly unique. This project not only enhances your crochet skills but also provides you with a fantastic accessory that’s sure to garner compliments. What color will your next one be?
Video tutorial:


