
Hooked on Style: Super Easy Crochet Bags and Clutches for Beginners!
Crocheting a bag or clutch might seem like a daunting task for a beginner, but I’m here to tell you it’s incredibly achievable and wonderfully rewarding! With just a few basic stitches and some readily available materials, you can create stylish and functional accessories that you’ll be proud to carry.
This guide will walk you through two fantastic projects: a simple tote-style bag and a chic, minimalist clutch. Both are designed with ease in mind, making them perfect for those new to the hook.
Getting Started: Your Essential Crochet Toolkit
Before we dive into the patterns, let’s gather your supplies. Having the right tools will make your crocheting experience smooth and enjoyable.
- Yarn: This is the heart of your project! For beginners, I recommend a worsted weight (or Aran weight) yarn made of cotton or an acrylic blend. These yarns are easy to work with, readily available, and come in a vast array of colors.
- For the Tote Bag: You’ll likely need 200-300 yards, depending on your desired size.
- For the Clutch: 50-100 yards should be plenty.
- Crochet Hook: The yarn label will usually recommend a hook size. For worsted weight yarn, a 5.0mm (H/8) or 5.5mm (I/9) hook is a good starting point. Choose a hook that feels comfortable in your hand.
- Yarn Needle (Tapestry Needle): Essential for weaving in ends and seaming your projects. Look for one with a large eye.
- Scissors: For cutting your yarn.
- Stitch Markers (Optional but Recommended): These are incredibly helpful for marking the beginning of rounds or specific stitches, especially when you’re just learning to recognize your stitches.
- Measuring Tape (Optional): Useful for checking the dimensions of your project as you go.
Understanding Basic Crochet Stitches
Both of these projects rely on a few fundamental crochet stitches. If you’re completely new, it’s a good idea to practice these a few times before starting your project. There are countless free video tutorials available online if you need a visual guide!
- Chain (ch): The foundation of most crochet projects.
- Slip Stitch (sl st): Used to join stitches and rounds, and to move your yarn without adding height.
- Single Crochet (sc): A basic, short stitch.
- Half Double Crochet (hdc): A stitch taller than a single crochet but shorter than a double crochet.
- Double Crochet (dc): A taller stitch that creates a looser fabric.
Project 1: The Super Easy Everyday Tote Bag
This tote bag is constructed from two simple rectangles sewn together, making it an ideal project for practicing your basic stitches and creating straight edges. You can customize the size to your liking!
Finished Size (Approximate): 12 inches wide x 14 inches tall (excluding straps). You can easily adjust the starting chain to make it wider or narrower.
Abbreviations:
- ch: chain
- sc: single crochet
- hdc: half double crochet
- st(s): stitch(es)
- rep: repeat
- FO: fasten off

Instructions:
Part 1: Making the Bag Panels (Make 2)
- Chain: Ch 35 (or any odd number for your desired width).
- Row 1: Hdc in the 2nd ch from hook and in each ch across. Ch 1, turn. (34 hdc)
- Tip: The “ch 1, turn” at the end of each row creates the turning chain, which doesn’t count as a stitch but helps you build height for the next row.
- Row 2: Hdc in the first st and in each st across. Ch 1, turn. (34 hdc)
- Repeat Row 2: Continue repeating Row 2 until your panel measures approximately 14 inches tall, or your desired height.
- Fasten Off: Cut your yarn, leaving a long tail (about 12-18 inches) for seaming. Pull the tail through the loop on your hook to secure.
- Make a Second Panel: Repeat steps 1-5 to create an identical second panel.
Part 2: Assembling the Bag
- Seaming the Sides:
- Place your two panels together, wrong sides facing (or right sides facing if you prefer a different seam look – experiment!). Align the edges perfectly.
- Using your yarn needle and one of the long tails, seam the two sides of the bag. You can use a whip stitch, mattress stitch, or any seaming method you prefer. Aim for a neat and secure seam.
- Repeat for the other side.
- Seaming the Bottom:
- Now, seam the bottom edge of the bag using the remaining long tail.
- Weave in Ends: Once all seams are complete, use your yarn needle to carefully weave in any remaining loose ends. This creates a tidy and professional finish.
Part 3: Creating the Straps (Make 2)
- Chain: Ch 60 (or more/less for your desired strap length). A good length is usually between 20-30 inches once folded.
- Row 1: Sc in the 2nd ch from hook and in each ch across. Ch 1, turn. (59 sc)
- Row 2: Sc in the first st and in each st across. Ch 1, turn. (59 sc)
- Repeat Row 2: Repeat Row 2 two more times, for a total of 4 rows of single crochet. This creates a sturdy strap.
- Fasten Off: Cut yarn, leaving a long tail for attaching.
- Make a Second Strap: Repeat steps 1-5 to create an identical second strap.
Part 4: Attaching the Straps
- Position Straps: Lay your bag flat. Position each strap on the inside of the bag opening, about 2-3 inches in from each side seam. Make sure the straps aren’t twisted.
- Sew Securely: Using your yarn needle and the long tails from the straps, securely sew each end of the strap to the top edge of the bag. Go through both layers of the bag fabric to ensure durability. Reinforce the attachment points by sewing back and forth several times.
Congratulations! You’ve made your first crochet tote bag!
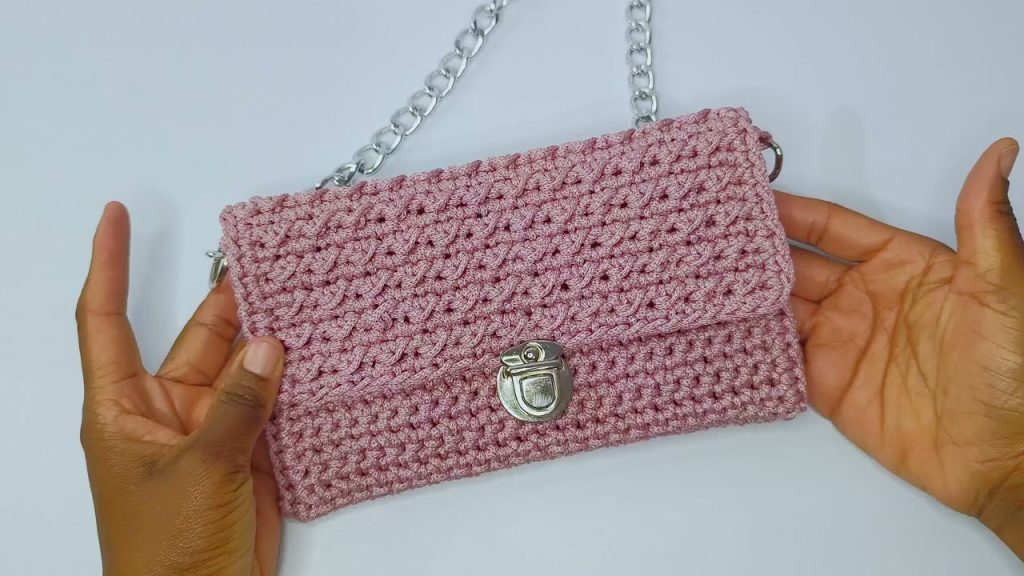
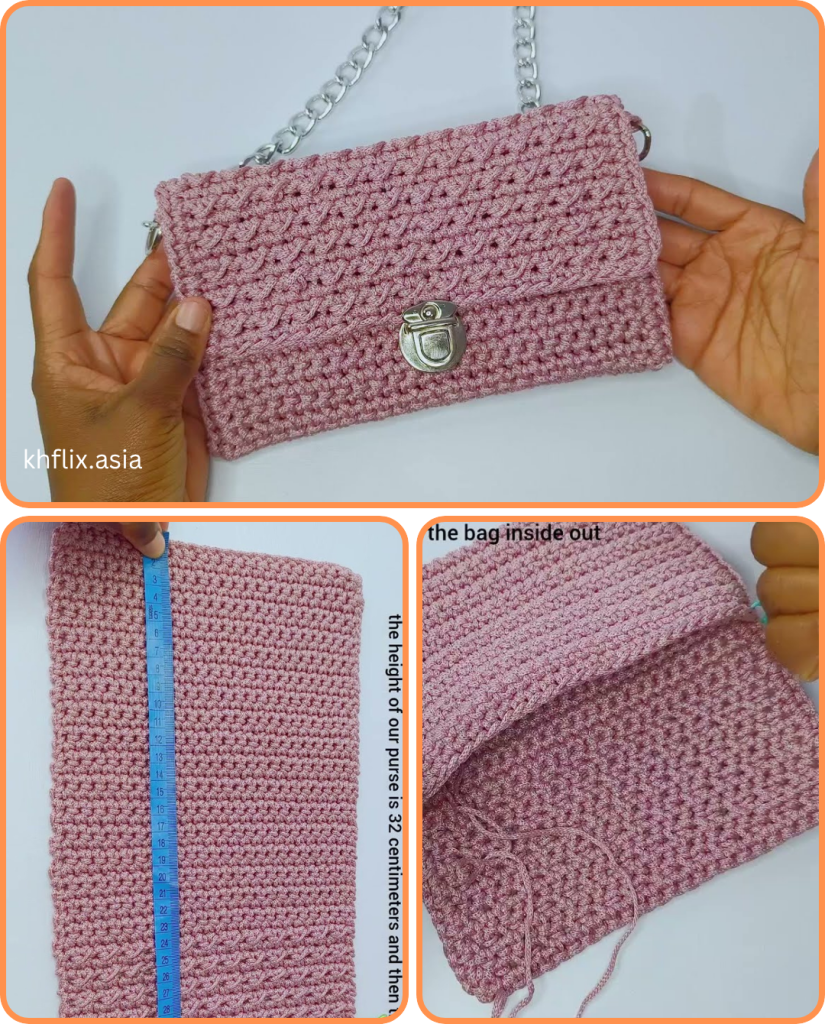
Project 2: The Chic & Simple Crochet Clutch
This clutch is worked in continuous rounds, creating a seamless and sturdy pouch. It’s a fantastic project for practicing your single crochet stitch and creating a neat, even fabric.
Finished Size (Approximate): 8 inches wide x 5 inches tall. You can easily adjust the starting chain to make it wider or narrower.
Abbreviations:
- ch: chain
- sc: single crochet
- sl st: slip stitch
- st(s): stitch(es)
- rep: repeat
- FO: fasten off
Instructions:
Part 1: Creating the Base (Oval Shape)
- Chain: Ch 21 (or any odd number for your desired width).
- Round 1: Sc in the 2nd ch from hook. Sc in the next 18 chains. 3 sc in the last chain. (This turns the corner). Now, working on the opposite side of the starting chain, sc in the next 18 chains. 2 sc in the last chain (the same chain where you made your first sc). Join with a sl st to the first sc. (42 sc)
- Tip: Place a stitch marker in the first sc of each round to help you keep track.
- Round 2: Ch 1 (does not count as a stitch). 2 sc in the first st. Sc in the next 18 sts. 2 sc in each of the next 3 sts. Sc in the next 18 sts. 2 sc in each of the last 2 sts. Join with a sl st to the first sc. (48 sc)
- Note: The increases at the ends of the oval shape create a flat base for your clutch.
- Optional Base Rounds: If you want a wider base, you can add more rounds here, continuing to increase at the corners to maintain the oval shape. For a simple clutch, two rounds for the base are usually sufficient.
Part 2: Building the Sides (Single Crochet in Continuous Rounds)
- Round 3: Ch 1 (does not count as a stitch). Sc in the back loop only (BLO) of each stitch around. Join with a sl st to the first sc. (48 sc)
- Why BLO? Working in the back loop only creates a subtle ridge that helps define the bottom of the clutch and gives it a nice crisp edge.
- Round 4 onwards: Ch 1 (does not count as a stitch). Sc in both loops of each stitch around. Join with a sl st to the first sc. (48 sc)
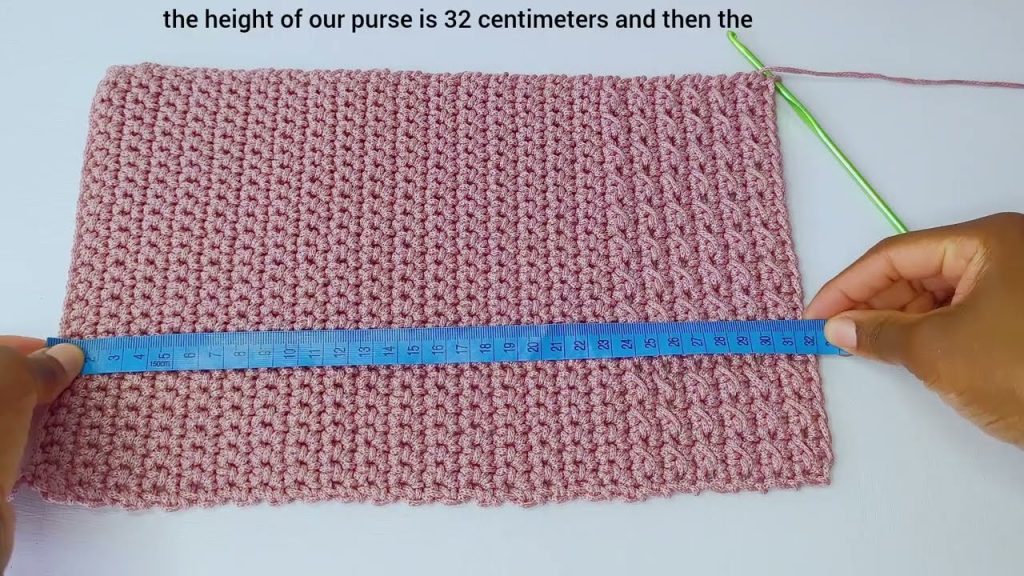
- Repeat Round 4: Continue repeating Round 4 until your clutch reaches your desired height (e.g., 5 inches tall). You want it tall enough to hold your essentials but not so tall that it becomes unwieldy.
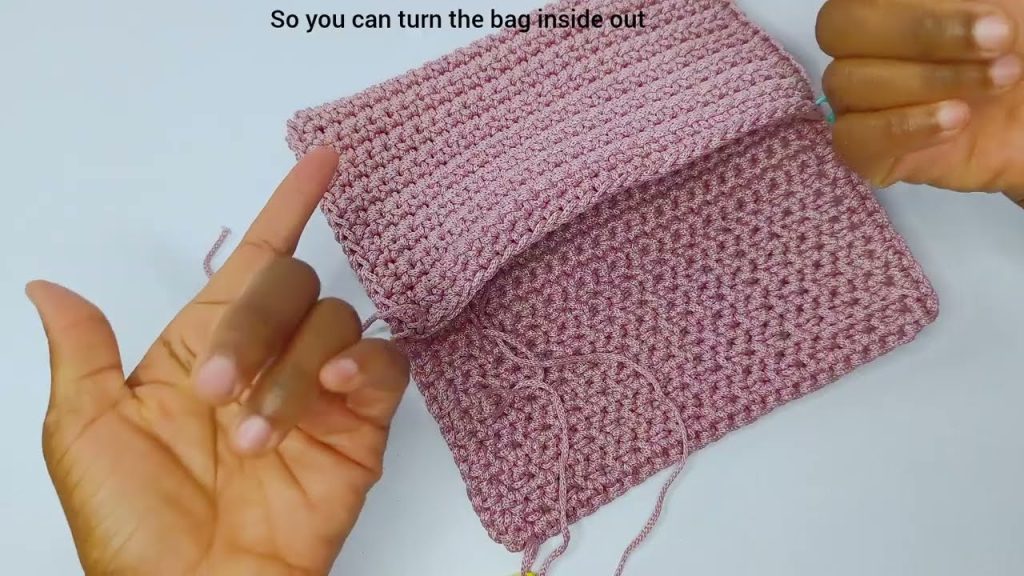
Part 3: Finishing the Clutch
- Final Round (Optional for a neat edge): If you desire a firmer top edge, you can do a round of slip stitches or reverse single crochet. For simplicity, we’ll just finish with a slip stitch.
- Fasten Off: Cut your yarn, leaving a 6-inch tail. Pull the tail through the loop on your hook to secure.
- Weave in Ends: Use your yarn needle to carefully weave in all loose ends.
Part 4: Adding a Closure (Optional but Recommended)
- Zipper: For a truly secure closure, you can hand-sew a zipper to the inside top edge of your clutch. This is a fantastic skill to learn!
- Magnetic Snap: Sew-in magnetic snaps are a very popular and easy option for clutches. Simply stitch them to the inside top edges.
- Button and Loop: Crochet a small chain loop on one side and sew a decorative button on the opposite side.
- Fold-over Flap: You could also extend the body of the clutch by a few inches and create a fold-over flap, perhaps adding a button or magnetic snap for closure.
Voila! Your handmade crochet clutch is ready to impress!
Tips for Success for Beginners
- Don’t Be Afraid to Start Over: If you make a mistake or are unhappy with your tension, it’s perfectly fine to unravel your work and start again. Every stitch is a learning opportunity!
- Practice Your Tension: Consistent tension (how tightly or loosely you hold your yarn) is key to an even and attractive fabric. Practice makes perfect.
- Count Your Stitches: Especially in the beginning, it’s easy to accidentally add or skip stitches. Counting your stitches at the end of each row or round will save you headaches later.
- Use Stitch Markers: Seriously, they are your best friend, especially when working in rounds.
- Watch Video Tutorials: Seeing a stitch performed can be incredibly helpful. YouTube is an excellent resource.
- Embrace Imperfection: Your first projects won’t be perfect, and that’s okay! They are unique, handmade items, and those little quirks are part of their charm.
- Experiment with Yarn Colors and Textures: Once you’re comfortable with the basics, have fun with different types of yarn!
Crocheting bags and clutches is not only a fantastic way to create beautiful accessories but also a wonderfully relaxing and meditative hobby. With these super easy tutorials, you’re well on your way to becoming a confident crocheter. Happy hooking!
Video tutorial:


