That’s a fantastic idea! Creating tiny, adorable baby shoes is a perfect project for anyone new to crochet. Here’s a detailed article to guide beginners through making their first pair of perfect baby shoes.
Crochet Your First Perfect Baby Shoes: A Beginner’s Guide
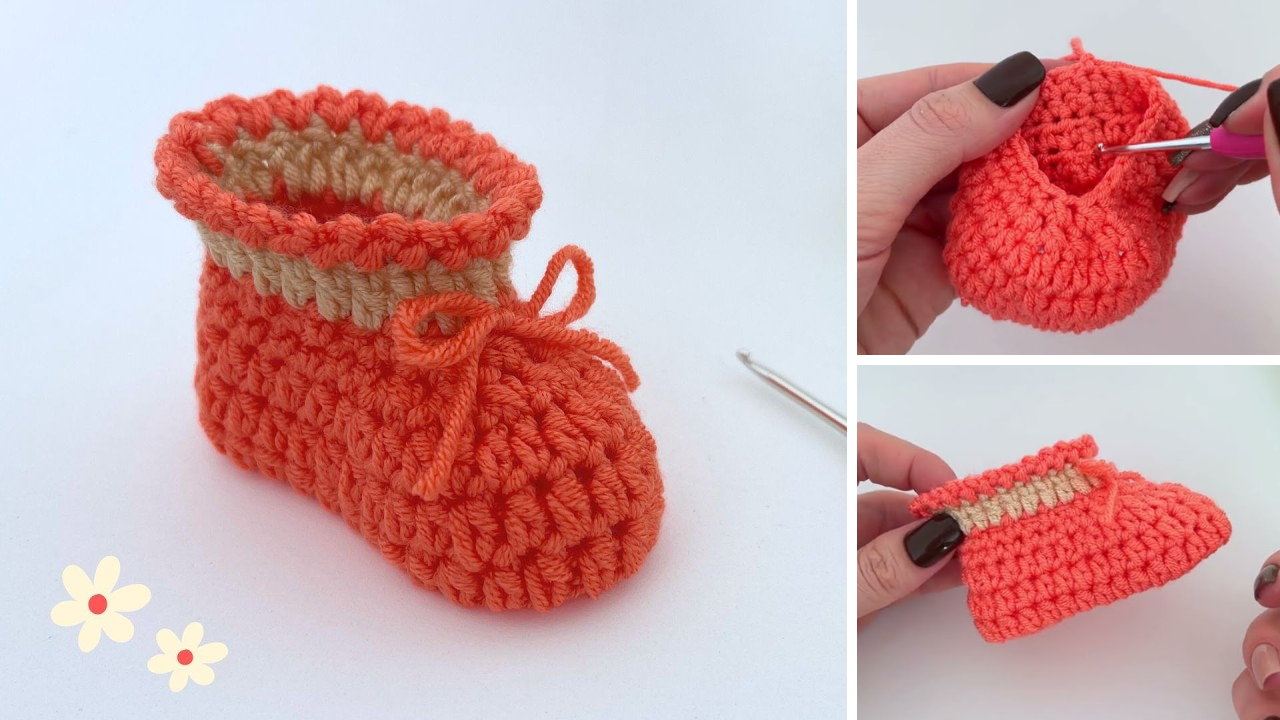
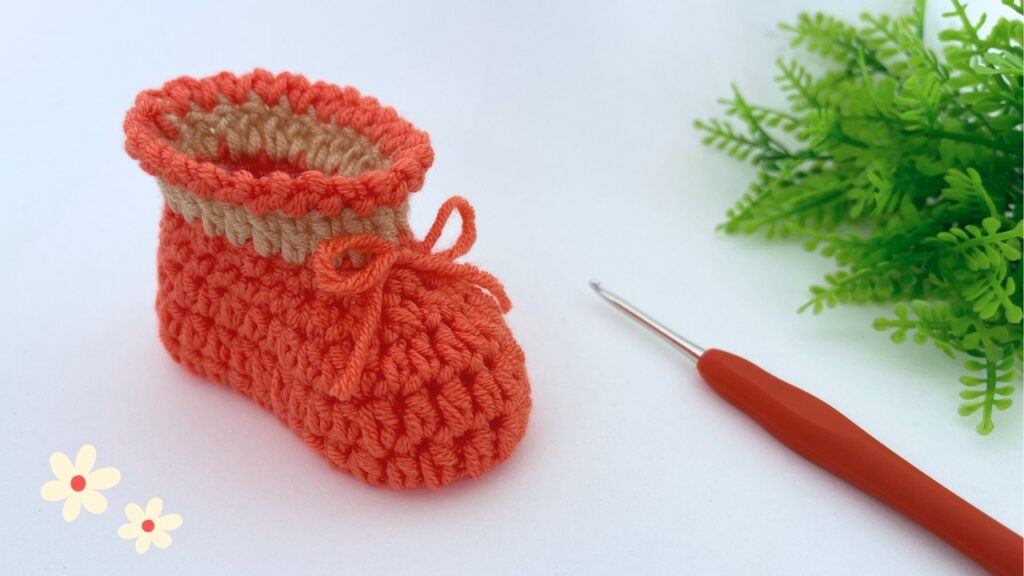
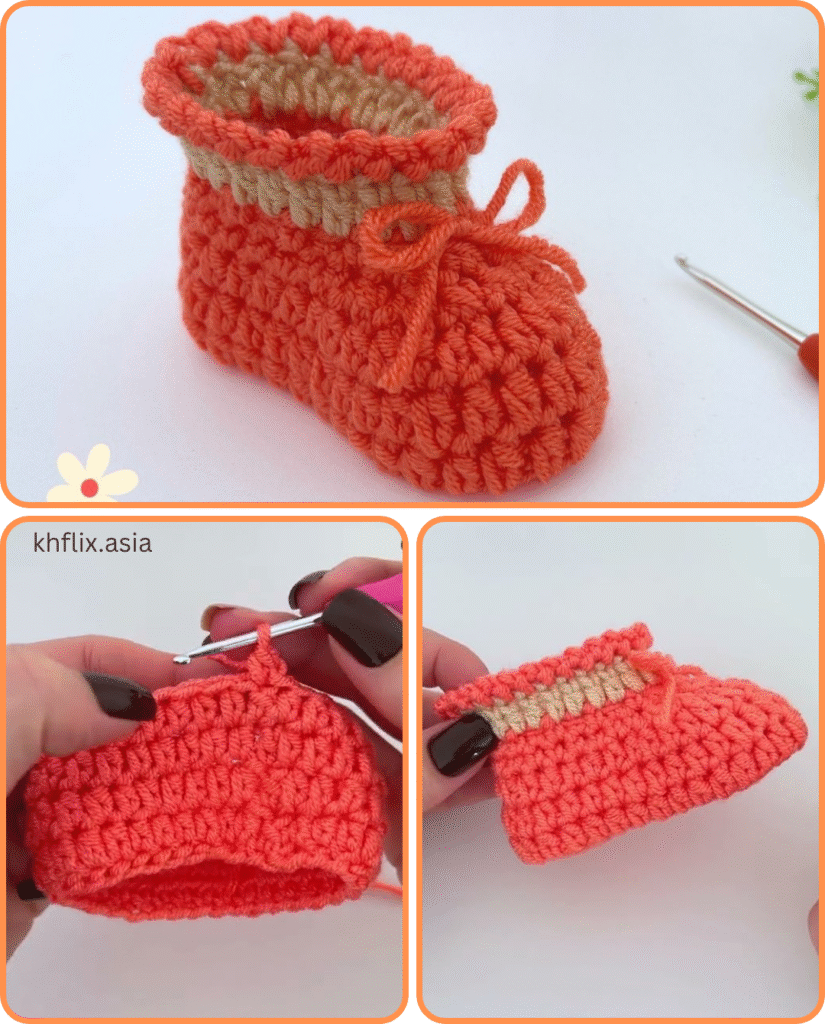
There’s something incredibly special about handmade gifts, especially for a new baby. And when it comes to crochet, a pair of tiny, soft baby shoes is not just adorable, it’s also a surprisingly easy and rewarding project for beginners. If you’ve just picked up a crochet hook, or you’re looking for a quick and satisfying craft, this guide will walk you through everything you need to know to create a charming pair of baby shoes.
Why Are Baby Shoes Perfect for Beginners?
Crochet baby shoes are an ideal starting point for several reasons:
- Quick to Finish: Unlike large blankets or garments, baby shoes work up quickly, often in just a few hours. This gives you a sense of accomplishment without a huge time commitment.
- Uses Basic Stitches: Most patterns rely on fundamental stitches like single crochet (sc), half double crochet (hdc), and double crochet (dc). Mastering these is key to all future crochet projects.
- Great for Learning Shaping: You’ll learn how to work in rounds, create increases and decreases for shaping the sole and toe, and finish off your work neatly—all essential skills.
- Minimal Yarn Needed: You’ll only need a small amount of yarn, making it a cost-effective project, perfect for using up scraps or trying out new yarn types.
- Highly Customizable: Once you master the basic shape, you can experiment with different colors, add embellishments, or try new stitch patterns, making each pair unique.
What You’ll Need to Get Started
Before you dive in, gather your supplies. Choosing the right materials will make your crocheting experience much smoother.
- Yarn: Opt for a soft, washable, and baby-friendly yarn. DK (double knitting) weight or light worsted weight acrylic, cotton, or bamboo yarns are excellent choices. They’re gentle on sensitive skin and easy to care for. Check the yarn label for recommended hook size.
- Crochet Hook: The yarn label will suggest a hook size (e.g., 3.5mm or 4mm). It’s a good idea to have a few sizes close to the recommendation, as your personal tension can vary.
- Yarn Needle (Tapestry Needle): Essential for weaving in ends neatly and seamlessly, giving your shoes a polished look.
- Scissors: For cutting your yarn.
- Stitch Markers (Optional, but Recommended): These small clips are incredibly helpful for marking the beginning of rounds, especially for beginners, preventing you from losing your place.

Let’s Crochet: A Simple Baby Shoe Pattern (Newborn Size)
This pattern uses fundamental stitches and techniques, making it super approachable. We’ll start with the sole, then build up the sides and shape the toe.
Common Abbreviations You’ll See:
- ch: chain
- sl st: slip stitch
- sc: single crochet
- hdc: half double crochet
- dc: double crochet
- inc: increase (work 2 stitches into the same stitch)
- sc2tog: single crochet 2 together (a decrease stitch)
- BLO: back loop only
- FO: fasten off
Part 1: The Sole
This oval shape forms the bottom of the shoe.
- Ch 10. (This is your starting chain for the sole)
- Round 1:
- Sc in the 2nd ch from hook.
- Sc in the next 7 ch.
- Work 3 sc in the very last chain (this helps turn the corner).
- Now, working down the other side of your starting chain, sc in the next 7 ch.
- Work 2 sc in the last chain (the one you started in).
- Join with a sl st to the very first sc. (Total: 20 stitches)
- Round 2:
- Ch 1 (does not count as a stitch here).
- Inc (2 sc) in the first sc.
- Sc in the next 7 sc.
- Inc (2 sc) in the next 3 stitches (3 increases in a row).
- Sc in the next 7 sc.
- Inc (2 sc) in the next 2 stitches (2 increases in a row).
- Join with a sl st to the first sc. (Total: 26 stitches)
- Round 3:
- Ch 1.
- Sc in the first sc.
- Inc (2 sc) in the next sc.
- Sc in the next 8 sc.
- Repeat (inc in next sc, sc in next sc) 3 times.
- Sc in the next 8 sc.
- Repeat (inc in next sc, sc in next sc) 2 times.
- Join with a sl st to the first sc. (Total: 32 stitches)
Part 2: Building the Sides
This creates the upright part of the shoe.
- Round 4 (Creating the Defined Edge):
- Ch 1.
- Sc in the back loop only (BLO) around all 32 stitches. This creates a neat, raised edge for the sole.
- Join with a sl st to the first sc. (Total: 32 stitches)
- Round 5 & 6:
- Ch 1.
- Sc in both loops around all 32 stitches.
- Join with a sl st to the first sc at the end of each round. (Total: 32 stitches per round)
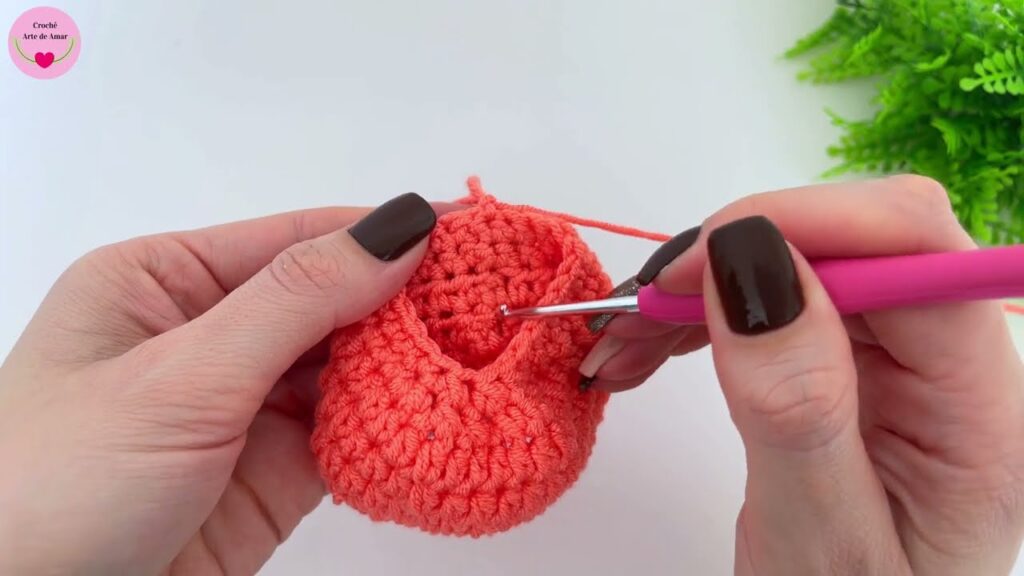
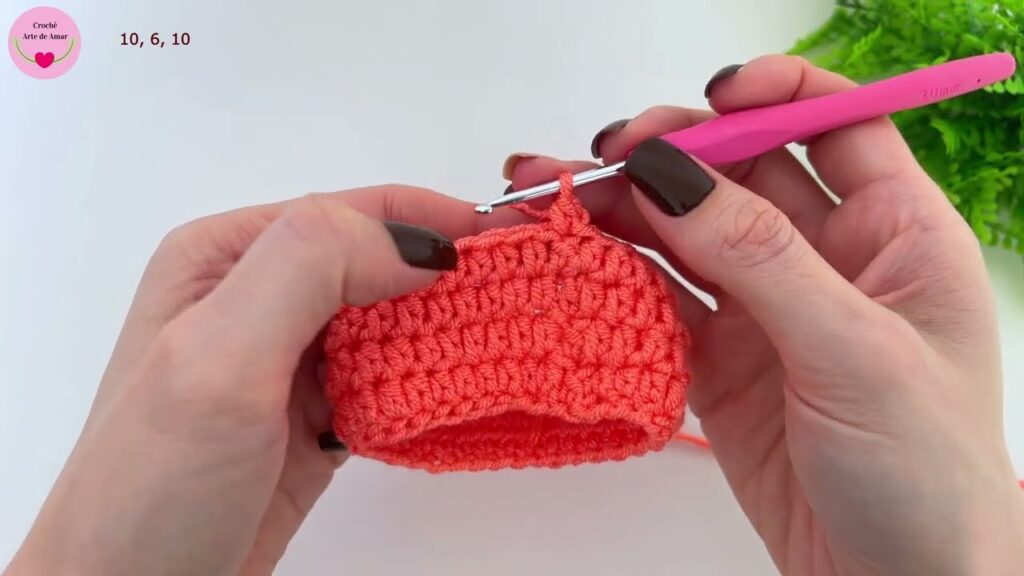
Part 3: Shaping the Toe
Now we’ll start decreasing to form the curved front of the shoe.
- Round 7:
- Ch 1.
- Sc in the next 10 stitches.
- Work sc2tog (single crochet 2 together) 6 times (this creates 6 decreases over 12 stitches).
- Sc in the next 10 stitches.
- Join with a sl st to the first sc. (Total: 26 stitches)
- Round 8:
- Ch 1.
- Sc in the next 8 stitches.
- Work sc2tog 5 times.
- Sc in the next 8 stitches.
- Join with a sl st to the first sc. (Total: 21 stitches)

Part 4: The Ankle Cuff (Optional but Recommended)
This creates a neat finish around the ankle.
- Round 9:
- Ch 2 (counts as your first hdc).
- Hdc in each stitch around.
- Join with a sl st to the top of your starting ch 2. (Total: 21 stitches)
- Round 10:
- Ch 1.
- Sc in each stitch around.
- Join with a sl st to the first sc. (Total: 21 stitches)
Part 5: Finishing Your Shoe
- Fasten Off (FO): Cut your yarn, leaving a tail about 6 inches long. Yarn over, pull the tail completely through the loop on your hook, and pull tight to secure.
- Weave in Ends: Use your yarn needle to carefully weave in all loose ends. Go back and forth through stitches a few times to ensure they’re secure and hidden.
- Repeat for the Second Shoe! You’ve got one down, just one more to go!
Tips for Beginner Success
- Practice Your Stitches: If you’re new to sc, hdc, or dc, do a few practice rows before starting the shoes. YouTube is full of great tutorials!
- Watch Your Tension: Try to keep your stitches consistent. Too tight, and the shoe will be stiff and small; too loose, and it will be floppy and large.
- Use Stitch Markers: Seriously, they’re your best friend! Place one at the beginning of each round to avoid confusion.
- Don’t Be Afraid to Undo: Everyone makes mistakes. If something doesn’t look right, gently pull out stitches until you’re back on track. It’s part of the learning process.
- Block Your Shoes (Optional): Once both shoes are complete and ends are woven in, you can lightly dampen them and gently shape them, then let them air dry. This helps even out stitches and gives a more professional finish.
Personalize Your Baby Shoes!
Once you’ve made your first pair, the fun really begins!
- Color Play: Use contrasting colors for the sole and the upper, or create stripes.
- Embellishments: Sew on tiny buttons, crochet a small flower or bow, or even embroider small details like dots or stars on the toe. Always ensure embellishments are securely attached and safe for babies.
- Different Yarns: Try a variegated yarn for a quick burst of color, or a fuzzy yarn for a super soft texture.
Crocheting baby shoes is a wonderful journey into the world of amigurumi and garment making. You’ll gain confidence with every stitch and create something truly precious. So, pick up your hook, choose some lovely yarn, and get ready to crochet your perfect pair of baby shoes! That’s a fantastic idea! Creating tiny, adorable baby shoes is a perfect project for anyone new to crochet. Here’s a detailed article to guide beginners through making their first pair of perfect baby shoes.
Video tutorial:


