As autumn leaves begin to fall and the air gets a crisp chill, there’s nothing quite like adding a touch of handmade warmth to your home décor. Crochet pumpkins are not just adorable, they’re also a fantastic project for crocheters of all levels, especially if you’re looking for something quick, satisfying, and utterly charming. This tutorial offers a fresh and easy approach to crafting your own plush pumpkins, perfect for fall festivities, Thanksgiving décor, or simply as a cozy accent.

What You’ll Need
Before you start, gather your materials. Having everything ready makes the process smooth and enjoyable.
- Yarn:
- Main Pumpkin Color: Choose an Aran/worsted weight yarn in classic pumpkin shades like orange, cream, rust, or even muted greens and blues for a modern twist. Cotton or acrylic blends work well. You’ll need about 50-100 grams, depending on your desired pumpkin size.
- Stem Color: A small amount of brown or green Aran/worsted weight yarn.
- Crochet Hook: A hook size appropriate for your yarn. For Aran/worsted weight yarn, a 4.0 mm (G) or 5.0 mm (H) hook is usually a good choice. Check your yarn label for recommendations.
- Stuffing: Polyester fiberfill or any suitable stuffing material.
- Yarn Needle (Tapestry Needle): Essential for sewing seams and shaping the pumpkin.
- Scissors: For cutting yarn.
- Stitch Marker (Optional but Recommended): Helpful for marking the beginning of rounds when working in continuous spirals.
- Cinnamon Stick or Twig (Optional): For a natural, rustic stem.
Basic Crochet Stitches You’ll Use
This project primarily uses fundamental stitches, making it super beginner-friendly:
- Chain Stitch (ch): The foundation of most crochet projects.
- Single Crochet (sc): A compact and versatile stitch, perfect for creating a dense fabric that holds stuffing well.
- Single Crochet Decrease (sc2tog): Used to reduce the number of stitches, shaping your pumpkin.
If you’re new to these stitches, don’t worry! There are plenty of quick online tutorials available that can get you up to speed in minutes.
Let’s Get Started: The Pumpkin Body
We’ll work the pumpkin body in a flat rectangle, which we’ll then seam and shape. This method is often easier than working in the round for beginners and gives a lovely, textured result.
- Foundation Chain: With your main pumpkin color yarn, make a slip knot and chain (ch) 26. (This will be the height of your pumpkin. For a taller pumpkin, chain more; for a shorter one, chain fewer. Just ensure it’s an even number).
- Row 1: Single crochet (sc) in the second chain from the hook, and then sc in each chain across. You should have 25 sc stitches.
- Row 2: Chain 1 (ch 1) (this turning chain does NOT count as a stitch). Single crochet in the back loop only (BLO) of each stitch across. This creates a ribbed texture that mimics pumpkin ridges.
- Repeat Row 2: Continue repeating Row 2 (ch 1, sc in BLO across) until your piece measures approximately 8-10 inches long when slightly stretched. The length will determine the circumference of your pumpkin. For a medium-sized pumpkin, aim for a piece that’s roughly square when folded in half (i.e., your length is roughly double your height).
Assembling and Shaping Your Pumpkin
Now for the magic! We’ll transform your flat rectangle into a plump pumpkin.
- Seam the Sides:
- Fold your crocheted rectangle in half lengthwise, bringing the two shorter ends together.
- Using your yarn needle (or a slip stitch if you prefer), seam the two edges together to form a tube. Stitch through both loops of the last row and the foundation chain (or the corresponding loops if slip stitching). Weave in any loose ends from this seam.
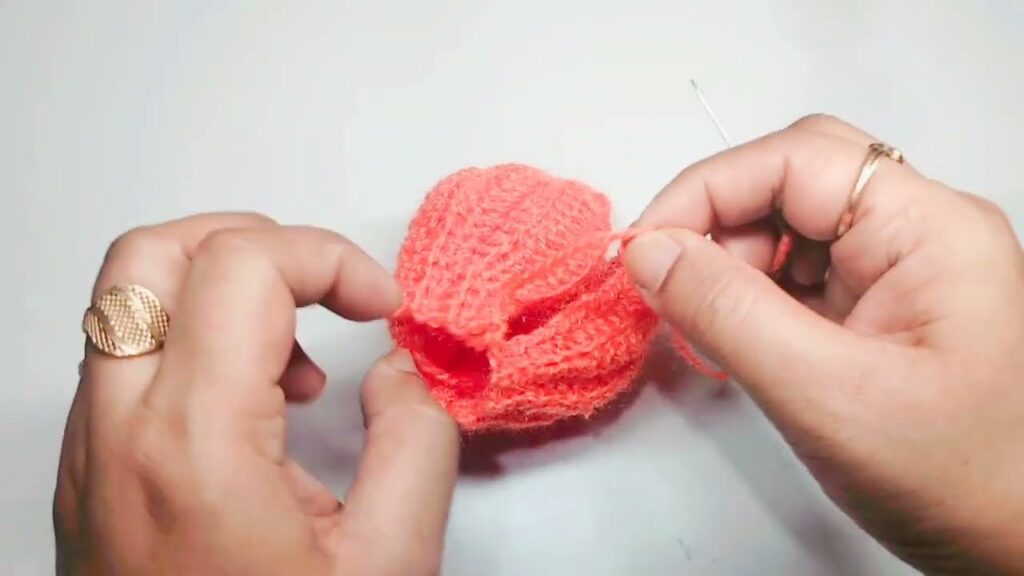
- Gather the Bottom:
- Thread your yarn needle with the long tail left from your initial chain (or attach a new piece of yarn if needed).
- Weave the needle in and out through every other stitch (or every stitch, depending on the desired gathering) along one open end of the tube.
- Once you’ve gone all the way around, pull the yarn tail tightly to gather the opening closed. Cinch it as tightly as possible to create a neat, puckered bottom. Secure it with a few extra stitches.
- Stuff Your Pumpkin:
- Turn your work right side out (if you seamed it inside out).
- Begin stuffing the pumpkin firmly with polyester fiberfill. Make sure to push the stuffing into all corners to create a round, even shape. Don’t overstuff to the point of distorting stitches, but make it plump.
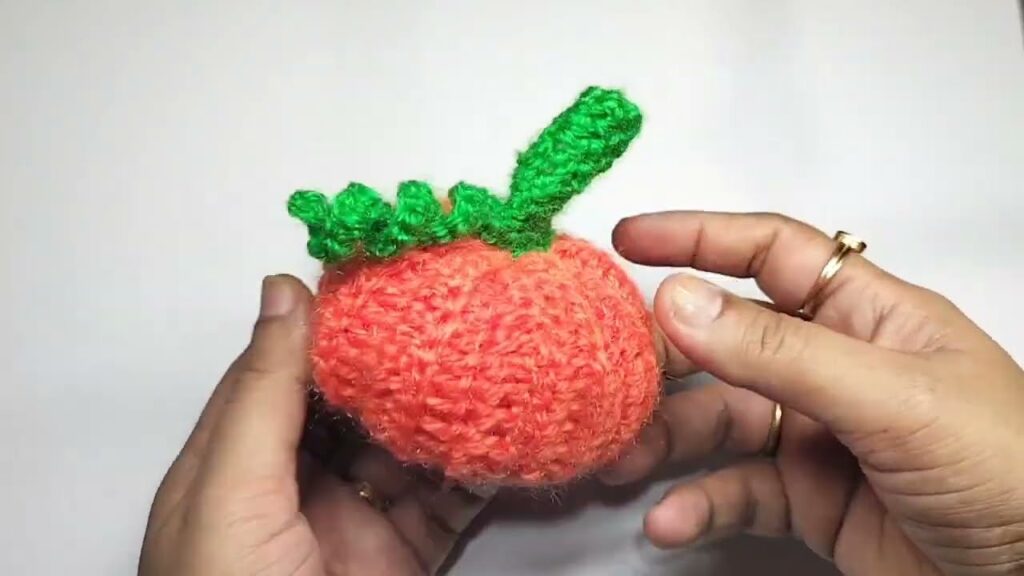
- Gather the Top:
- Once stuffed, use your yarn needle to weave in and out through every other stitch around the remaining open top edge, just as you did for the bottom.
- Pull the yarn tail to gather the top opening closed. Cinch it tightly. Before securing, you might want to adjust the stuffing one last time. Secure with a few stitches, making sure the hole is closed.
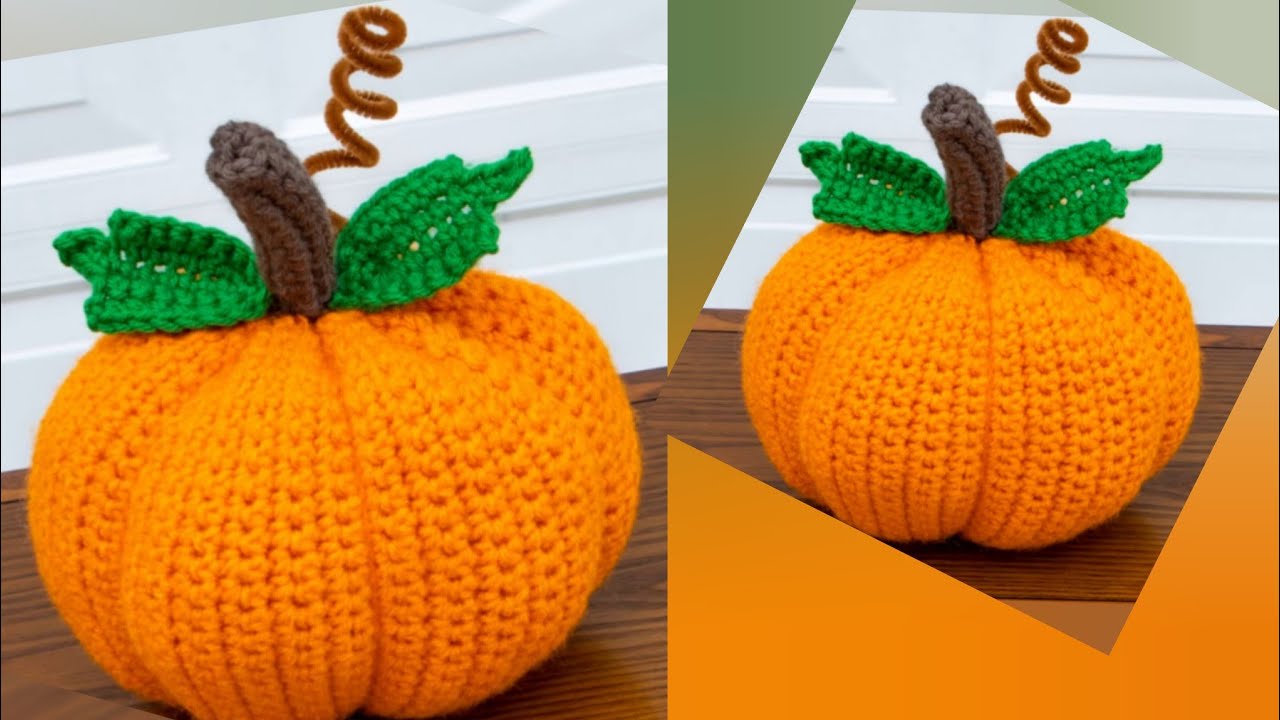
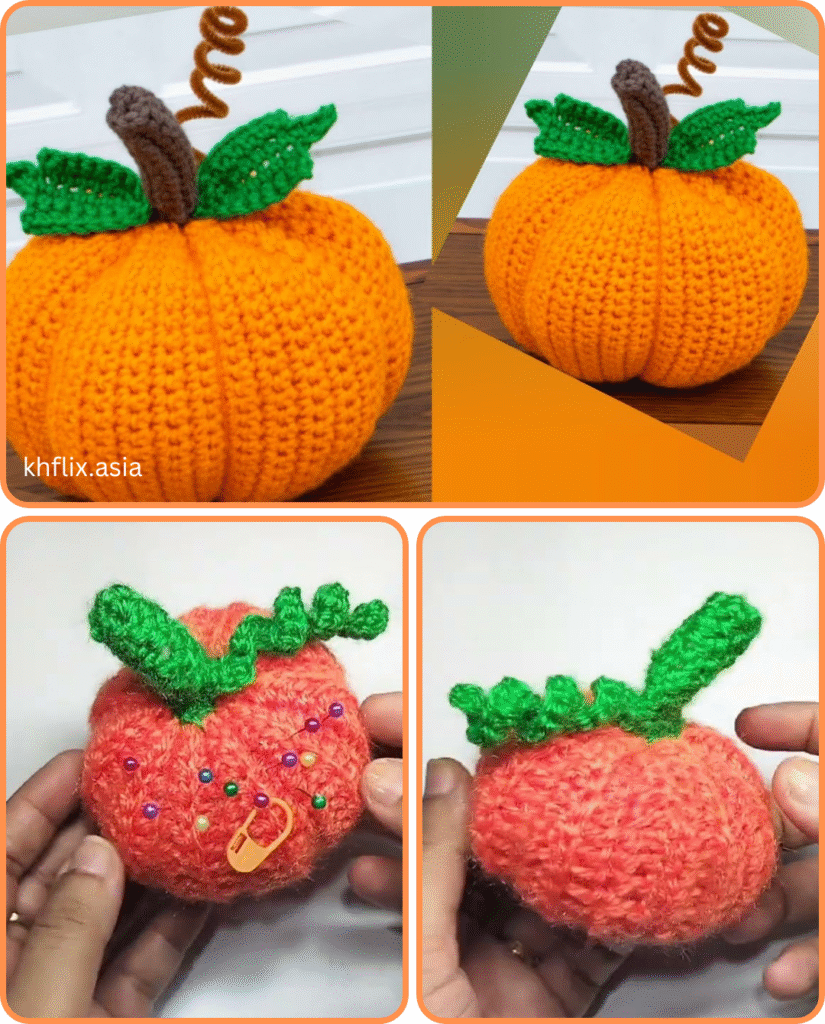
Creating the Pumpkin Ridges (The “New” Touch)
This step gives your pumpkin that classic, segmented look.
- Shape the Ridges:
- With your yarn needle still threaded with a long piece of the main pumpkin color yarn (or attach a new piece to the top center of your pumpkin), insert the needle straight down through the center of the gathered top.
- Bring the needle out through the center of the gathered bottom.
- Pull the yarn firmly, pressing the top and bottom in slightly.
- Now, wrap the yarn around the outside of the pumpkin and bring the needle back up through the top center, next to where you started.
- Pull firmly again to create a ridge.
- Repeat this process, creating 4-6 evenly spaced “slices” around your pumpkin. Each time, go down through the top center, out the bottom center, around the outside, and back up through the top center. Pull tightly to create defined ridges.
- Once you have your desired ridges, secure the yarn end by weaving it into the pumpkin.
Making the Stem
Here are two easy options for the stem:
Option 1: Crocheted Stem
- With your brown or green yarn, make a slip knot and chain (ch) 6.
- Row 1: Sc in the second chain from the hook, and sc in each remaining chain. (5 sc).
- Rows 2-4 (or until desired height): Ch 1 (does not count as stitch), sc in each stitch across. (5 sc).
- Fasten off, leaving a long tail. Roll the crocheted piece into a small cylinder to form the stem. Use the tail and your yarn needle to stitch the seam closed.
- Sew the bottom of the crocheted stem firmly to the center top of your pumpkin.
Option 2: Natural Stem (Super Easy)
- Simply take a small cinnamon stick or a sturdy twig and hot glue it (or carefully stitch it with a strong thread) into the gathered center of your pumpkin’s top. This gives a wonderful rustic look and, in the case of cinnamon, a lovely scent!
Finishing Touches
- Weave in any remaining loose ends securely within the pumpkin.
- Adjust the stuffing as needed to perfect the shape.
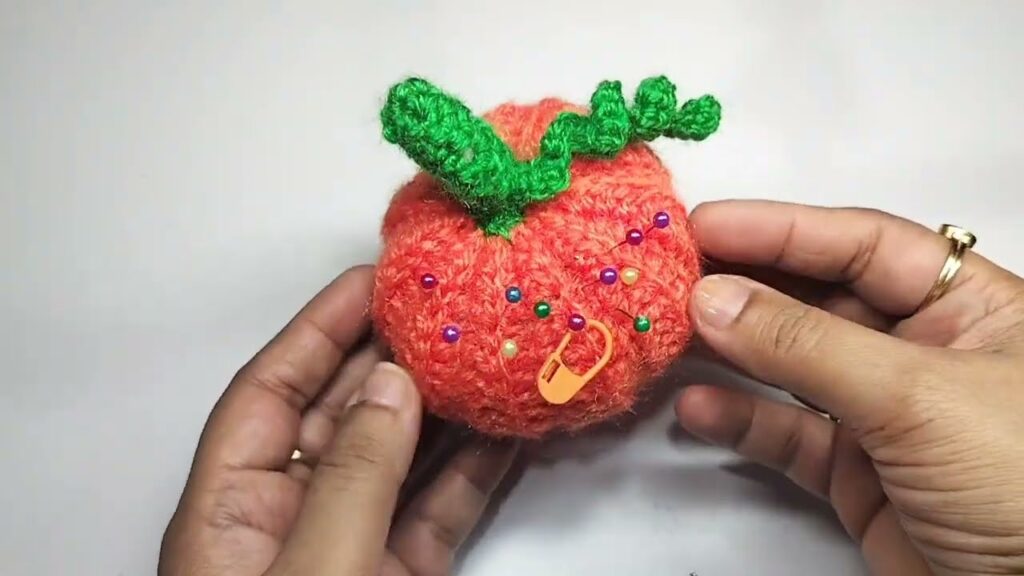
- Consider adding a small crocheted leaf or curly vine if you want more embellishment!
Tips for Success
- Consistent Tension: Try to maintain even tension throughout your crocheting for a neater, more uniform pumpkin.
- Stuffing Firmness: The amount of stuffing greatly affects the pumpkin’s shape. Experiment until you get a feel for the right firmness.
- Ridge Definition: Don’t be afraid to pull firmly on the yarn when creating the ridges. This is what gives your pumpkin its characteristic shape.
- Personalize It: Play with different yarn textures, colors, and even add stripes or color blocking to create unique pumpkins.
You’ve now created a beautiful, handmade crochet pumpkin! This easy method results in a charming and sturdy decoration that will add a touch of autumn coziness to any space. Enjoy your new creation, and happy crocheting!
Video tutorial:


