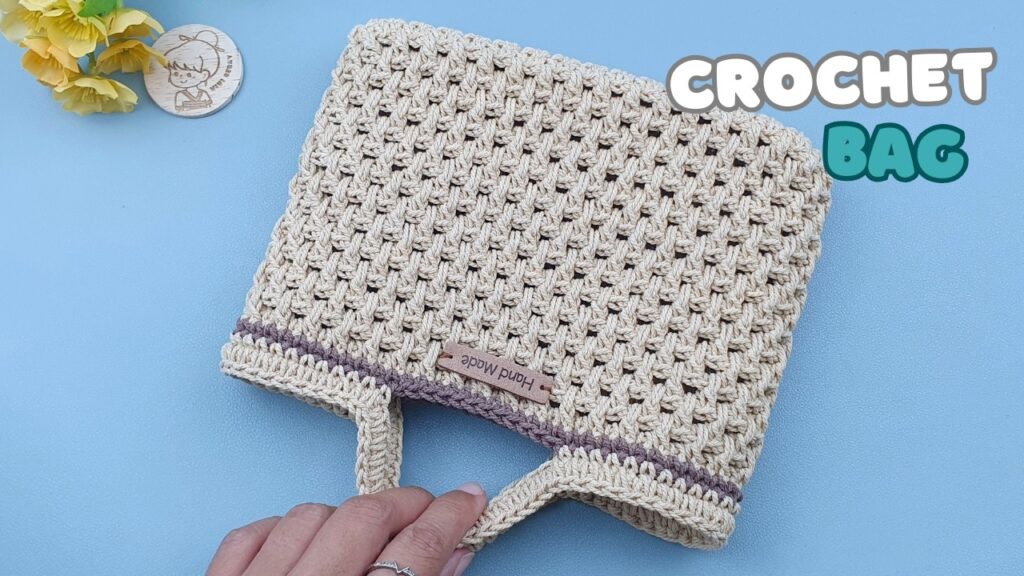
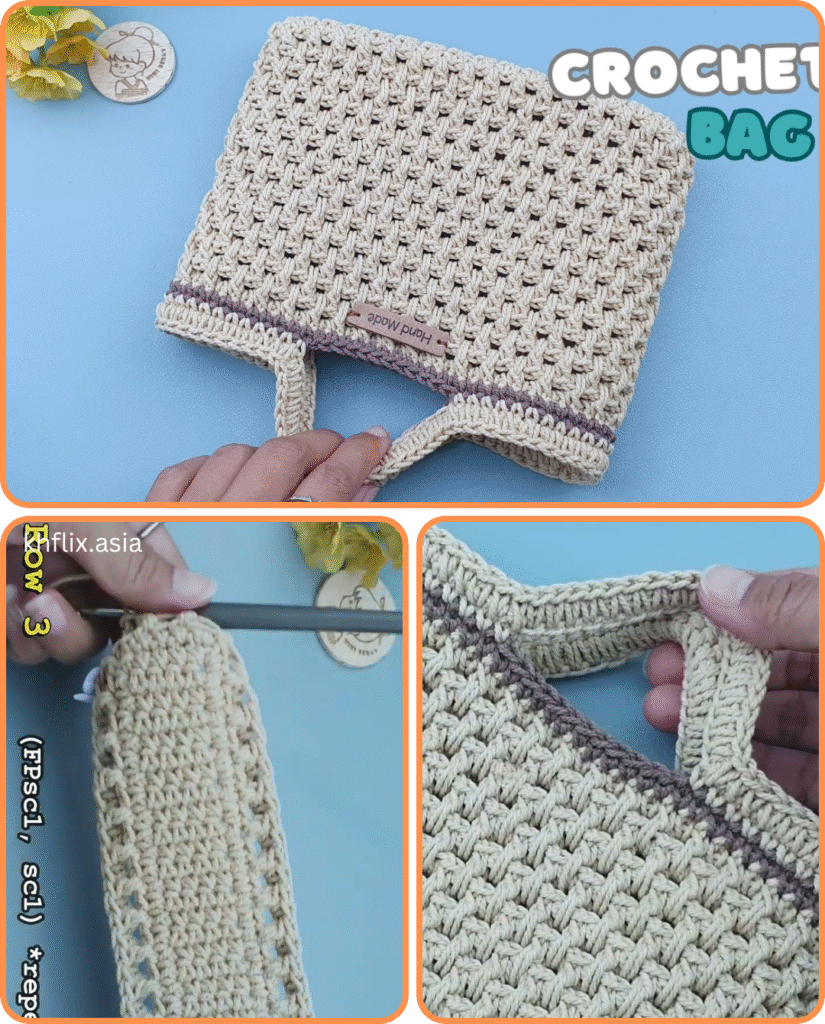
Crochet handbags are not only stylish and personal but also a fantastic way to express your creativity. If you’re new to crochet or looking for a quick and satisfying project, you’ve come to the right place. This guide will walk you through making a simple yet chic crochet handbag using basic stitches, perfect for beginners.
What You’ll Need:
Before we start, gather your materials. Having everything ready makes the process smooth and enjoyable.
- Yarn: Choose a sturdy yarn like cotton, T-shirt yarn, or a chunky acrylic blend. These provide good structure for a bag. A worsted weight (medium) yarn is a great starting point. The amount will depend on the desired size of your bag, but start with at least 200-300 yards.
- Crochet Hook: The hook size should correspond to your yarn weight. Check the yarn label for recommendations. For worsted weight yarn, a 5.0 mm (H) or 5.5 mm (I) hook is usually a good choice.
- Scissors: For cutting yarn.
- Yarn Needle (Tapestry Needle): Essential for weaving in ends and seaming.
- Stitch Markers (Optional but Recommended): Helpful for marking the beginning of rounds or specific stitches, especially for beginners.
- Fabric Lining (Optional): For a more finished look and to prevent items from slipping through stitches.
- Magnetic Snap or Button (Optional): For a closure.
- Bag Handles (Optional): You can crochet your own or buy pre-made ones (leather, bamboo, etc.).
Basic Crochet Stitches You’ll Use:
This project primarily uses two fundamental stitches:
- Chain Stitch (ch): The foundation of most crochet projects.
- Single Crochet (sc): A compact and versatile stitch, perfect for sturdy bag fabric.
If you’re unfamiliar with these, a quick online tutorial for “how to chain stitch” and “how to single crochet” will get you up to speed in minutes.
Let’s Get Started: The Bag Base
We’ll begin by creating an oval base for your handbag. This provides a flat bottom and good structure.
- Foundation Chain: Make a slip knot and chain (ch) 21 stitches. (This will be the length of your bag base. Adjust as desired – more chains for a longer bag, fewer for a wider one.)
- Row 1 (Working into the Chain):
- Sc in the second chain from the hook.
- Sc in each of the next 18 chains.
- In the very last chain, make 3 sc stitches. This creates the turn for the oval.
- Now, you’ll be working down the other side of your foundation chain. Sc in each of the next 18 stitches (working into the bottom loops of your initial chain).
- In the last stitch (the very first chain you made), make 2 sc stitches. You should now have 42 stitches. Join with a slip stitch (sl st) to the first sc of the row.
- Row 2 (Shaping the Oval):
- Ch 1 (does not count as a stitch).
- Make 2 sc in the first stitch (this is an increase).
- Sc in the next 19 stitches.
- Make 2 sc in each of the next 3 stitches (increases for the turn).
- Sc in the next 19 stitches.
- Make 2 sc in each of the last 2 stitches. You should now have 48 stitches. Join with a sl st to the first sc of the row.
You’ve now completed your oval base! The number of stitches will vary based on your initial chain length, but the principle of increasing at the ends to create the oval shape remains the same.
Building the Bag Sides:
Now we’ll work upwards to create the body of the bag.
- Row 1 (Establishing the Sides):
- Ch 1.
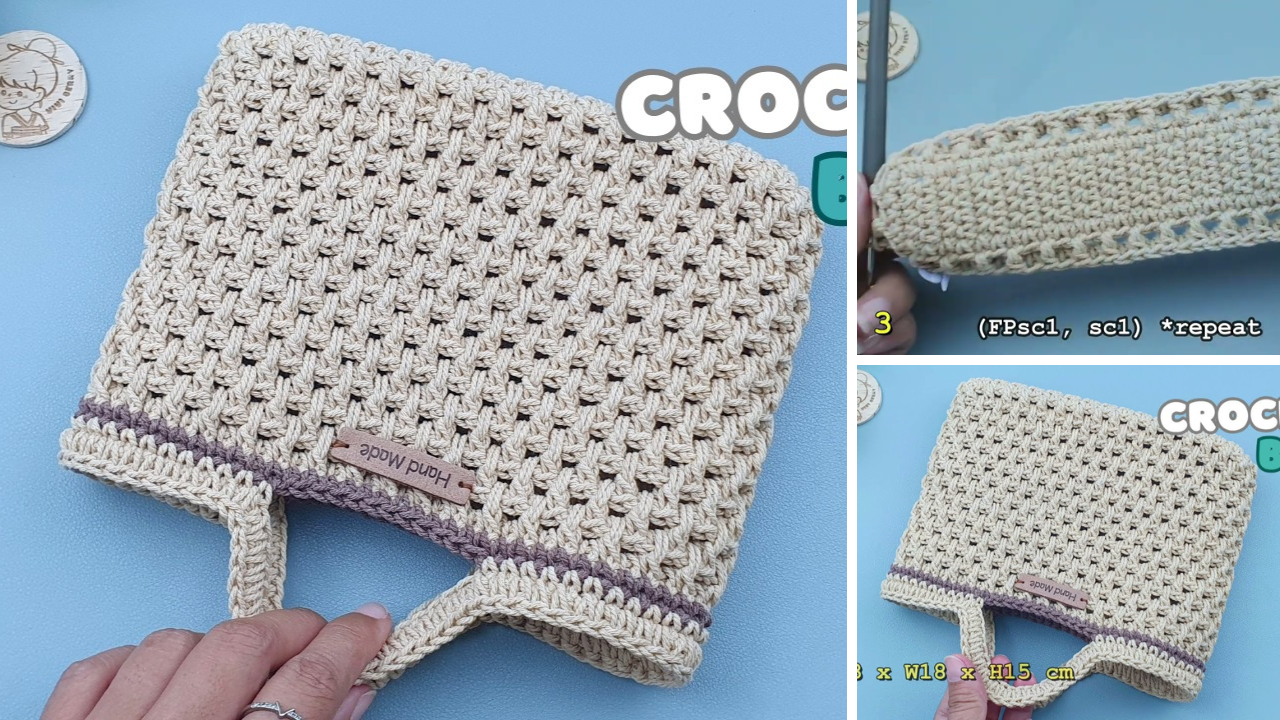
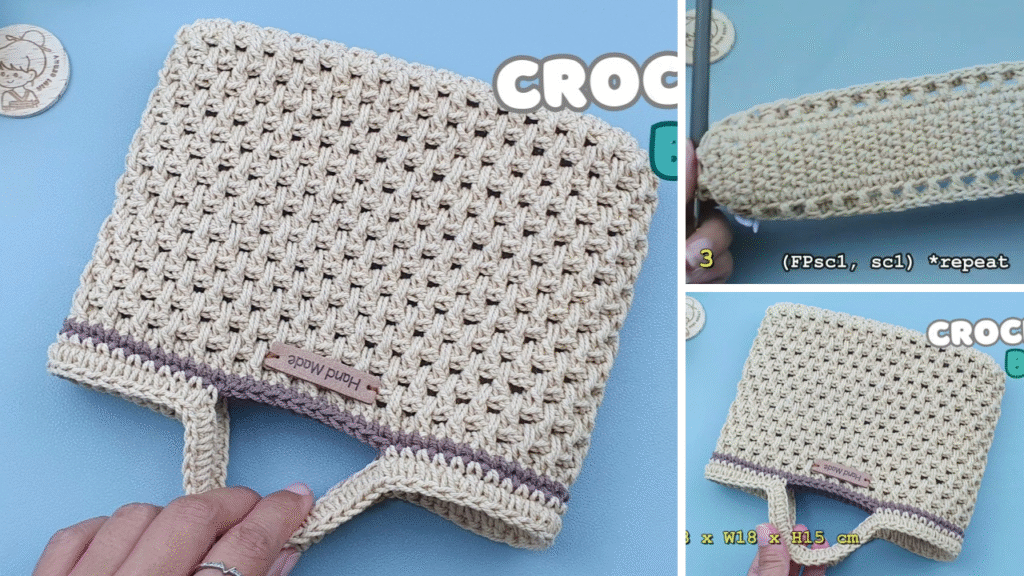
- Make a single crochet in the back loop only (BLO) of each stitch around. This creates a defined edge for the base and helps the sides stand up straight.
- Join with a sl st to the first sc.
- Subsequent Rows (Building Height):
- Ch 1.
- Make a single crochet in both loops of each stitch around.
- Join with a sl st to the first sc.
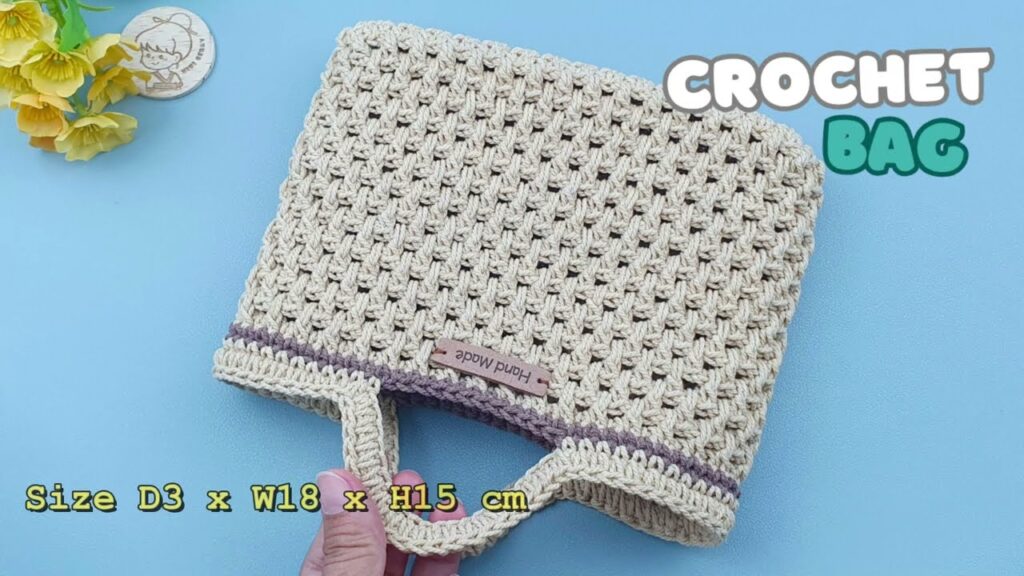
- Repeat this row until your bag reaches the desired height. For a small everyday handbag, 15-25 rows is usually sufficient.

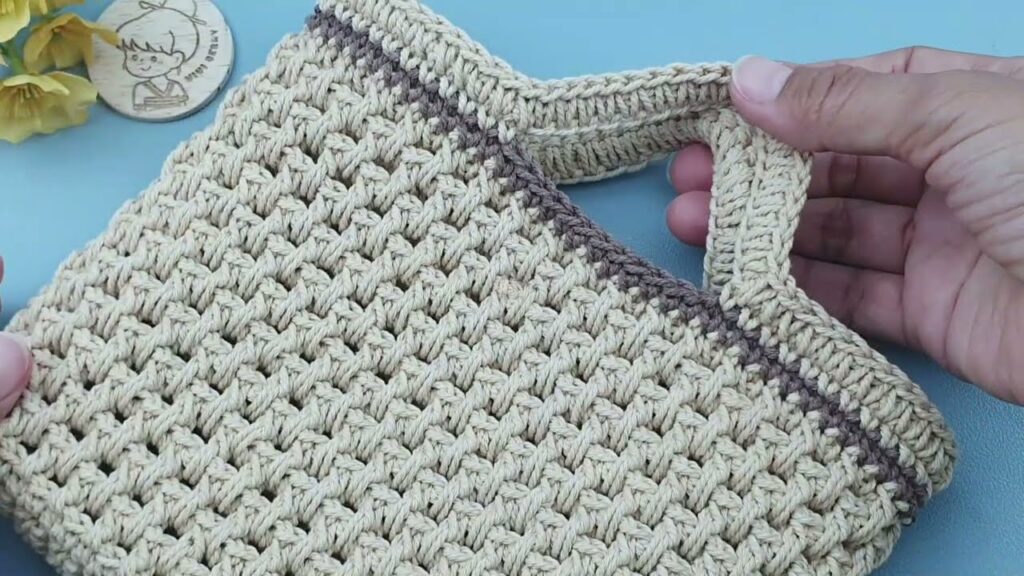
Creating the Handles (Option 1: Crocheted Handles):
You can incorporate simple crocheted handles directly into your bag.
- Handle Placement Row:
- Continue with your sc rows as before. When you reach the desired height for your handles, ch 1.
- Sc in the first few stitches (e.g., 6-8 stitches, depending on your bag size).
- Create the First Handle: Chain 20-30 stitches (adjust for desired handle length). Skip an appropriate number of stitches on the bag body (e.g., 10-14 stitches) and sc into the next stitch. This forms the first handle loop.
- Sc across the next section of the bag (e.g., 12-16 stitches).
- Create the Second Handle: Chain the same number of stitches as your first handle. Skip the same number of stitches on the bag body and sc into the next stitch.
- Sc to the end of the round. Join with a sl st.
- Reinforcing the Handles:
- Ch 1.
- Sc in each sc stitch and around each chain of the handles. This will make your handles sturdier.
- Repeat this row once or twice more, or until your handles feel secure and comfortable.
Finishing Touches:
- Fasten Off: Once your bag is the desired height and the handles are done, cut your yarn, leaving a tail about 6 inches long. Yarn over and pull the tail completely through the loop on your hook to secure the stitch.
- Weave in Ends: Use your yarn needle to neatly weave in all loose ends. Go in and out of several stitches to secure them invisibly.
- Add Optional Lining (Recommended):
- Measure the dimensions of your bag.
- Cut fabric slightly larger than your bag’s dimensions (add seam allowance).
- Sew the fabric pieces together to create a bag shape.
- Hem the top edge of the fabric lining.
- Place the fabric lining inside your crochet bag and hand-stitch it securely around the top edge.
- Add Optional Closure:
- Sew a magnetic snap or a button and loop closure to the inside of your bag for added security.
Tips for Success:
- Gauge: While not crucial for a first bag, maintaining consistent tension will result in a more even and professional-looking finished product.
- Stitch Count: Keep track of your stitches in each row, especially when increasing for the base. This helps prevent your bag from becoming lopsided.
- Practice: Don’t be afraid to unravel and try again if something doesn’t look right. Crochet is very forgiving!
- Personalize: Experiment with different yarn colors, add stripes, or even embellish your bag with appliques or tassels.
Congratulations! You’ve just created your very own crochet handbag. This easy pattern provides a fantastic foundation for more complex designs down the line. Enjoy your new handmade accessory, and happy crocheting!
Video tutorial:


