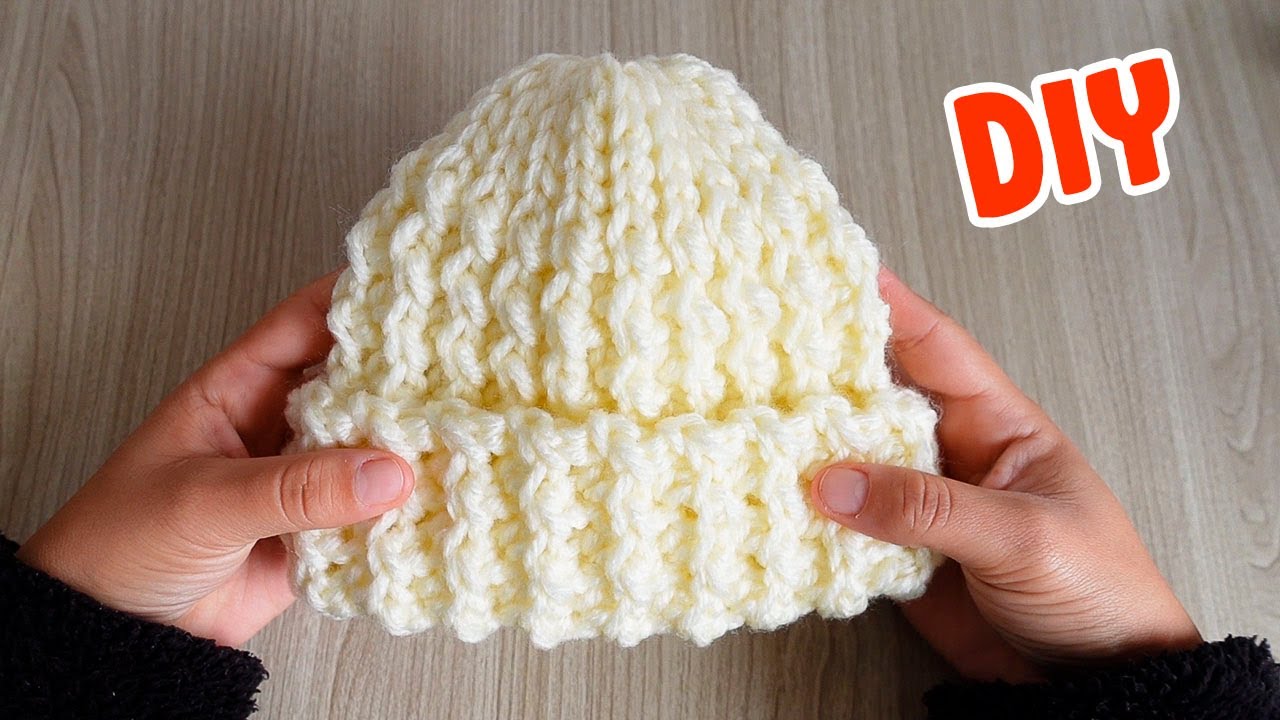
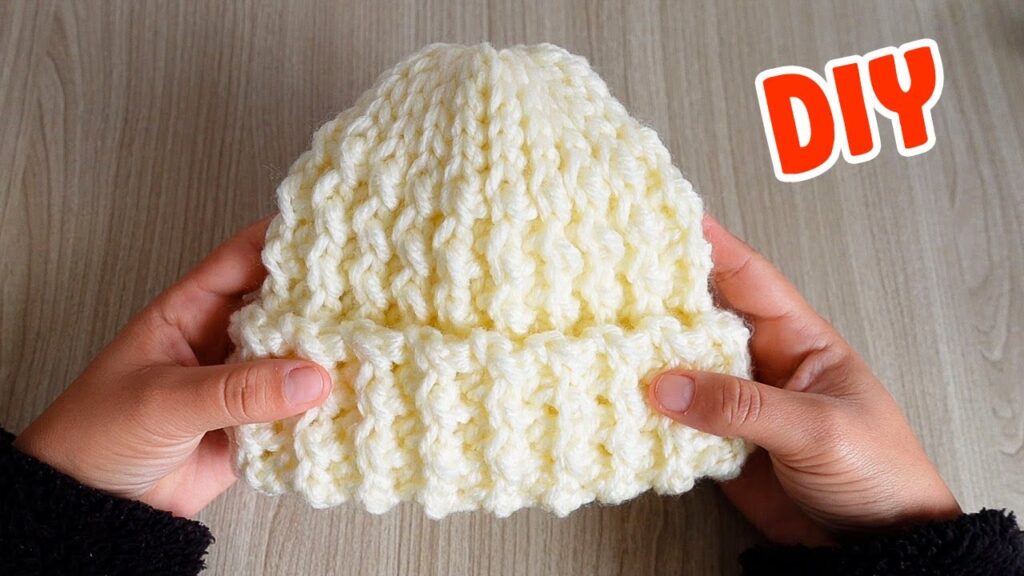
Crochet beanie hats are a timeless favorite — they’re simple, stylish, and super functional. Whether you’re a beginner picking up your first hook or an experienced crocheter looking for a quick project, a crochet beanie hat is the perfect go-to pattern. In this guide, you’ll learn how to make an easy and quick crochet beanie from start to finish, using basic stitches and minimal materials.
🧡 Why Make a Crochet Beanie?
- ✅ Beginner-friendly
- ⏱️ Fast to complete – under 1–2 hours
- ✨ Highly customizable – fits any style
- 🎁 Perfect gift idea – handmade and heartfelt
- 🧶 Great stash-buster – uses less than one skein of yarn
🧶 Materials You’ll Need
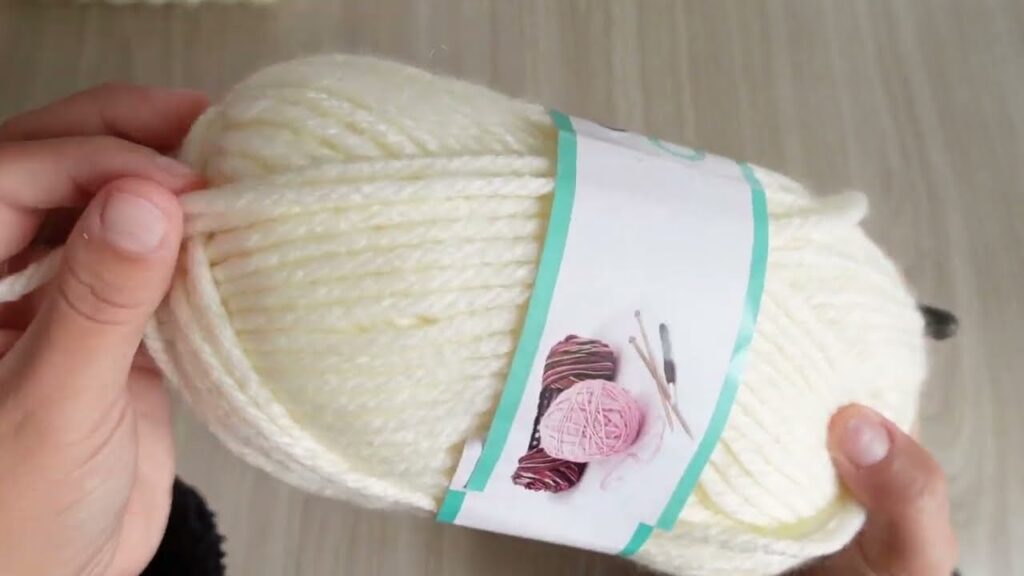
- Yarn: Worsted weight (#4) yarn – acrylic or cotton blend recommended
- Hook: 5.0 mm (H) or 5.5 mm (I) crochet hook
- Yarn needle – for sewing and weaving in ends
- Scissors
- Measuring tape
💡 Tip: Use soft, stretchy yarn for a comfortable and snug fit.
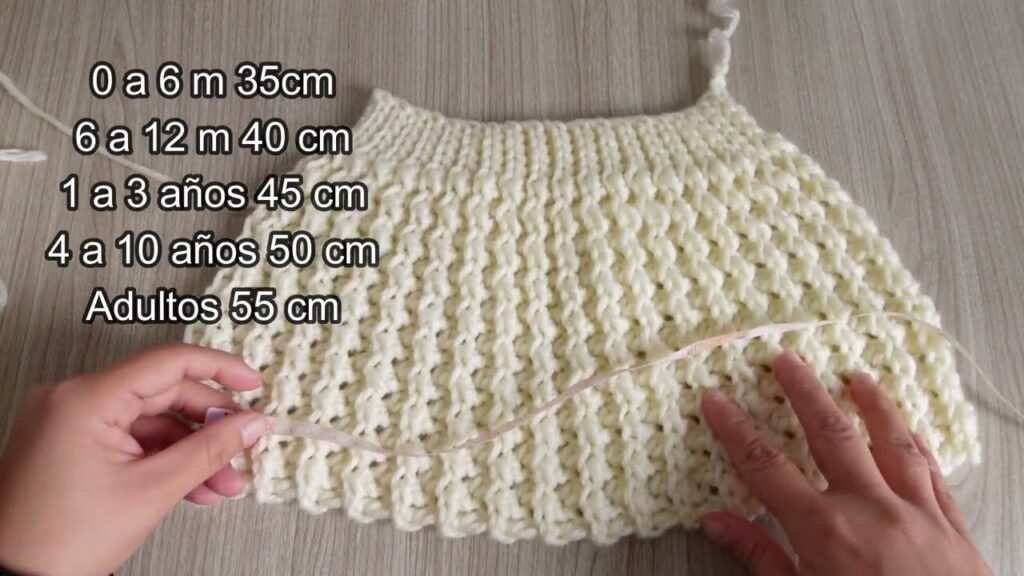
📏 Size Guide (Standard Adult Size)
- Hat circumference: 20–22 inches (51–56 cm)
- Height: 8–9 inches (20–23 cm)
This pattern can be adjusted for children or babies by reducing the starting rounds or overall height.

🪡 Stitches You’ll Use (US Terms)
- Chain (ch)
- Slip Stitch (sl st)
- Single Crochet (sc)
- Half Double Crochet (hdc)
- Double Crochet (dc) (optional)
🎯 Pattern Style: Top-Down Round Beanie
We’ll work this beanie in the round, starting from the crown (top) and increasing gradually.
🧵 Easy and Quick Crochet Beanie Pattern
✅ Step 1: Start with a Magic Ring (or ch 4 and join into a circle)
Round 1:
- Ch 2 (counts as hdc), make 9 hdc into the ring, join with sl st to top of ch-2
[10 stitches]
Round 2:
- Ch 2, 2 hdc in each stitch around, join
[20 stitches]
Round 3:
- Ch 2, (1 hdc in next stitch, 2 hdc in next) repeat around, join
[30 stitches]
Round 4:
- Ch 2, (1 hdc in next 2 sts, 2 hdc in next) repeat around, join
[40 stitches]
Round 5:
- Ch 2, (1 hdc in next 3 sts, 2 hdc in next) repeat around, join
[50 stitches]
Round 6:
- Ch 2, (1 hdc in next 4 sts, 2 hdc in next) repeat around, join
[60 stitches]
✨ You can stop increasing here for a snug adult size. Add more increase rounds (in the same pattern) for a larger size.
✅ Step 2: Build the Body of the Hat
Rounds 7–15:
- Ch 2, 1 hdc in each stitch around, join with sl st
(Repeat for 8–10 rounds or until desired height is reached)
✨ You can switch to dc or sc if you want to add texture or style variation.
✅ Step 3: Add a Ribbed Edge (Optional)
To add a stretchy band that fits snugly around the head:
Round 16–17:
- Ch 1, fpdc (front post double crochet), bpdc (back post double crochet) around
- Join with sl st
- Repeat once or twice for a thicker brim
Or, for a simple edge: work 1 round of sc in each stitch.
✅ Step 4: Finish Off
- Fasten off, leaving a tail
- Use yarn needle to weave in all ends neatly on the inside
- Optional: Add a pom-pom on top for a classic winter beanie look!
🎨 Customization Ideas
- 🧵 Color block: Switch yarn colors every few rounds
- 🌈 Striped version: Alternate between two or more colors
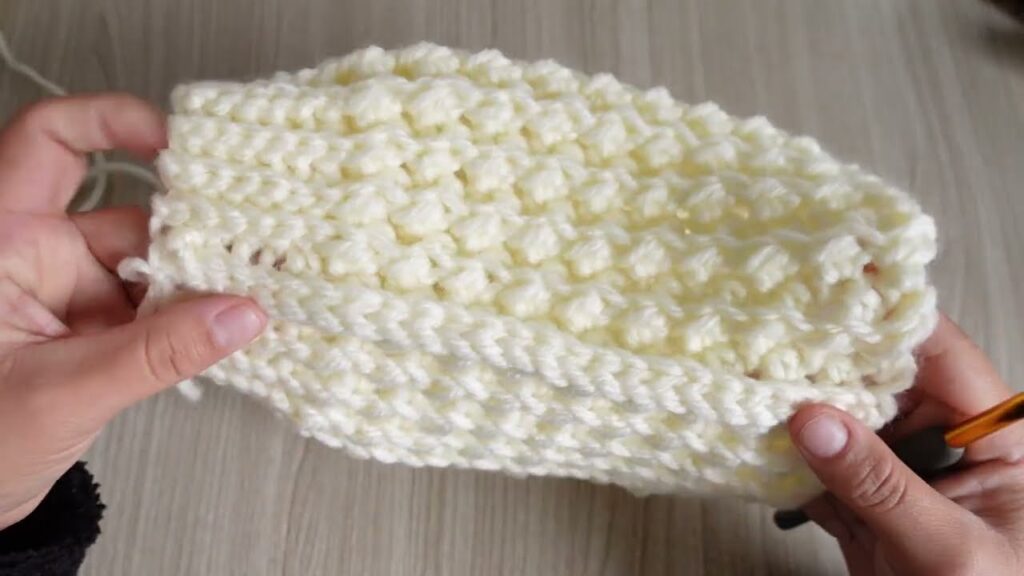
- 💎 Textured stitch: Add puff stitches, bobbles, or post stitches for variety
- 🎀 Accessories: Add a button, flower, or tag
🧡 Tips for Success
- Try on as you go: You can always stop increasing earlier or later depending on the size you need
- Keep track of rounds using a stitch marker or scrap yarn
- Measure often to ensure a comfortable fit
- Block your hat (especially with cotton yarn) for a polished look
🎁 Perfect for Gifts or Donations
Crochet beanies make wonderful handmade gifts for:
- Birthdays
- Holidays
- Charity drives
- Winter wear for family and friends
- Craft fairs or small businesses
✅ Conclusion
Creating an easy and quick crochet beanie hat is one of the most satisfying crochet projects for makers of all levels. With just a few rounds and simple stitches, you’ll have a warm, stylish hat ready to wear, gift, or sell. It’s a perfect weekend project that delivers both comfort and creativity.
So grab your yarn, pick up your hook, and start crafting your very own cozy beanie today!
Video tutorial:


