Crocheting a baby blanket is one of the most meaningful projects you can create. It’s warm, soft, and made with love—something that will be treasured for years to come. Whether you’re expecting a little one, gifting a handmade present, or donating to a good cause, a crocheted baby blanket is both practical and heartfelt.
In this article, you’ll learn everything you need to know about how to crochet a beautiful baby blanket, including materials, techniques, a step-by-step pattern, and customization tips.
🧵 Why Crochet a Baby Blanket?
A baby blanket is an ideal project for beginners and experienced crocheters alike. It:
- Uses simple stitches
- Is relaxing and repetitive
- Makes a wonderful gift for new parents
- Can be customized with colors and textures
- Becomes a keepsake for the baby
🧶 What You’ll Need
Materials:
- Yarn: Choose a soft, baby-safe yarn like:
- 100% cotton
- Baby acrylic blends (hypoallergenic and machine-washable)
- DK (light worsted) or worsted weight (#3 or #4) is ideal
- Crochet hook: Size 4.5 mm (G) or 5.0 mm (H), depending on your yarn
- Scissors
- Yarn needle for weaving in ends
- Measuring tape
Optional:
- Stitch markers
- Ribbon or applique for decoration
📏 Ideal Baby Blanket Sizes
| Type | Dimensions |
|---|---|
| Preemie | 18 x 24 in (46 x 61 cm) |
| Newborn | 30 x 30 in (76 x 76 cm) |
| Stroller | 30 x 36 in (76 x 91 cm) |
| Crib | 36 x 52 in (91 x 132 cm) |
You can adjust the pattern below to fit any of these sizes!
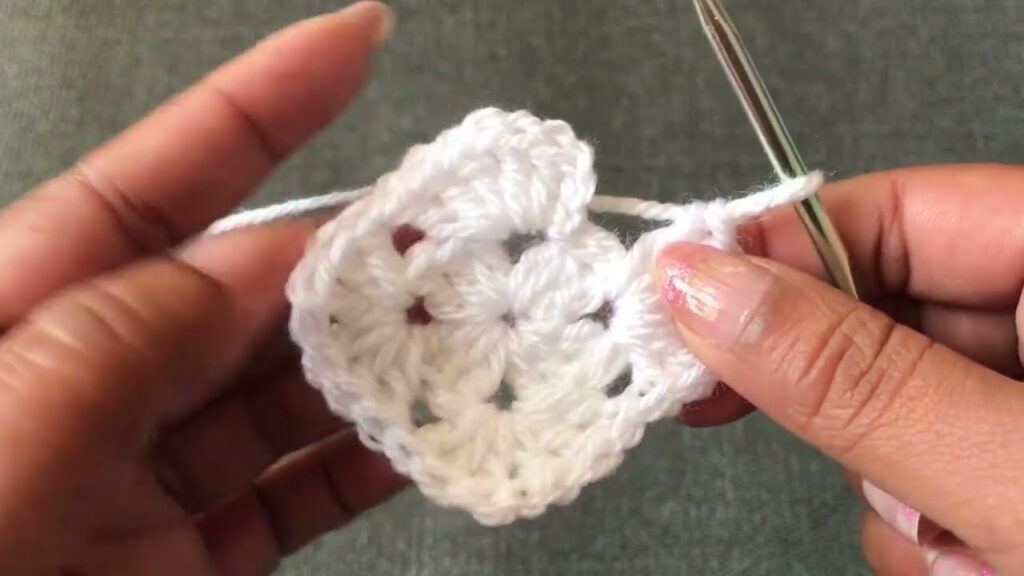
🪡 Stitches You’ll Use (US Terms)
This beginner pattern uses just a few basic stitches:
- Chain (ch)
- Single Crochet (sc)
- Double Crochet (dc)
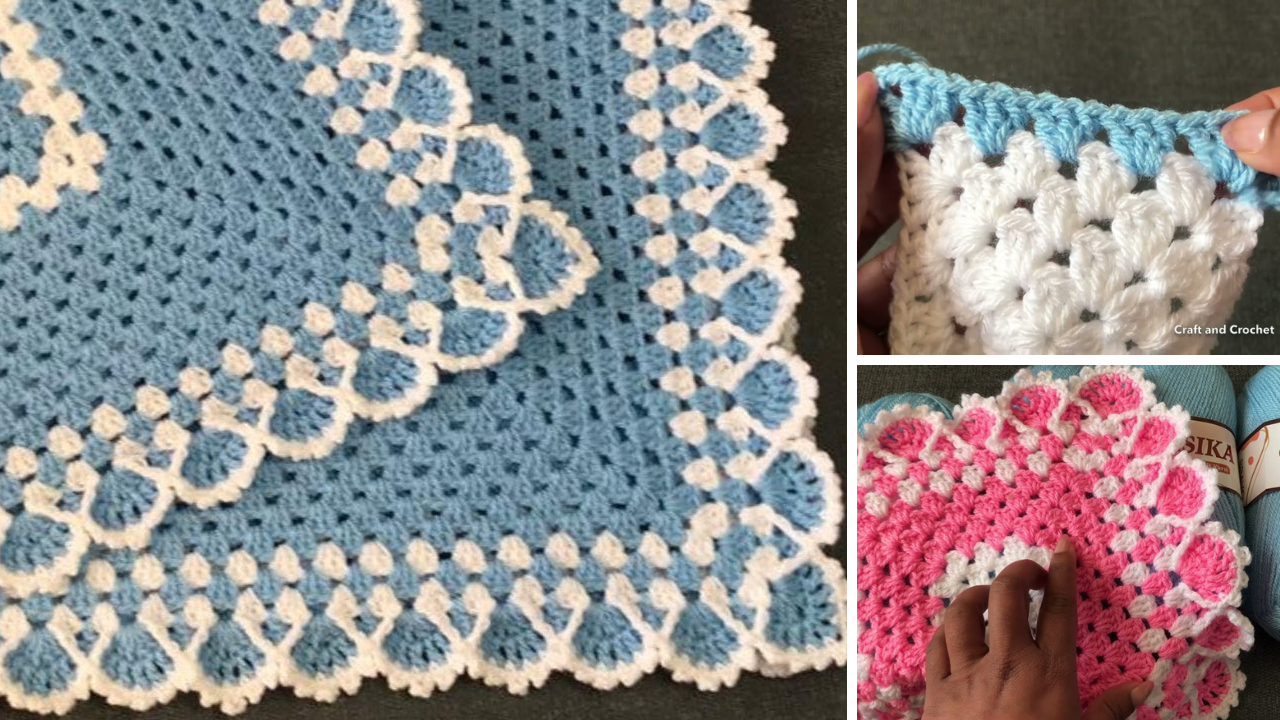
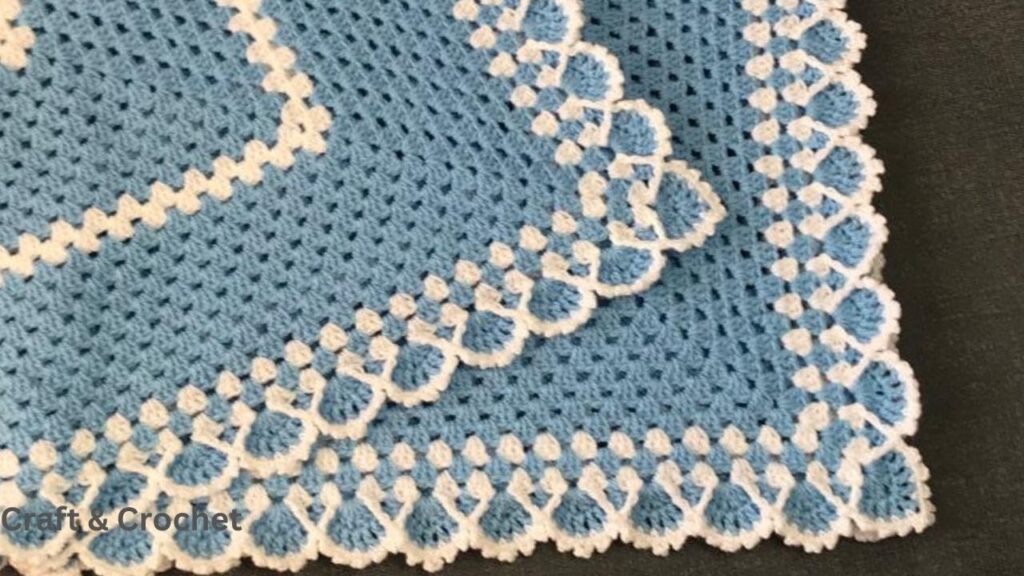
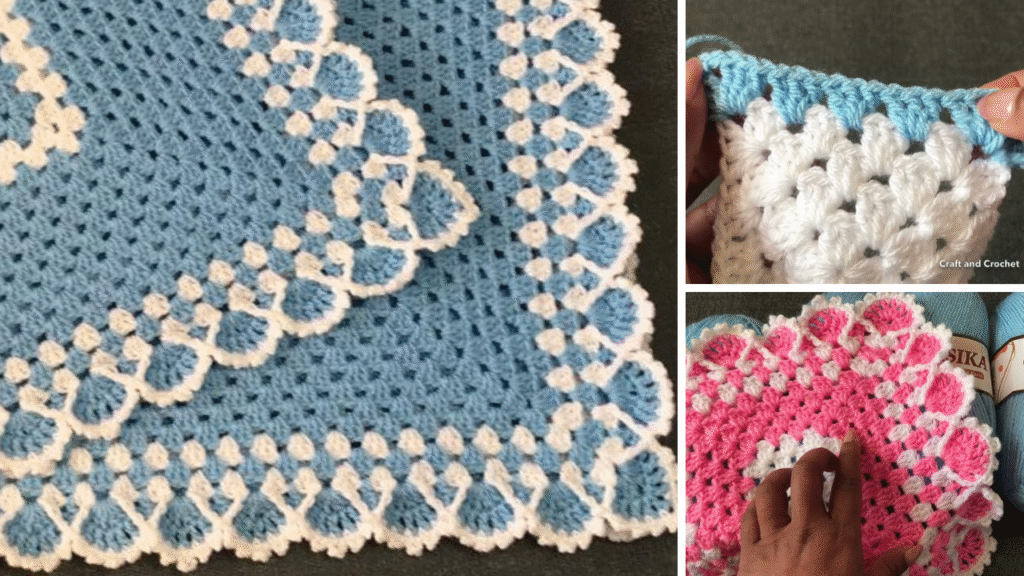
We’ll be using a simple shell stitch pattern, which gives the blanket a soft, lacy texture while remaining sturdy and easy to work.
🧸 Simple Shell Stitch Baby Blanket Pattern
Step 1: Foundation Chain
- Chain a multiple of 6 + 2 (e.g., 86 chains for a ~30-inch width)
Step 2: Row 1
- In the second ch from the hook, sc.
- Skip 2 ch, 5 dc in next ch (shell made), skip 2 ch, sc in next ch.
- Repeat from * to end. Turn.
Step 3: Row 2
- Ch 3 (counts as first dc), 2 dc in first sc.
- Sc in center of shell (3rd dc), 5 dc in next sc.
- Repeat across, ending with 3 dc in the last sc. Turn.
Step 4: Repeat Row 2
- Continue working Row 2 until your blanket reaches the desired length (e.g., ~30 inches for a square newborn blanket).
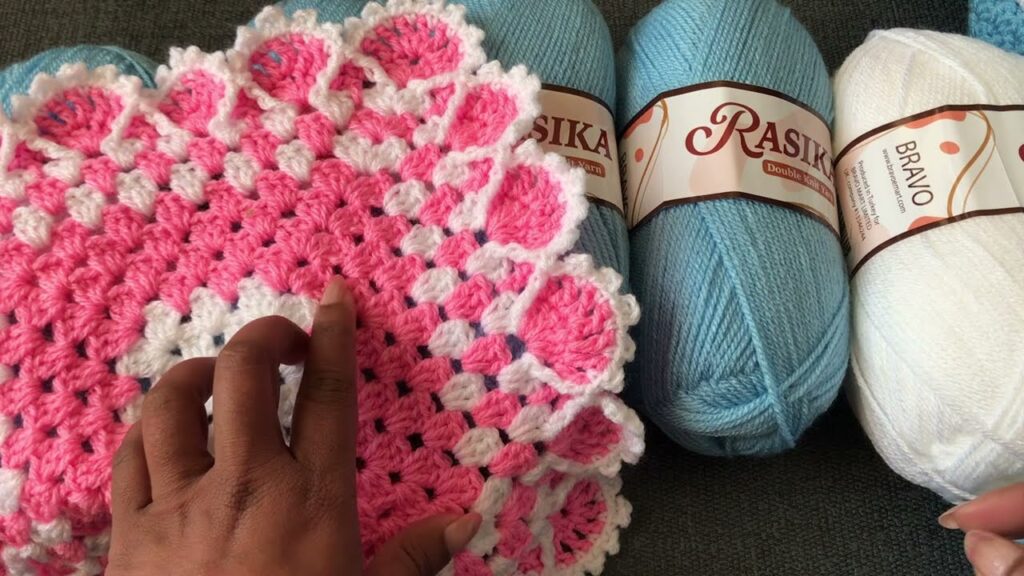
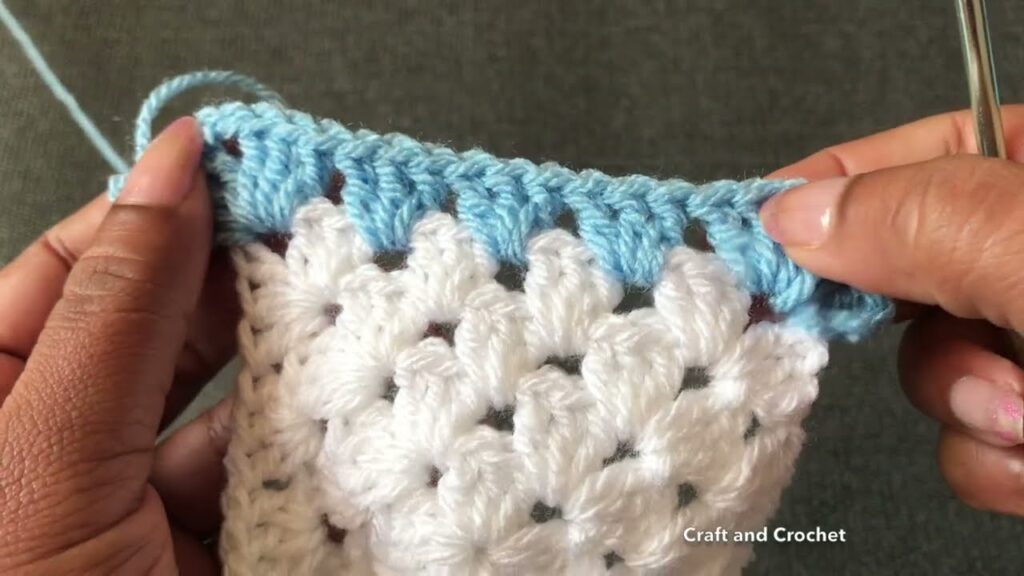
🌟 Optional Border (Simple & Sweet)
After completing the body of the blanket:
- Don’t fasten off. Ch 1 and turn the work.
- Work 1 sc in each stitch across the top.
- When you reach the corner, ch 2 and turn to work along the side.
- Continue working evenly around all four sides, placing (sc, ch 2, sc) in each corner.
- Do 2–3 rounds for a clean, finished edge.
🎨 Customization Ideas
- Color stripes: Change colors every few rows for a striped blanket.
- Ombre effect: Use a yarn with gradual color changes for a modern look.
- Name embroidery: Add the baby’s initials with surface crochet or embroidery.
- Appliqué: Attach crocheted hearts, stars, or animals for extra charm.
🧡 Tips for Success
- Use soft yarn that’s labeled baby-safe, machine-washable, and non-irritating.
- Check gauge if you’re trying to match a specific size, but gauge isn’t critical for blankets.
- Make it portable: This project is perfect to take on the go—it’s repetitive and easy to pick up at any time.
- Weave in ends securely so nothing unravels, especially if you’re doing color changes.
🎁 Perfect Gift from the Heart
A handmade baby blanket is more than a project—it’s a warm hug for the newest member of a family. Whether you’re making it for your own child or gifting it to a friend, it carries your time, love, and creativity in every stitch.
🧶 Conclusion
Crocheting a beautiful baby blanket is one of the most joyful and fulfilling ways to share your love through handmade art. With soft yarn, simple stitches, and a bit of time, you’ll create a blanket that offers warmth, comfort, and a personal touch that store-bought items can’t match.
So grab your favorite yarn, sit down with your hook, and start crafting a cozy treasure that will wrap a little one in love for years to come.
Video tutorial:


