If you’re new to crochet, making a coaster is the perfect beginner project. It’s small, quick to finish, and helps you practice foundational stitches like chains, single crochet, and double crochet. Plus, handmade coasters add charm to your home and make thoughtful gifts.
This tutorial will walk you through every step, from choosing the right materials to weaving in your ends.

🪄 Why Start with a Coaster?
- Quick to finish – Great for instant gratification!
- Uses basic stitches
- Builds confidence
- Useful around the house
- Easy to personalize with colors and textures
🧵 Materials You’ll Need
- Yarn: 100% cotton yarn is best (it absorbs moisture well and holds shape)
- Example: Lily Sugar’n Cream or Paintbox Cotton DK
- Crochet Hook: Use the hook size recommended on your yarn (typically 4mm [G-6] or 5mm [H-8])
- Scissors
- Yarn needle: For weaving in the ends
- Stitch marker (optional): Helpful for marking rounds
🔰 Basic Crochet Stitches Used
Here are the beginner stitches you’ll use in this tutorial:
- Chain (ch)
- Slip Stitch (sl st)
- Single Crochet (sc)
- Double Crochet (dc) (optional for fancier edges)
Tip: If you’re not familiar with these stitches, look up quick video tutorials before starting — they’re easy to learn with visuals.
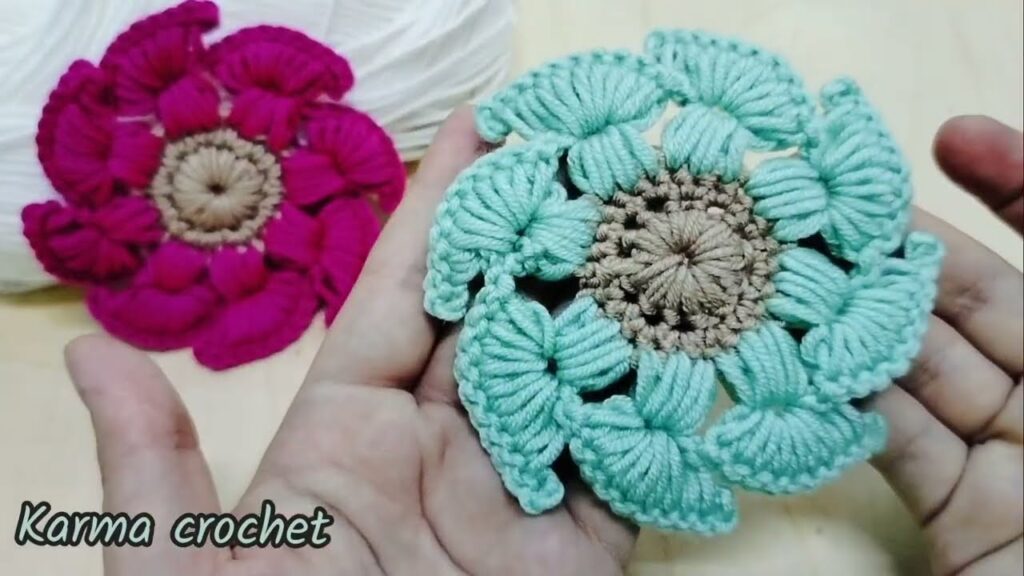
🟠 Simple Round Coaster – Step-by-Step Tutorial
We’ll start with a classic round coaster using single crochet in the round.
✅ Step 1: Make a Magic Ring (or ch 4 and sl st to form a ring)
This is the foundation of your round coaster.
Make a magic ring.
OR
Ch 4, sl st into the first ch to form a ring.
✅ Step 2: Round 1 – Start Crocheting in the Ring
Ch 1 (does NOT count as a stitch), make 6 sc into the ring.
Join with sl st to the first sc. (6 sc)
✅ Step 3: Round 2 – Increase Round
Ch 1, make 2 sc in each stitch around.
Join with sl st. (12 sc)
✅ Step 4: Round 3 – More Increases
Ch 1, *1 sc in next st, 2 sc in next st*, repeat around.
Join with sl st. (18 sc)
✅ Step 5: Round 4
Ch 1, *1 sc in next 2 sts, 2 sc in next st*, repeat around.
Join with sl st. (24 sc)
✅ Step 6: Round 5 (Final Round)
Ch 1, *1 sc in next 3 sts, 2 sc in next st*, repeat around.
Join with sl st. (30 sc)
This should give you a coaster about 4 inches (10 cm) in diameter. You can add or subtract rounds to adjust the size.
🌸 Optional: Add a Decorative Edge
Want to jazz it up a little? Try a picot edge or a round of double crochet for flair.
Simple Picot Edge:
*Sc in next st, ch 3, sl st into first ch, skip next st*, repeat around.
Double Crochet Edge:
Ch 2, dc in each stitch around, join with sl st.
✂️ Finishing Touches
- Fasten Off: Cut the yarn, leaving a 6-inch tail.
- Weave in Ends: Use your yarn needle to thread the tail into the stitches neatly.
- Block the Coaster (optional): Wet it slightly and shape it flat. Let it dry overnight.
🧽 Washing and Care Tips
- Use cotton yarn so your coaster holds up to heat and moisture.
- Machine washable on gentle cycle
- Air dry for best shape retention
❓ Frequently Asked Questions
Can I use acrylic yarn for coasters?
Yes, but cotton is better. Acrylic isn’t as absorbent and may melt under hot cups.
How long does it take to crochet one coaster?
Most beginners can finish one in 30–60 minutes.
Can I use this pattern to make a set?
Absolutely! Make a matching set in different colors or add stripes.
Video tutorial:
🧡 Final Thoughts
Crocheting your first coaster is a great way to learn basic stitches, build your confidence, and make something practical and beautiful. Once you’ve mastered this simple pattern, the possibilities are endless — square coasters, flower-shaped designs, color changes, and more!
So grab your hook and yarn, and start stitching your way to handmade home decor.


