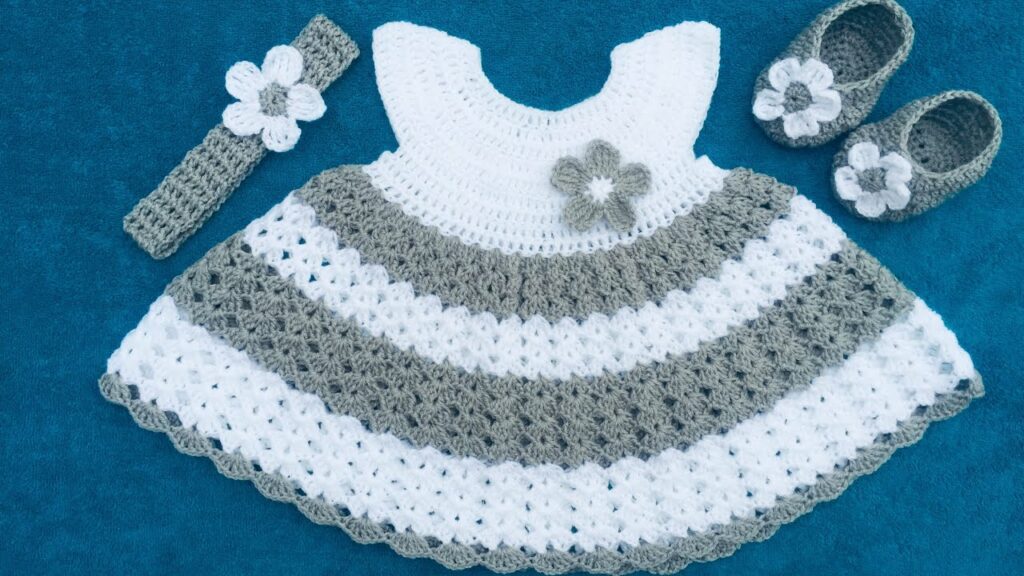
Crocheting a baby dress is a rewarding project for beginners and seasoned crafters alike. Baby dresses are not only adorable, but they’re also a beautiful way to give a thoughtful handmade gift. If you’ve mastered basic crochet stitches and are ready to try a slightly bigger project, this beginner-friendly tutorial will guide you step-by-step through the process of creating your very first crochet baby dress.
🧶 Materials You’ll Need:
Before you begin, gather the following supplies:
- Yarn: Choose a soft, lightweight yarn (Category 3 or DK weight) in cotton or a baby-friendly acrylic blend. Pastel colors work wonderfully.
- Crochet Hook: Use the size recommended on your yarn label (typically 4.0mm or G-6 for DK yarn).
- Stitch Markers: Helpful for keeping track of rounds or pattern changes.
- Scissors
- Yarn Needle: For weaving in ends.
- Buttons or Ribbon (optional): For closures or decoration.
📏 Sizing and Pattern Notes
This tutorial is designed for a 0–3 month size baby dress. As you get more comfortable, you can adjust the stitch count to fit larger sizes.
Basic stitches used:
- Chain (ch)
- Slip Stitch (sl st)
- Single Crochet (sc)
- Half Double Crochet (hdc)
- Double Crochet (dc)
Tip: Familiarize yourself with these stitches before beginning. Plenty of video tutorials are available online.
🪡 Step-by-Step Crochet Baby Dress Pattern
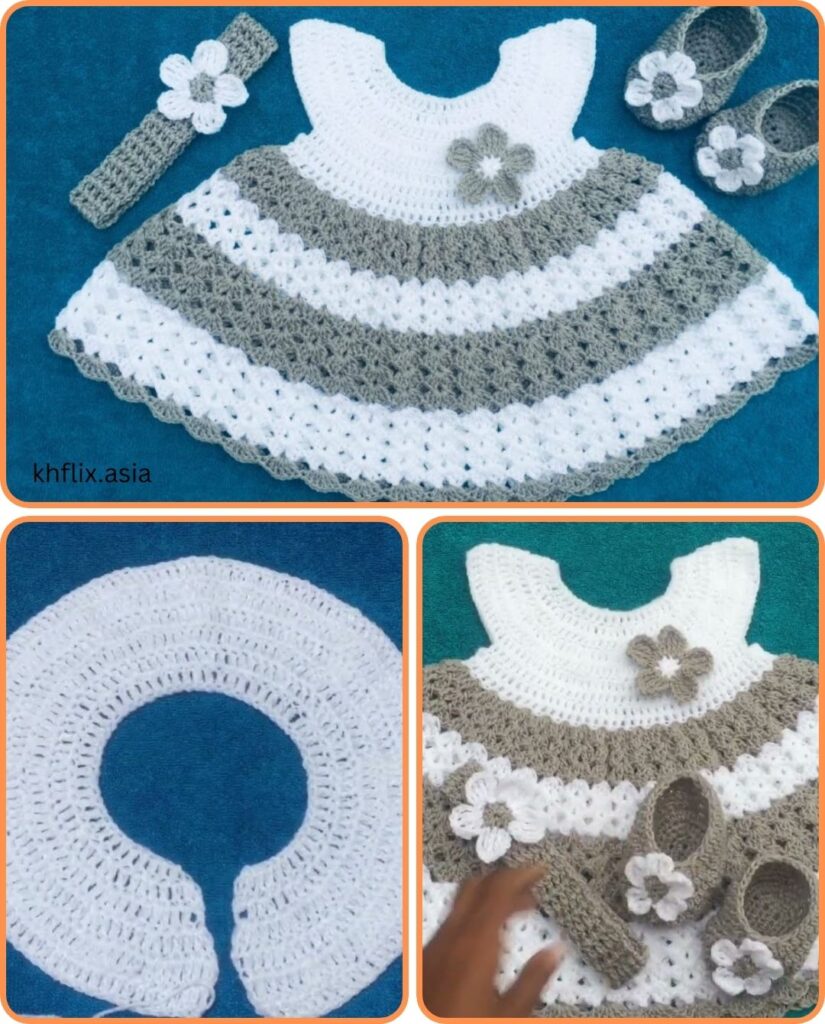
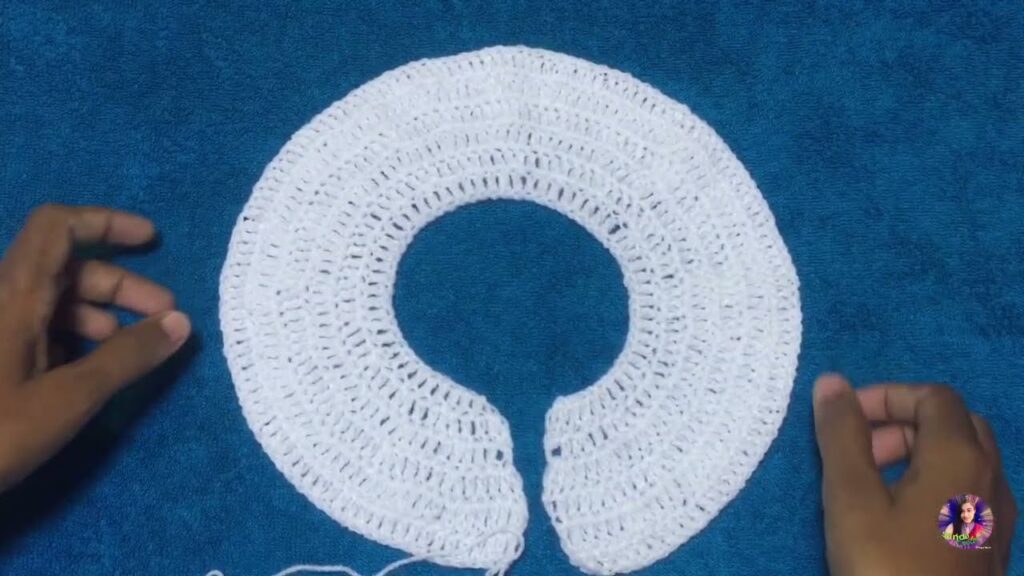
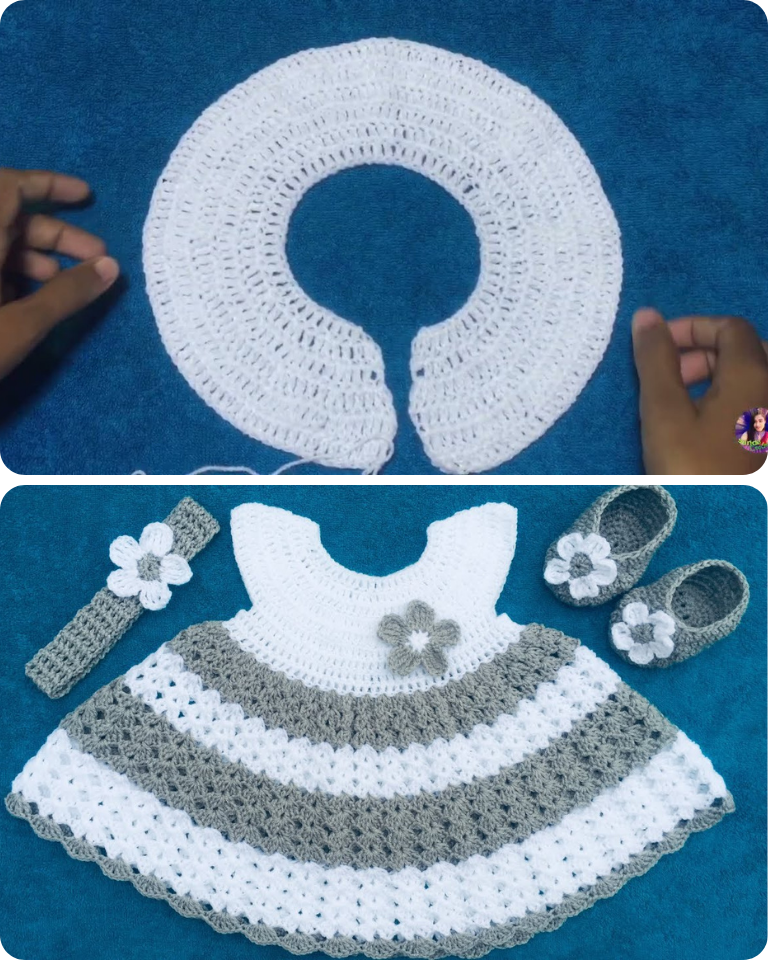
Step 1: Start with the Yoke (Top of the Dress)
Foundation Chain: ch 52 (this will form the neckline)
Row 1: dc in 4th ch from hook and in each ch across (49 dc)
Row 2: ch 2 (counts as dc), turn, *dc in next 5 sts, 2 dc in next st* repeat from * to * across.
Row 3: Repeat Row 2
You should now have a slight curve forming—this is the yoke expanding.
Step 2: Create the Armholes
Now we’ll divide the piece into armholes, back, and front panels.
Row 4: ch 2, dc in next 7 stitches, skip next 10 (armhole), dc in next 15, skip next 10, dc in remaining stitches.
This creates the armholes by skipping stitches for the sleeves. You’ll be left with three connected panels—two shoulder/back panels and a front panel.
Step 3: Body of the Dress
From here, you’ll crochet in the round to form the skirt.
Round 1: Join with sl st to the start of the row to form a circle. ch 2, dc in each st around. Join with sl st.
Round 2–12 (or desired length): ch 2, *2 dc in next st, 1 dc in next* (increase every few rows for flare)
Continue this pattern until the dress reaches your desired length (typically around 10–12 inches from neckline for a 0–3 month size).
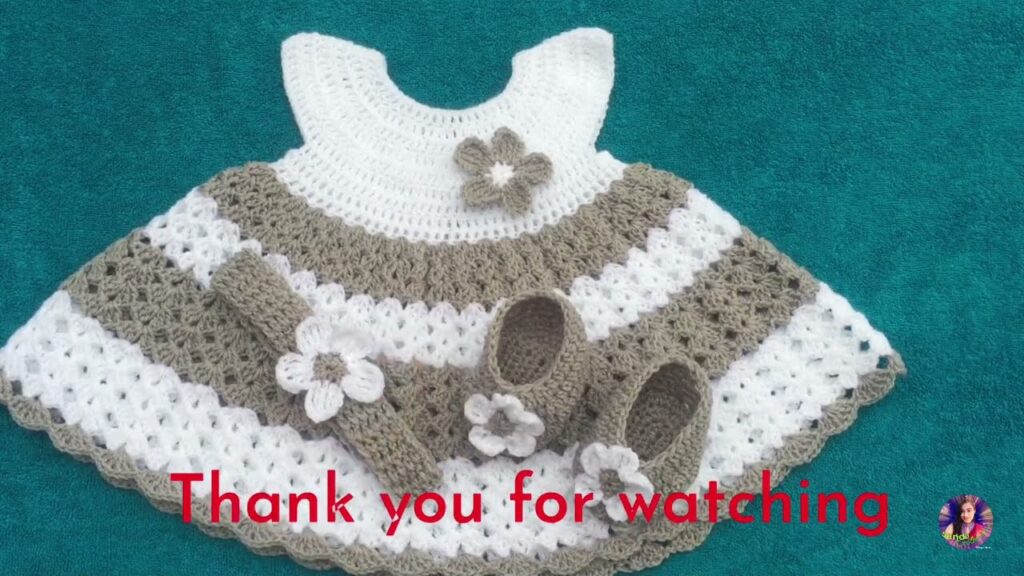
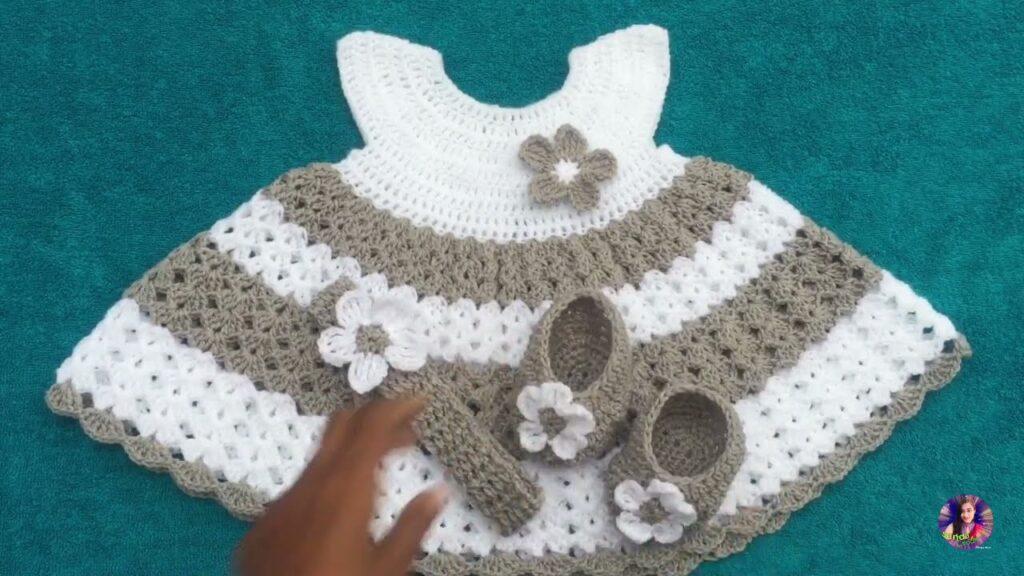
🎀 Optional Finishing Touches
- Sleeves: Add a simple shell stitch or sc around the armholes.
- Edging: Use a contrasting color to add a scalloped border at the bottom.
- Closure: Add a button to the back neckline or weave a ribbon through the yoke.
🧼 Care Tips
Always use washable and baby-safe yarns. Machine washable acrylic or cotton blends are best. Be sure to check yarn labels for care instructions.
🧵 Common Questions
❓How long does it take to crochet a baby dress?
Most beginners can complete a basic baby dress in 4–6 hours, depending on speed and comfort with the pattern.
❓Can I use different yarn weights?
Yes, but be aware that this will affect the size. Adjust your hook size and stitch count accordingly.
❓What if I make a mistake?
Crochet is forgiving! You can always unravel a few stitches and try again. Practice makes progress.
Video tutorial:
🌟 Final Thoughts
Crocheting a baby dress is more than just a craft—it’s a labor of love. Whether you’re making it for your own child, a baby shower gift, or just for fun, this small project is the perfect way to level up your crochet skills while creating something truly special.


