Crocheting baby booties and shoes is one of the most rewarding projects for both beginner and experienced crafters. They’re quick to make, incredibly adorable, and a cherished handmade gift for baby showers, birthdays, or keepsakes. Whether you’re looking for a pair of soft newborn booties or stylish baby shoes, this guide will walk you through everything you need to know.
🧶 Why Crochet Baby Booties?
- Quick to make – most take 1–2 hours
- Great stash buster – use small amounts of yarn
- Perfect gifts – ideal for baby showers or holiday sets
- Customizable – choose your own colors, styles, and sizes
🧵 What You’ll Need
Yarn
- Light worsted weight yarn or DK (Double Knitting) yarn
- Cotton or soft acrylic blends are ideal for baby’s delicate skin
Hook
- 3.5 mm – 4.5 mm crochet hook
- Use smaller hook for tighter, denser fabric
Other Supplies
- Tapestry needle (for sewing and weaving ends)
- Scissors
- Stitch markers (helpful when working in rounds)
- Buttons, ribbons, or snaps (optional decorations)
- Sew-on non-slip soles (optional for walkers)
📐 Sizing Chart (Approximate)
| Baby Age | Sole Length | Shoe Size |
|---|---|---|
| 0–3 months | 3.25″ (8.5 cm) | EU 16 |
| 3–6 months | 3.5″ (9 cm) | EU 17 |
| 6–9 months | 4″ (10 cm) | EU 18–19 |
| 9–12 months | 4.5″ (11.5 cm) | EU 20 |
📏 Measure baby’s foot and adjust hook or yarn weight for perfect fit.
🧶 Basic Baby Booties Pattern (Beginner-Friendly)
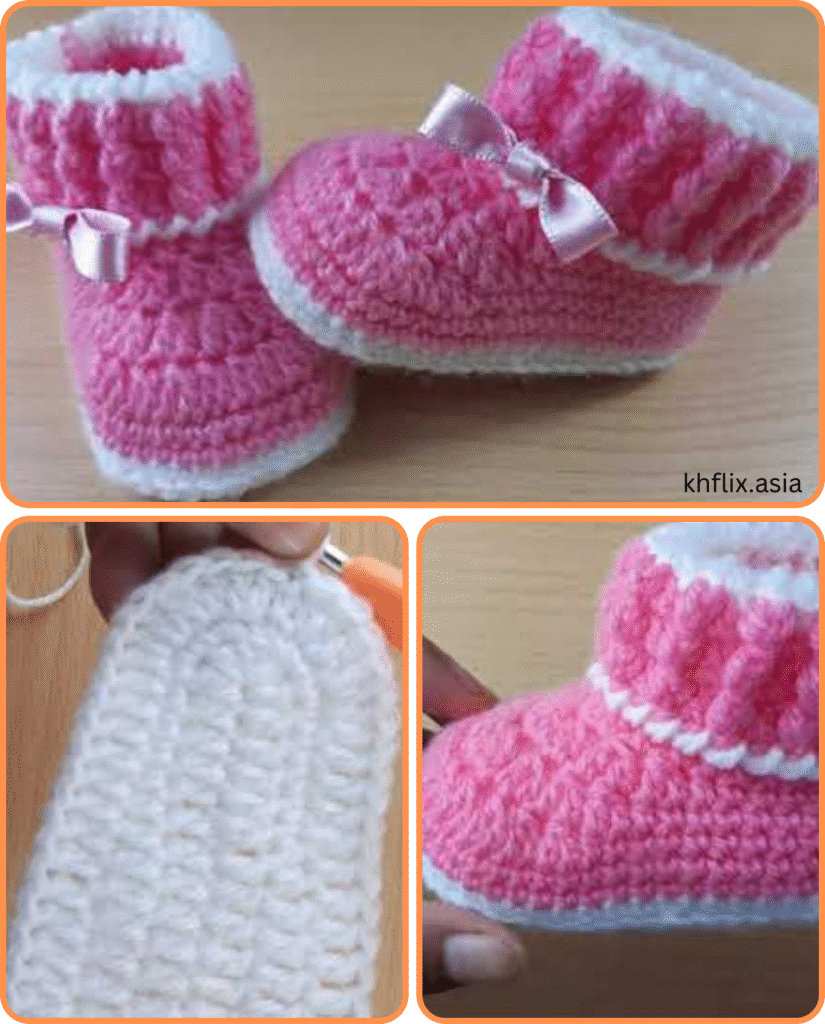
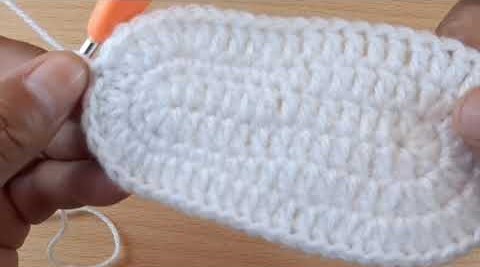
👣 Part 1: Crochet the Sole
Round 1:
Ch 10 (or adjust for size).
Sc in 2nd ch from hook, sc in next 7 sts, 3 sc in last ch.
Now continue on the opposite side: sc in next 7 sts, 2 sc in last st.
Join with sl st. (20 sts)
Round 2:
Ch 1, sc in 8 sts, 2 sc in next 3 sts, sc in 8, 2 sc in last 2 sts.
Join. (26 sts)
Round 3:
Repeat increase pattern evenly (sc around with increases at toe and heel) to shape the sole. Fasten off.
👣 Part 2: Build the Sides
Round 4:
Join yarn in BLO (back loop only) and sc in each st around to raise the sides of the bootie. (No increases)
Repeat for 2–3 rounds.
👣 Part 3: Shape the Top
Round 6:
Sc around until you reach toe area. Use stitch markers to section off 10 sts for the top.
- Toe shaping:
Work sc2tog across the 10 toe sts for 1–2 rounds to taper the front.
Final Round:
Sc around, sl st to join. Fasten off and weave in ends.
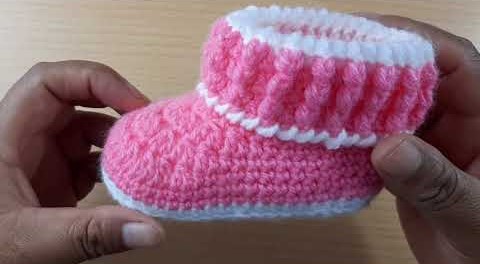
👣 Part 4: Add a Strap or Cuff (Optional)
You can add:
- A Mary Jane-style strap: Ch 10, sl st to opposite side, sew on a button.
- A ribbed cuff: Ch 7, sc in back loops only (BLO) back and forth, then sew around the ankle.
- Tie closure: Create a long chain and weave it through ankle stitches as a drawstring.
🥿 Easy Baby Shoe Variations
🥿 1. Mary Jane Baby Shoes
- Crochet sole and sides as above
- Add a strap over the instep
- Sew on a small button or snap
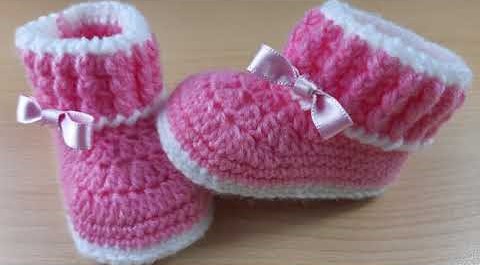
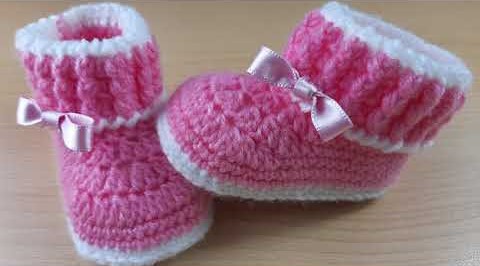
👢 2. Boot-Style Baby Shoes
- Work a taller cuff after the sides
- Use front/back post stitches to add texture
- Add a ribbed or folded-over top for a “Ugg-style” look
👟 3. Baby Sneakers
- Use color changes to mimic sneaker stripes
- Add small laces (chained strings)
- Use white for the sole and bright colors for the top
🪡 Finishing Touches
- Weave in all ends securely to prevent unraveling
- Use buttons or bows for decoration (ensure they’re sewn securely for safety)
- Optional: Sew a soft fabric or felt insole for added comfort
- For walkers, use dot fabric paint or non-slip patches on the bottom
⏱️ Time Estimate
- One pair of baby booties: 1.5 to 2.5 hours
- Advanced designs (sneakers, boots): 2–4 hours
🧼 Care Instructions
- Hand wash or use delicate cycle in cold water
- Lay flat to dry
- Avoid bleach or harsh detergents
- If adding a fabric lining, test for colorfastness
🎨 Design Ideas & Color Combos
- Soft pastels: baby pink, mint, sky blue, lavender
- Bold & modern: mustard yellow, forest green, navy
- Use variegated yarn for a colorful fade
- Add motifs (e.g., hearts, flowers, stars) for fun details
✅ Tips for Success
- Keep your tension even for matching booties
- Use stitch markers to track round beginnings
- Make both booties back-to-back to ensure symmetry
- Practice the sole shape first—it’s the foundation of every baby shoe
Video tutorial:
🧵 Conclusion
Crocheting baby booties and shoes is a heartfelt and practical way to show love for a little one. With simple stitches and a bit of practice, you can create custom, cozy footwear that’s both adorable and useful. Once you’ve mastered the basics, the possibilities for embellishment and style are endless!


