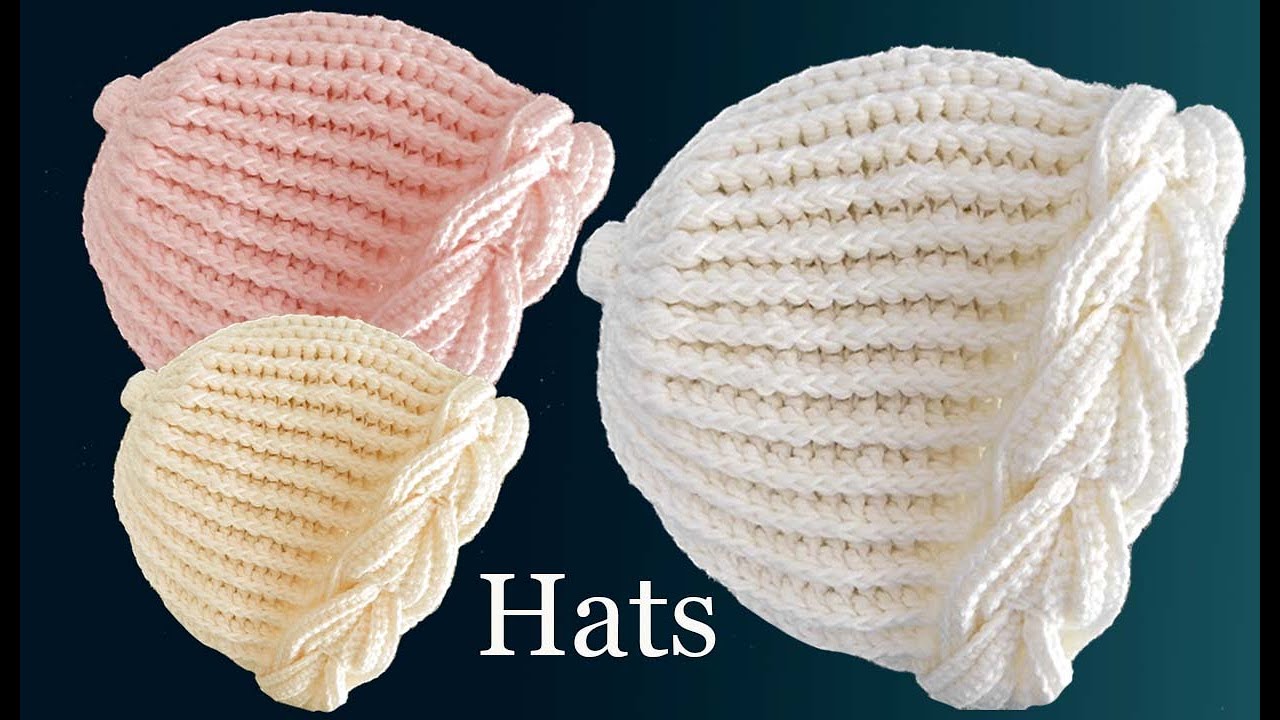
Sure! Here’s a detailed guide on how to make a hat model in all sizes using knitted fabric and incorporating crochet braids. This method blends sewing and crochet techniques to make a stylish and stretchy hat perfect for various sizes (baby to adult). Let’s break it down step-by-step:
Materials Needed:
- Knitted fabric (stretchy – like jersey knit, ribbed knit, or interlock)
- Crochet hook (size depends on yarn, usually 4mm–6mm for hat detailing)
- Yarn (acrylic, cotton, or a soft blend suitable for braiding)
- Sewing machine or needle & thread
- Measuring tape
- Scissors
- Elastic (optional) for snug fit
- Pins or clips
Hat Sizing Chart (Standard Head Circumferences):
| Size | Head Circumference | Hat Height |
|---|---|---|
| Baby (0-6M) | 14–16 in (35–40 cm) | 6 in (15 cm) |
| Toddler (1–3Y) | 17–19 in (43–48 cm) | 7 in (18 cm) |
| Child (4–10Y) | 19–21 in (48–53 cm) | 7.5 in (19 cm) |
| Teen/Adult Small | 21–22 in (53–56 cm) | 8 in (20 cm) |
| Adult Medium | 22–23 in (56–58 cm) | 8.5 in (21.5 cm) |
| Adult Large | 23–24 in (58–61 cm) | 9 in (23 cm) |
(Add ~1/2″ seam allowance to all sides)
Step-by-Step Instructions
Part 1: Sewing the Knitted Hat Base
- Measure and Cut Fabric
- Use the sizing chart above to measure the head and determine the hat height.
- Cut two pieces of knitted fabric in a dome or beanie shape (a half-circle or rectangle with a curved top).
Example: For an adult medium, cut 2 pieces of 9″ high × 11.5″ wide (folded).
- Sew the Curved Top
- With right sides facing, sew the curved sides using a zigzag or stretch stitch to allow stretch.
- If using a rectangle: Sew both sides, then shape the top by sewing a curve or darting the corners to reduce bulk.
- Sew the Bottom Hem
- Fold the bottom edge up about 1″ to form a hem. Pin and sew it down using a zigzag stitch or twin needle for stretch.
- Optional Elastic Insert
- If you want a snugger fit, insert 1/2″ wide elastic into the hem before finishing the bottom seam.
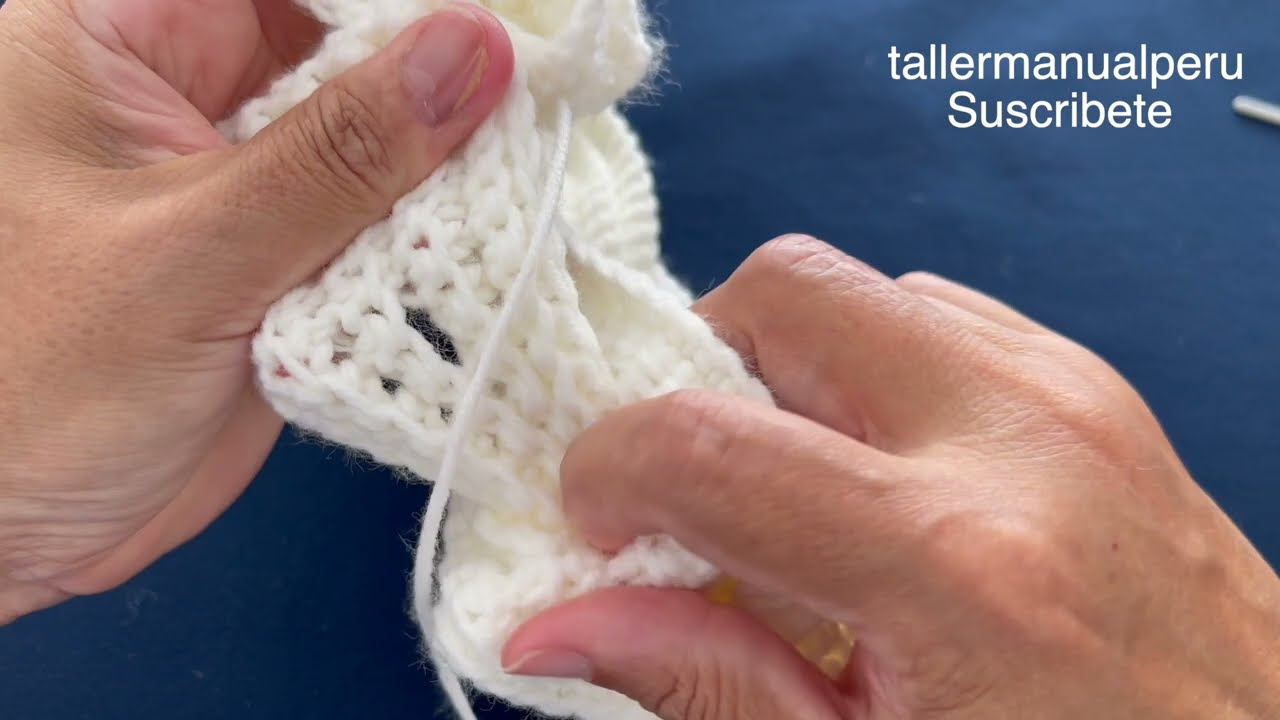
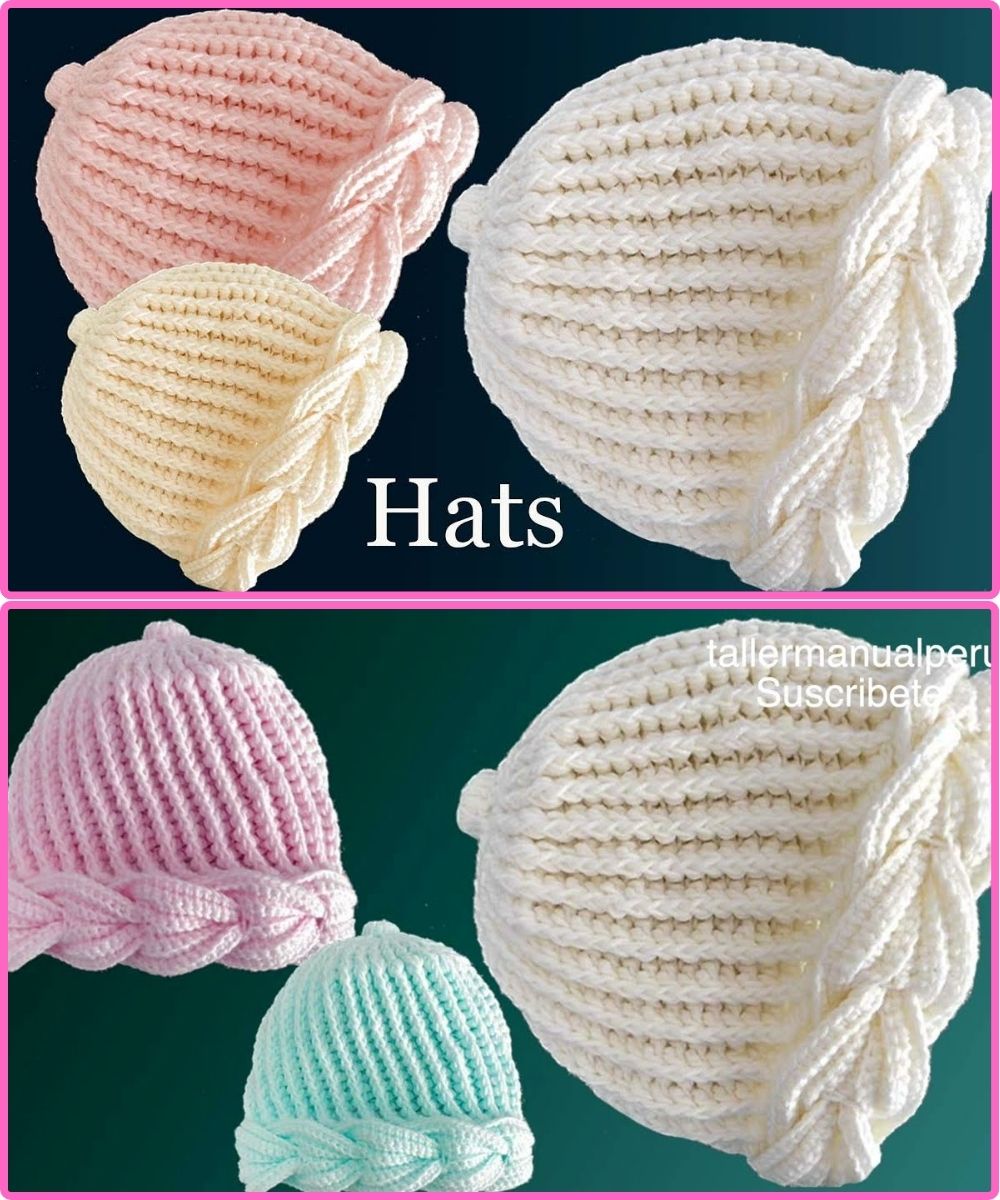
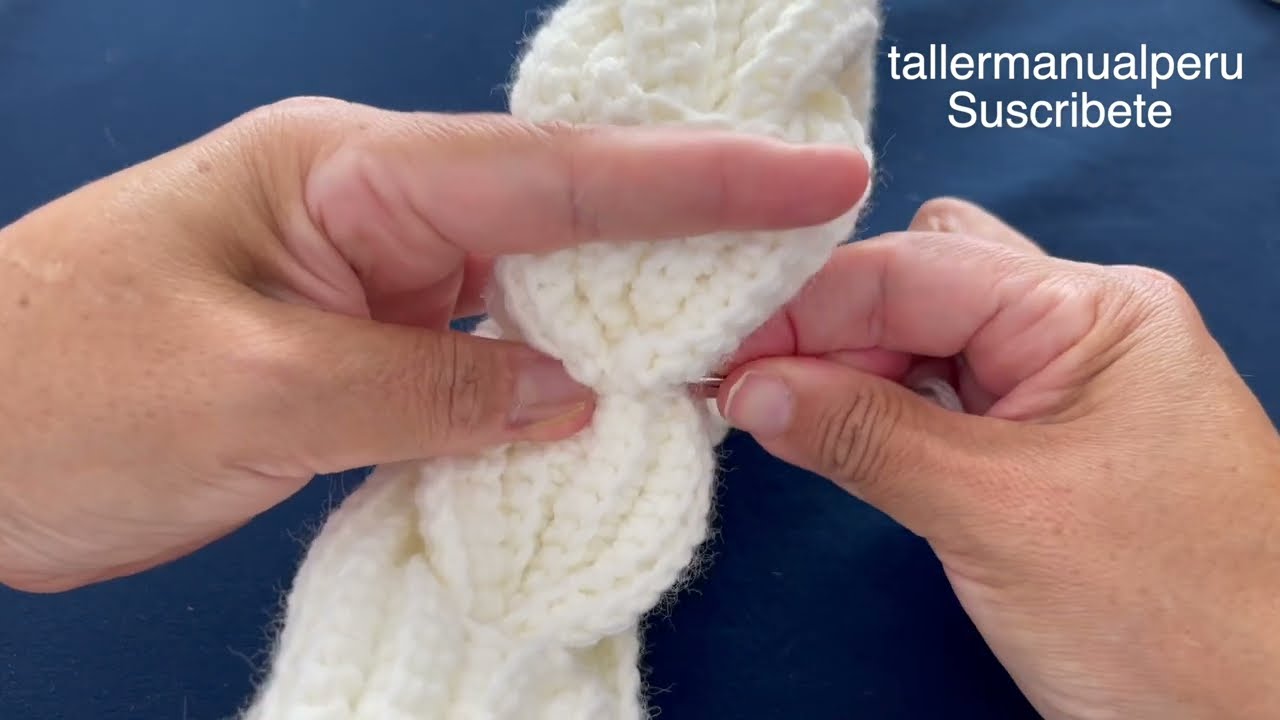
Part 2: Adding Crochet Braids
This is the decorative and functional part that adds flair to your hat!
Option A: Crochet Braided Edge
- Create Foundation Row
- Use a yarn needle or small hook to pull yarn loops through the hem seam, spacing evenly (~1 cm apart).
- Chain 1, then single crochet (SC) around the edge of the hat.
- Add Braided Design
- Work several rows (SC or HDC) to form a band.
- After a few rows, make long braid cords:
- Chain ~30 stitches for each braid strand.
- Make 3 strands per side, braid them together, and tie off.
- Repeat on both sides or front.
Option B: Crochet Braids as Tassels or Side Decor
- Make Crochet Braids Separately
- Chain 40–50 (or desired length), turn, SC back to base.
- Make 3 strands, braid them together, and attach to the sides or top of the hat with a needle or hook.
- Secure Ends
- Tie knots, sew in ends, or add decorative beads or pom-poms.
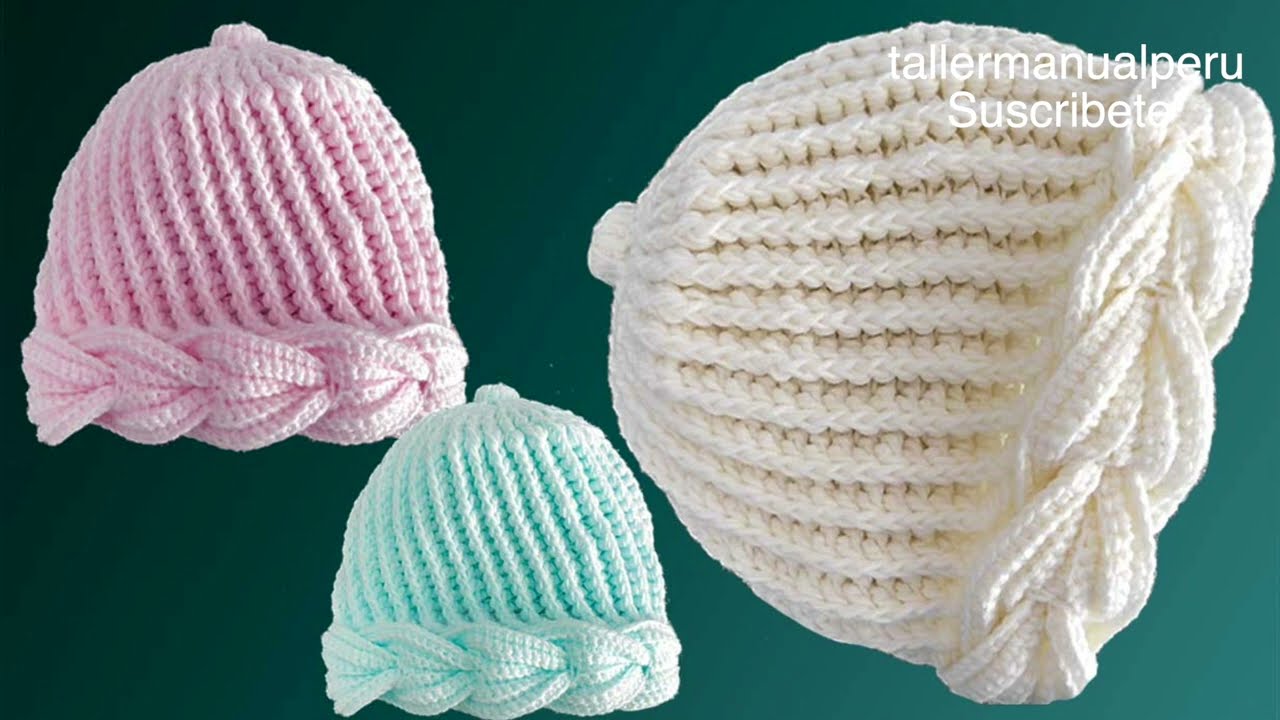
Design Tips:
- Use contrast yarn colors for crochet braids to stand out against the hat base.
- Add a pom-pom or crochet flower to the top of the hat for extra flair.
- Consider fleece-lining the interior for warmth (especially for babies or winter use).
- For kids’ hats: make animal ears (cat, bear, etc.) using crochet or fabric cutouts.
Care Instructions:
- Hand wash or machine wash on a gentle cycle.
- Lay flat to dry to preserve the shape and fabric stretch.
Watch tutorial:


