Sure! Here’s a detailed step-by-step guide and tutorial idea on how to make a beautiful blouse jacket cardigan – a cute one-piece crochet design for beginners. This tutorial will walk you through the tools, materials, basic stitches, and construction steps.
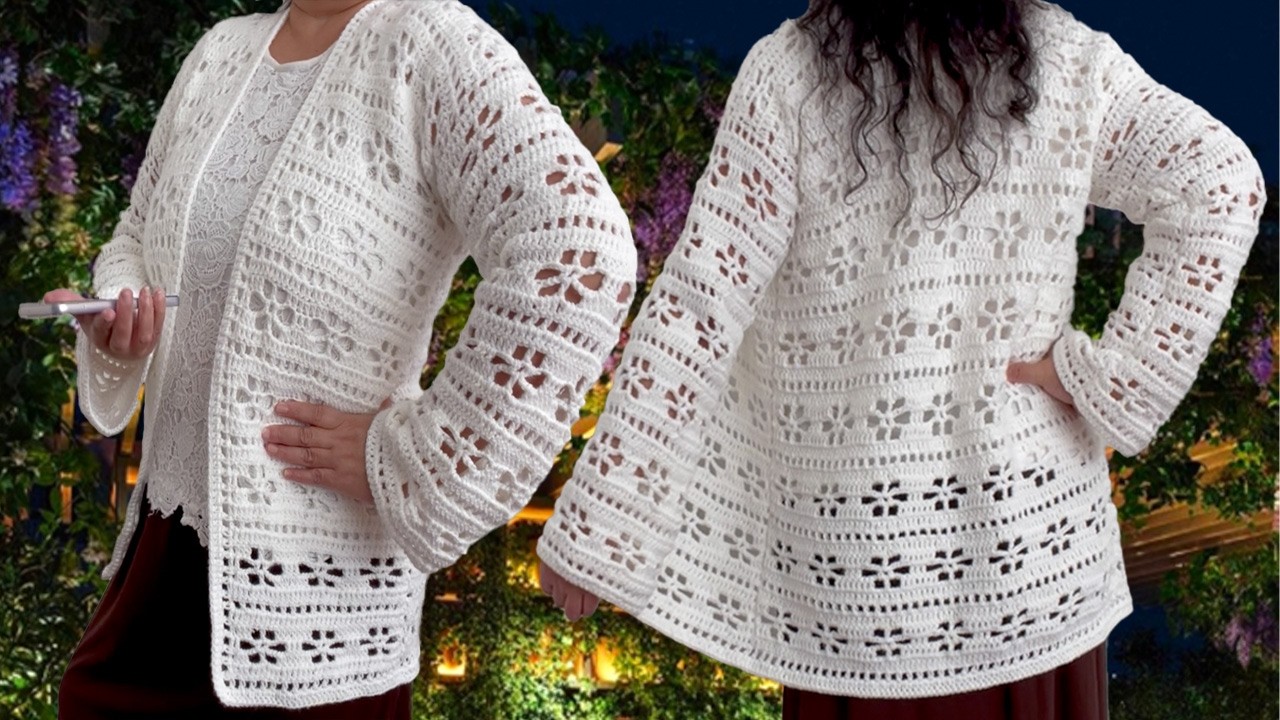
Cute One-Piece Crochet Blouse Jacket Cardigan Tutorial (Beginner-Friendly)
Materials Needed:
- Yarn: Medium weight (4) acrylic, cotton, or blended yarn. Choose soft, breathable yarn for comfort.
- Recommended: 600–1000 yards depending on size.
- Hook: 5.0 mm (H-8) or size appropriate for your yarn.
- Notions:
- Yarn needle
- Stitch markers
- Scissors
- Buttons (optional)
- Measuring tape
Skill Level:
Beginner to Confident Beginner
You should know:
- Chain (ch)
- Slip Stitch (sl st)
- Single Crochet (sc)
- Double Crochet (dc)
- Half Double Crochet (hdc)
- Working in rows and rounds
Design Overview:
This blouse jacket cardigan is a one-piece rectangle construction with minimal shaping. It’s seamed at the sides to form sleeves and can be customized with a button closure or left open for a flowy, boho look.
Step-by-Step Instructions
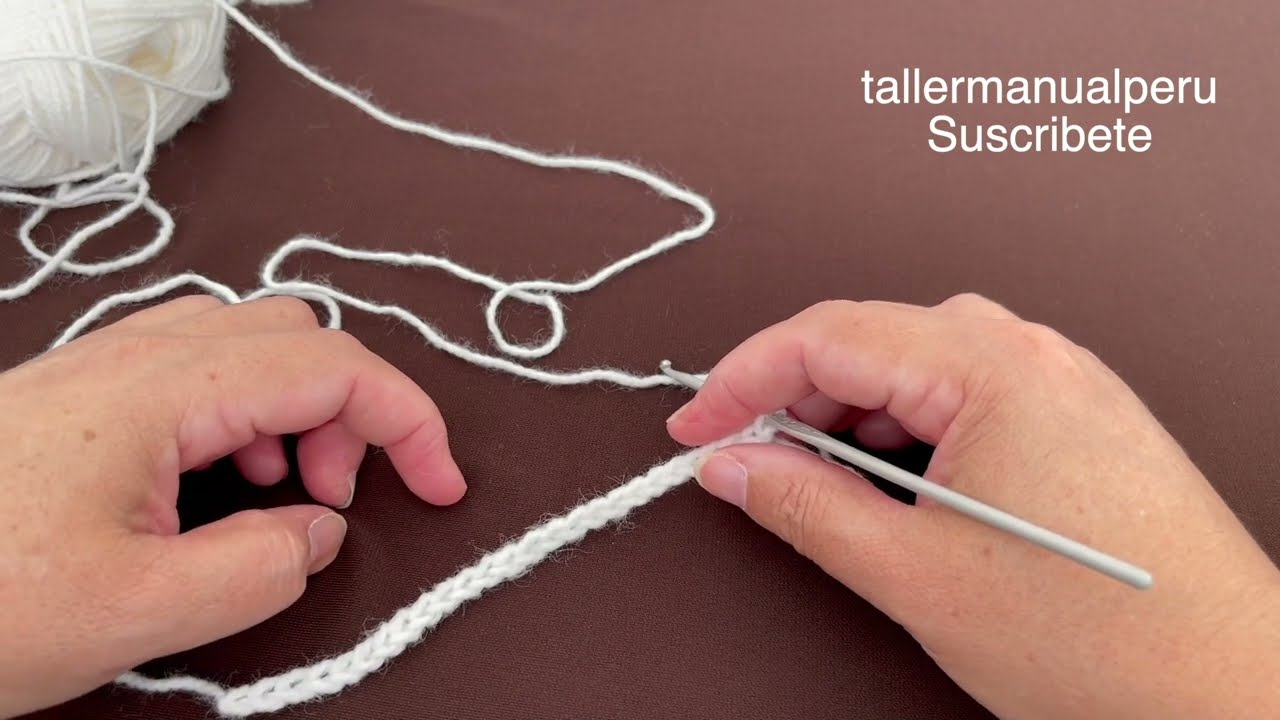
Step 1: Measure & Chain Foundation
- Measure around your bust and add 6–8 inches (for ease).
- Example: Bust = 36″, Chain enough for a 42″ width.
- Create a foundation chain to match your measurement.
- Multiple of 2 + 1 for turning (example: 85 ch).
Step 2: Crochet the Body (Rectangle)
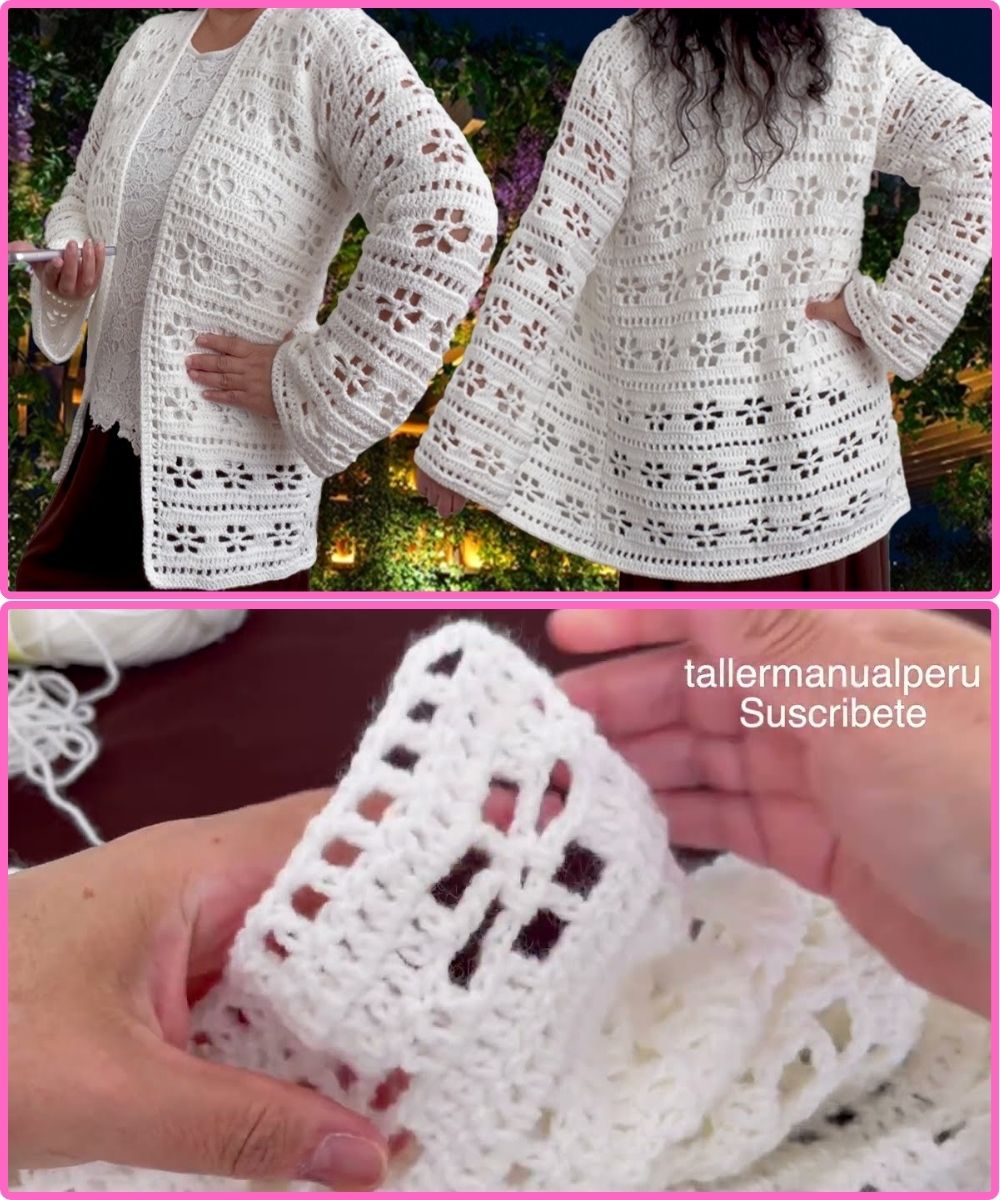
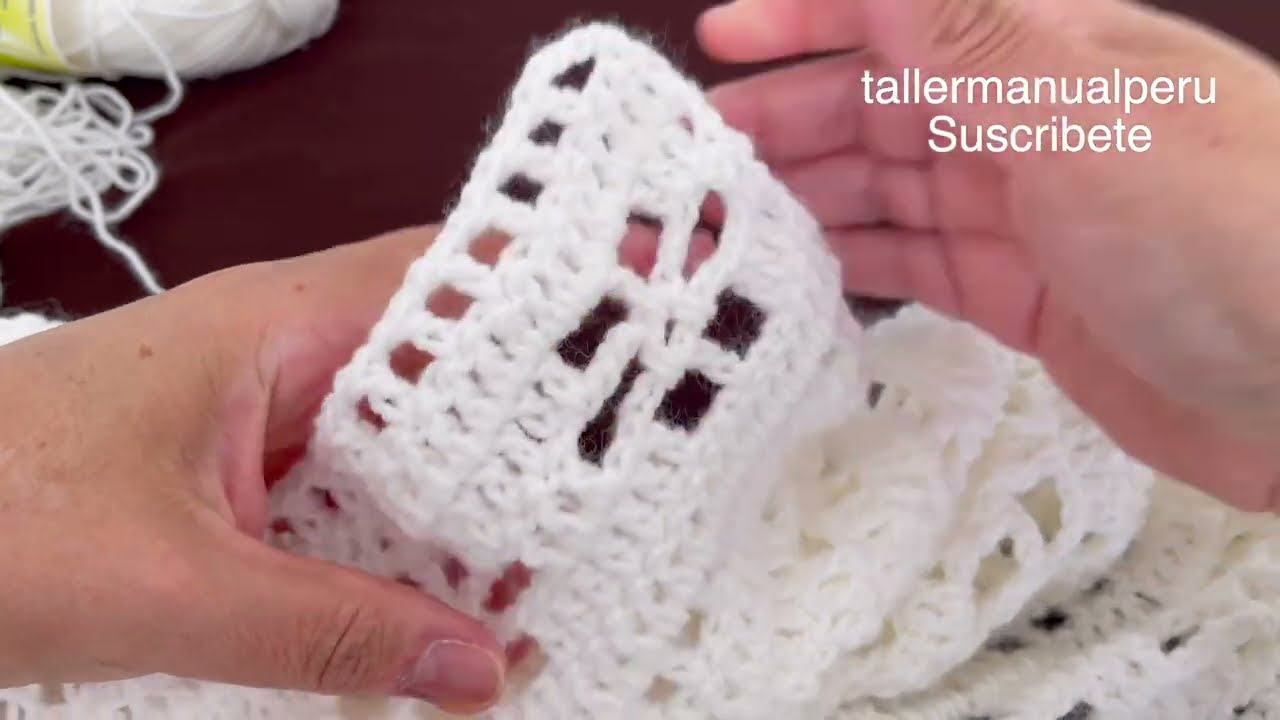
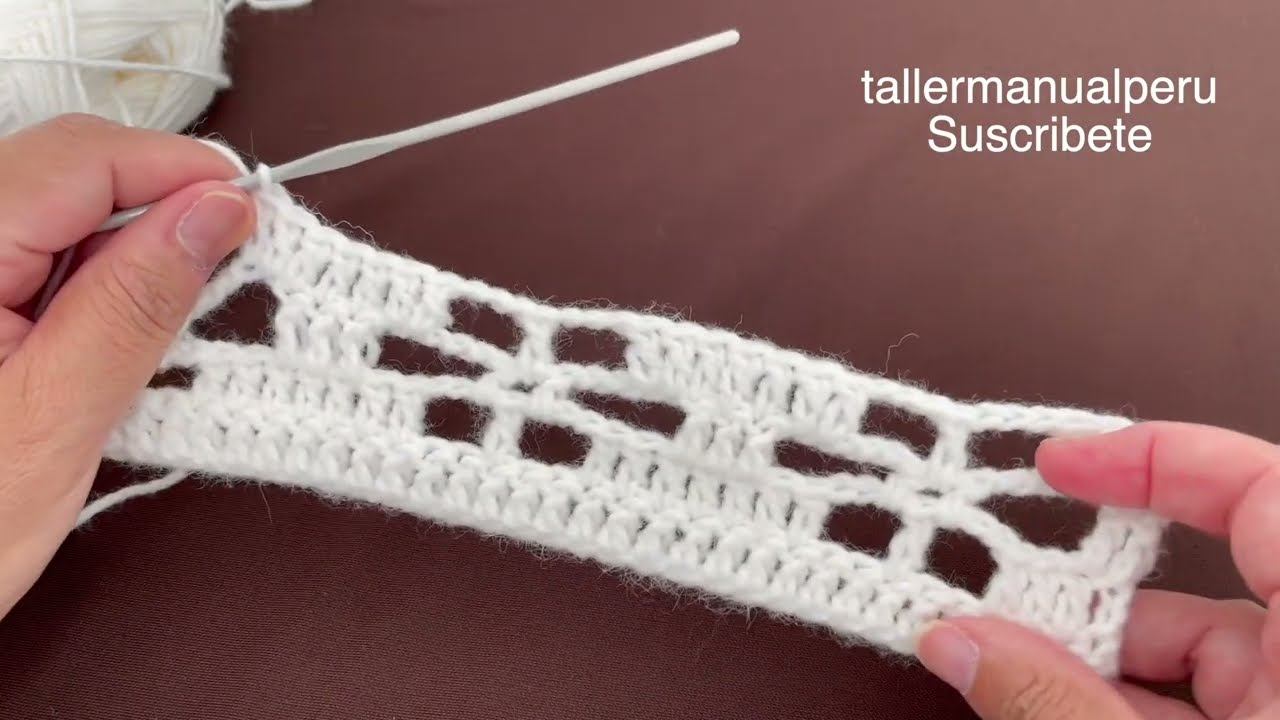
Work in rows to create a solid or lace stitch pattern.
Suggested stitch pattern (easy shell):
Row 1: Sc in 2nd ch from hook, skip 1 ch, 2 dc in next ch, repeat across, end with sc. Turn.
Row 2: Ch 1, sc in first sc, 2 dc in space between dc shells, repeat across, end with sc.
Continue repeating Row 2 until piece measures:
- Small: 18–20″
- Medium: 20–22″
- Large: 22–24″
(Height of rectangle, from back hem to neck and over the shoulder)
Step 3: Fold and Seam to Create Sleeves
- Fold the rectangle in half width-wise (so short ends meet).
- Measure 7–9 inches down each side from the top fold.
- Seam from the bottom edge up to your armhole measurement on each side using whip stitch or sl st.
Now it should look like a shrug-style cardigan!
Step 4: Add Edging
Add a decorative or simple border around the sleeves and front opening.
Edging idea:
Round 1: Sc evenly around all edges, join.
Round 2: (Optional) Picot, crab stitch, or shell edging to make it cute and feminine.
Step 5: Customize (Optional)
- Add small buttons to the front.
- Crochet a belt to tie at the waist.
- Embellish with flowers or lace appliqué.
Tips for a Beautiful Finish
- Block your piece to smooth out stitches.
- Use a matching or contrasting color for a fun twist.
- Use stitch markers to keep seams even.
Suggested Tutorial Video Title (if you’re making content):
“How to Crochet a One-Piece Blouse Jacket | Easy & Cute Cardigan Tutorial for Beginners”
Stitch Pattern Variations
Try these beginner-friendly stitches:
- Mesh stitch (dc, ch-1 repeat)
- Granny stripe
- V-stitch
Perfect For:
- Fall layering
- Gift for loved ones
- Handmade fashion
Watch tutorial:


