Crochet bags have become one of the most popular DIY fashion trends in recent years. They’re not only stylish and eco-friendly but also fun and simple to make — especially if you’re new to crocheting. With just a few basic stitches and some creativity, you can craft a beautiful, durable, and functional crochet bag that looks like it came straight from a boutique.
This guide will walk you through everything you need to know to make your own super easy crochet bag — from materials and stitches to step-by-step instructions and customization ideas.
🌟 Why Make a Crochet Bag?
Before we dive into the process, let’s talk about why crochet bags are so loved:
- Beginner-friendly project: You don’t need advanced crochet skills. Even simple stitches like single crochet (sc) or half double crochet (hdc) can create a sturdy, attractive bag.
- Sustainable fashion: Crochet bags are reusable, washable, and made from natural fibers like cotton or raffia.
- Customizable design: You can choose your own yarn color, size, handles, and embellishments to match your personal style.
- Portable craft: You can work on your bag anywhere — at home, on vacation, or while watching TV.
🧵 Materials You’ll Need
To make a super easy crochet bag, gather the following supplies:
- Yarn: Medium-weight cotton yarn (worsted weight, category 4) works best for a sturdy bag. Cotton yarn holds its shape well and doesn’t stretch too much.
- Crochet hook: Size 4 mm (G) or 5 mm (H), depending on your yarn. Check your yarn label for recommendations.
- Scissors
- Yarn needle: For weaving in ends.
- Stitch markers (optional): Useful for marking your rounds or stitch counts.
- Handles (optional): You can crochet your own handles or attach pre-made ones (wooden, leather, or rope-style).
✨ Basic Stitches You’ll Use
If you’re new to crochet, here are the essential stitches to know:
- Chain (ch): The foundation of most crochet projects.
- Slip stitch (sl st): Used to join rounds or edges seamlessly.
- Single crochet (sc): A dense, tight stitch that adds strength to your bag.
- Half double crochet (hdc): Slightly taller than single crochet, creating a flexible but sturdy texture.
- Double crochet (dc): Adds height and texture for larger bags or decorative panels.
🧺 Step-by-Step: How to Make a Super Easy Crochet Bag
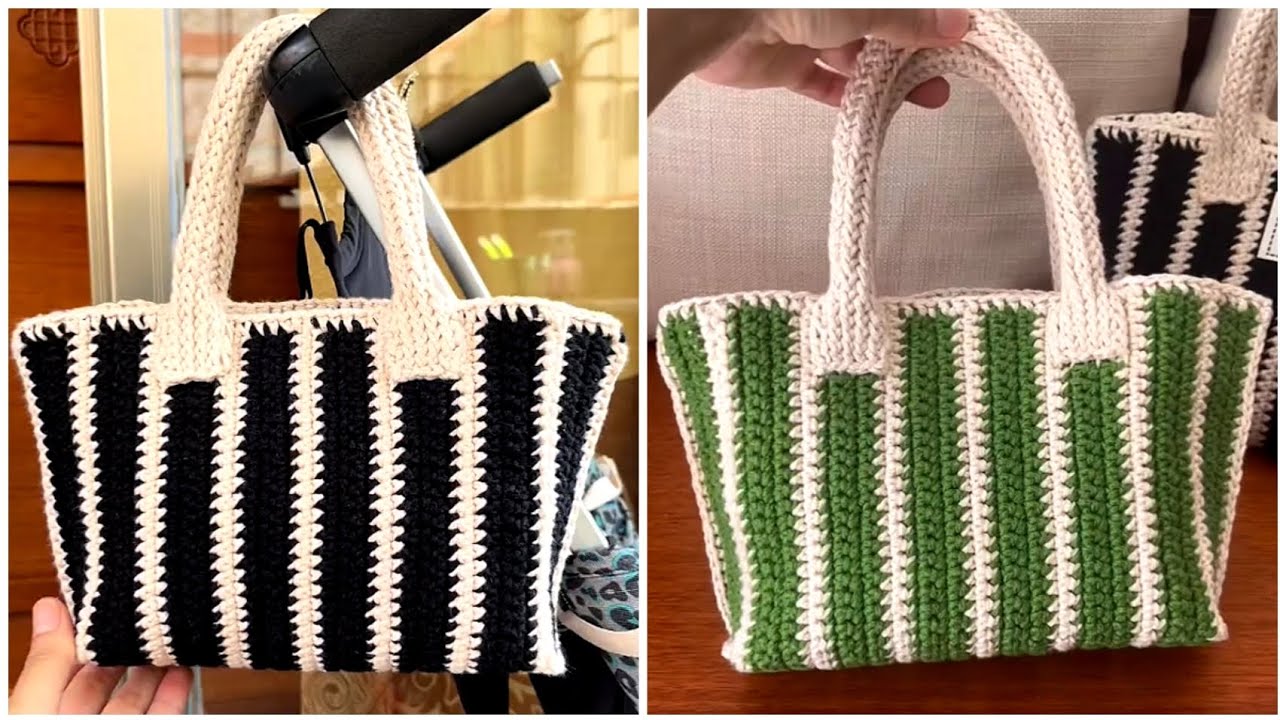
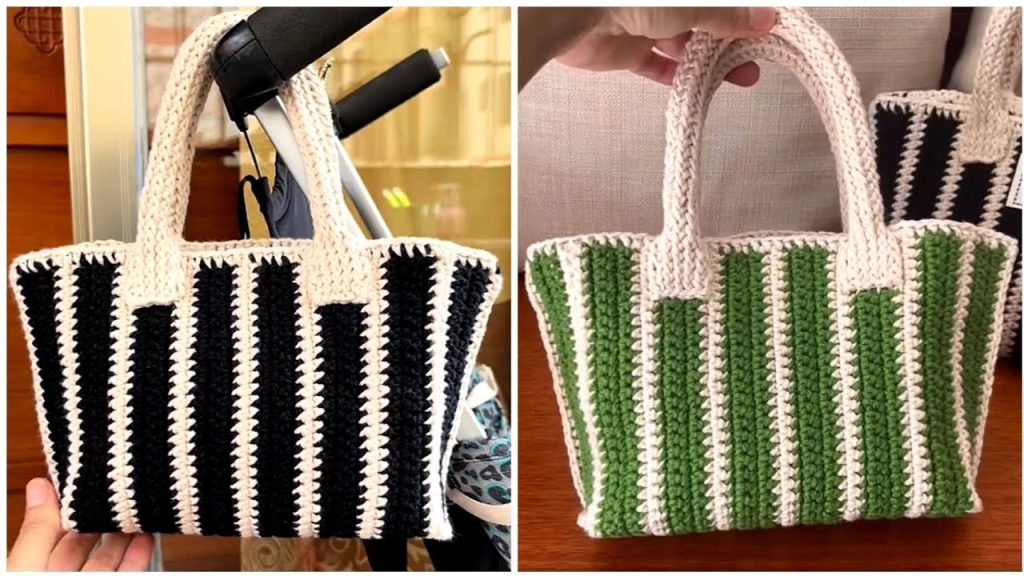
This simple pattern creates a small to medium tote-style bag perfect for groceries, books, or casual outings.
Step 1: Create the Base
- Chain 31 stitches (or however wide you want your bag to be).
- In the second chain from the hook, make 1 single crochet (sc).
- Continue making 1 sc in each chain across the row.
- When you reach the last stitch, make 3 sc in that stitch to turn the corner.
- Now, continue crocheting along the bottom of the chain (the opposite side), making 1 sc in each stitch.
- When you reach the end, make 2 sc in the last stitch and join with a slip stitch to the first sc.
👉 This forms an oval base for your bag.
Step 2: Build Up the Sides
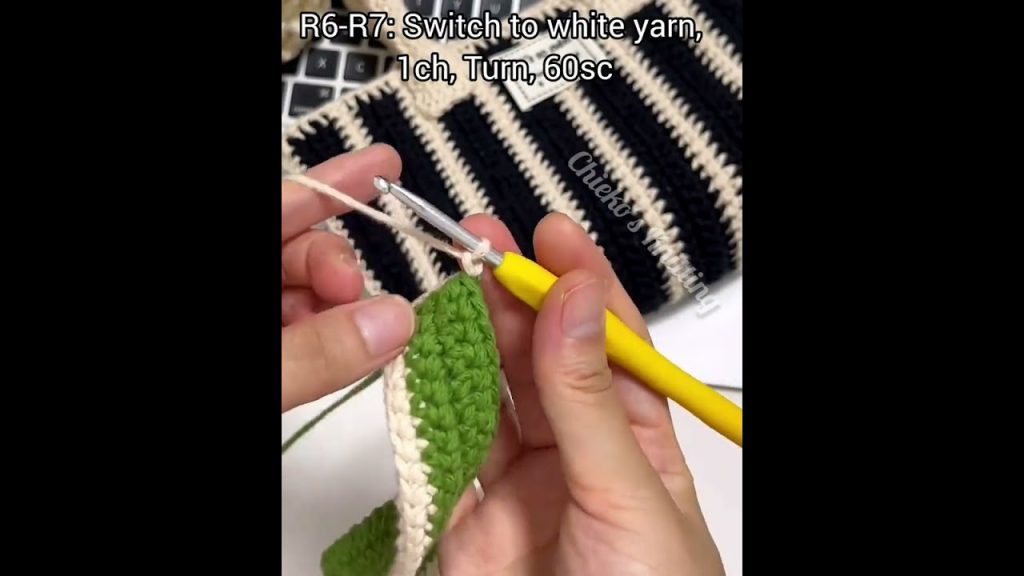
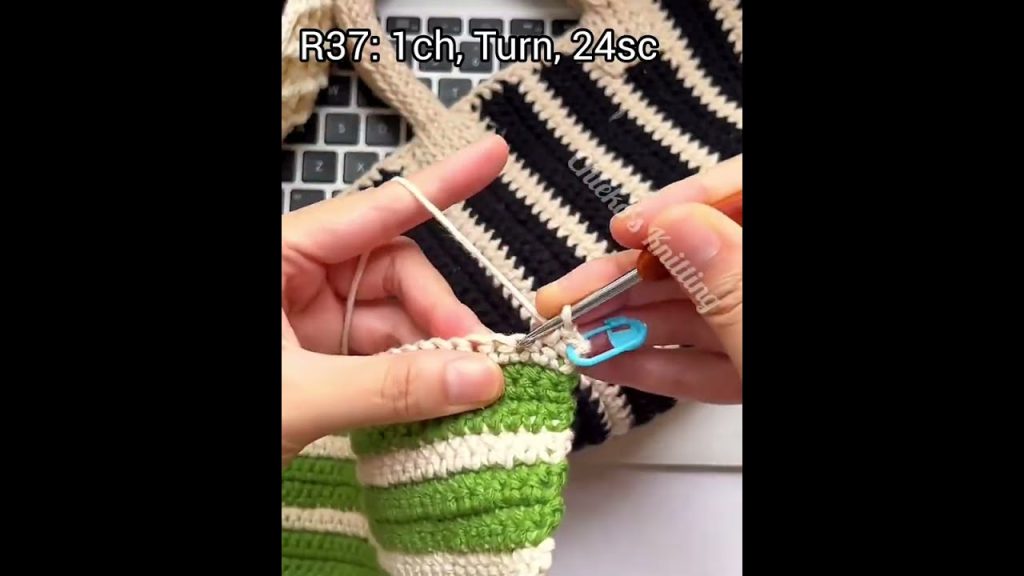
- Chain 1 and work 1 sc in each stitch around — but do not increase anymore.
- Continue working in continuous rounds (use a stitch marker if needed).
- As you crochet upward, the bag will start to form its shape naturally.
- You can switch to half double crochet (hdc) or double crochet (dc) stitches if you want a looser or taller bag texture.
- Keep going until your bag reaches the desired height (typically 25–30 cm / 10–12 inches).
Step 3: Add the Handles
You can either crochet the handles directly into the bag or make them separately.
Option 1: Built-in Handles
- When you reach the top of the bag, chain 25–30 stitches (for one handle).
- Skip 8–10 stitches, then continue crocheting around to form the rest of the handle space.
- Repeat on the opposite side for the second handle.
- Crochet one more round (sc or hdc) around the entire edge to reinforce the handles and create a smooth finish.
Option 2: Separate Handles
- Crochet two long strips (about 40 cm each).
- Sew or attach them to the top edges of your bag using a yarn needle.
Step 4: Finishing Touches
- Weave in loose ends with a yarn needle.
- Block your bag (lightly dampen it and shape it) to make the stitches even.
- Add embellishments such as tassels, buttons, or patches if you like.
🌈 Customization Ideas
Once you’ve mastered the basic pattern, you can experiment with:
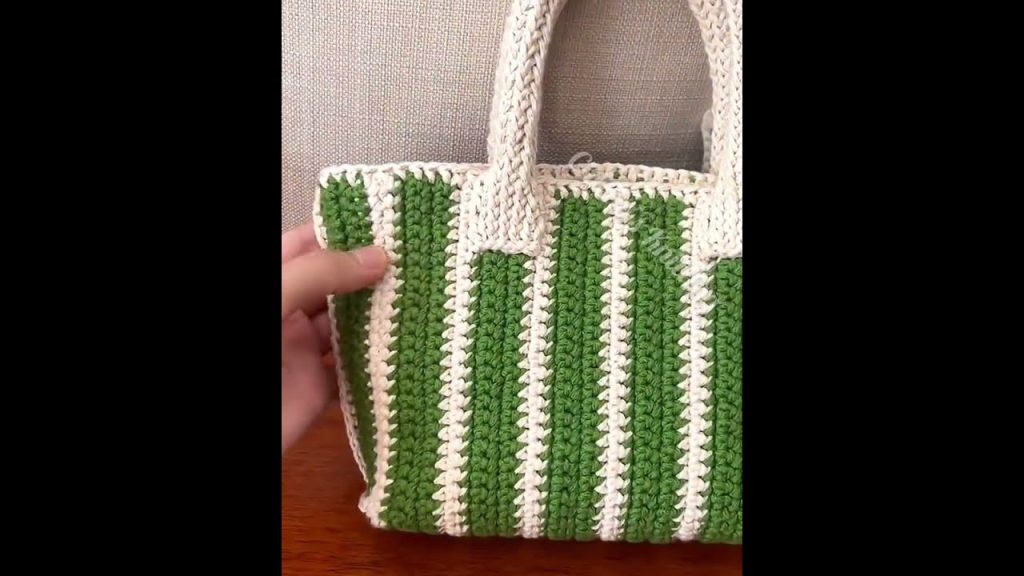
- Color blocking: Use two or more colors to make horizontal stripes.
- Granny square design: Make several colorful squares and sew them together for a retro look.
- Mesh pattern: Use chain spaces to create a lightweight summer beach bag.
- Lining: Add a fabric lining for extra strength and to prevent small items from slipping through stitches.
- Decorative edges: Add picot or shell edging for a more feminine touch.
💡 Tips for Beginners
- Don’t crochet too tightly — it will make your bag stiff and difficult to work with.
- Count your stitches at the end of each round to keep the shape even.
- Use stitch markers to keep track of where each round begins.
- If your bag leans to one side, it may be due to the direction of your stitches — simply adjust your tension.
👜 Care Instructions
To keep your crochet bag looking fresh:
- Hand wash gently in cool water with mild detergent.
- Do not wring; instead, press out excess water with a towel.
- Reshape and lay flat to dry.
- Store in a cool, dry place when not in use.

🌷 Final Thoughts
Creating your own super easy crochet bag is a fun and rewarding craft project that blends creativity, sustainability, and functionality. Whether you use it as a market tote, a beach bag, or an everyday carryall, you’ll have a unique, handmade accessory that reflects your personal style.
The best part? Once you’ve made one, you’ll want to make more — experimenting with colors, shapes, and textures to match every outfit or occasion.
So grab your yarn, pick up your hook, and start crocheting your new favorite bag today! 🧶💖
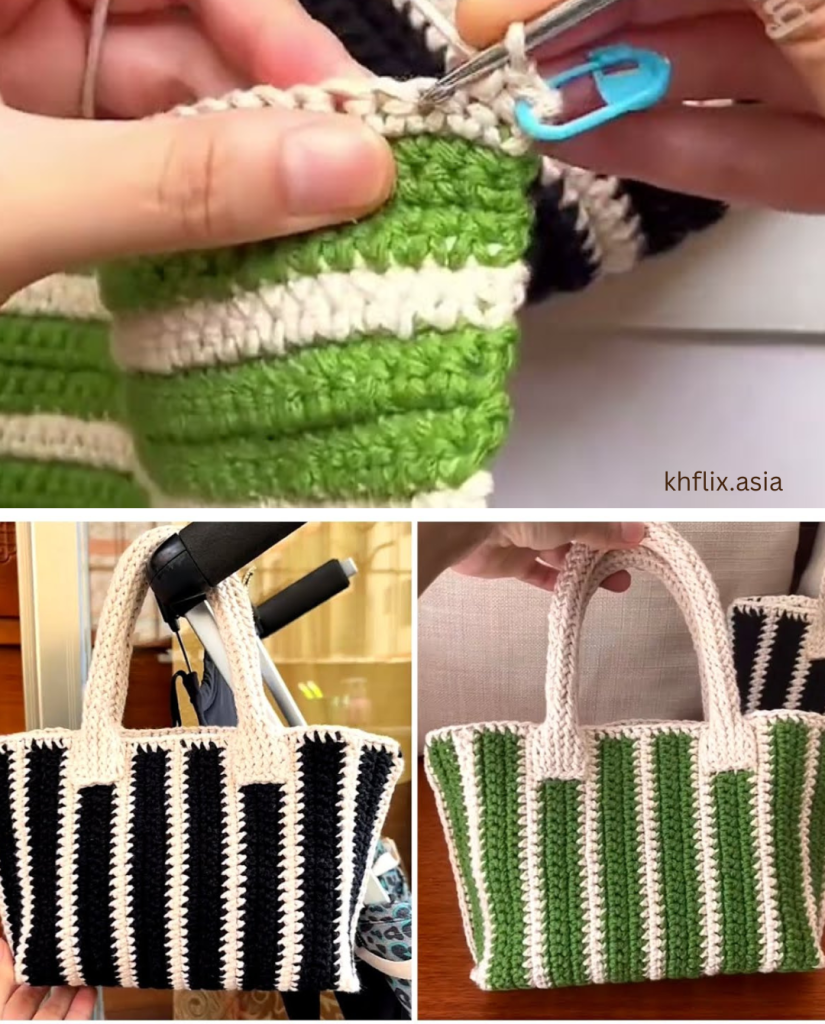
Video tutorial:


